Highland Cow | Denise Clark | Silhouette UK Blog
Highland Cow
It’s Denise here today.
I hope you’re all enjoying the good weather we’re getting just now and long may it continue.
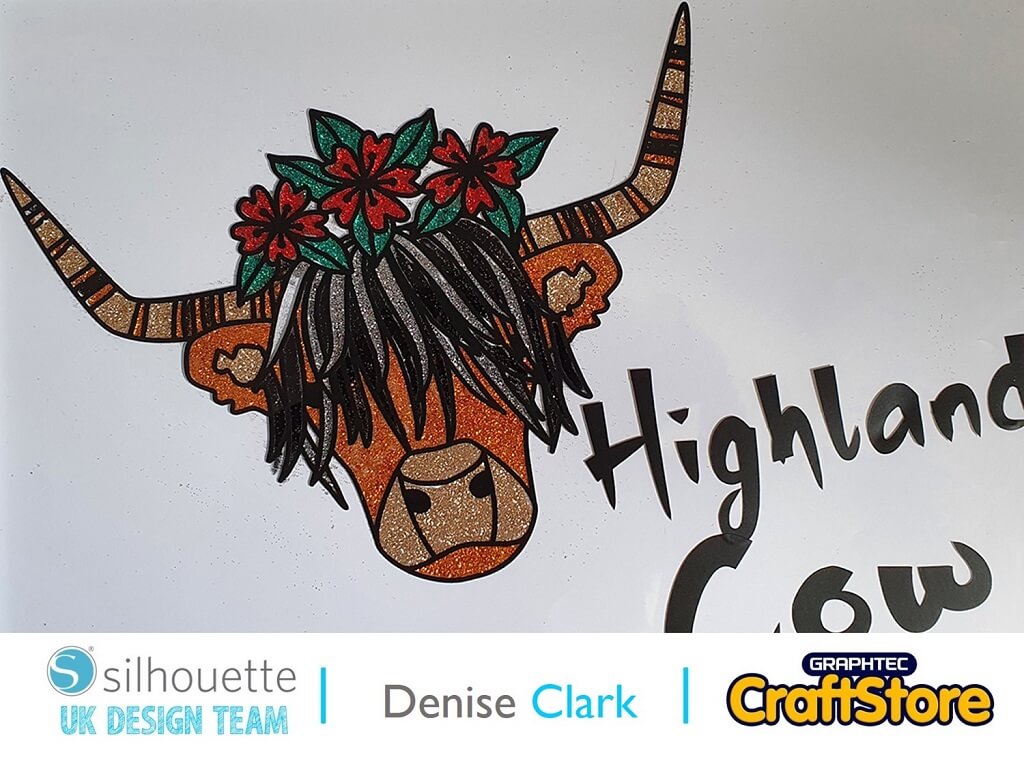
On today’s blog I’m going to be creating this super looking Highland Cow.
To create this I’ll be using Black Glossy Vinyl and Glitter bold colours.
Materials Used
• Silhouette Glossy Vinyl
• Wet Glue
• Glitter
• A3 Frame
Open Your File
Open your Silhouette software and load your file by going to the library on the top right-hand side and look for your required file and load it onto your design space by clicking on it and it will open.
Cutting Your File
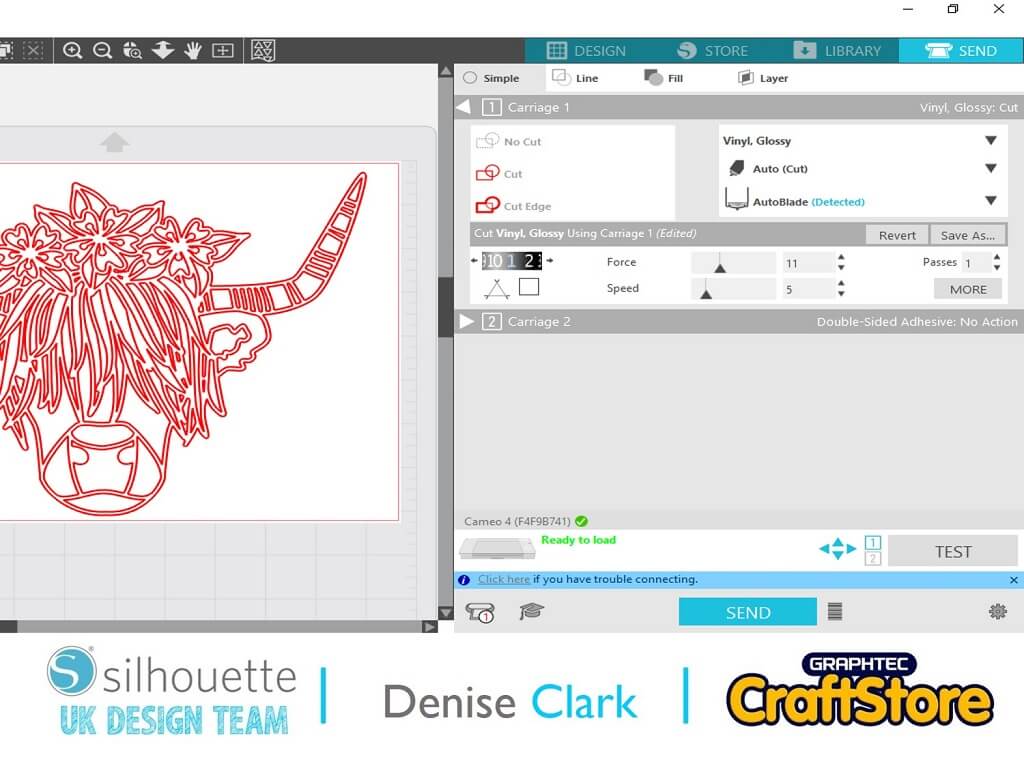
To be able to cut your file you need to go to top right hand corner and click on the Send button.
For the media I’m using is Self-adhesive vinyl which I selected from the drop down menu. As I am using the AutoDetect AutoBlade and I have already told the software which media I am using Silhouette Studio automatically updates the settings for me.
Now, press send to cut your vinyl.
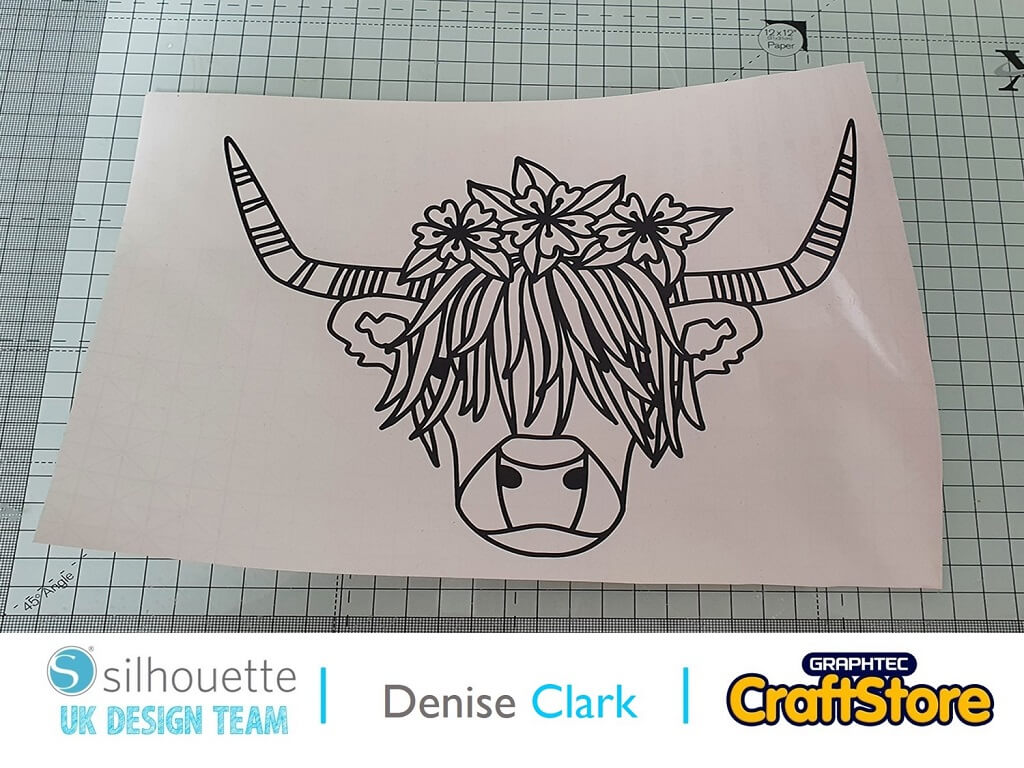
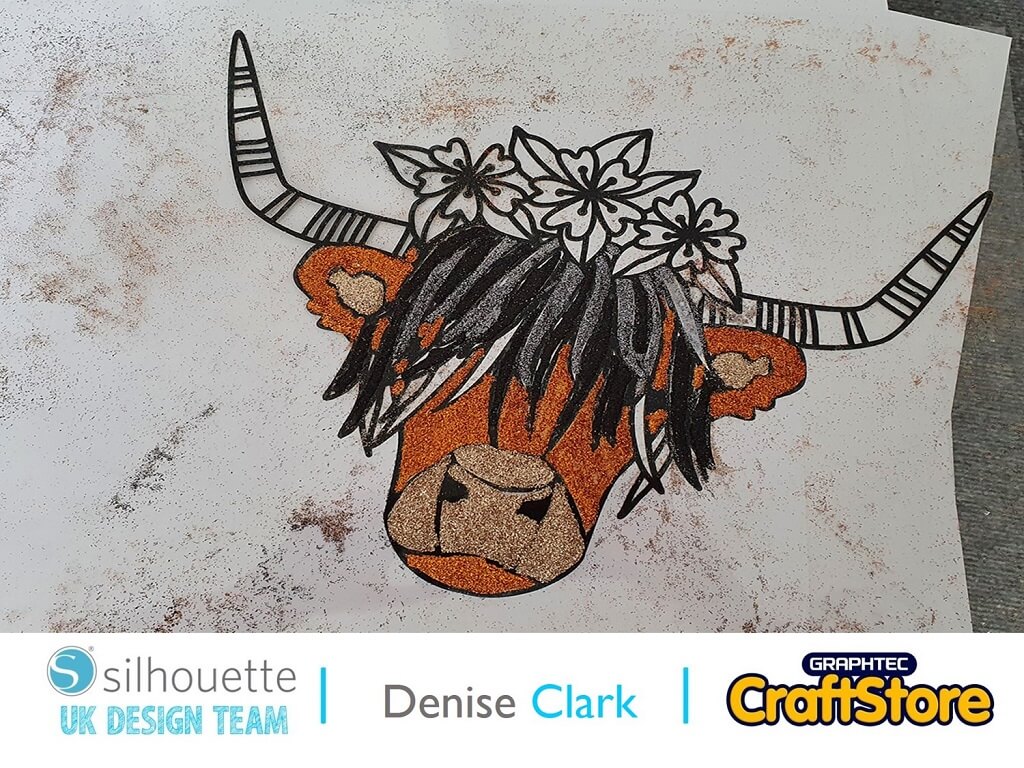
Once cut take from machine and take from cutting mat and now to weed which was a lot I just took my time making sure I wasn’t removing the parts that need to stay.
To help with this Silhouette make a Punch Tool to mark the areas of vinyl that need weeding out, it fits into tool chamber 2 on the Cameo 4.
Once all weeded doesn’t it look great with the black vinyl.
The Messy Part
I’m using a A3 frame which I had for ages and thought this would look great for what I’m doing.
I put clear transfer tape on top of the image and transferred to the outside of the glass which I put on the left side of it.
I flip it over and now comes the messy fun part.
Yes, it’s messy but great fun if you like working with glitter.
I did each part bit by bit using glue but if you aren’t a fan of using wet glue you could always use Silhouette’s Double-Sided Adhesive Sheets.
I worked in small parts to glue inside the cut lines and then added the glitter.
I did this by taking my time with it as I didn’t want to ruin it.
I used bold colours for this and it has turned out great once I covered it all with glitter.
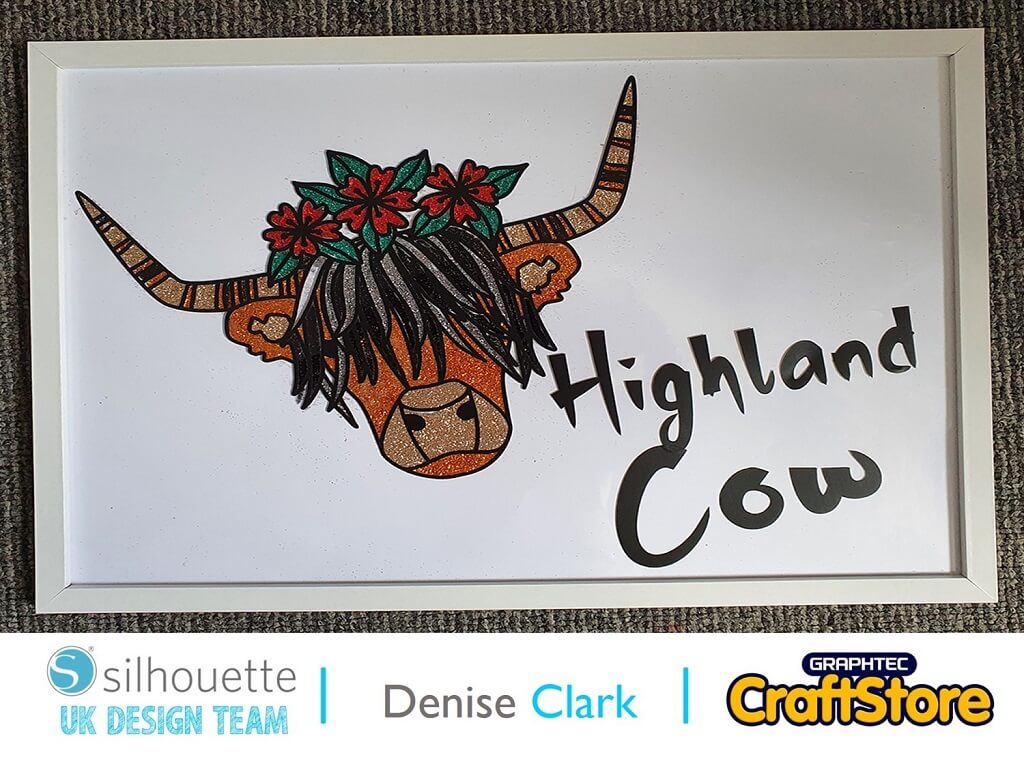
I waited for a day to completely dry and then I transferred it to the frame with having the glitter side on the inside of the frame added A3 white card behind it then closed it up buy putting the backing on and closing it up.
Adding The "Highland Cow" Words
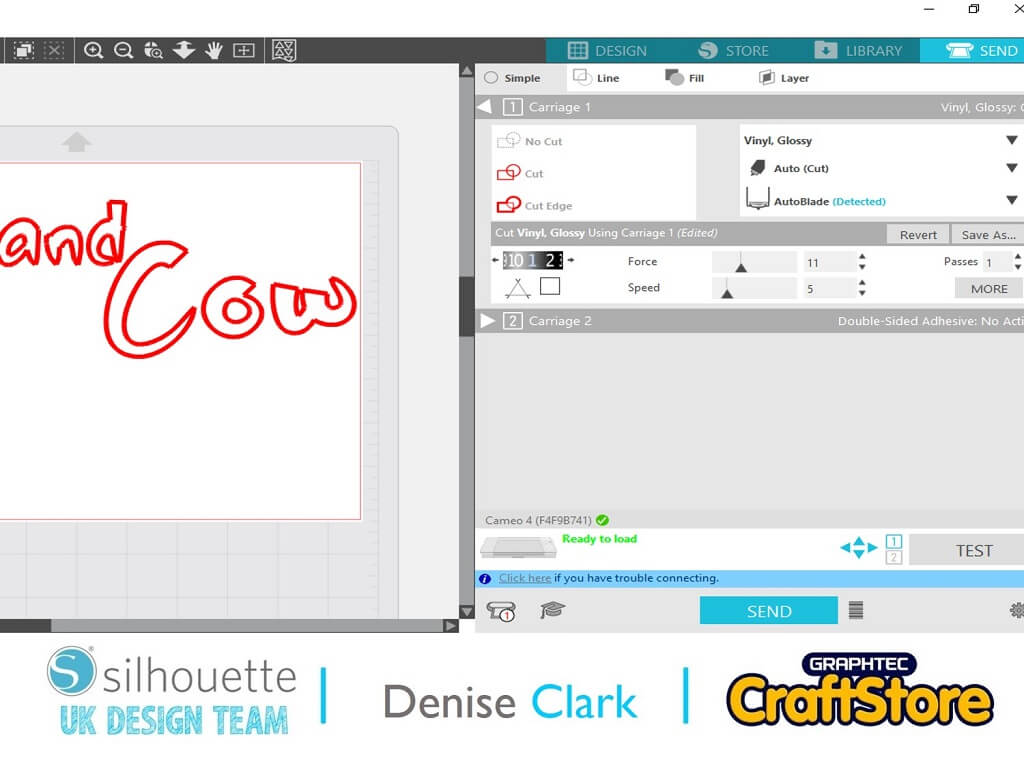
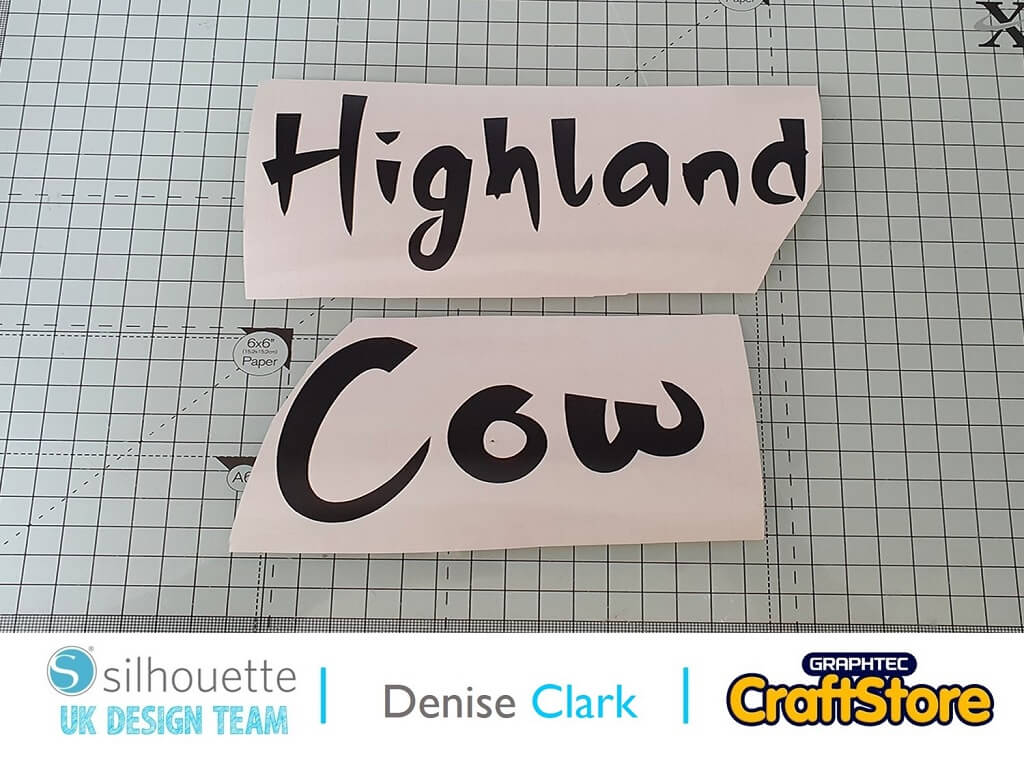
I typed Highland on my design space by clicking on the text letter “A” on left hand side and clicked on “open the text style panel and chose the font you want by double clicking on your word which will highlight a green box around it.
Click and drag so your word is fully covered then click the font your wanting and it will change.
I did the same with the word Cow as I wanted Highland Cow on front.
When I was happy with it I cut it out with black vinyl again using same cutting as before.
I weeded the words which was hardly anything to do added transfer clear tape over it and transferred to front of my frame.
I was happy was the finished project.
I enjoyed doing this project it was out of my comfort zone but I’m delighted I went ahead with it.
You could add anything to this image to make it stand out.
My next project is going to be about “Schools Out For Summer”.
I hope you pop back and read my next blog.
– Denise Clark –
Silhouette UK Blog Created By Denise Clark
Silhouette Products Used
Silhouette Designs Used
• Design Used: Highland Cow With Flowers
Design Store Artist: Nic Squirrell
Design Store ID: 279482 > Download
