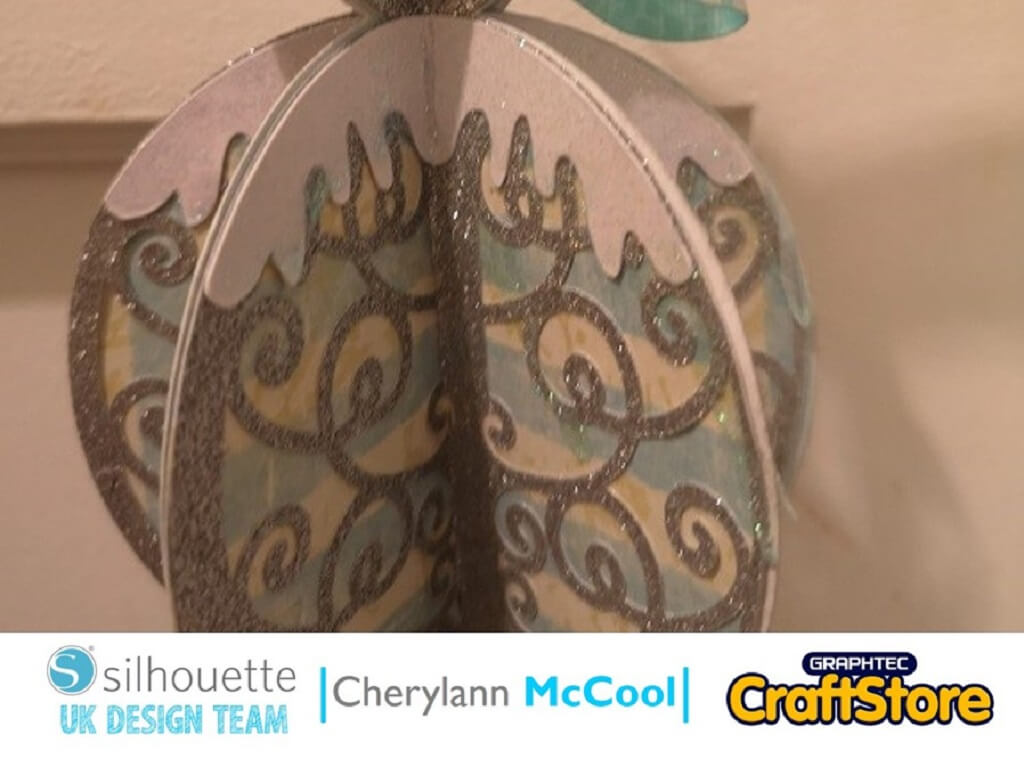
Oh Christmas Tree | Cherylann McCool | Silhouette UK Blog
Oh Christmas Tree | Cherylann McCool | Silhouette UK BlogOh Christmas Tree | Silhouette Glitter Vinyl Hi Cheryl here again. Oh I’m so excited, this is my most favourite time…
PLEASE NOTE THAT THE OFFICE WILL BE CLOSED FROM 12PM FRIDAY 20TH DECEMBER 2024 AND WILL RE-OPEN ON THURSDAY 2ND JANUARY 2025
ORDERS FOR DELIVERY PRIOR TO CHRISTMAS WILL NEED TO BE SUBMITTED BY 2.30PM ON THURSDAY 19THDECEMBER 2024.
ORDERS RECEIVED AFTER THIS TIME AND DATE WILL BE DESPATCHED ON THURSDAY 2ND JANUARY 2025.
Merry Christmas & A Happy New Year to all our customers. Thank you for your continued support.

Hi Cheryl here again.
The shops sure are getting busier in the preparation for Christmas and what a magical time of Year it is.
The children sure look forward to the beginning of December as they have a very important box to open for 25 days.
So why not come join me in making this project for your cards.
• Silhouette Glitter Vinyl
• Silhouette Metallic Vinyl
• White Card
• Patterned Paper
• Glue
• Ribbon

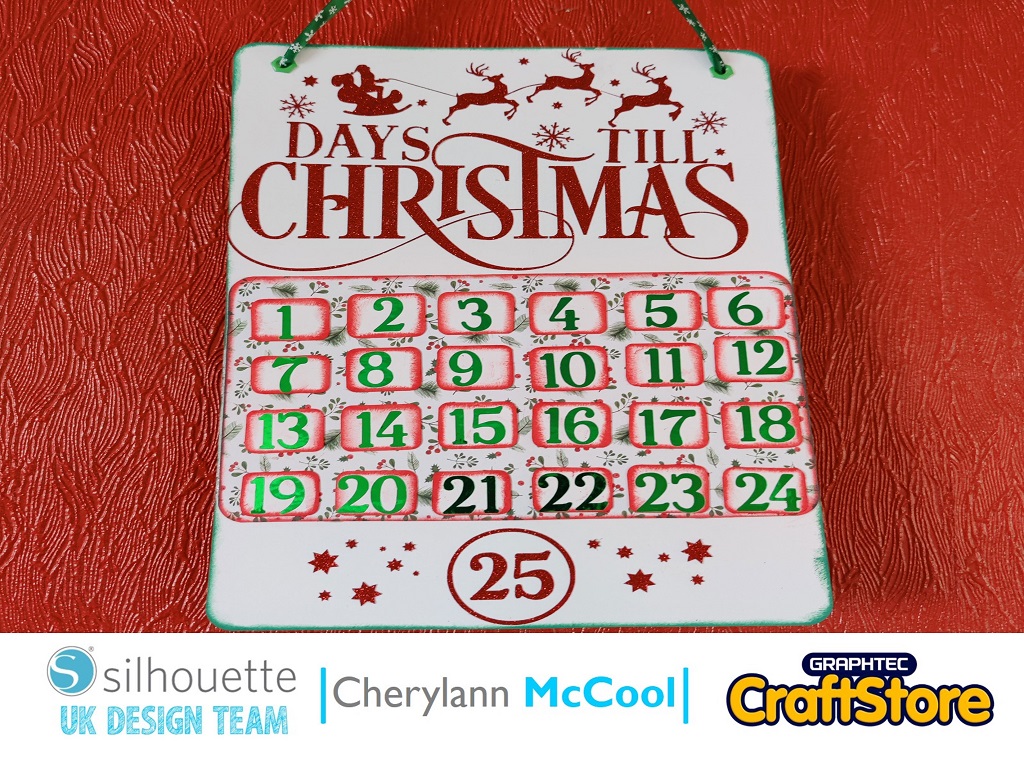
In your software open your Days Till Christmas Countdown file in the design space.
You want to make sure you pick A4 mat.
Now you need to ungroup the pieces so you can do them in different colours.
So right click on your image and choose ungroup then hit enter and you should now be able to move the different sections.


Now you want to move the numbers out to the side and then move the stars with 25 up closer to the top and then hit send to cut and choose Vinyl, glitter.
Now you want to follow the same steps above but now you are wanting to send the numbers to cut and choose Vinyl, Metallic.


Now u want to weed away the excess vinyl with the hook tool for all the pieces then you want to put transfer paper over the three pieces and remove the backing and lay the red glitter vinyl pieces on the white card base.
Now, you want to transfer the metallic numbers onto a separate piece of cardstock.
Then cut the numbers into even pieces and then ink around the edges with distress ink.


Now measure the white space between the red glitter pieces and then cut a piece of Christmas design paper to fit that size and ink the edges then glue onto the white card.
Now glue the numbers onto this piece of paper and then punch two holes at the top of the countdown and thread ribbon through and tie in a knot and the Countdown is Complete.
I absolutely loved making this Advent Calendar!
I hope you will enjoy making them as much as I have.
I will be back soon with another project that the kids will love.
Bye! x
– Cherylann McCool xx –