Window Cling Photo Frame | Karen Moss | Silhouette UK Blog
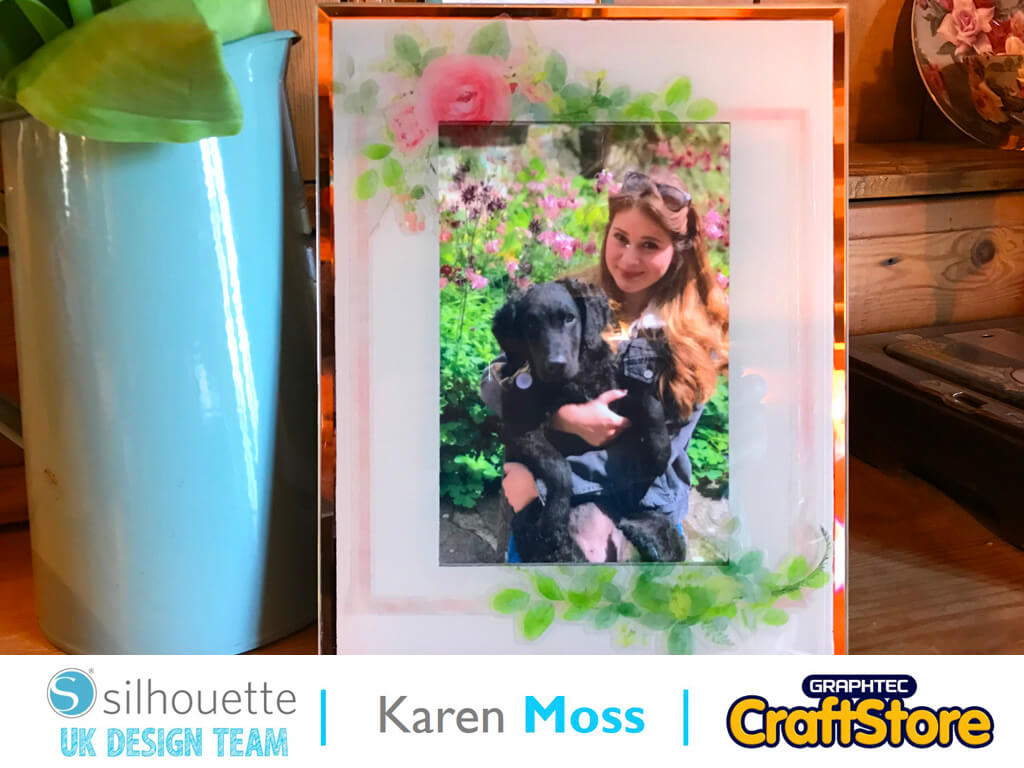
Window Cling Photo Frame | Karen Moss | Silhouette UK BlogWindow Cling Photo Frame | Silhouette Window Cling This week we are using Window Cling for our projects and I…
PLEASE NOTE THAT THE OFFICE WILL BE CLOSED FROM 12PM FRIDAY 20TH DECEMBER 2024 AND WILL RE-OPEN ON THURSDAY 2ND JANUARY 2025
ORDERS FOR DELIVERY PRIOR TO CHRISTMAS WILL NEED TO BE SUBMITTED BY 2.30PM ON THURSDAY 19THDECEMBER 2024.
ORDERS RECEIVED AFTER THIS TIME AND DATE WILL BE DESPATCHED ON THURSDAY 2ND JANUARY 2025.
Merry Christmas & A Happy New Year to all our customers. Thank you for your continued support.
Hey Everyone! Jordy back at it again with another blog post.
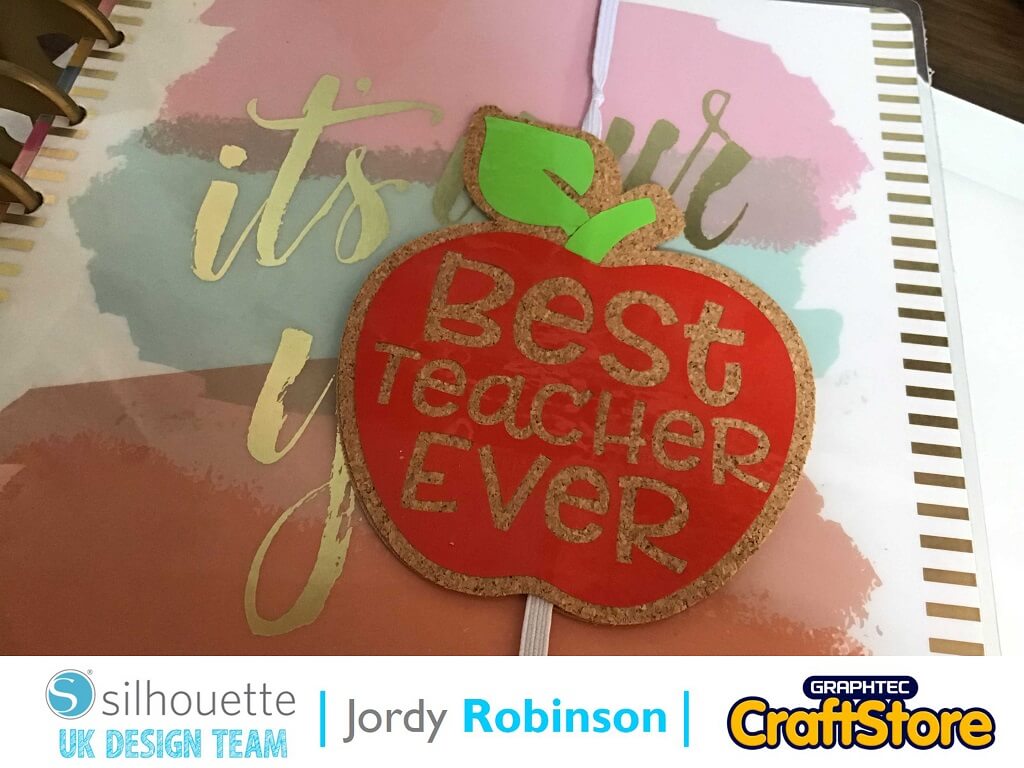
Today’s project uses Silhouette Cork Sheets to make a super cute teacher gift for planners, but you can also use the concept to make planner/notebook bands for yourself with any theme.
It’s a super easy and a fun project you can make for any occasion.
Because it’s almost summer holidays, it’s time to start thinking of teacher gifts. And what’s better than a planner band? In case you aren’t all major planner nerds like me, a planner band just holds your planner together when it starts to get super bulky – it also works for notebooks!
Because it’s a teacher gift, I opted to use the “Best Teacher Ever” apple design from the Silhouette Design Store. (ID: 265934). I opened the design up in Silhouette Studio.
I added an offset around the apple, and then dragged the design away from the offset so they are separate.
As I am working with 2 vinyl colours, I selected the apple design and ungrouped it. This way I can cut two different colours.
We also need to cut 2 lots of cork sheets, so make sure you duplicate the offset, and then select “Flip Horizontally”. Now we can prepare to cut the cork!
I am rubbish at lining up my designs when it comes to using small sized materials – if it isn’t A4, I am useless. So what I do is create a box which is the same size of the product, then line it up with the mat on the screen. It seems to work for me! Once I worked out the sizes, I loaded the material into my Portrait 2 and sent the design to cut.
I will say one thing about cork sheets – I didn’t think it was cutting! I couldn’t see the cut line at all. But trust me, the machine knows what its doing.
Once the first apple is cut, you need to cut the second flipped one!
I opted to use heat transfer vinyl for my project, I’m not sure why but I felt like it. When you cut HTV, you want to ensure the design is mirrored.
Then, I cut out both the red apple portion and the green leaf portion on vinyl, then used transfer tape to layer it onto the apple.
Tip: I used a light pad when weeding the vinyl as it makes it a bit easier to see the lines.
Now it’s time to put it together. I used some generic elastic to make the band. To make sure it was a tight fit, I wrapped the elastic around the planner and then cut it with some scissors. I then peeled the backing off the cork sheets, and wedged the elastic between the two sizes of the apple.
Once I had done that, it was time to adhere the vinyl. I used my heat press to heat the vinyl onto the cork sheets. Each heat press is different, along with different types of HTV so you need to find your perfect settings. You could always do a test with off cuts!
With the design all put together, it was time to place it on the planner and see how amazing it looked!
I hope you all loved this project. I have to admit, I kind of wish I was a teacher (or knew a teacher) I could gift this too – I am totally going to be making more of these, maybe some seasonal ones to decorate my planner with! How cute would a glittery pumpkin planner band look?
I think this is one of those projects you could do with tons of materials, so defiantly have a play and find out what works best for you! I can’t wait to see you in the next blog, it’s going to a super fun project for Christmas in July!
Until next time…..
– Xo Jordy –
• Design Used: Best Teacher Ever
Design Store Artist: Lori Whitlock
Design Store ID: 265934 > Download