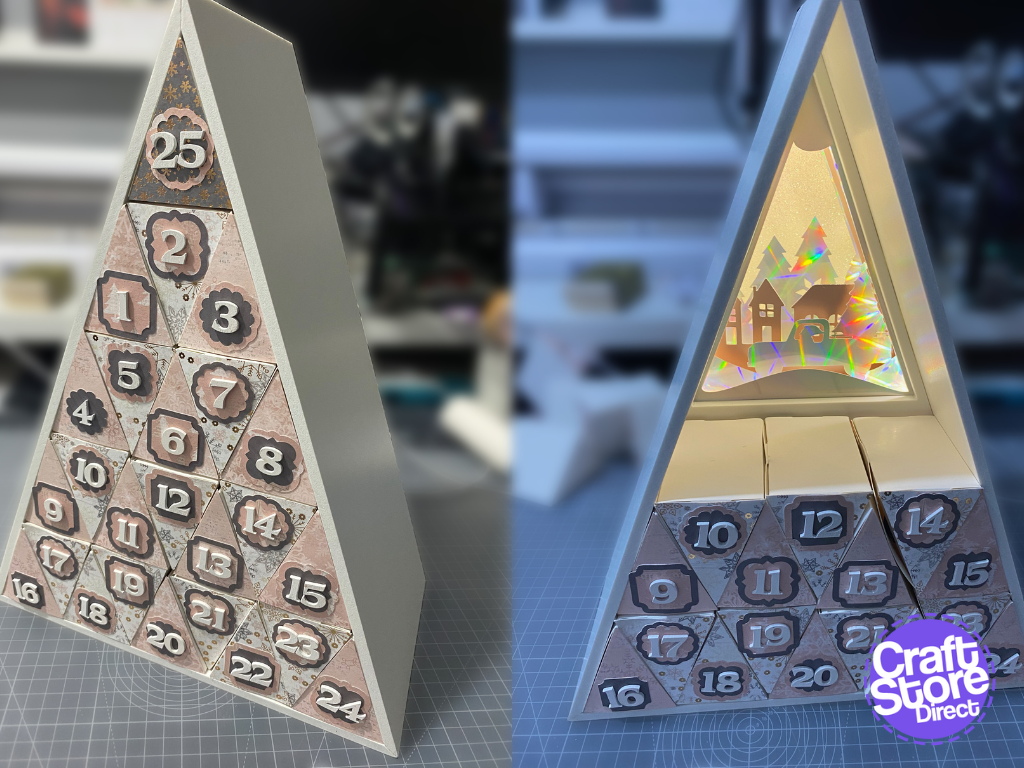
Make Your Own Advent Calendar With The Silhouette Advent Calendar Kit
The Countdown To Christmas is on… This week is Advent Calendar Week, so I went for a romantic twist. This time, the calendar is filled with reasons why the receiver…
PLEASE NOTE THAT THE OFFICE WILL BE CLOSED FROM 12PM FRIDAY 20TH DECEMBER 2024 AND WILL RE-OPEN ON THURSDAY 2ND JANUARY 2025
ORDERS FOR DELIVERY PRIOR TO CHRISTMAS WILL NEED TO BE SUBMITTED BY 2.30PM ON THURSDAY 19THDECEMBER 2024.
ORDERS RECEIVED AFTER THIS TIME AND DATE WILL BE DESPATCHED ON THURSDAY 2ND JANUARY 2025.
Merry Christmas & A Happy New Year to all our customers. Thank you for your continued support.
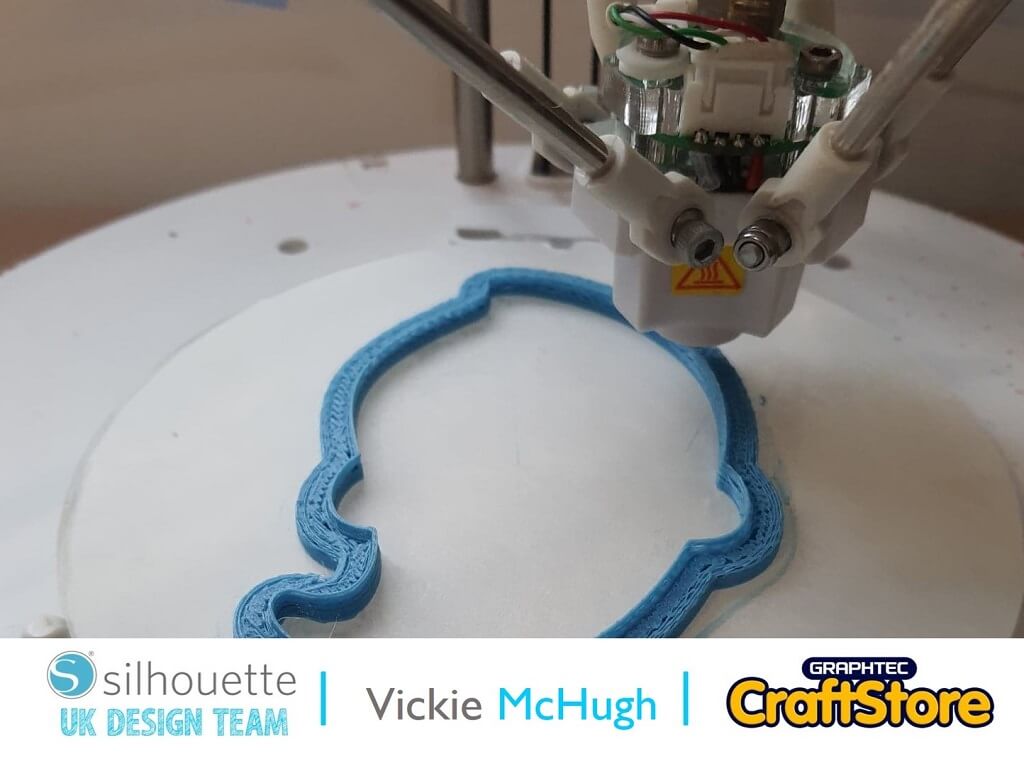

Hi there, I’m Vickie McHugh and this is my first official blog post for the Silhouette UK Design Team.
I am really excited to show you how to make a ghost cookie cutter ready for Halloween.
A decorated spooky ghost cookie would be a great addition if you are entertaining or a great little treat for the trick n treaters.
I have used the Silhouette Studio and 3D software, CookieCad, my Alta 3D printer and Filament to make and design the 3D printed cutter.

First of all, you need a simple image of a ghost.
This is where Google is your best friend.
To find the perfect ghost image, try searching for a black and white image with hard black lines.
This makes it easier down the line to trace in Silhouette Studio.
I have just Googled “Cute Ghost Clip Art”.
Once it’s saved, import it into Silhouette Studio by using File – Merge.
Now use the trace function and select the area that you want to use as the cutting edge of your cookie cutter. Then click – Trace outer edge. The original image can then be deleted.
** If there is an incomplete trace, use the high pass to make sure everything will be traced.


Using the line style, change the lines to black and make the thickness 2.
Once the outline has been created and the lines have been changed to black, use the Windows Snipping Tool to save the image as a Jpeg.


We are now going to turn our Jpeg file into a 3D STL print file by using a website called CookieCad (link is at the bottom) drag your file into the website and select free download and the size of the cutter you would like to create.
I will be making a 4” tall cutter, so I am changing the longest side to 4”.
Then download STL, which can be found at the bottom of the page.
Once you open up the Silhouette 3D Studio software and your machine is turned on, it will show that your printer is connected to your computer.
You can then load the filament into the machine by clicking on the Load Filament.
Follow the instructions on the screen and the print head will heat up and the machine will pull the filament down ready to begin printing.


We are now going to turn our Jpeg file into a 3D STL print file by using a website called CookieCad drag your file into the website and select free download and the size of the cutter you would like to create.
I will be making a 4” tall cutter, so I am changing the longest side to 4”.
Then download STL, which can be found at the bottom of the page.
The 3D software will then “slice” the file and prepare it to print.
It will tell you how long the print will take, now much filament will be used and if you click on the play button, it will show you a step by step on how it will print the cutter layer by later
Click Print
Your cutter will then starting printing.


Here is my final ghost cookie and my finished decorated cookie.
I hope you have loved reading my very first blog and now feel confident in turning a simple google file into the perfect cookie cutter. I really love creating them and this cute ghost will be added to my collection.
– Vickie McHugh –