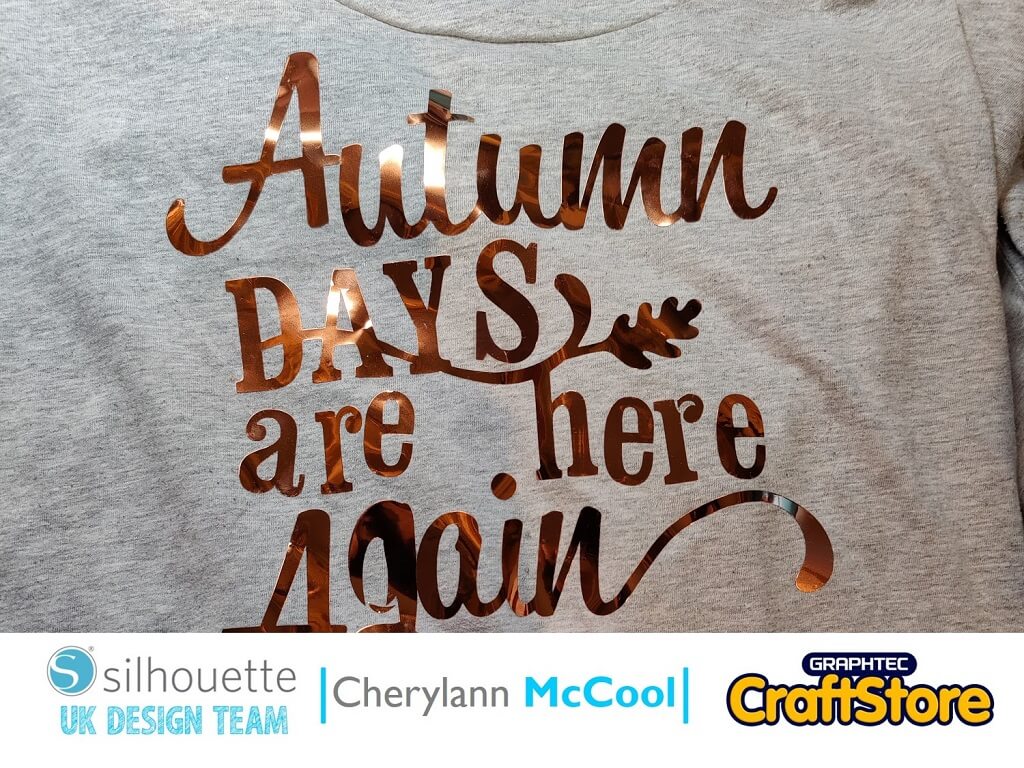
Autumn HTV T-Shirt | Cherylann McCool | Silhouette UK Blog
Autumn HTV T-Shirt | Cherylann McCool | Silhouette UK BlogAutumn HTV T-Shirt Hi it’s Cheryl here again. Well, after my spooky lantern from last week I wondered what would be…
PLEASE NOTE THAT THE OFFICE WILL BE CLOSED FROM 12PM FRIDAY 20TH DECEMBER 2024 AND WILL RE-OPEN ON THURSDAY 2ND JANUARY 2025
ORDERS FOR DELIVERY PRIOR TO CHRISTMAS WILL NEED TO BE SUBMITTED BY 2.30PM ON THURSDAY 19THDECEMBER 2024.
ORDERS RECEIVED AFTER THIS TIME AND DATE WILL BE DESPATCHED ON THURSDAY 2ND JANUARY 2025.
Merry Christmas & A Happy New Year to all our customers. Thank you for your continued support.
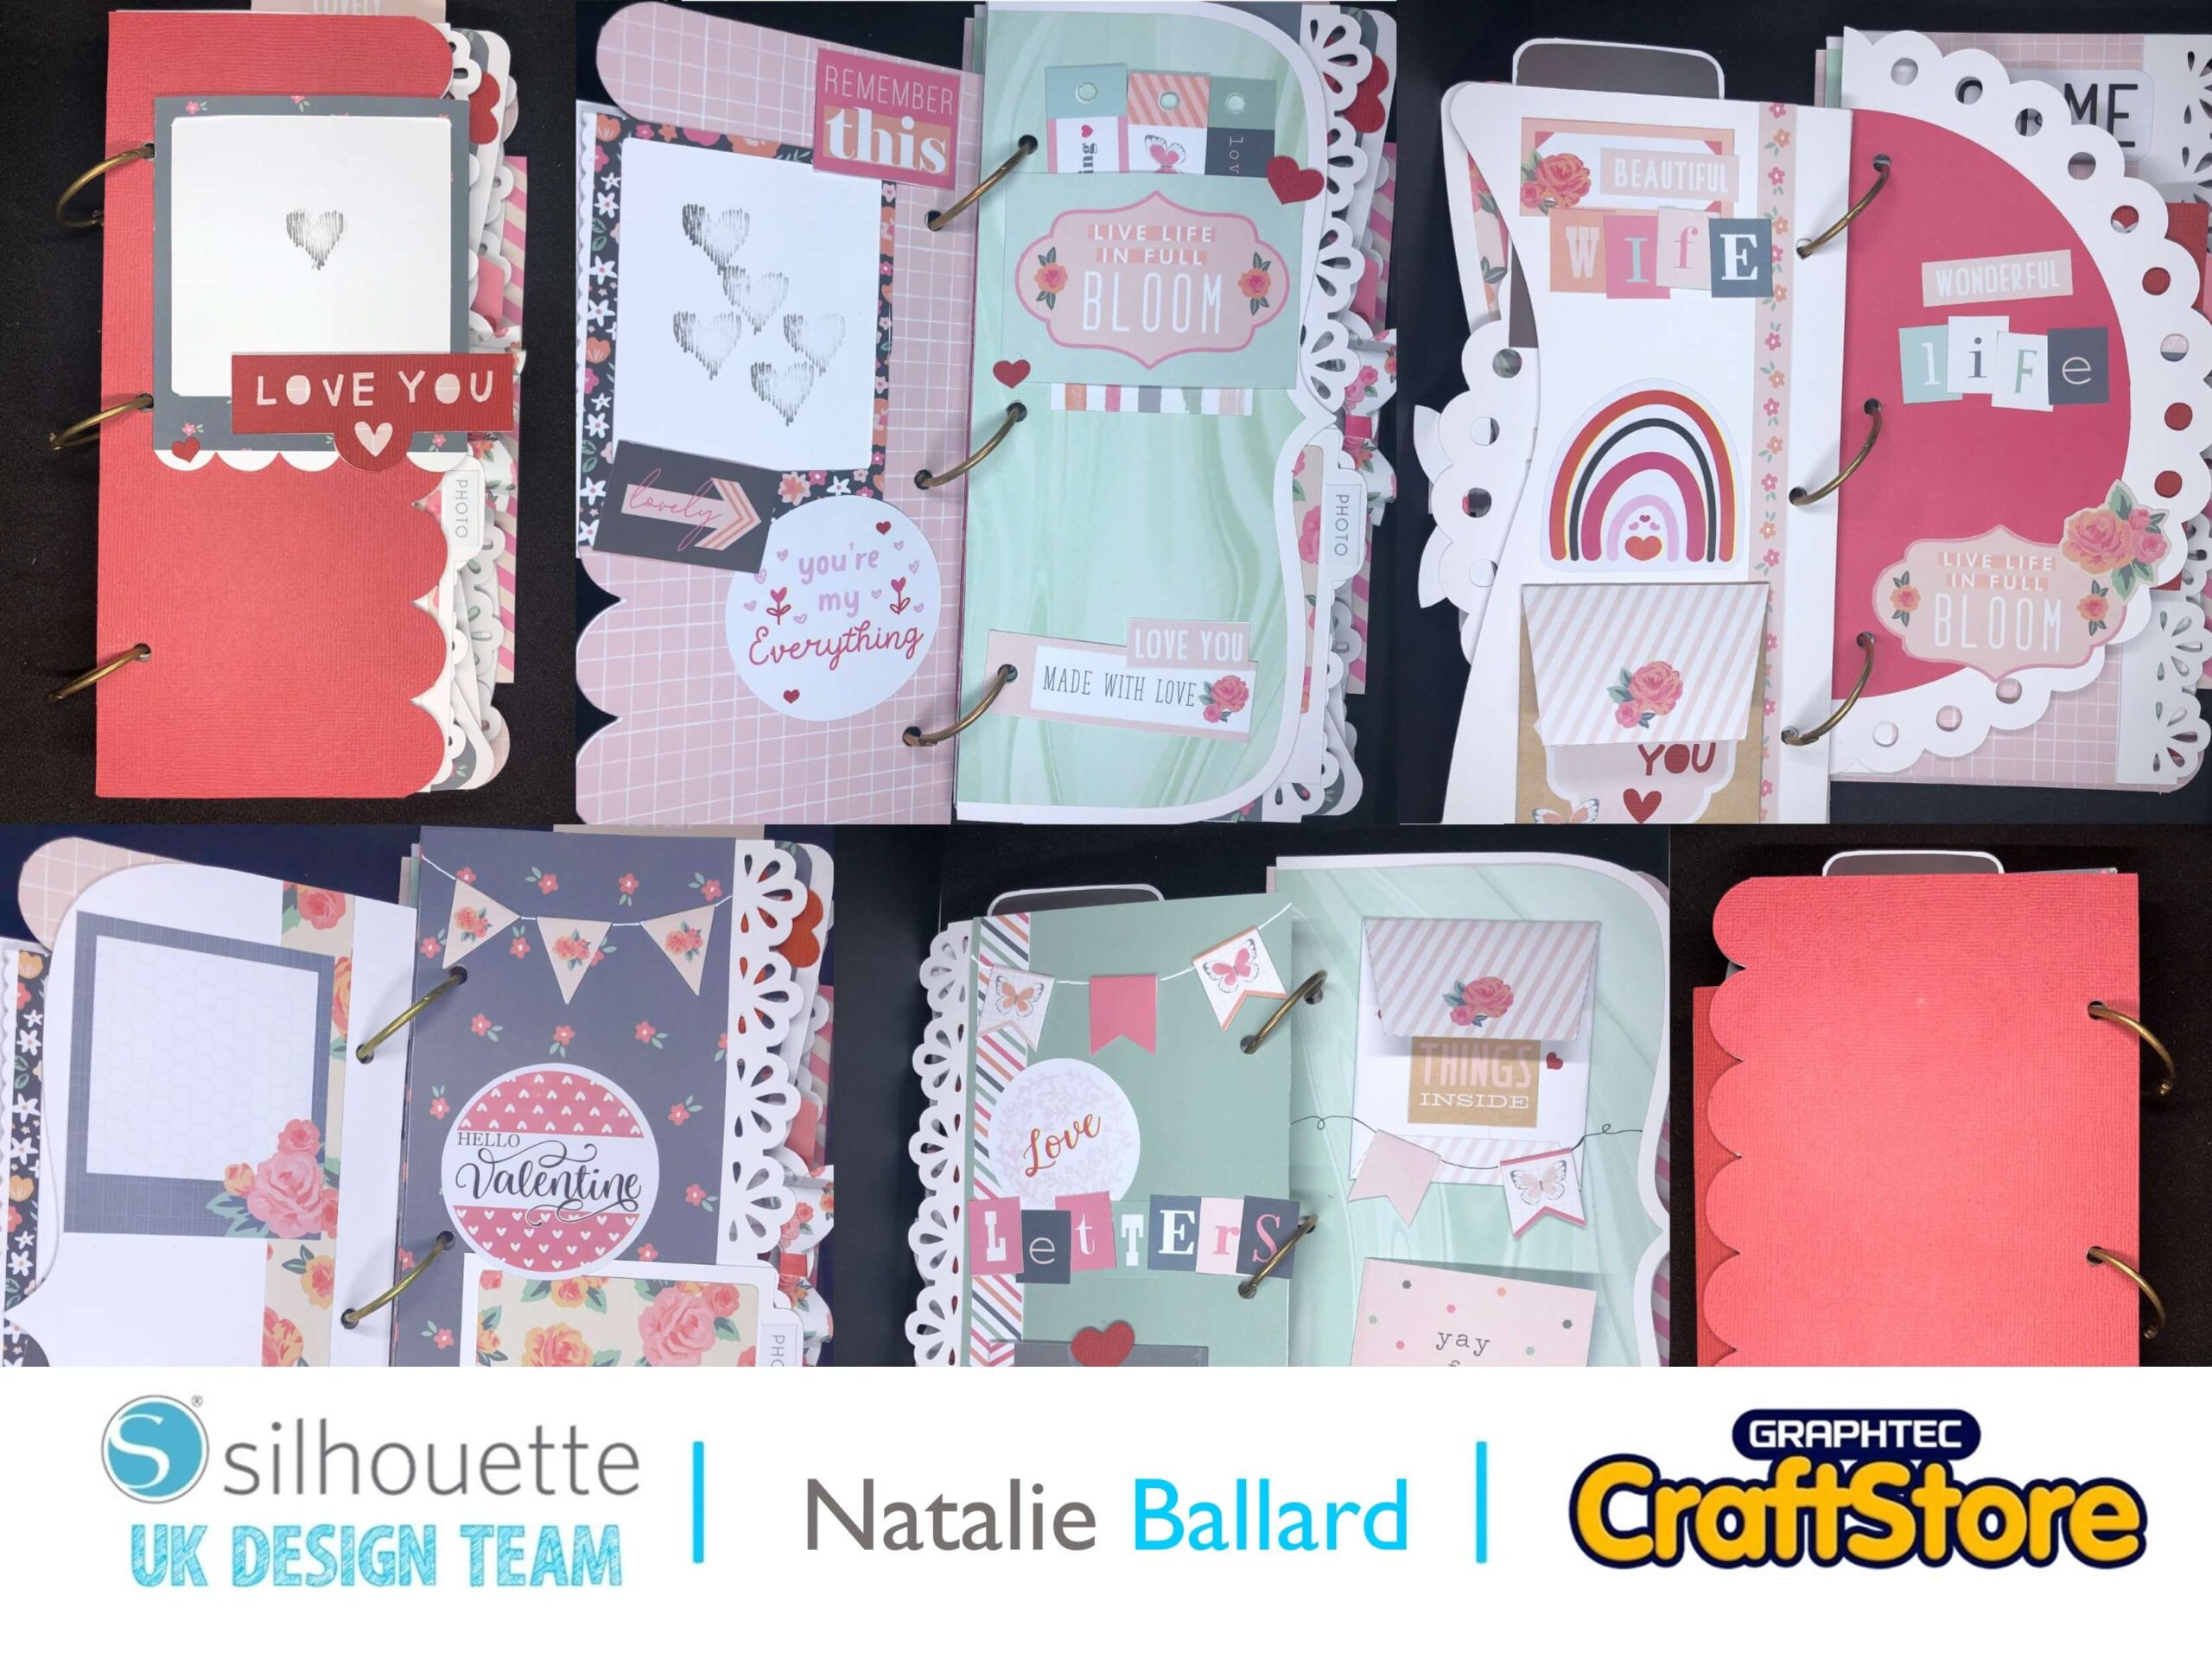

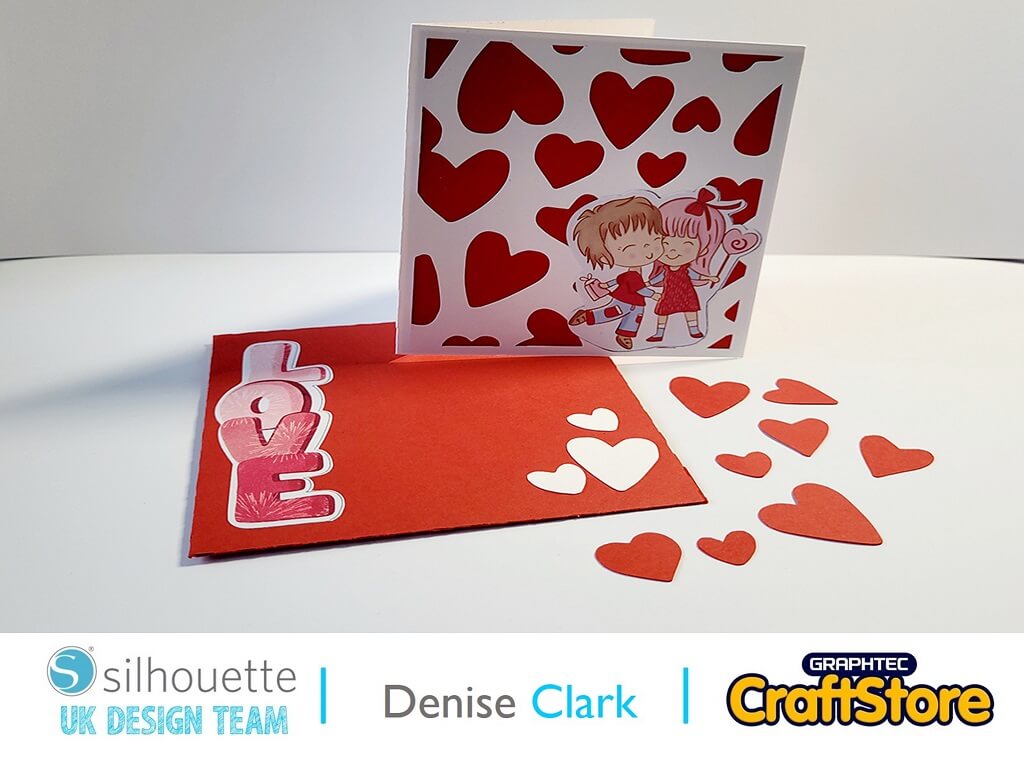
Valentine’s can be a time of extra-special memories, so don’t let them fade away. Whether you make this for yourself or your significant other, it will warm your hearts for years to come.

Firstly, add the Traveller’s Notebook designs to your mat.
I didn’t resize the pages, but I did ungroup them and assign them each a layer so I could cut them one at a time.
I cut these from 580gsm (scallop edge square) and 300gsm (all others) white cardstock.
Trim all of these pages in half vertically and use a Crop-a-dile or heavy duty hole punch to punch three binding holes.
Bind the pages together using rings and shuffle them to add interest to the open edge.
There are a few ways we can use the adhesive textured card and patterned papers to create backgrounds.
Simple – cut another page shape from your decorative material for edge-to-edge coverage.
Offset – select the page shape you want to create a background for. Use an internal offset to reveal a border around the edge.
Nodes – each shape is made up of points called nodes that tell the blade when and where to turn. We can select the nodes on the binding edge and move them inwards to get a border on the outer most edge.
As you are using adhesive cardstock, you want to half cut the card same as if you are cutting vinyl.


Using the two card designs to create flaps for your album pages.
I cut mine using more of the textured adhesive cardstock and then mounting them onto patterned paper.
This means the pattern is revealed through the heart shape apertures in the card designs.
Into these card pieces, cut a slit into which you can insert a hinge piece.
Use the remaining designs to create a print and cut sheet of stickers. I scaled down all the designs to a size suitable for the album and added registration marks.
I then printed the sheet onto the printable sticker paper. I used a laser printer but you can use an inkjet one if that’s what you have.
I then added the outer cut lines into a new layer (or use a different line colour) using basic shapes.


I applied all the background pieces to the pages and bound them together using rings (but you could use ribbons, cords or even a disc system instead).
Next, work through each layout adding photo mats, envelopes and tags.
Decorate with decorative borders, photo frames, titles and more.
Here, I used the Lovely Days paper collection and project book by Paper Boutique.

This project makes a perfect gift, and I will be adding a travel journal/scrapbook to go with it. Join me next time to see a Valentine’s theme version of the journal project.
– Natalie Ballard –
Designs Used:
Traveler’s Notebook: 208691
You’re my everything: 395446
You & Me: 379161
Heart Card: 54981
Heart Card 7405
Love hearts: 395443
Hello Valentine: 392080
Love circle: 395447
Love you embellishment: 395444
You stole my heart: 366128
You are so loved: 395445
I Love You: 381931
Happy Valentines Day: 392081