Thanksgiving T-Shirts | Silhouette Heat Transfer Material
Hi everyone, Helen here today.
For the last few years we have celebrated Thanksgiving as an extended family.
It all started when my niece was learning about American Culture at school and now we have adopted it as part of our yearly family celebrations.
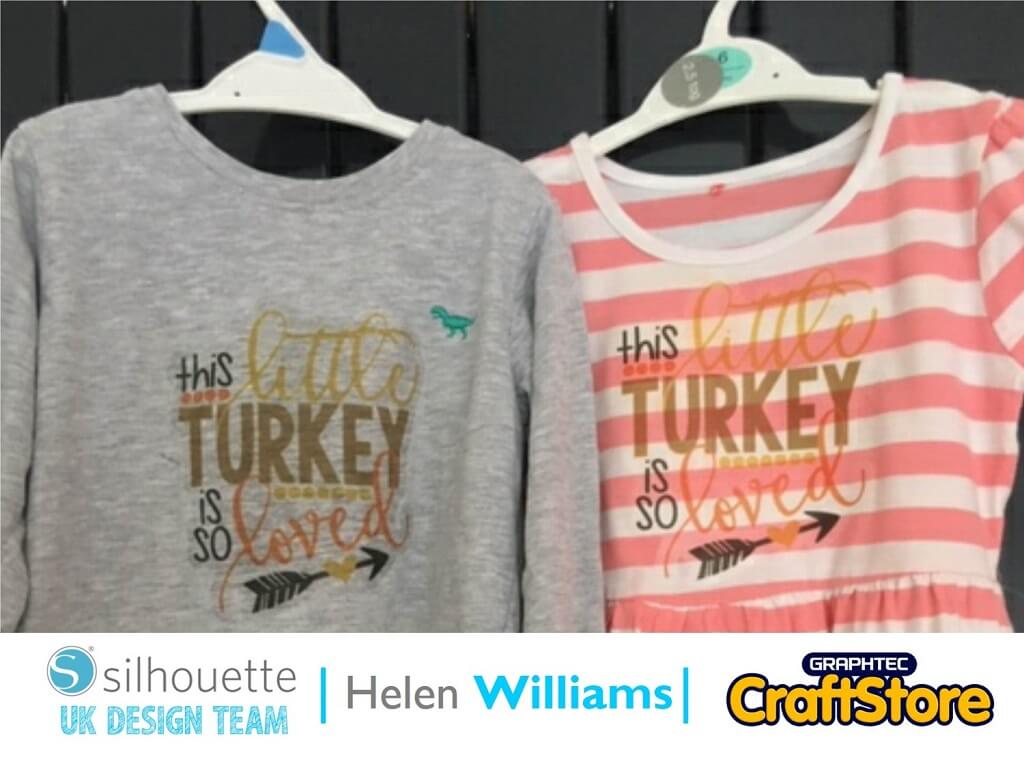
For this year I have made these super cute Thanksgiving t-shirts for my two little ones. Here is how I did it.
I chose this super cute Thanksgiving design for the shirts. When you open it in Silhouette Studio the file is colourless. So you will need to select each element and open the fill panel to add colour to the design. Once you are happy with the design mirror the image using mirror tool on the replicate panel.
You will need to put a boarder around the design so that you can cut it out. To do this highlight the whole design and use the external offset tool. I used an offset of 0.4mm all the way around the edge. I then deleted any little pieces inside the new shape so that it would cut out all in one piece.
To do this I first resized the canvas size to the size of the HTV using the page set up panel. Type in the measurements of the paper. You will then need to go to the registration marks tab and add registration marks to the size of canvas. This means that you will be able to cut the shapes out once you have printed them.
Once you are happy with this load the HTV in the printer so that the printed image is on the blank side of the page. Print the image when ready. I was very happy with the way the colour came out on the HTV and it had a good print quality.
Once you have printed on the HTV load it onto your carrier sheet and into the Silhouette machine.
In Silhouette Studio go to the ‘Send’ menu. Select ‘Vinyl Printable’ from the drop down menu. Press send. The machine will then find the registration marks and cut the glitter paper.
The HTV was very easy to iron onto the clothes. First lay the HTV, design side down, onto the garment. Then apply a hot iron onto it for two minutes on the cotton setting. My iron didn’t have a cotton setting so I just used a medium heat.
After you have pressed the design for two minutes leave to cool for thirty seconds before peeling off the backing paper.
I tried the design on both a plane t-shirt and a stripy one. I liked the design on both materials. It is worth keeping in mind when you select your fabric that the HTV is transparent when applied.
(Make Sure You Scroll To The Right For Both Images)
I love these shirts and I’m really looking forward to them wearing them on Thanksgiving.
If you too are planning some Thanksgiving projects comment below on what you are going to make!
– Helen Williams –

