Personalised Photo Frame | Vickie McHugh | Silhouette UK Blog
Personalised “First Dance” Photo Frame
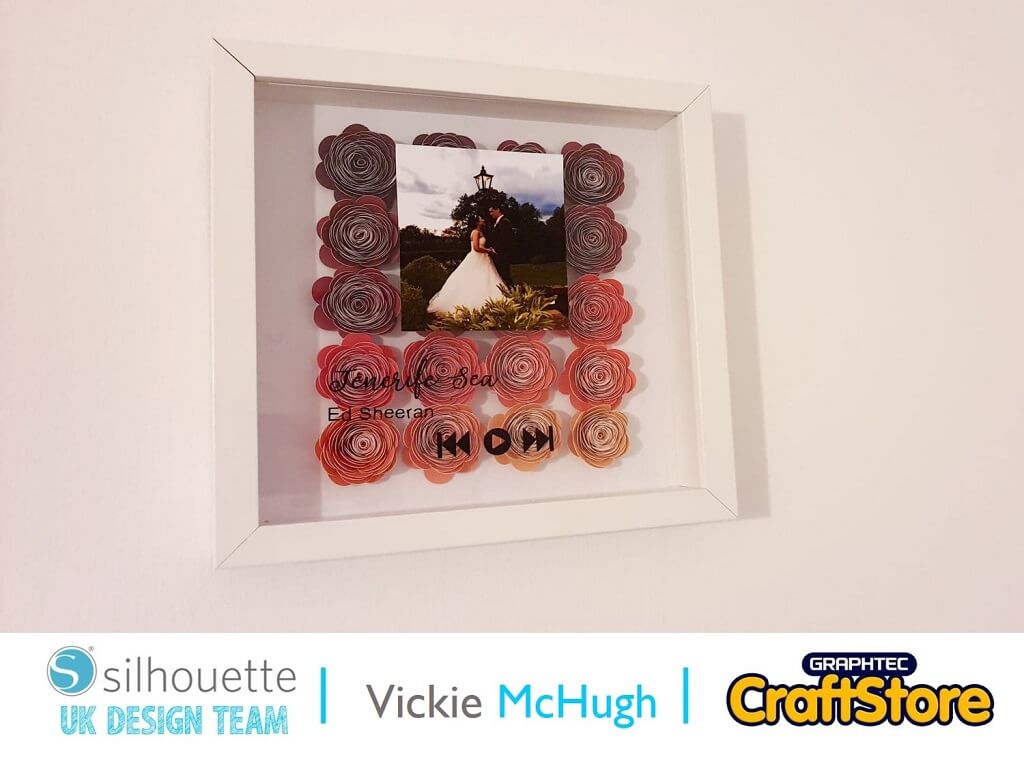
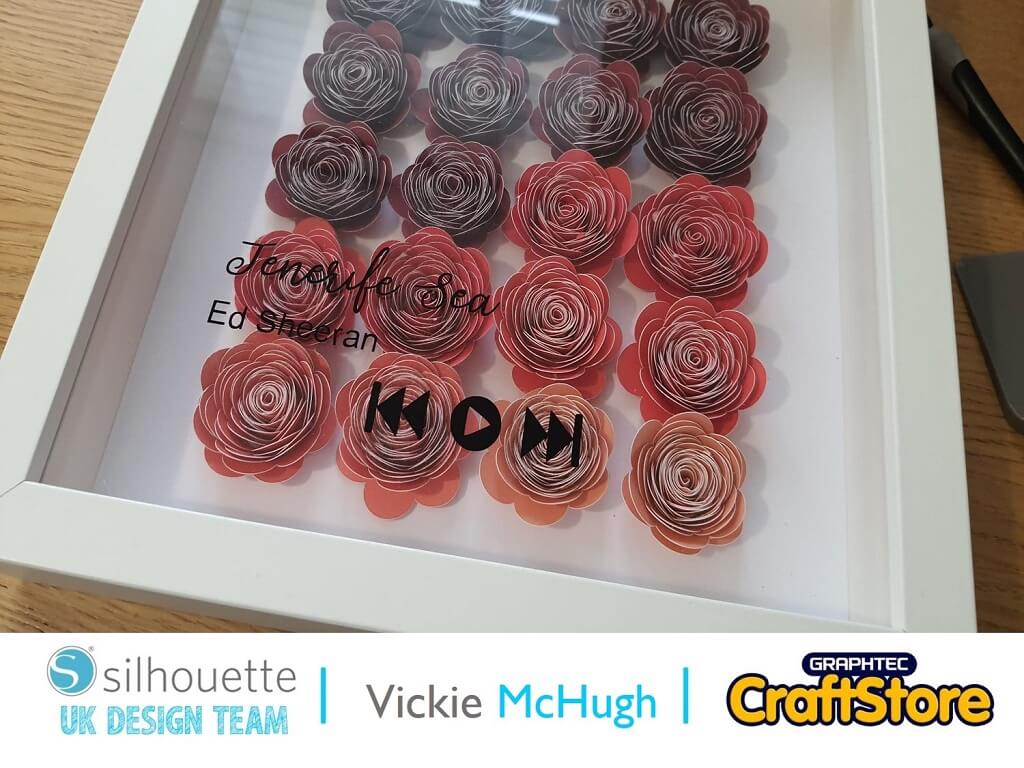
As we continue into the wedding season, this blog shows you how to make a “First Dance” floral frame.
Items I Used
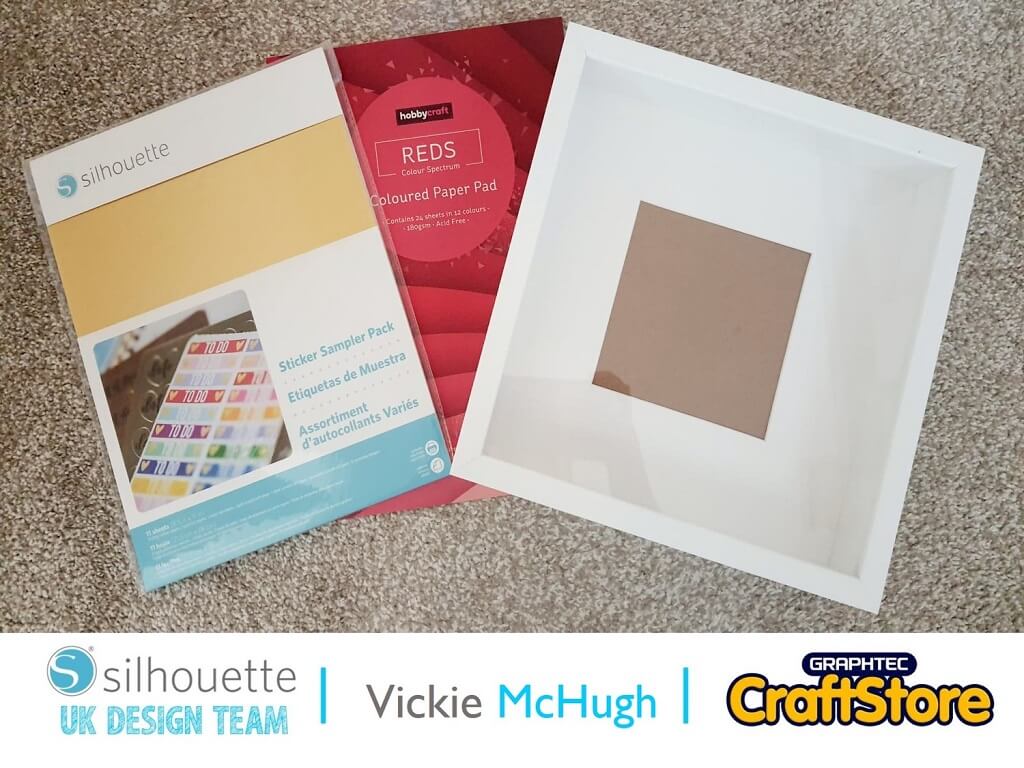
• Large Box Frame From Ikea
• Red Card 180gsm Card Stock From Hobby Craft
• Silhouette Portrait 3
• 8.5 x 12″ Cutting Mat
• Silhouette Sticker Sampler Pack
• Plain White Card
• Vinyl
• Transfer Tape
Selecting The Design
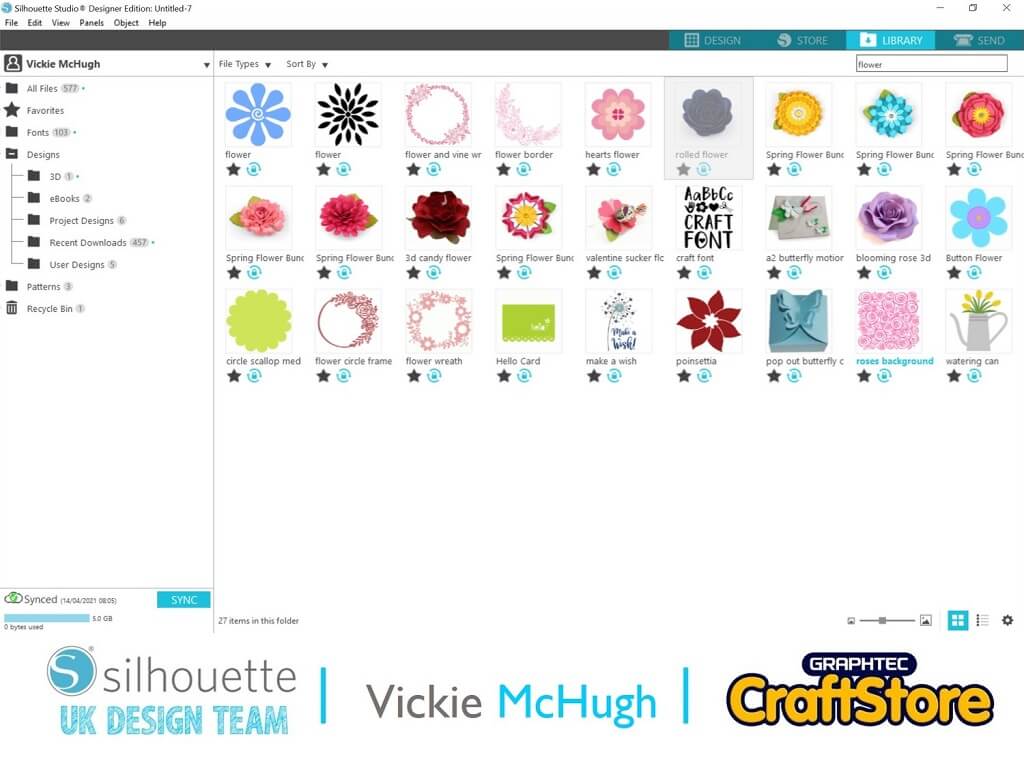
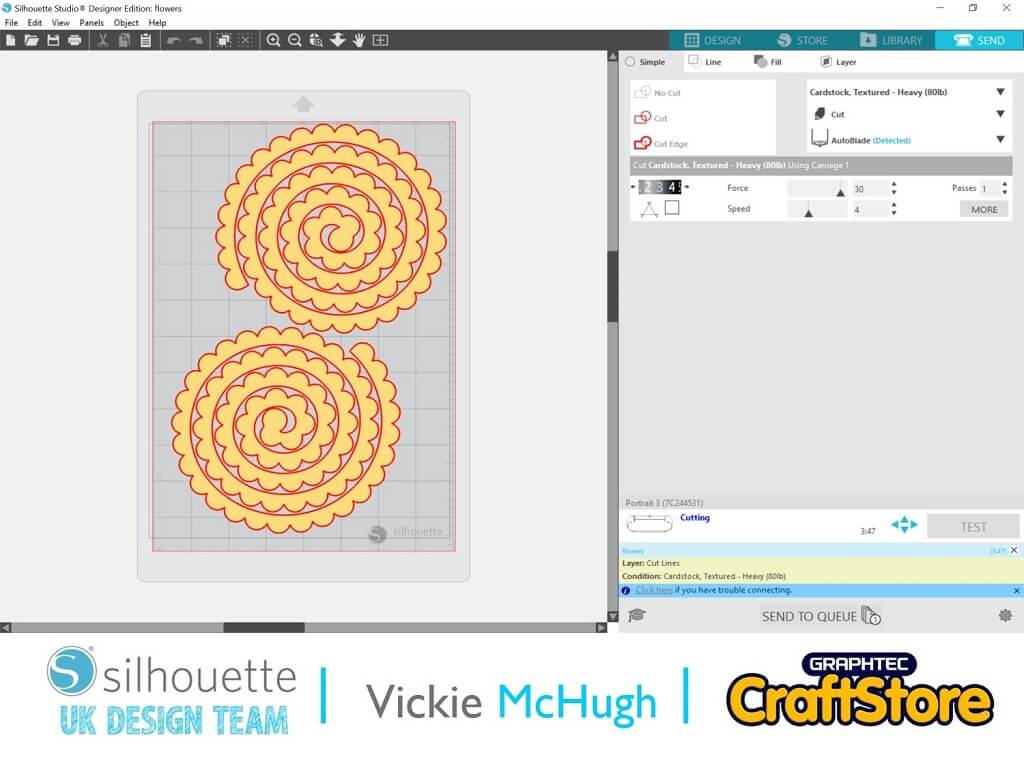
Having looked in the Silhouette design store, there are some beautiful flower designs but I have decided to go for the Rolled Flower (design code below).
Once it is purchased it can be pulled into Silhouette studio from the library by double clicking on the file.
Setting The Size Of The Flowers
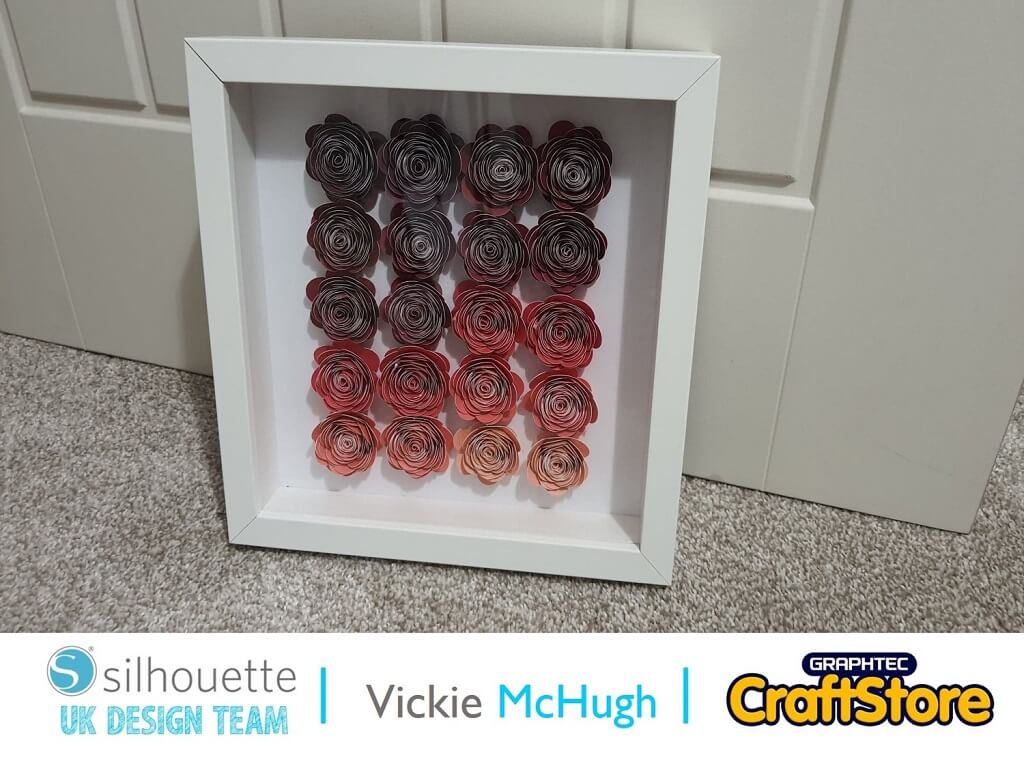
The frame I am using is a Ribba frame from Ikea measuring 23x23cm.
For this size of frame you need approx. 20 roses.
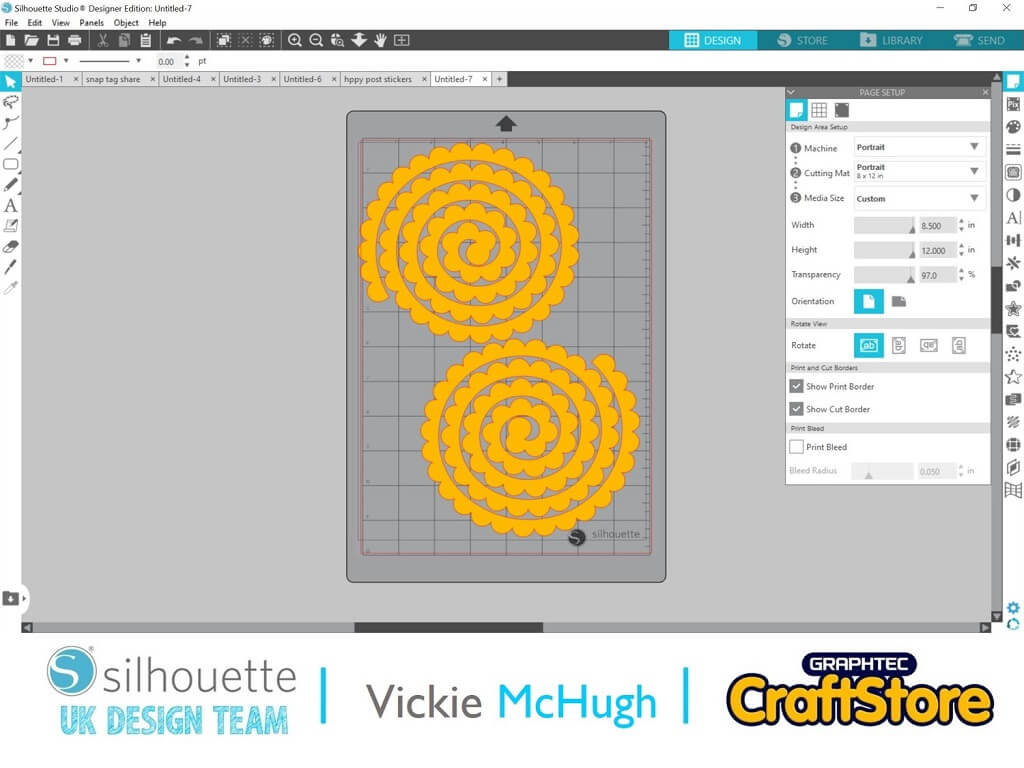
Within Sihouette studio each flower would need to be around 6” each meaning I will be able to cut 2 flowers per A4 sheet of card.
Cutting Out The Flowers
I picked up a great pad of different tones of red from Hobby Craft which I am using.
Click on Send in design studio. Change the cut settings, mine are:
Material: Cardstock Textured, heavy (80lb)
Blade: Auto-blade
Click Send.
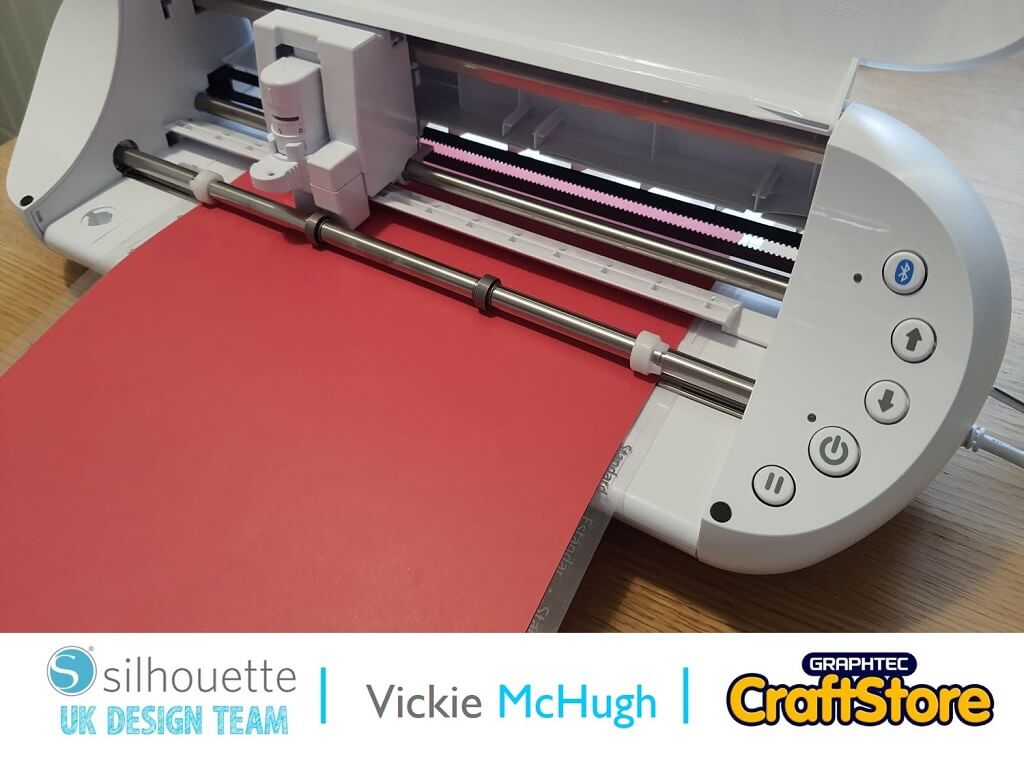
The Portrait will then cut out the flower.
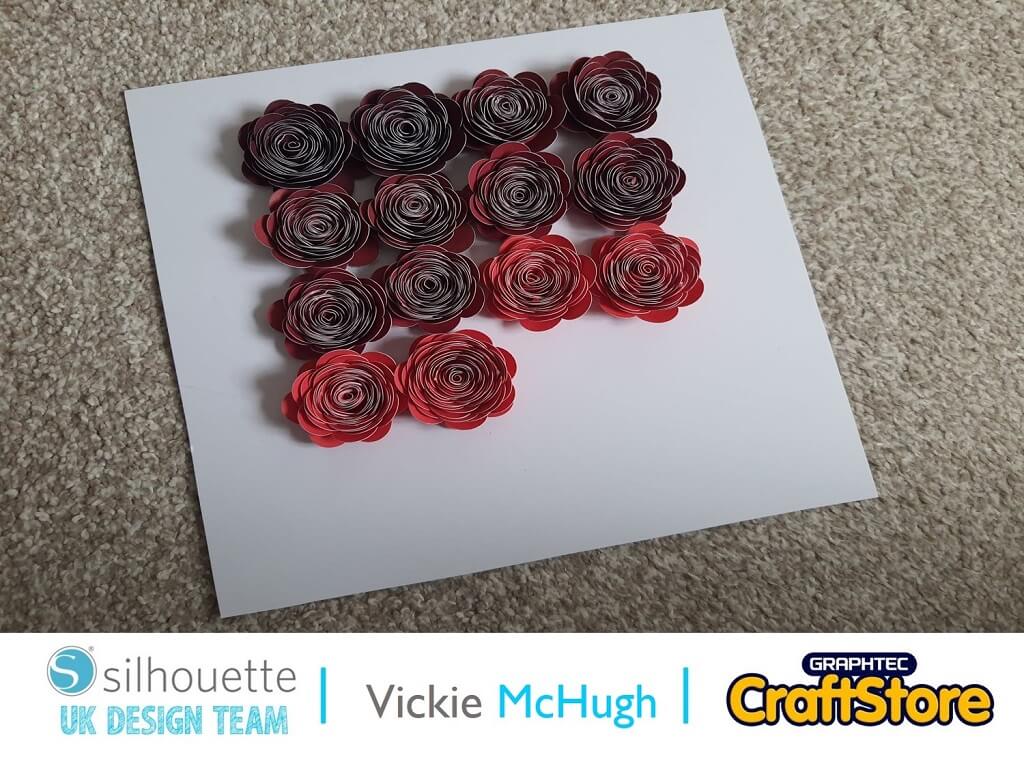
I have repeated this 20 times in different shades of red card.
Rolling The Flowers
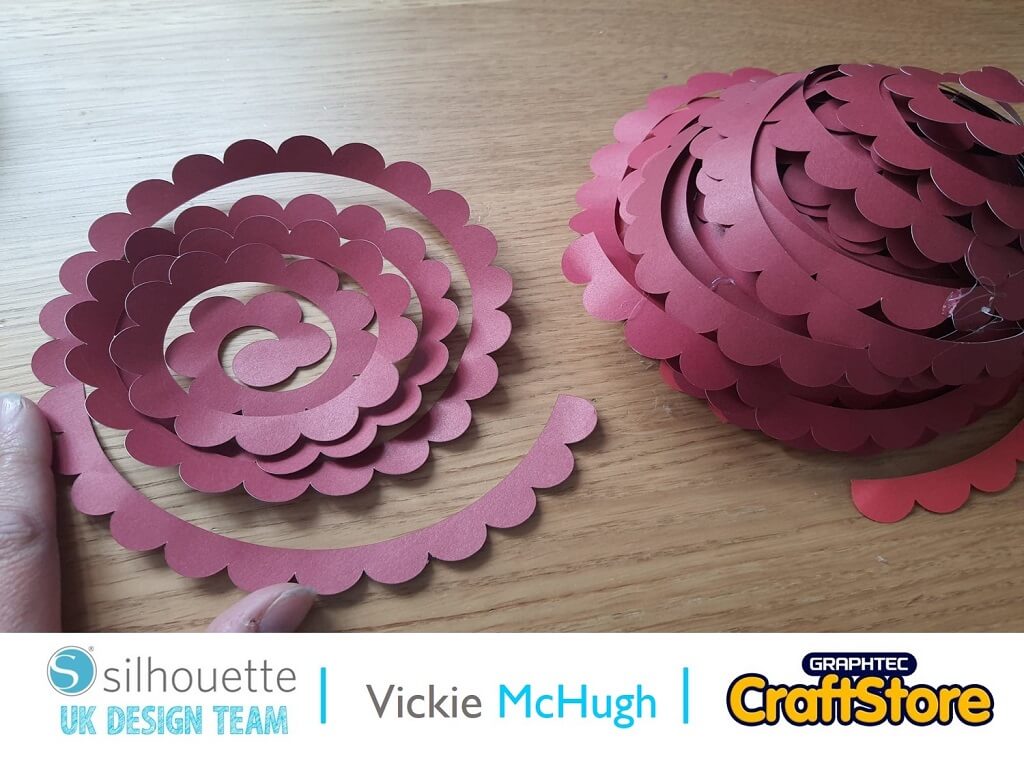
Remove the cut flowers from the mat, hold the end of the spiral with a pair of tweezers.
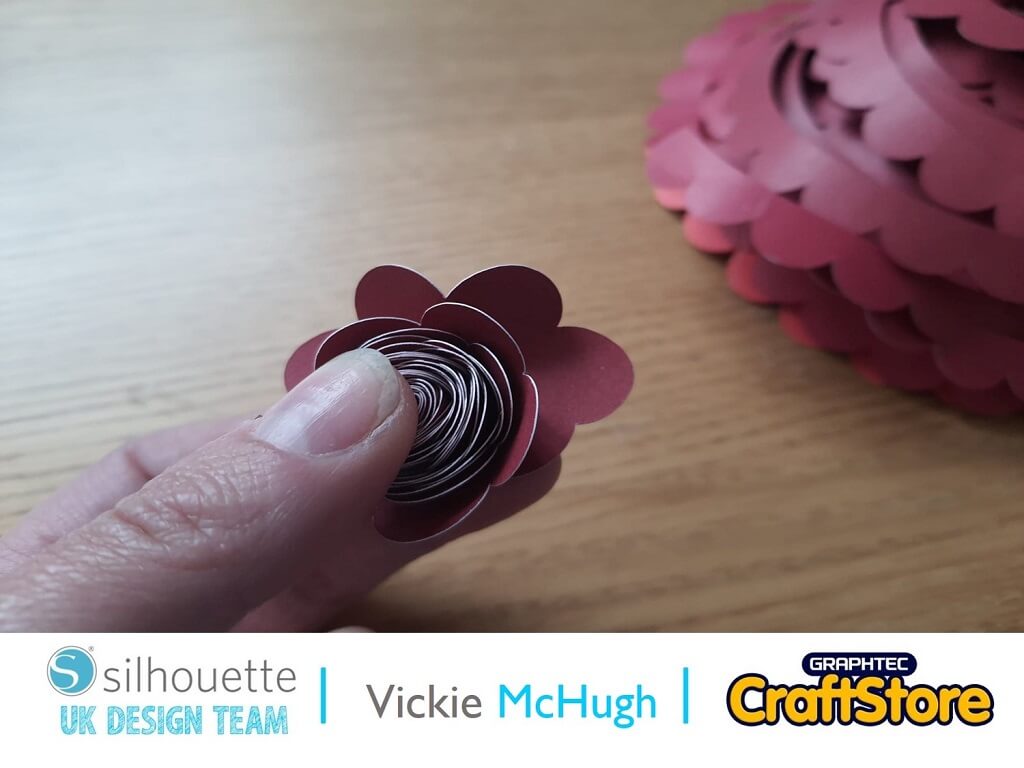
Wrap the paper spiral around the tweezers until you have it all coiled around.
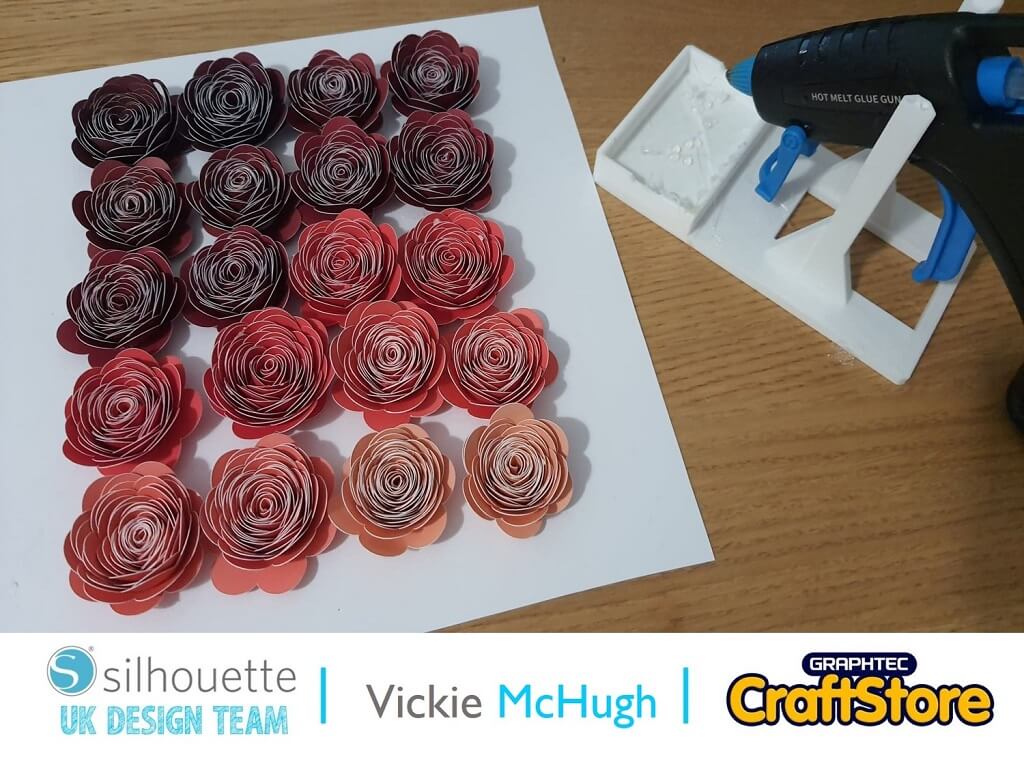
Let the flower go a little so it will uncoil slightly, then apply hot glue to the center of the flower and press the spiral down on to the hot glue.
Lay them out on your card and secure with hot glue.
Place the card with flowers into the frame.
Creating The Top Layer
Roughly measure the frame and work out how big you would like each section.
I am using a photograph from our wedding day, then the name of our song and finally a fast forward and play button.
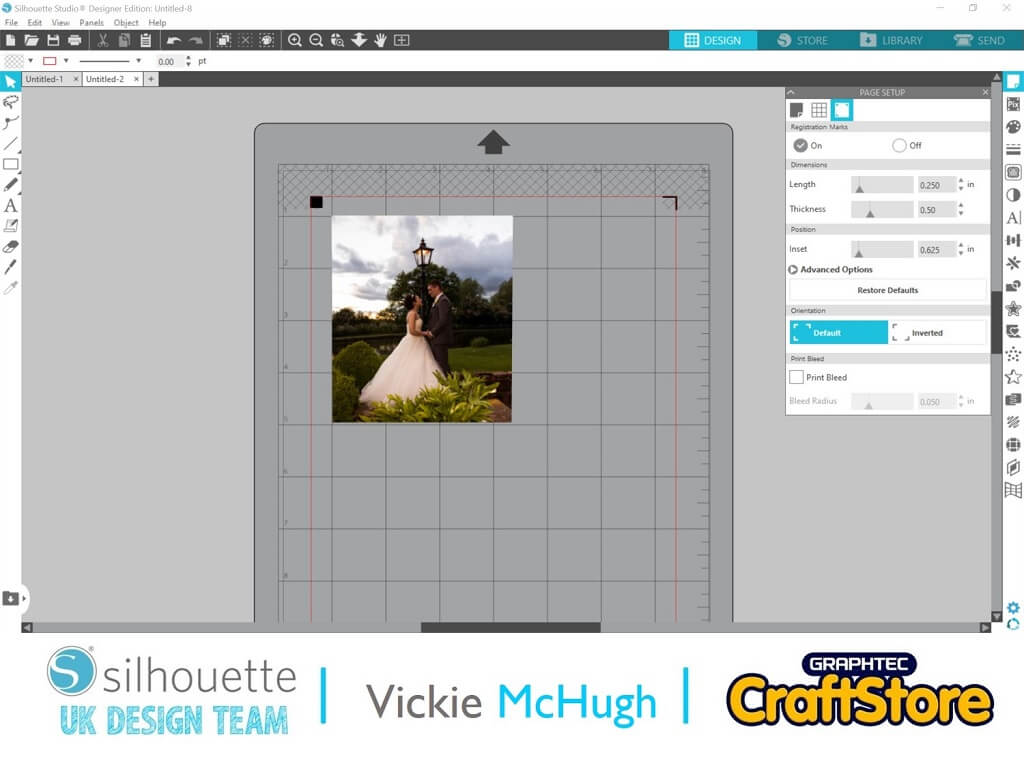
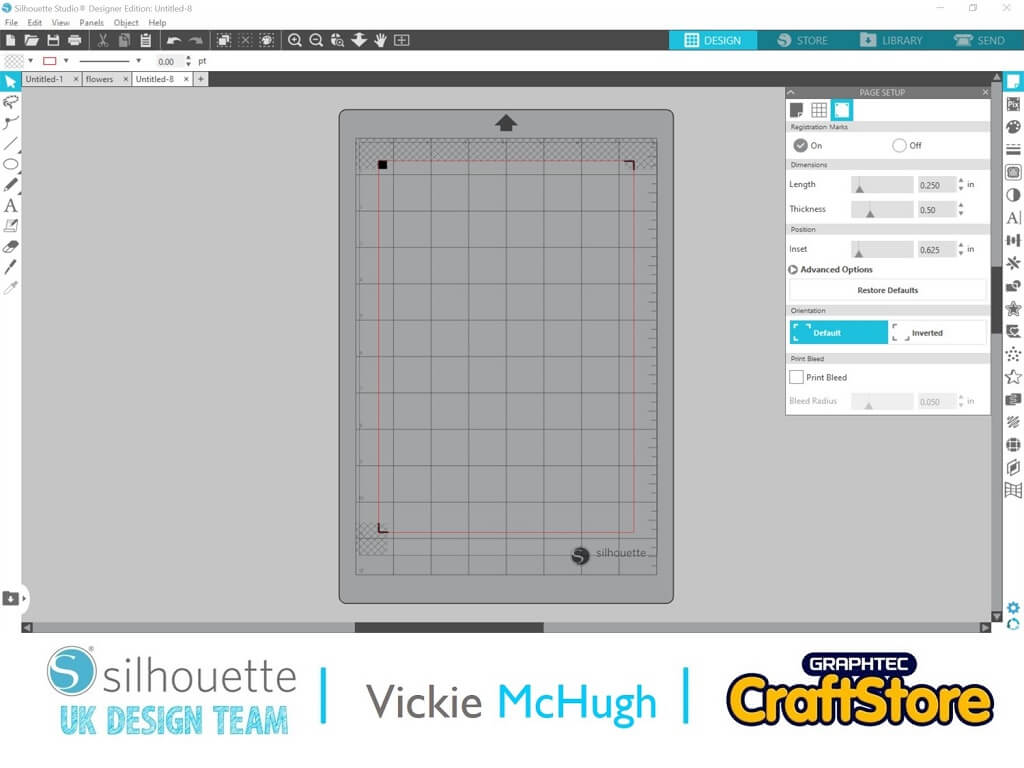
Go to Page Set up and put the registration marks on. Go to File and merge, now select the image that you would like to use.
Having measured out my frame I am making the image 4” high.
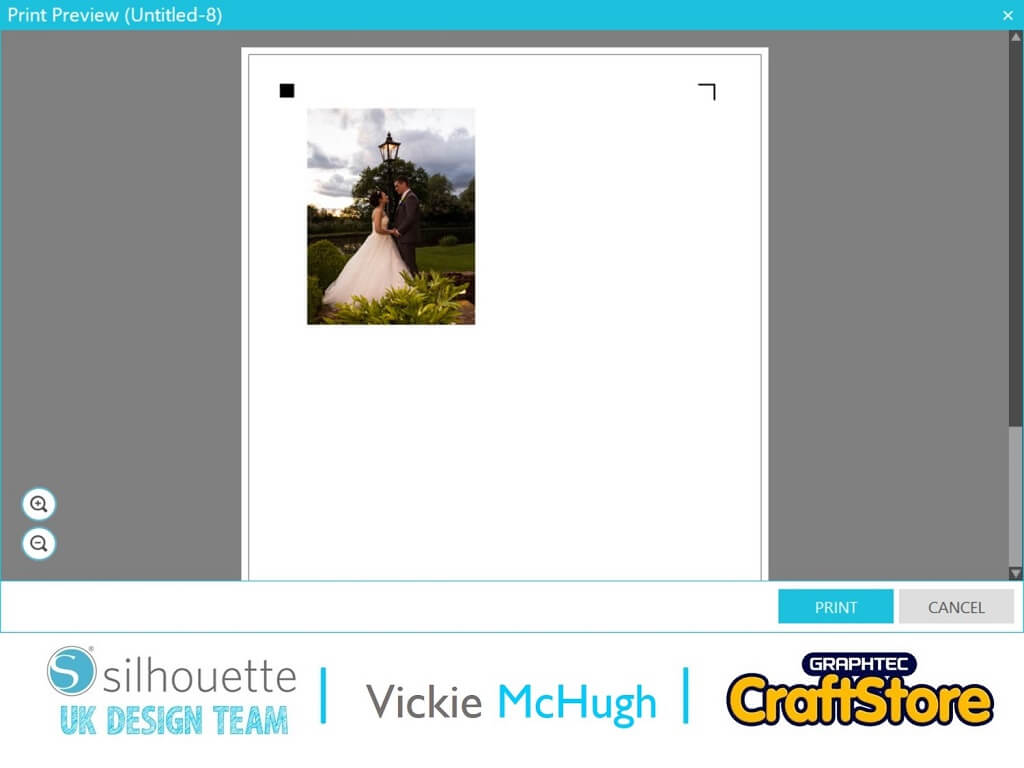
Once it’s the right size, go to File and Print.
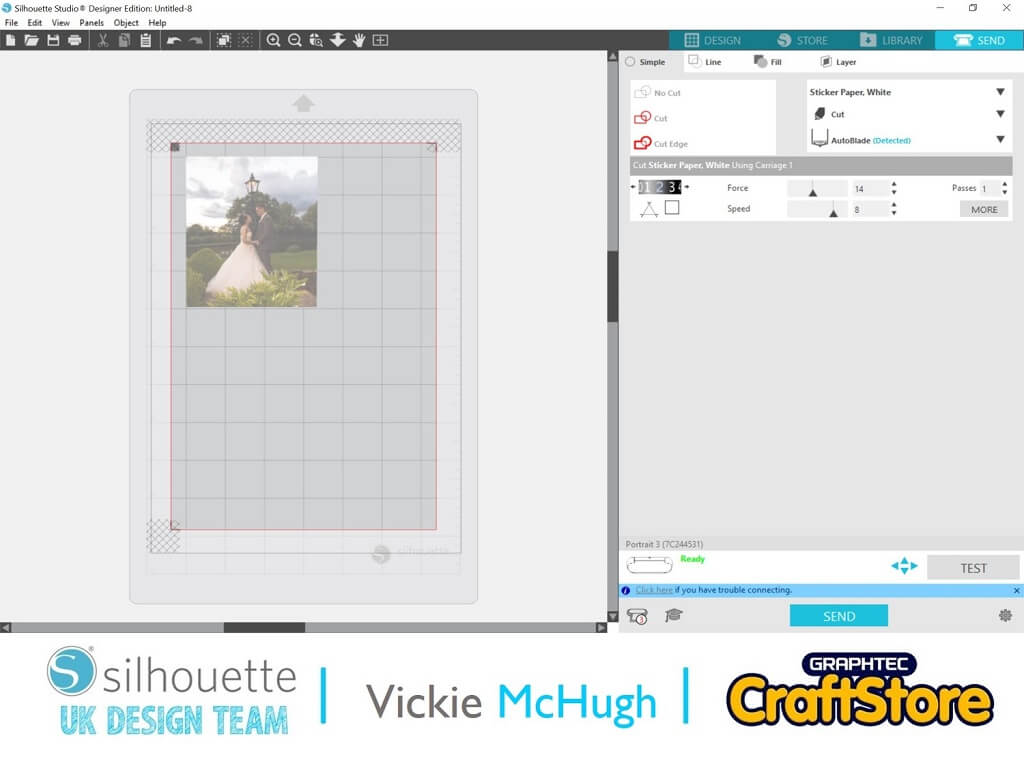
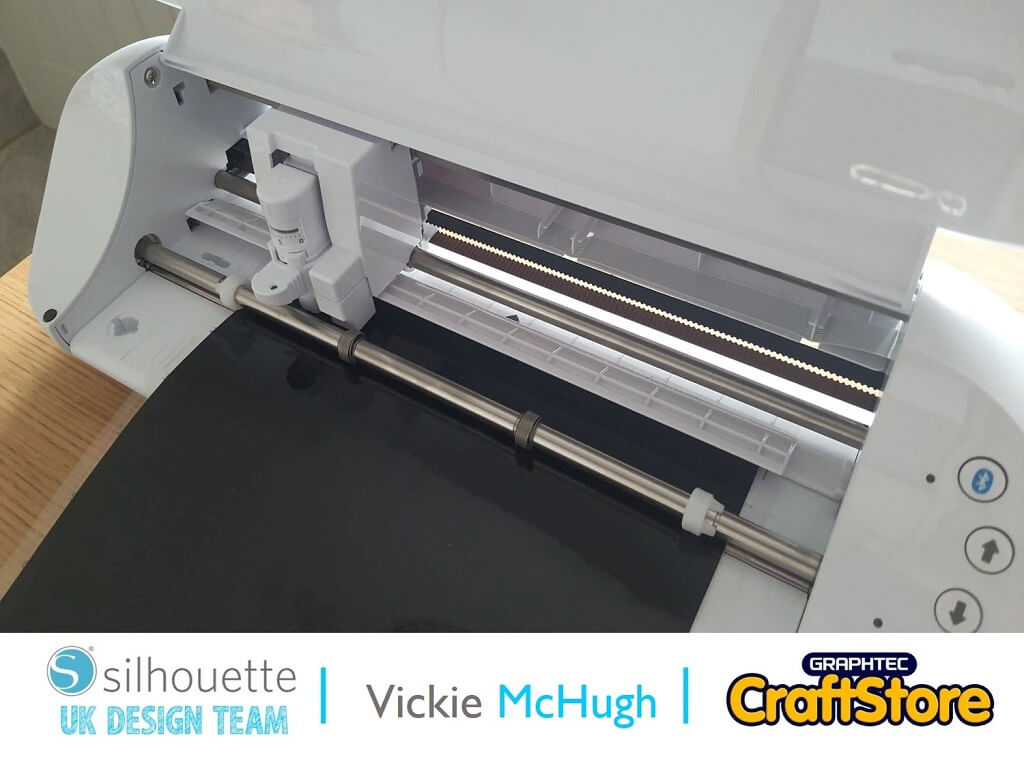
Place the printed file on your mat and click send change settings to show Sticker paper, white and click send.
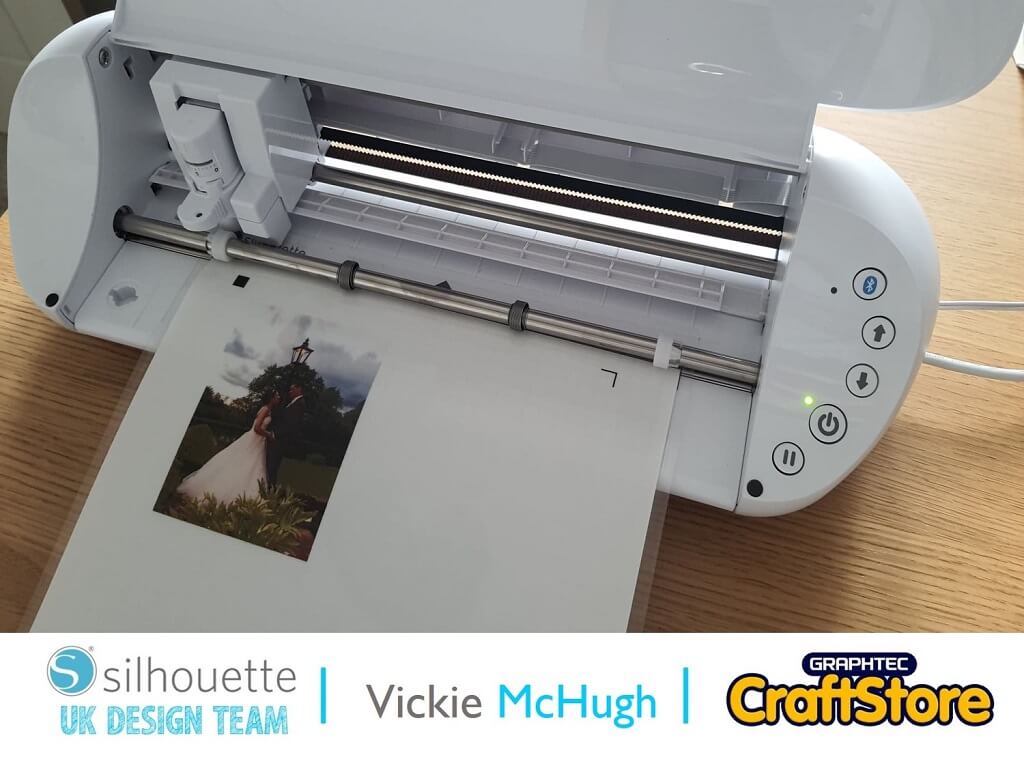
The Portrait will then read the registration marks and cut out the image.
Cutting The Vinyl Pieces
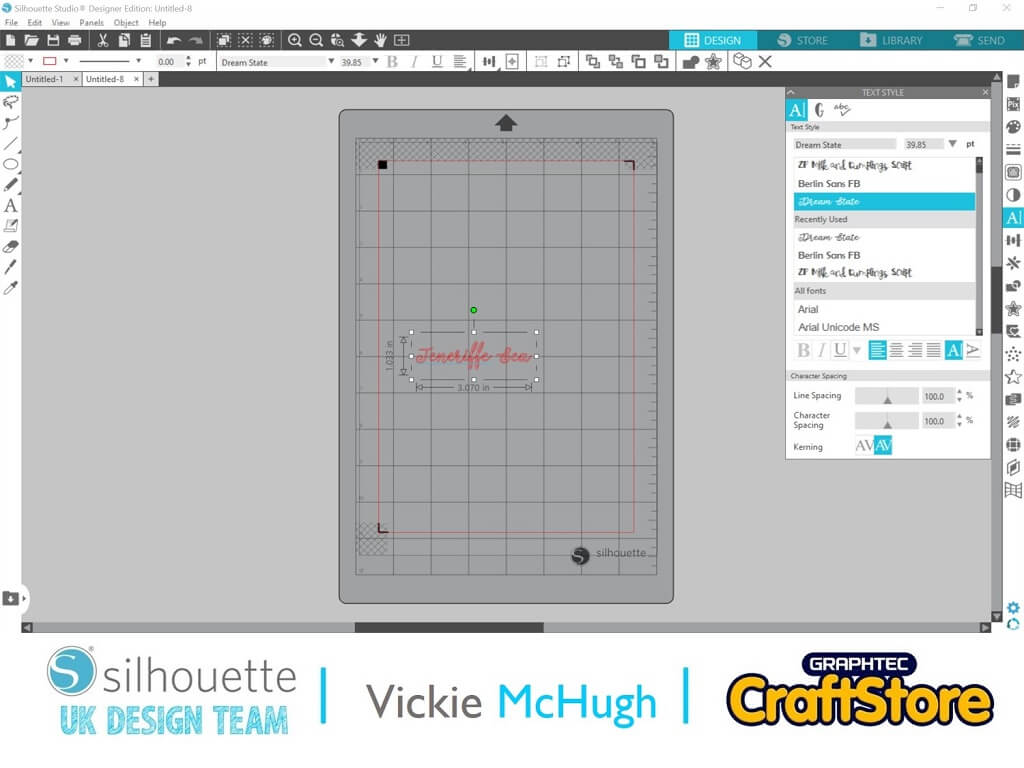
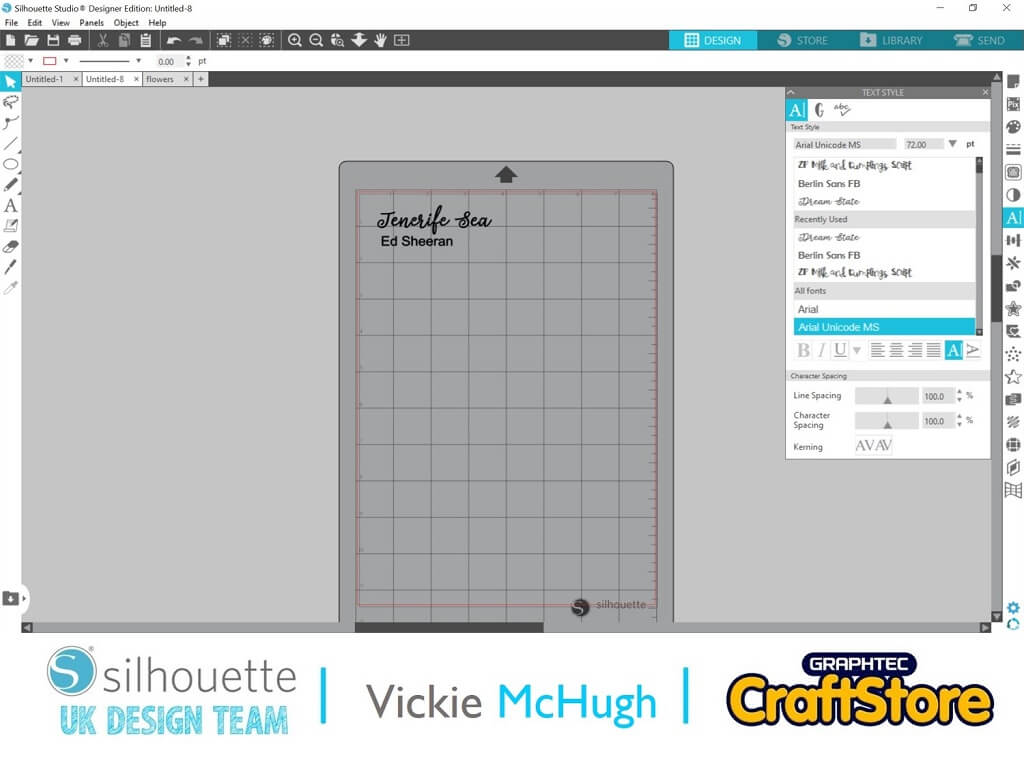
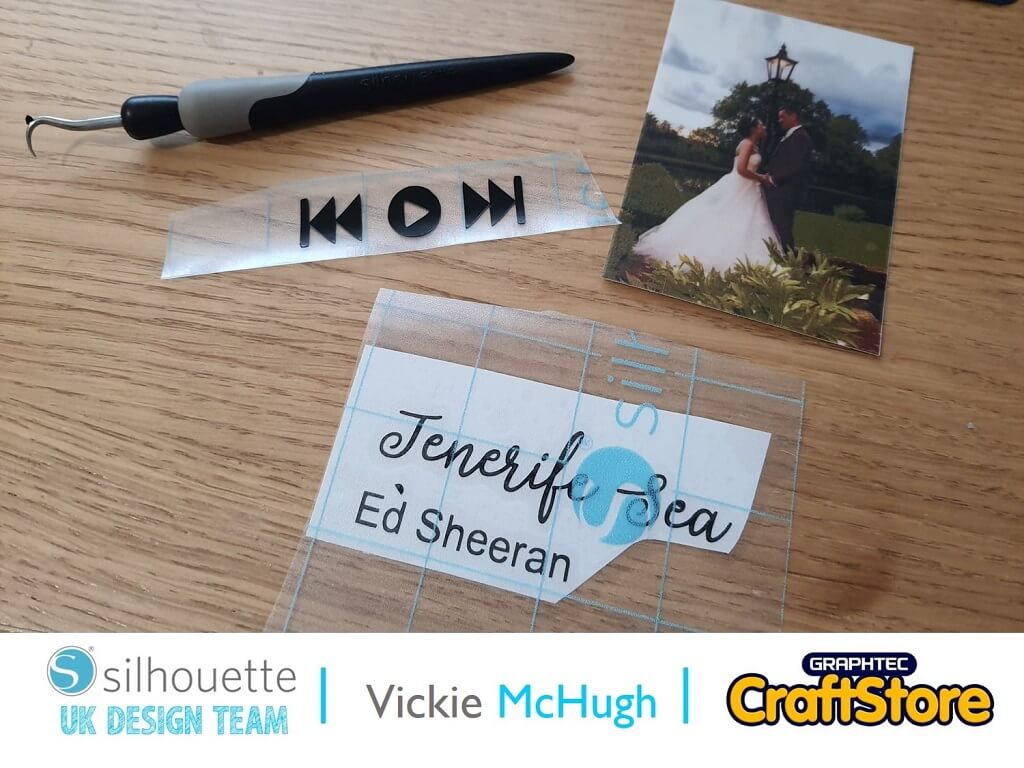
Using the text function I am writing the name of the song and artist. For this I am using Dream State font and Arial.
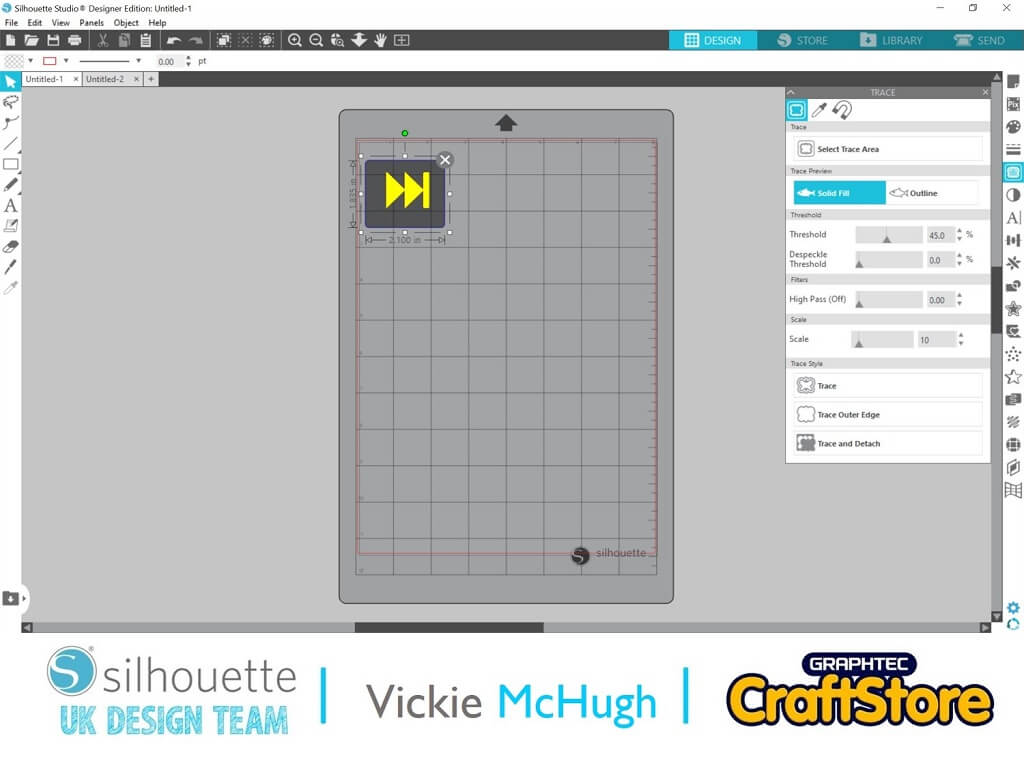
I am then going to File, Merge buttons.
I will then use the trace button to make a trace of these to be able to cut them out onto vinyl.
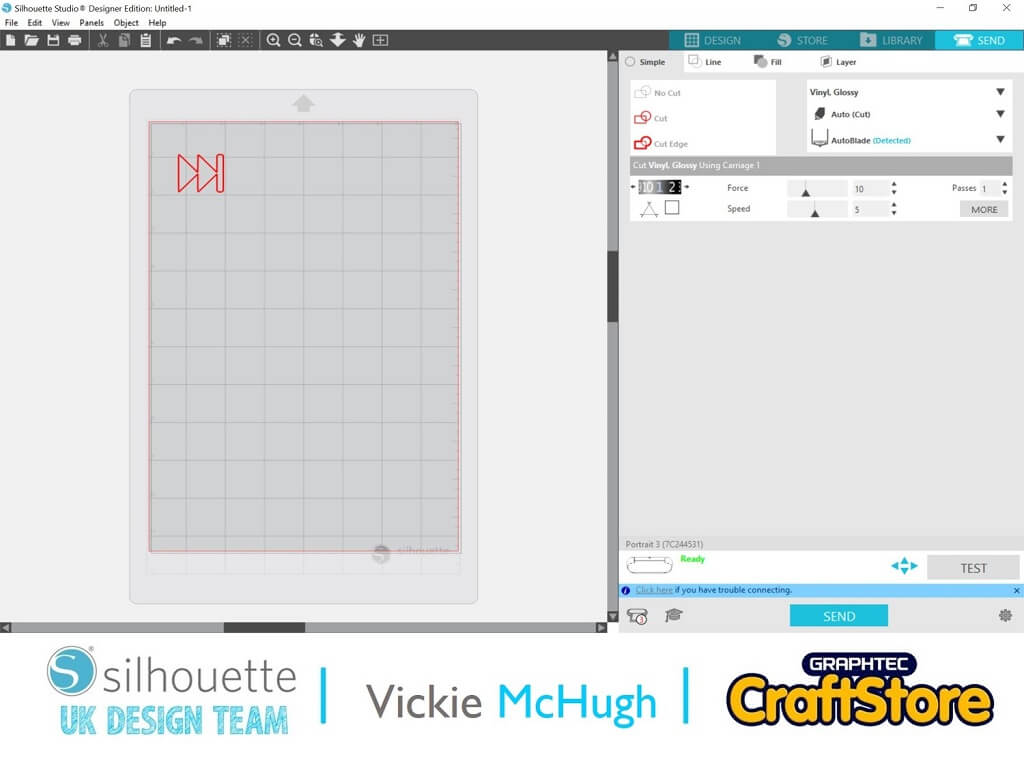
Click on Send tab and change the settings to vinyl and click Send.
Putting It All Together
Weed the vinyl and place onto transfer tape.
Place your frame on a flat surface and place the image and vinyl onto the frame.
There are plenty of flower templates to choose and have a go at making in the Silhouette Design Store, so have a look and I’ll look forward to seeing what you make.
Please don’t forget to tag me on Instagram so I can see your masterpieces @crafty_vickie!
There will be a little bit of Euro inspiration in my next tutorial ready for the Euro football.
– Vickie McHugh –
Silhouette UK Blog Created By Vickie McHugh
Silhouette Products Used
Silhouette Designs Used
• Design Used: Rolled Flower
Design Store Artist: Lori Whitlock
Design Store ID: 302218 > Download
