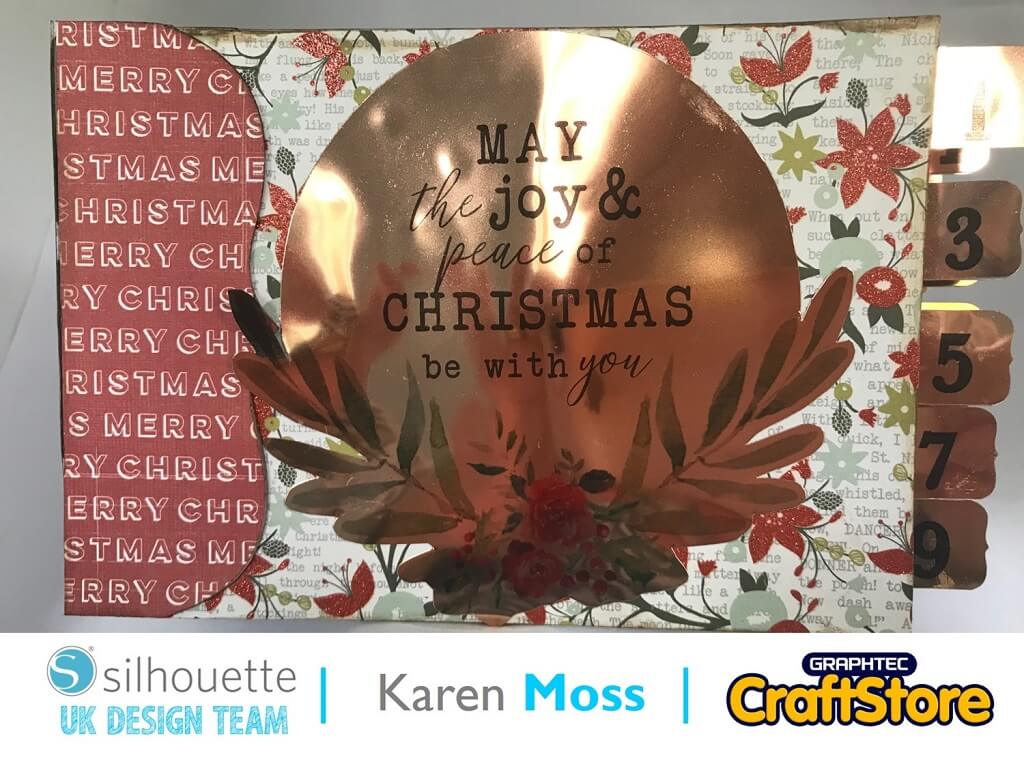
Christmas Mini Album | Karen Moss | Silhouette UK Blog
Christmas Mini Album | Karen Moss | Silhouette UK BlogChristmas Mini Album | Silhouette Printable Sticker Foil Every Christmas I attempt to complete a December Daily or Journal Your Christmas…
PLEASE NOTE THAT THE OFFICE WILL BE CLOSED FROM 12PM FRIDAY 20TH DECEMBER 2024 AND WILL RE-OPEN ON THURSDAY 2ND JANUARY 2025
ORDERS FOR DELIVERY PRIOR TO CHRISTMAS WILL NEED TO BE SUBMITTED BY 2.30PM ON THURSDAY 19THDECEMBER 2024.
ORDERS RECEIVED AFTER THIS TIME AND DATE WILL BE DESPATCHED ON THURSDAY 2ND JANUARY 2025.
Merry Christmas & A Happy New Year to all our customers. Thank you for your continued support.

Hi it’s Cheryl here again.
I do love this time of year, all the leaves are coming off the trees and all you see is red, orange and brown with a little green so guess what’s happening soon?
Yes, the panic to get Christmas right and part of that is your table!
So, let’s see what I’ve made with the Silhouette Adhesive-Backed Cardstock Essentials Pack
• Silhouette Adhesive-Backed Texted Card
• Basic Cardstock
• Wet Glue
• Twine / Ribbon
• Glitter Glue
• Pens & Ink Pads

In your software open your file in the design space and you will see all the pieces you need are laid out on the mat.
You want to check that your cutting mat is set to Cameo 12 x 12 and depending on how many you want to make pick your correct size of paper in the media size in the page setup box on the right hand side of your screen.
You will see that all your parts are grouped together which need to be separated.
If you right click on the black bar then scroll to ungroup then click on the screen you will see all your parts are no longer together, move all the pieces off to the side.
Bring the main part of the place card on to your mat (which will depend on how many you want to make) but I have chosen A4 and when happy click send.
Select plain, cardstock in the material section and if you are happy with the other bits then once your card has been put on the mat and loaded into the Cameo you can send to cut and you can do that for all the other pieces except the leaves as per above.


Now you will want to cut the leaves, remembering that the main leaf needs 6.
To do this, click on the leaf then go to object and replicate from the main header and then select column of four then for the other two using the same step above but choosing duplicate and do this twice then lay them out along with the other leaves.
Once happy with the above step then you want to hit send.
For the material you need to choose Cardstock-Adhesive Backed.
Changing your card on your mat load into cameo and when happy with the other settings then hit send to cut.


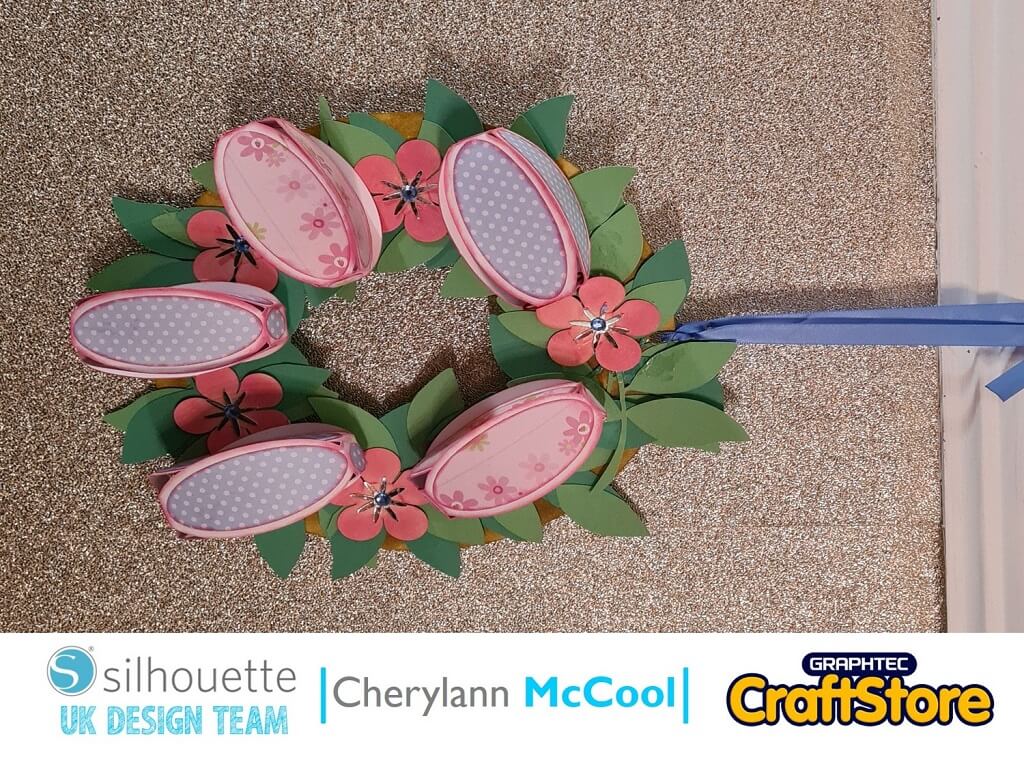
Now the fun bit putting it all together.
Now first of all with the main place card where all the fold lines are crease them with your bone folder then lay out flat and with the leaf layout that came with the file place your leaves in the order as shown with glue and leave to dry.
You then want to glue the berries by putting one on each leaf and once dry then to make your place card sparkle put red glitter glue on the berries and then go around the edges of the leaves with glitter glue then when dried you want to put the name plaque on near the top and with the holes you can either thread ribbon or twine through then all you need to is write the name of your guests.

I absolutely loved this project, it was so easy and so much fun to do especially as I love Christmas just a little haha.
Hand making decorations for Christmas will stand out as being different and you know that not everyone will have that decoration.
Well, can you believe that 2020 is nearly over but I think everyone will be glad to see the back of this year and we can start afresh and that’s where my next project will be.
That’s me for now and I will be back soon with my next blog before you know it.
Bye for now!
– Cherylann McCool xx –
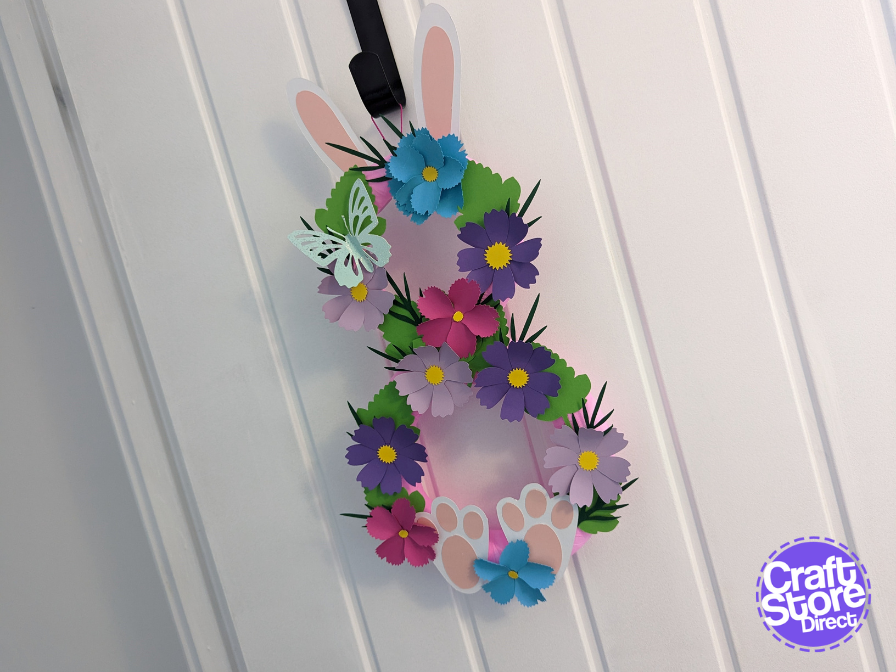
• Design Used: Wreath Candy Place Card
Design Store Artist: Snapdragon Snippets
Design ID: 234790 > Download