
Sale!
Colour + Shape | Premium PVC Tabletop Cutting Mat
Original price was: £8.00.£6.00Current price is: £6.00.
PLEASE NOTE THAT THE OFFICE WILL BE CLOSED FROM 12PM FRIDAY 20TH DECEMBER 2024 AND WILL RE-OPEN ON THURSDAY 2ND JANUARY 2025
ORDERS FOR DELIVERY PRIOR TO CHRISTMAS WILL NEED TO BE SUBMITTED BY 2.30PM ON THURSDAY 19THDECEMBER 2024.
ORDERS RECEIVED AFTER THIS TIME AND DATE WILL BE DESPATCHED ON THURSDAY 2ND JANUARY 2025.
Merry Christmas & A Happy New Year to all our customers. Thank you for your continued support.
Hello and welcome back to my Silhouette blog, I hope you are enjoying them as much as I am putting them together?
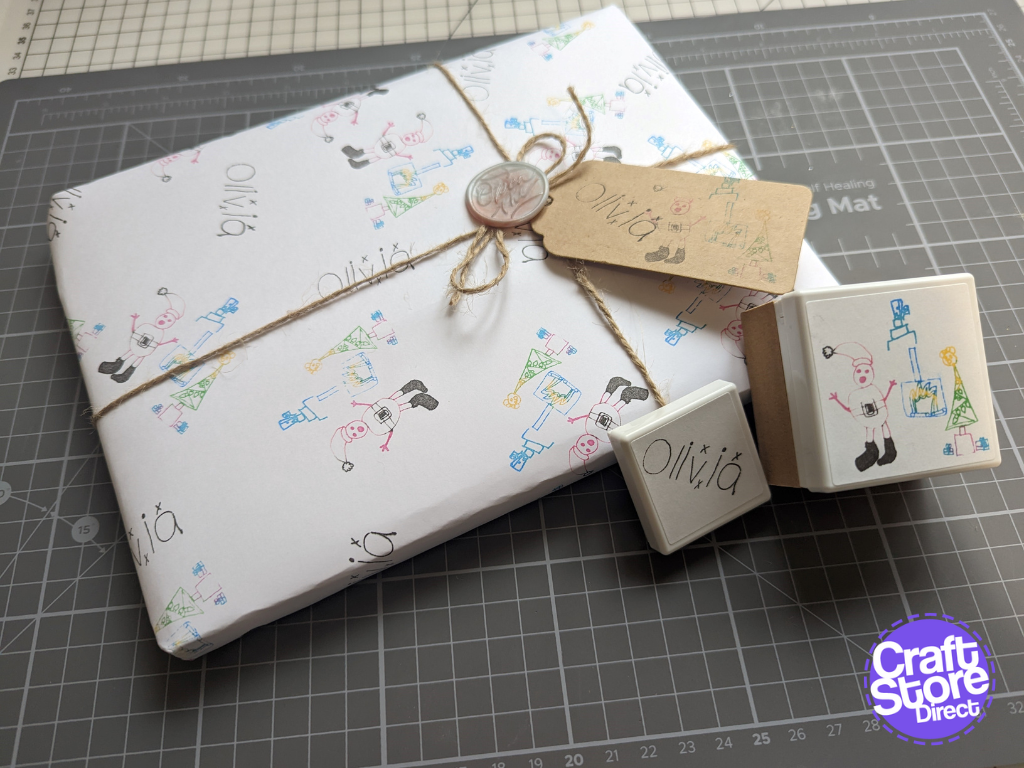
Again, with Christmas around the corner why not add that personal touch to your gift wrapping and make some personalised wrapping paper and gift tags?
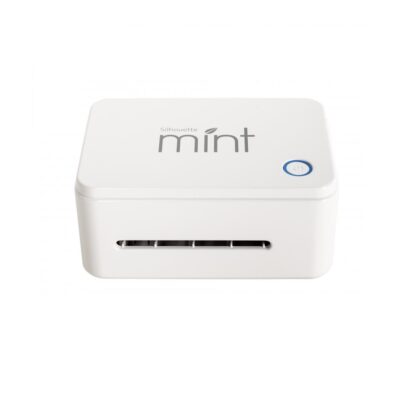
I haven’t used my Silhouette Mint, so will be great to get it out and create some beautiful stamps.
• Silhouette Mint
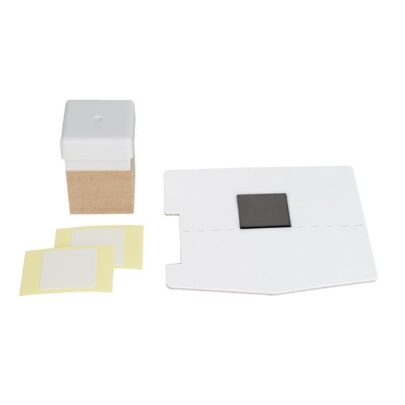
• Silhouette Mint Stamp Kit
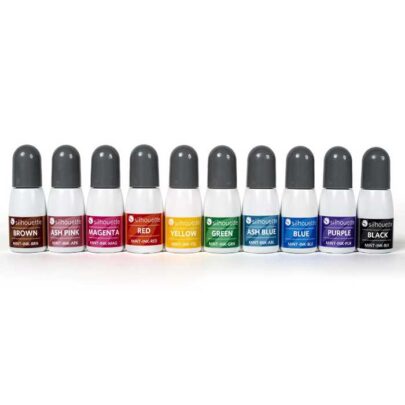
• Silhouette Mint Inks
• Drawing/ Design
• Cardstock & Paper


To create the design for the stamp, I have asked my little girl to write her name and draw a Christmas picture with a black pen on a piece of plain white paper, when doing this you need to make sure that it’s a simple line drawing.
Then take a photo of the work and send it to your computer.

Open up the Silhouette Mint software and using ‘stamp settings’, select the size of the stamp you are working with. For this stamp, I am using 30x30mm first.
Pull in the design file by selecting ‘file’ ang ‘merge’.
Resize the image to fit the stamp, this can be done by expanding the images and arranging them so it fully covers the stamp.

To see how it will print onto the stamp, click onto the ‘stamp filters’ tab. Here, you can change the type of print you want to use on the stamp. For this kind of stamp, I tend to stick with ‘standard’ or ‘realistic’, and then use the slider to alter the brightness. If you have any random black spots from the drawing itself, just remove them using the eraser tool.


When you are happy with your stamp, click ‘send to Mint’
It will then show your stamp as a mirror image.
Click ‘Start Mint’
It will then ask you to insert the stamp sheet and the machine will begin printing your stamp.

Remove the rubber stamp from the cardboard backing and stick it onto the stamp block.
You are now ready to ink your stamp. I am using Christmas colours, so using the specific Mint ink, I cover my design in the ink generously. Then leave it to absorb for approx. 30 minutes.
Get a blank piece of paper and start blotting the excess ink from the stamp until you get a clear print. Your stamp is now complete.
Follow the same instructions for your second stamp, but I am using a bigger stamp (45x45mm) so make sure that you remember to change your settings.

For the gift tag, in Silhouette Studio, I am going to create a simple rectangle with a circle for the hanging hole. I am then going to cut it out by clicking send and changing settings to card stock.
When sizing your tag, make sure it is big enough to fit your stamp.

Now the fun begins! Get stamping.
Stamp your images out onto your tag and a large piece of paper until it is filled. (You might want to get help doing this…my little one loved creating the pattern).
When the paper is full of your stamping design, wrap up your gift. Finish with a bow or some ribbon.
I do love adding that personalised touch to gifts, especially when you can make them yourself.
Please don’t forget to tag myself and CraftStore Direct on Instagram, I would love to see your masterpieces @the_craft_exchange @craftstore_direct #cuttingmatters
We are going to add some sparkle to my next blog, the last one of 2022….
– Vickie x

Original price was: £8.00.£6.00Current price is: £6.00.
Price range: £3.64 through £11.59
Original price was: £4.49.£3.37Current price is: £3.37.
• Design Used: Advent Calendar Christmas Tree – Design ID – 280582 > Download
Design Store Artist: Lori Whitlock

