Personalised Christmas Stamp| Vickie McHugh | Silhouette UK Blog
Personalised Christmas Stamp
I haven’t used my Mint in a long time, so lets dust it off and get ready for the new Crafty Vic tutorial.
With Christmas around the corner and having a 5 year old, the thought of getting them to write Christmas cards seems like a mammoth task.
Well, for this tutorial I am going to make that easy for you and show you how to create a personalised stamp using your child’s hand writing, so it can be used on ALL of your Christmas cards and they don’t have to lift a pen.
For this tutorial, you will need:
Items I Used
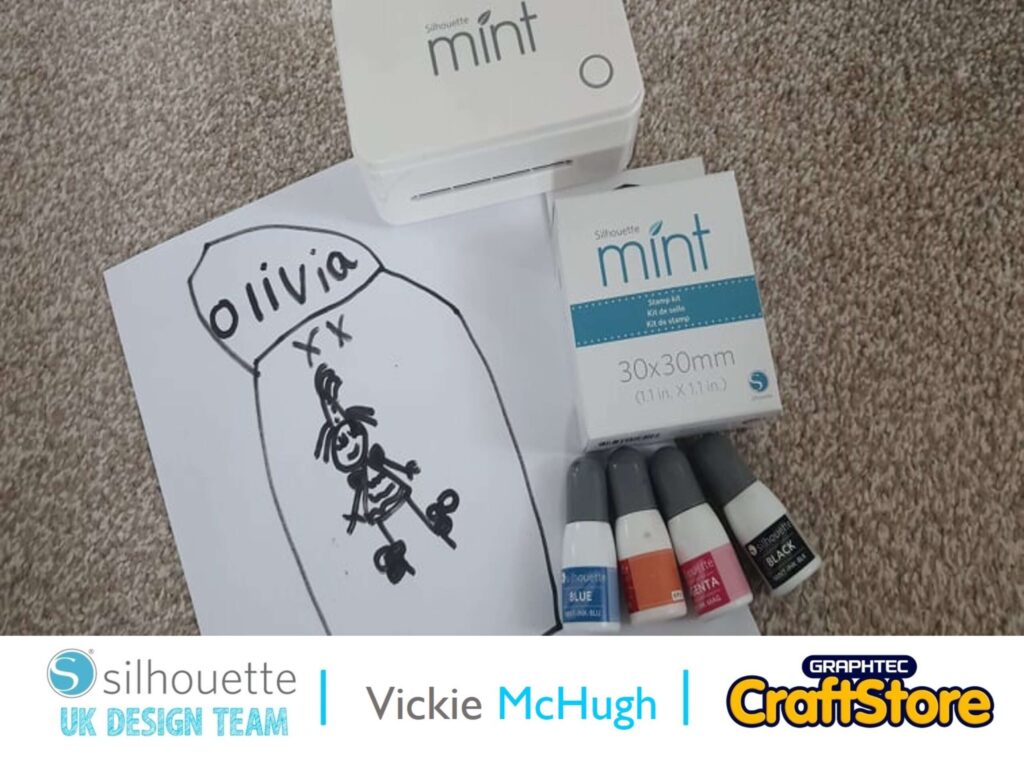
• Silhouette Mint
• Silhouette Mint Stamp kit
• Silhouette Mint Ink
Creating the image for the stamp
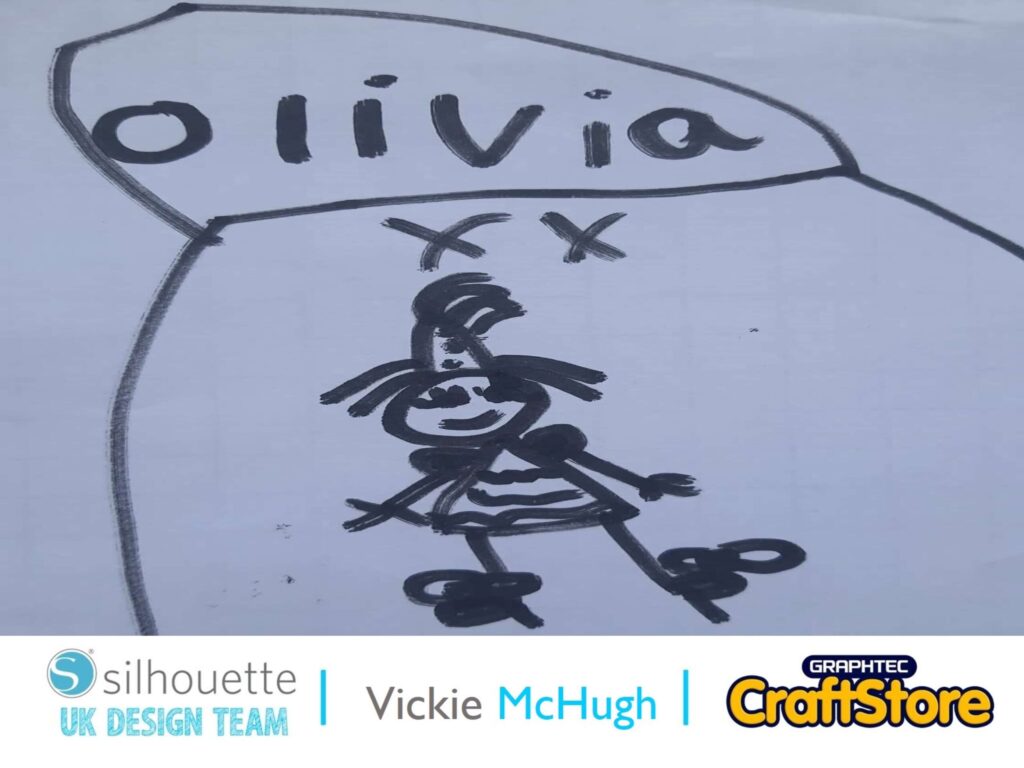
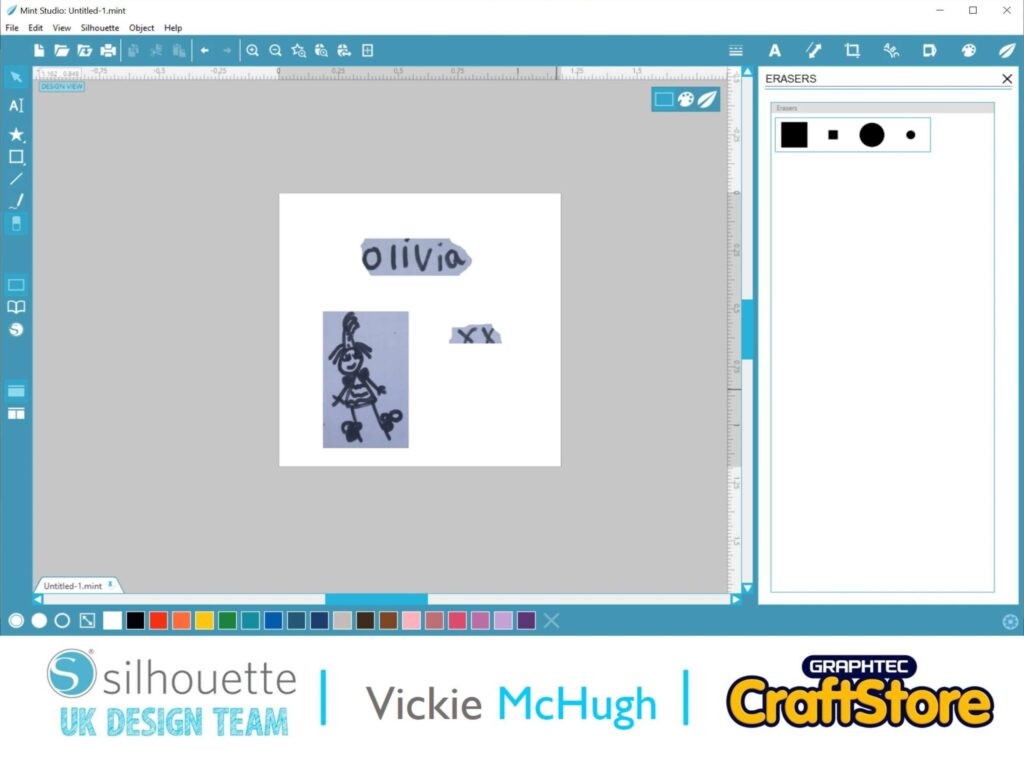
To get the design for the stamp, I have asked my little girl to write her name and some kisses with a black pen and also a simple line drawing.
Then take a photo of the work and send it to your computer.
Importing the image
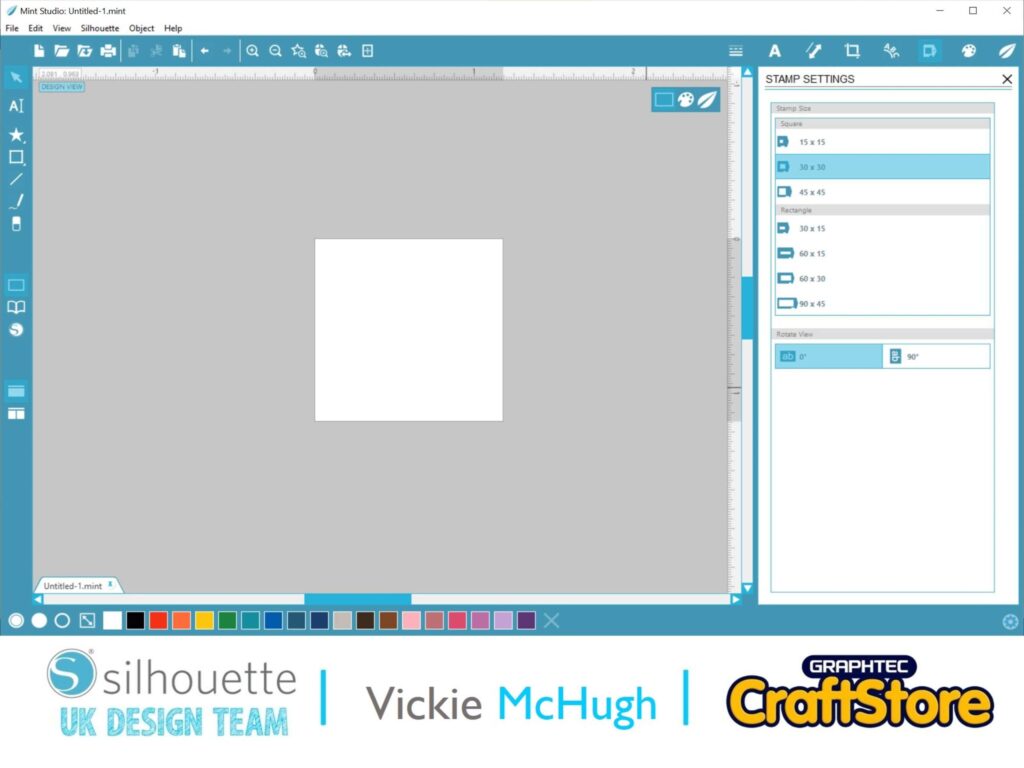
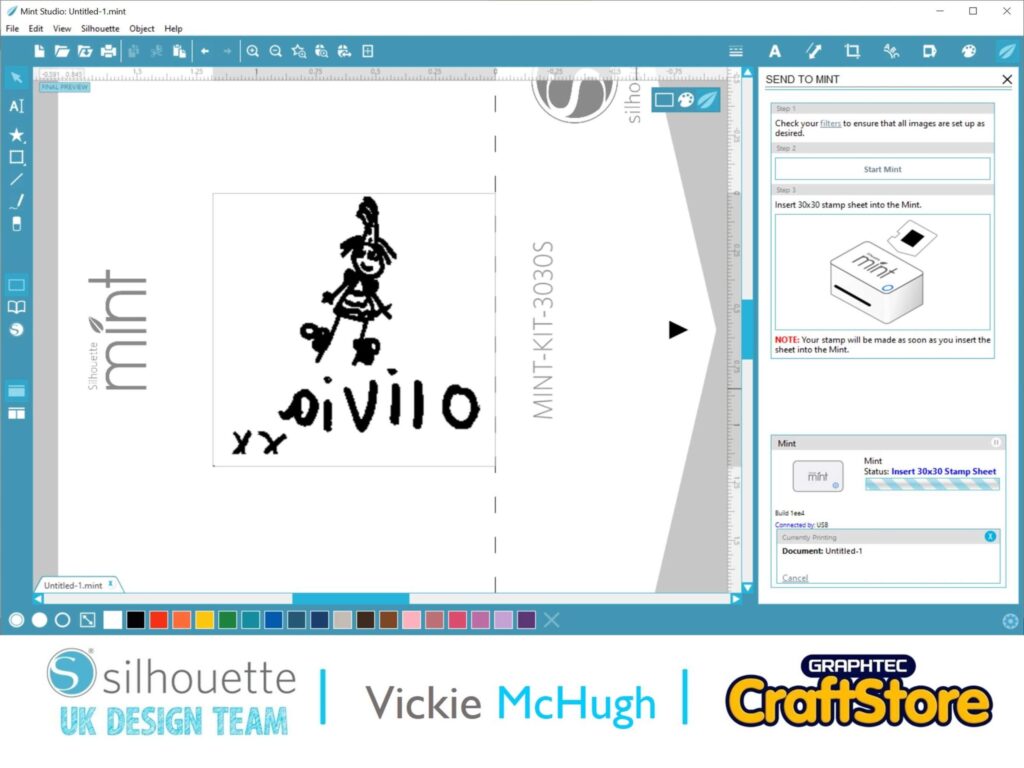
Using Stamp settings, select the size of the stamp you are working with.
For this stamp I am using 30x30mm.
Pull in the design file by selecting File and Merge.
Cut the images out.
Creating the stamp
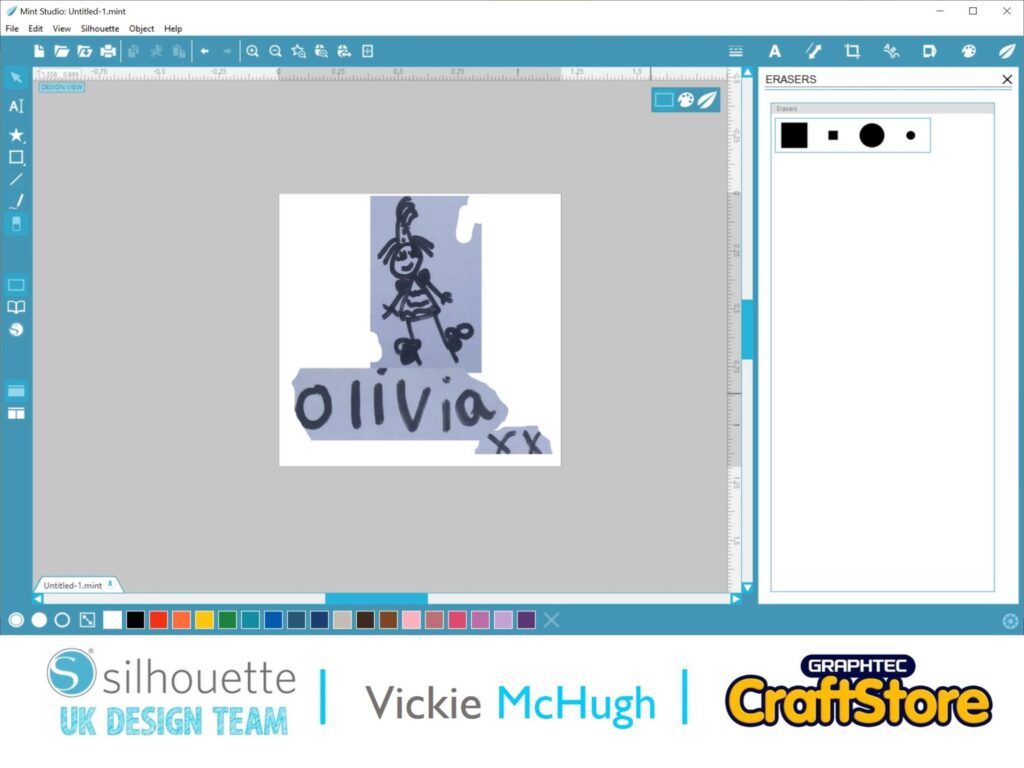
Once you have your images, resize them to fit the stamp, this can be done by expanding the images and arranging them so it fully covers the stamp.
Using the filters
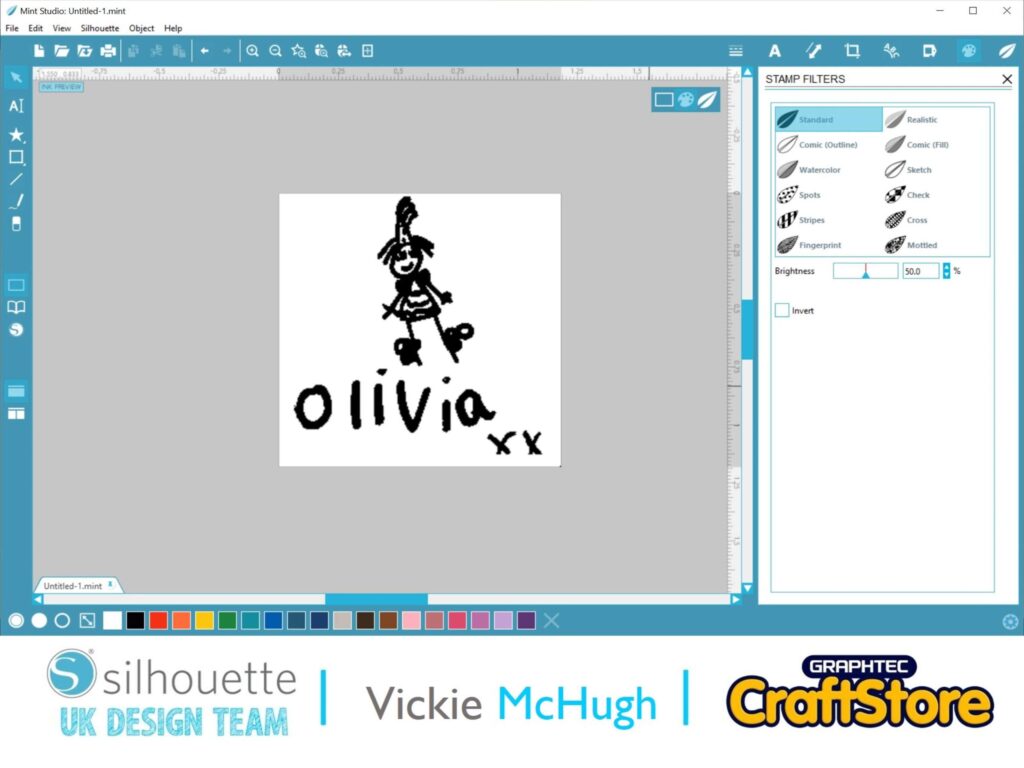
To see how it will print onto the stamp, click on the Stamp Filters tab.
Here you can change the type of print you want to use on the stamp.
For this kind of stamp, I tend to stick with Standard or Realistic, and then use the slider to alter the brightness.
If you have any random black spots from the drawing itself, just remove them using the eraser tool.
Printing the stamp
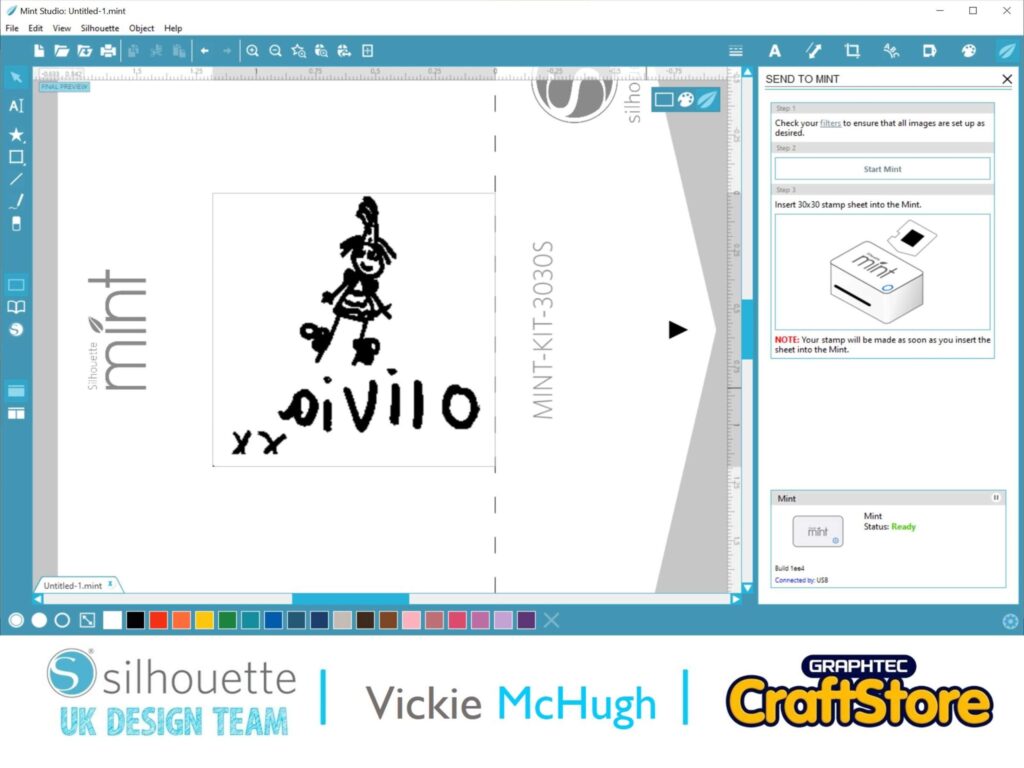
When you are happy with the your stamp, click on Send to Mint.
It will then show your stamp as a mirror image.
Click Start Mint.
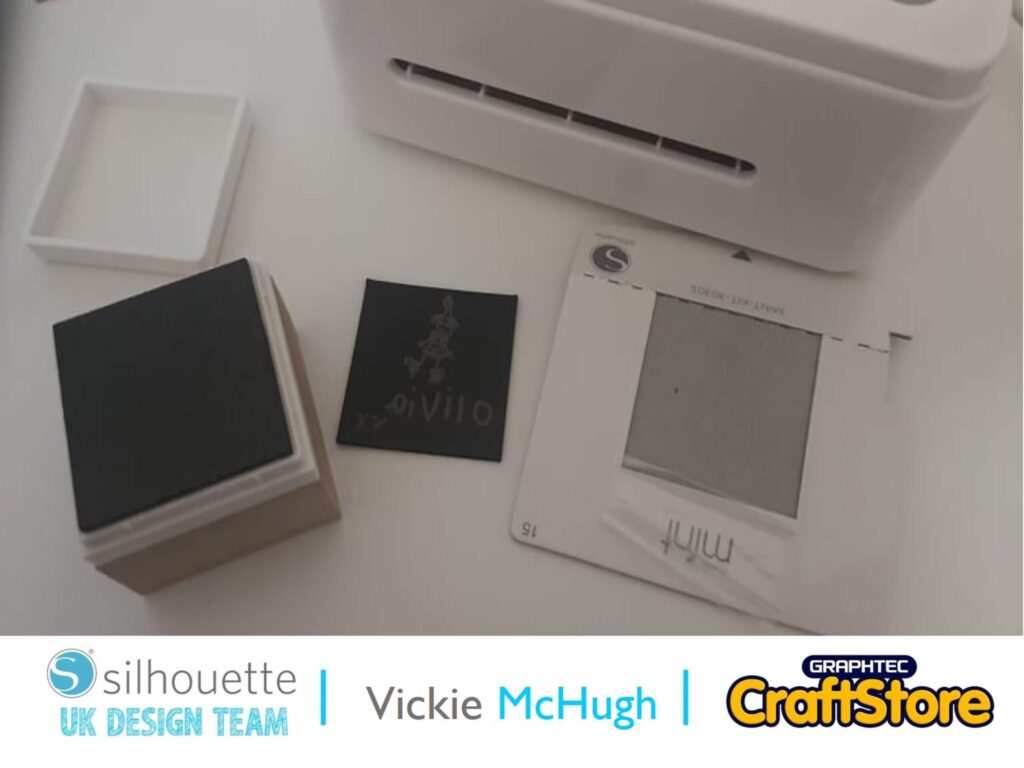
It will then ask you to insert the stamp sheet.
Putting the stamp together
Remove the rubber stamp from the cardboard backing and stick it onto the stamp block.
You are now ready to ink your stamp.
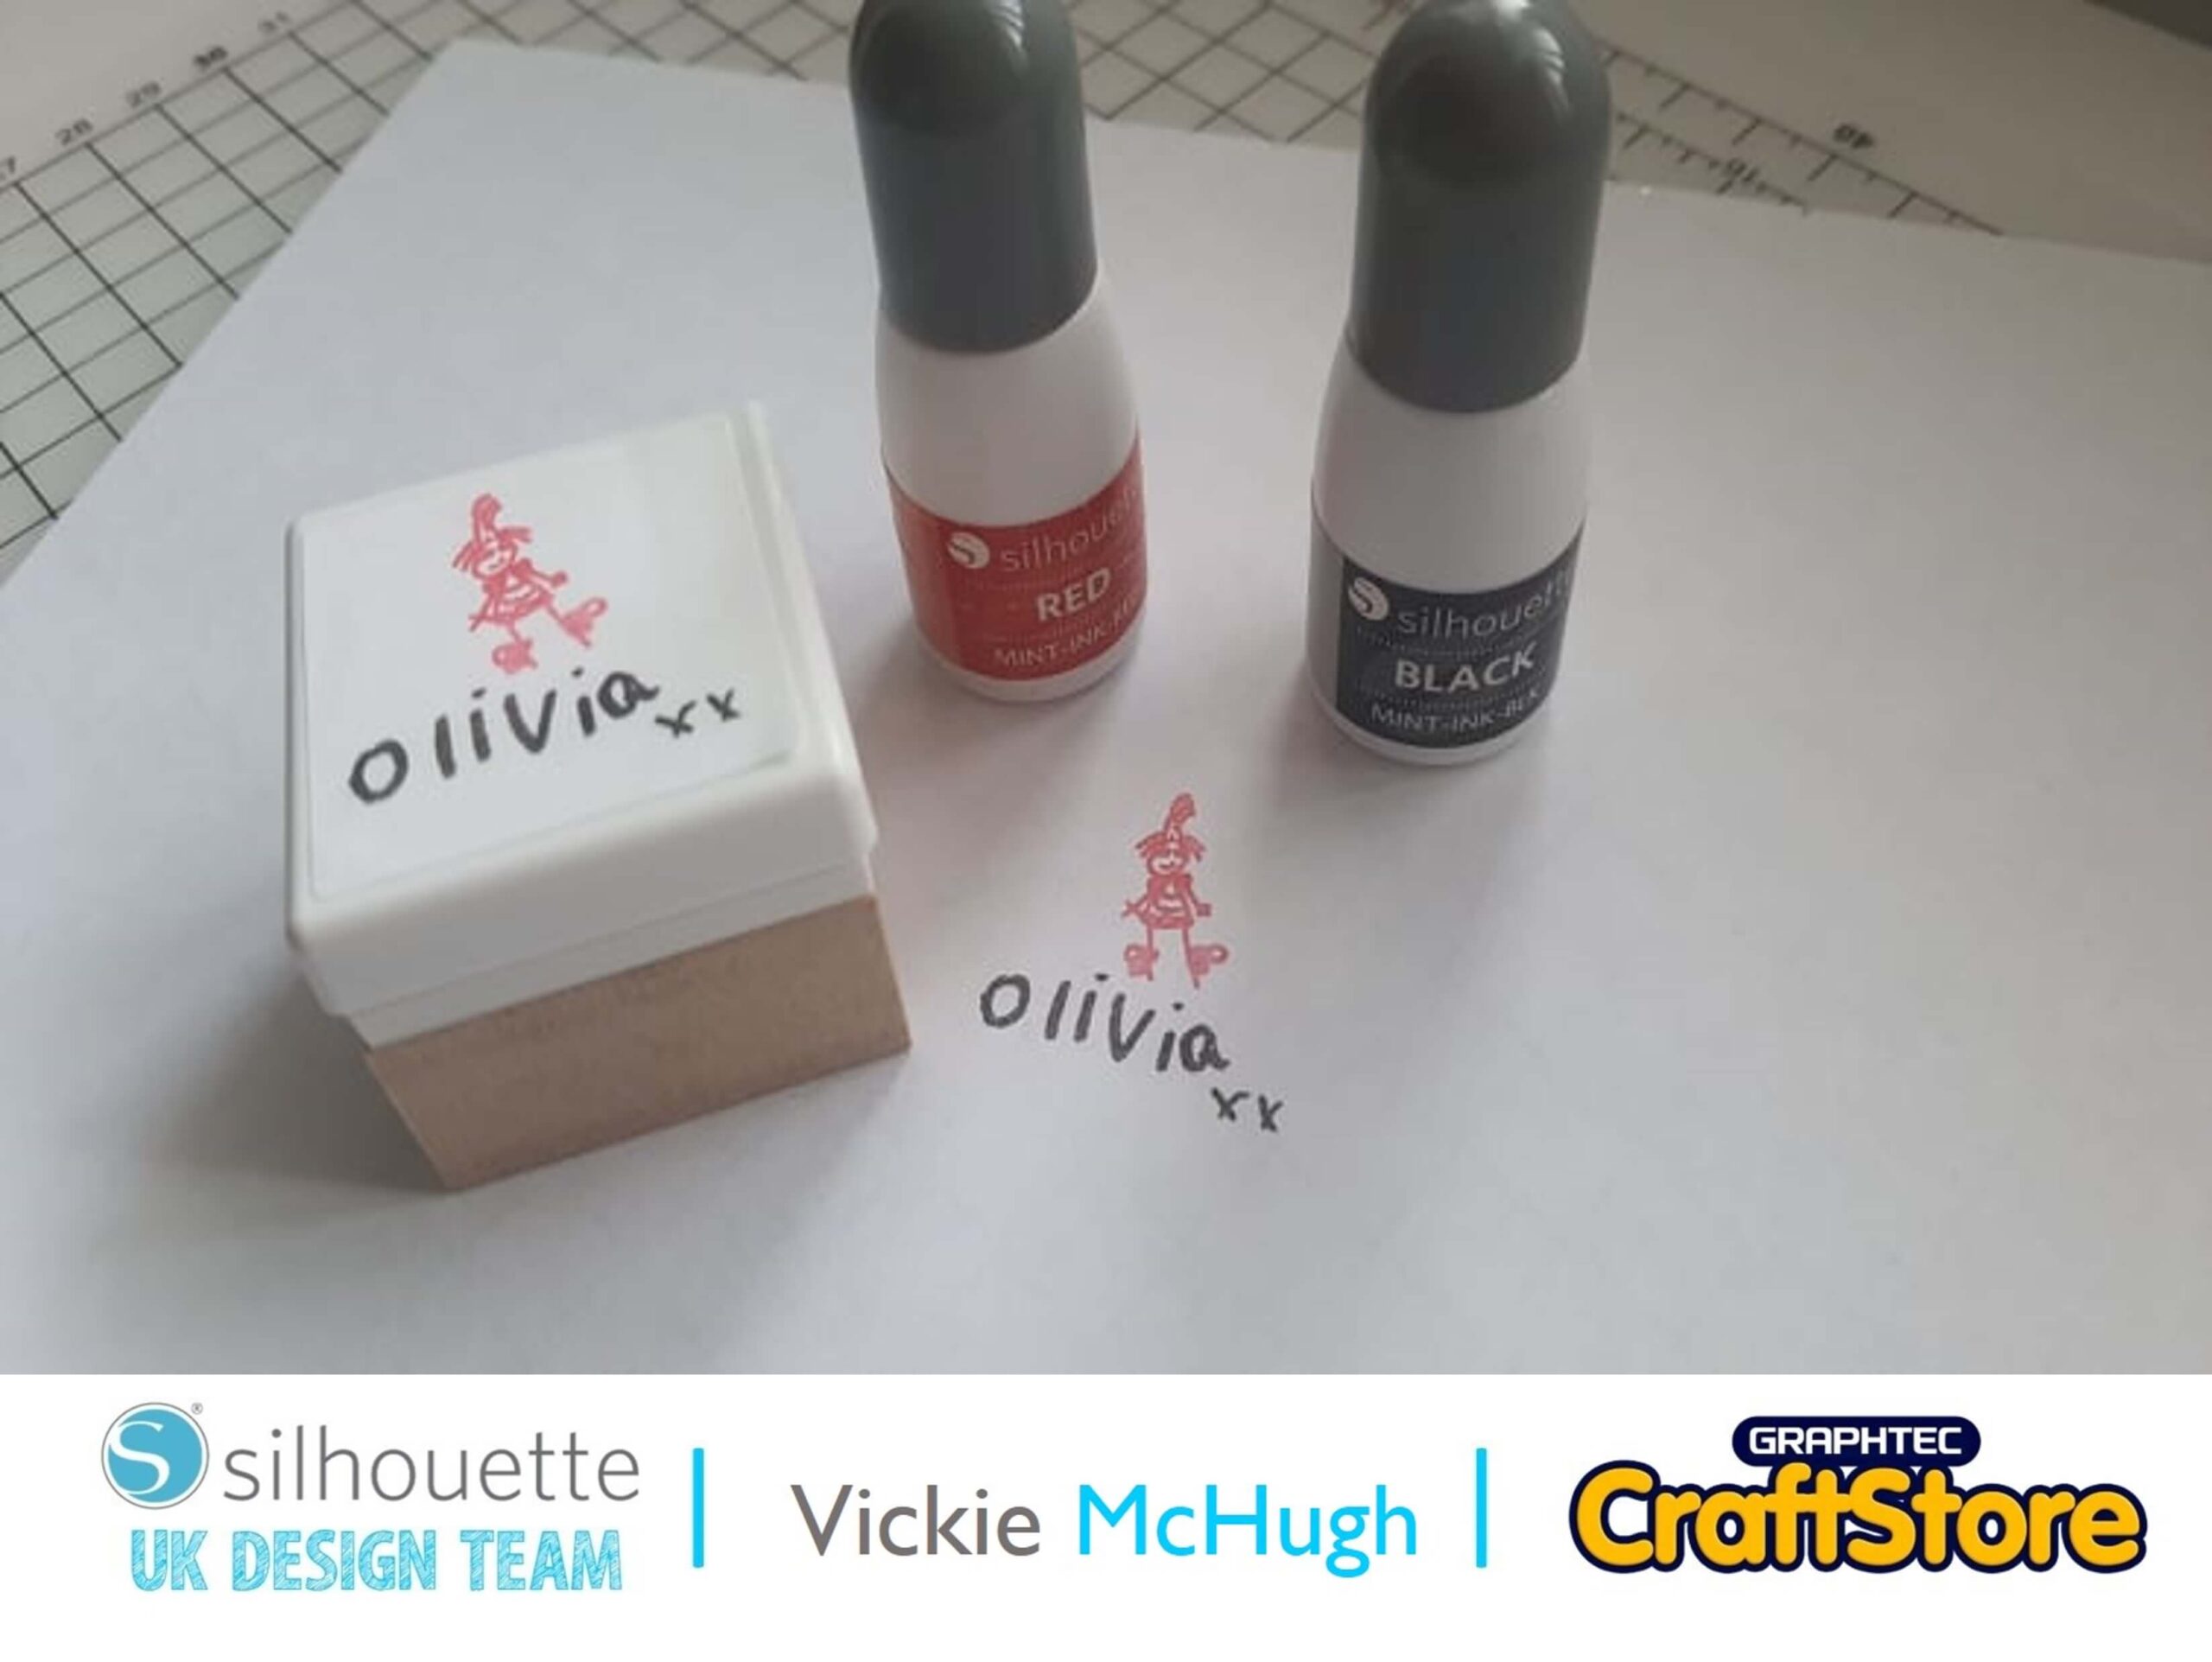
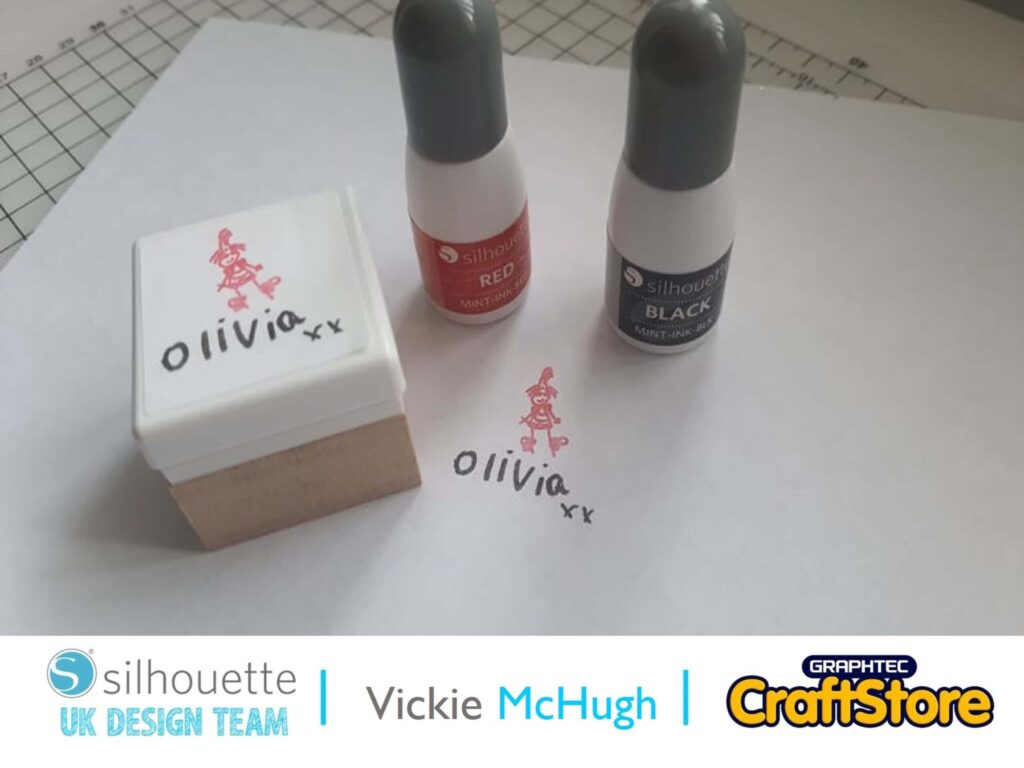
I am using 2 colours, so using the specific Mint Ink, I cover my design in the ink generously.
Then leave it to absorb for approx. 30 mins.
Get a blank piece of paper and start blotting the excess ink from the stamp until you get a clear print.
Your stamp is now compete and ready to use on your Christmas cards.
The possibilities are endless with your Silhouette Mint.
Why not have a look in the design store and create a santa seal for your Christmas envelopes? Or maybe use a larger stamp and put your whole families hand writing on there?
Please don’t forget to tag me on Instagram so that I can see your masterpieces @crafty_vickie
– Vickie McHugh –
