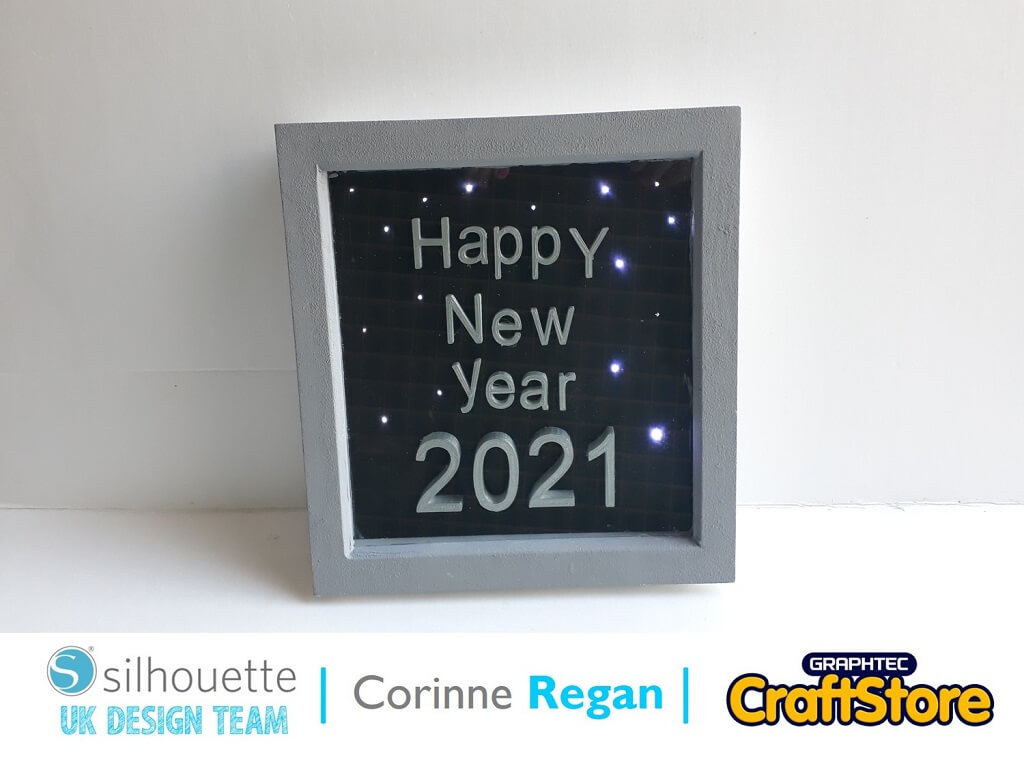
New Year Resolution Chalkboard | Karen Moss | Silhouette UK Blog
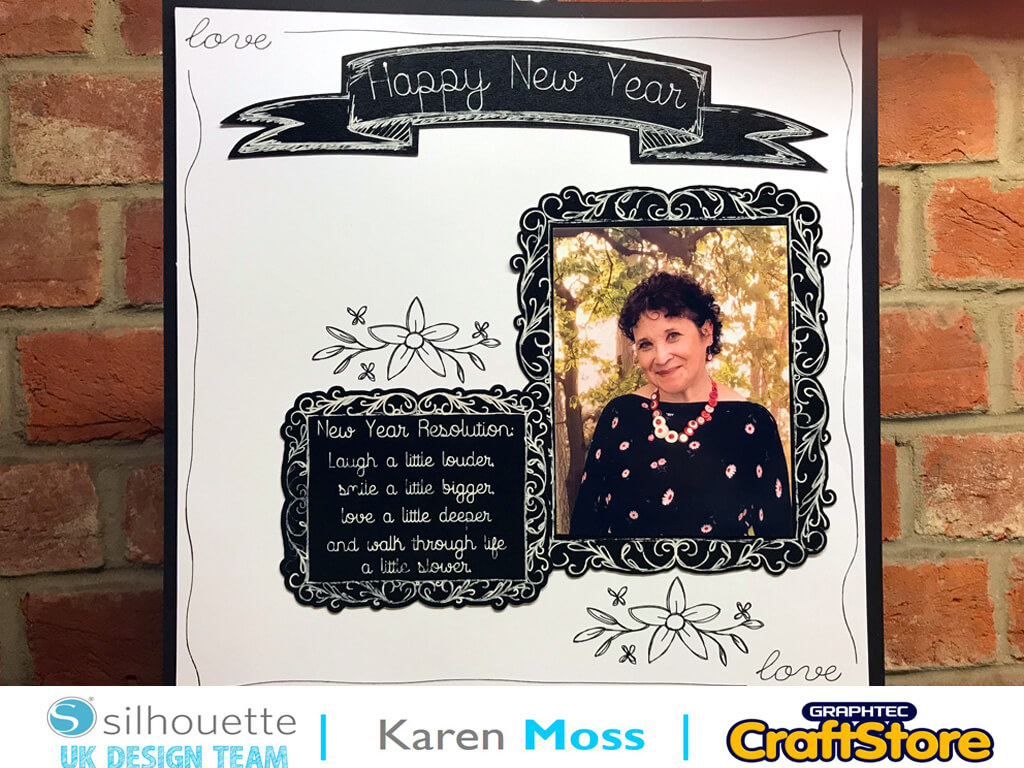
New Year Resolution Chalkboard | Karen Moss | Silhouette UK BlogNew Year Resolution Chalkboard | Silhouette Chalkboard Cardstock Happy New Year to you all and I hope you had a…
PLEASE NOTE THAT THE OFFICE WILL BE CLOSED FROM 12PM FRIDAY 20TH DECEMBER 2024 AND WILL RE-OPEN ON THURSDAY 2ND JANUARY 2025
ORDERS FOR DELIVERY PRIOR TO CHRISTMAS WILL NEED TO BE SUBMITTED BY 2.30PM ON THURSDAY 19THDECEMBER 2024.
ORDERS RECEIVED AFTER THIS TIME AND DATE WILL BE DESPATCHED ON THURSDAY 2ND JANUARY 2025.
Merry Christmas & A Happy New Year to all our customers. Thank you for your continued support.
With bonfire night looming, what better than to make a fireworks stencil.
This can be used to decorate all kinds of media such as paper, card, fabric and even cookies, which is what I will be decorating using my fireworks stencil.

To make my stencil I have chosen a couple of images from the Silhouette Design Store by doing a simple search for “fireworks”.
You need to remember when choosing the perfect image that it must be a simple image with no centre detail as these would not cut out.
Once it has been purchased/downloaded it will automatically appear in your library in the silhouette software.
For the outline of the stencil, use the drawing tool to draw a box. I have decided to make mine 5.5” by 5.5” and you can change the size by changing the “W” and “H” in the top bar.
I have also changed the line thickness to 1 and changed the colour to black. Which can be done using the Line Style on the right hand side.


Once you have created your square, click on the “Library” tab and it will bring up all of the purchased files.
Find the image you want to import and double click.
Once the image has imported, resize it to fit inside your square, making sure there is space around the outside to form the edges of the stencil.


Once you are happy with the layout of your stencil, click on the Send tab.
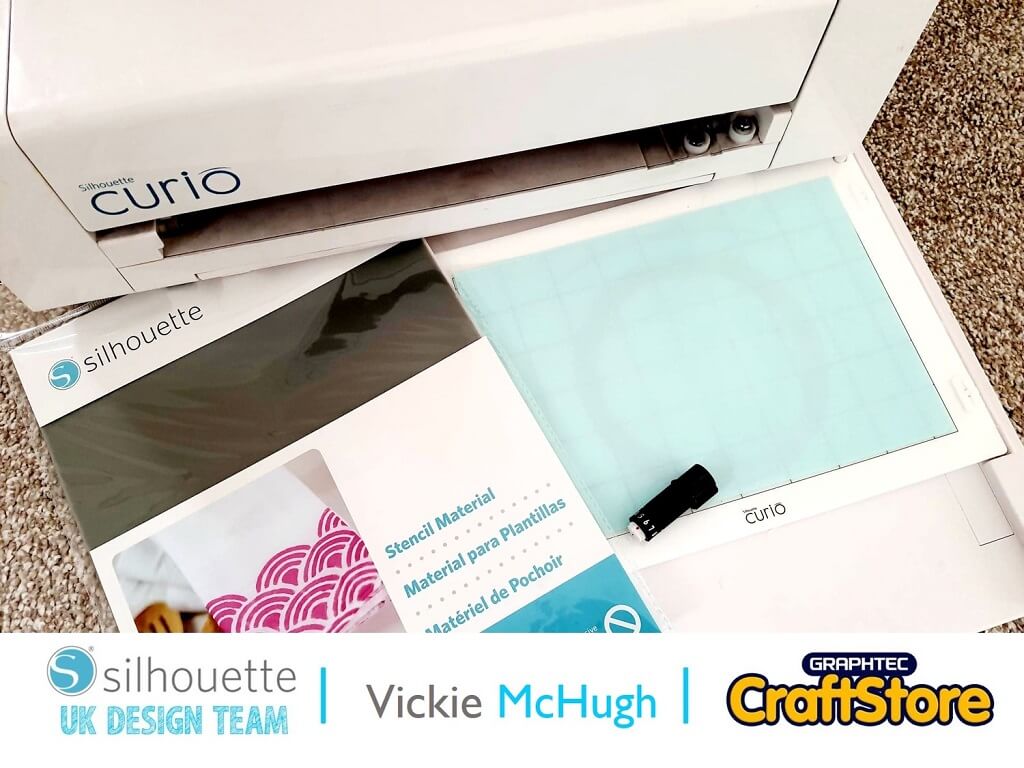
Check the Material selection and change if necessary.
I am using the Silhouette Stencil Material, so I have changed my settings. Once you have selected your material, check what blade setting you need.
This shows me that I need to change mine to a 3.
When all the settings changes have been made, click Send.
Your stencil will then start to cut.


This tutorial is a simple way to make a detailed stencil using an image from the Silhouette Design Store.
I have loved making lots of stencils to airbrush onto my cookies, and its great to have the ability to be able to create your own.
– Vickie McHugh –

• Design Used: Fireworks
Design Store Artist: Paige Evans
Design Store ID: 296366 > Download