Spring Cleaning with the ScanNCut
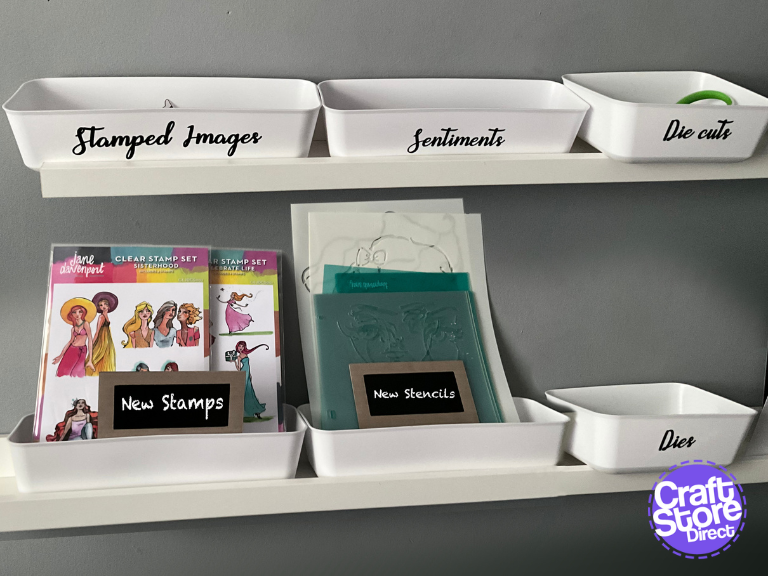
` Spring Cleaning with the ScanNCut It’s that time of year again when we all want to get organised, clean and prep for the summer ahead. Here’s a few organisational…
PLEASE NOTE THAT THE OFFICE WILL BE CLOSED FROM 12PM FRIDAY 20TH DECEMBER 2024 AND WILL RE-OPEN ON THURSDAY 2ND JANUARY 2025
ORDERS FOR DELIVERY PRIOR TO CHRISTMAS WILL NEED TO BE SUBMITTED BY 2.30PM ON THURSDAY 19THDECEMBER 2024.
ORDERS RECEIVED AFTER THIS TIME AND DATE WILL BE DESPATCHED ON THURSDAY 2ND JANUARY 2025.
Merry Christmas & A Happy New Year to all our customers. Thank you for your continued support.
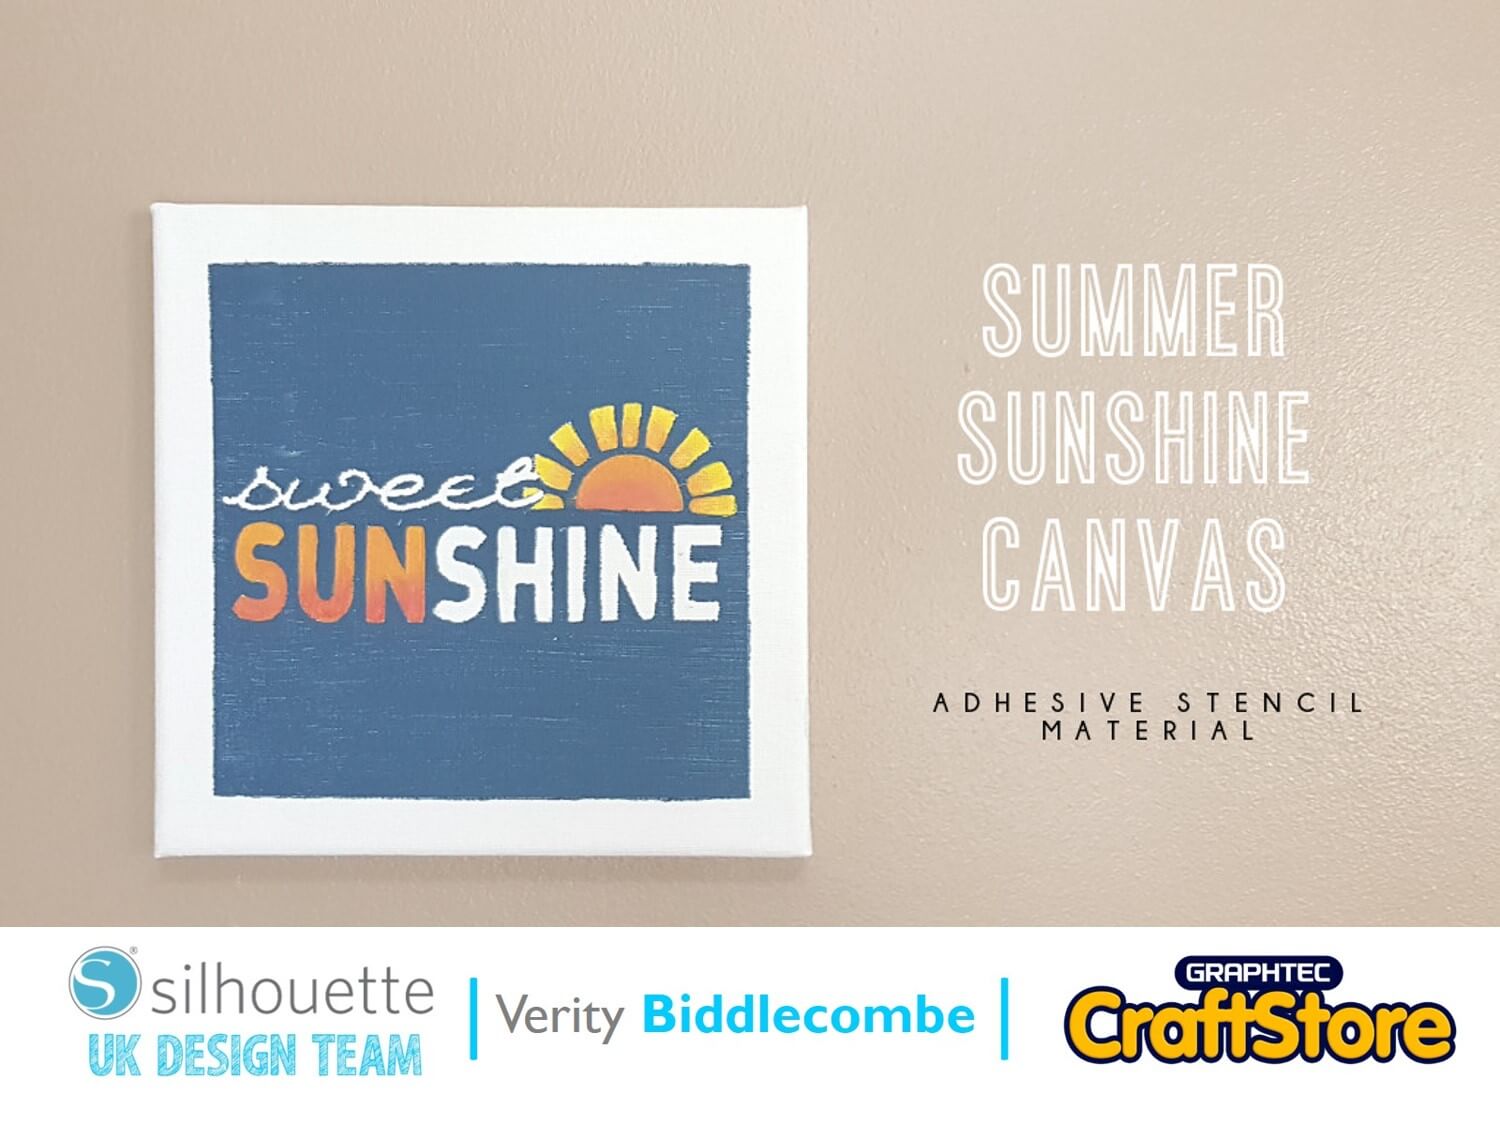

Hi everyone, Verity here today from PrettyLittleButton.
The Adhesive backed stencil material is a great and easy way to cut a design out to create a custom stenciled canvas.
What’s more, you can even get your kids involved as they can paint over the stencil and it will stay put!
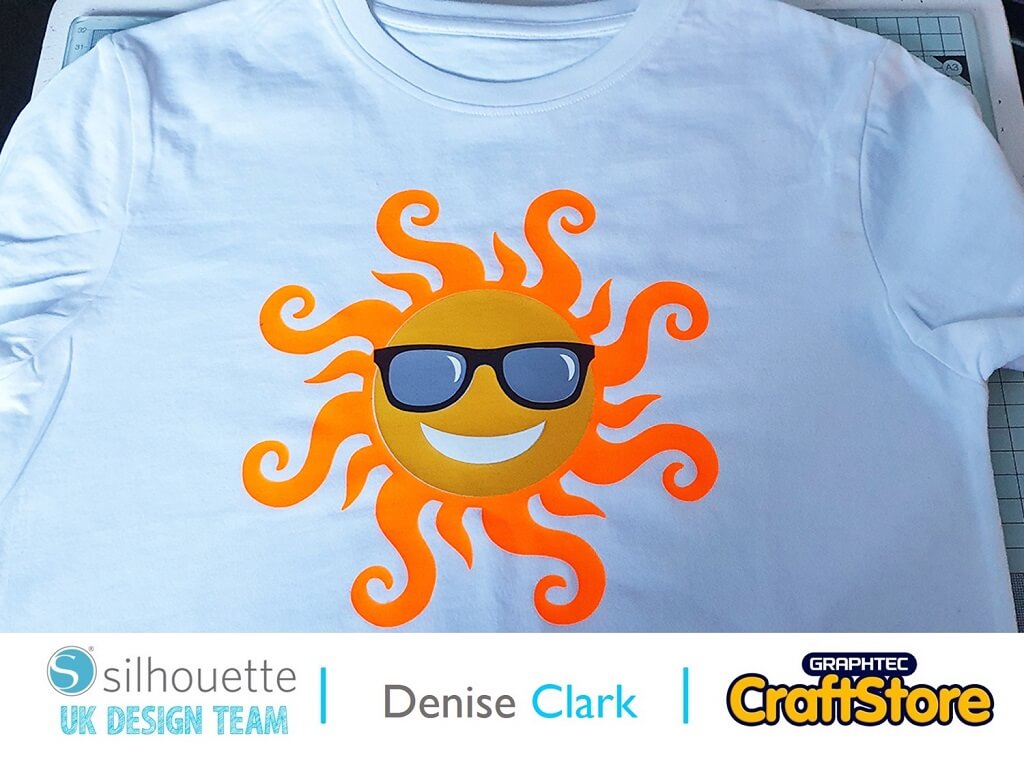
Download the design: YOU ARE MY SUNSHINE WITH SUN – PHRASE into your design space.
Removed the outline cut from the file.
Ungroup the remainder of the design and separate the 3 main elements.
(Make Sure You Scroll To The Right For Both Images)
To remove the ‘sketch’ aspect of the sun, right-click on the sun and ungroup.
Add an offset to the word ‘sweet’ using the offset window. You can find this on the right-hand toolbar and select the ‘star’ icon.
Overlap the word sweet with the sun when adding the offset to ensure the offset is not larger than the cutout of the last few words in the sun.
(Make Sure You Scroll To The Right For Both Images)
Position each three elements on your design space with plenty of space around each of them. Using the rectangle tool, add a box around each design element.
This will allow you to create a stencil once cut. Load a sheet of adhesive back stencil material onto your mat and into your machine. Select the stencil material for the material in the drop down list. Make sure you do a test cut before cutting the design out.
Before we use the stencil in is normal form, adhere transfer paper over the top of the stencil to pick up the negative elements of the stencil.
Position these onto your canvas. This will act as a mask to allow you to add a block of colour to the background. You can also add masking tape around the canvas to create a frame.
Once you have painted the background and it has dried, you can remove the masks and the place you stencil over the top of each area to fill in with.
(Make Sure You Scroll To The Right For Both Images)
This is a mess free way to paint a custom design onto a canvas.
You can easily make different designs to suit any room in the house or get the kids involved in creating art for the their rooms.
– Verity Biddlecombe –
• Design Used: You Are My Sunshine With Sun
Design Store Artist: Kolette Hall
Design Store ID: 14976 > Download