Focus On Love | Karen Moss | Silhouette UK Blog
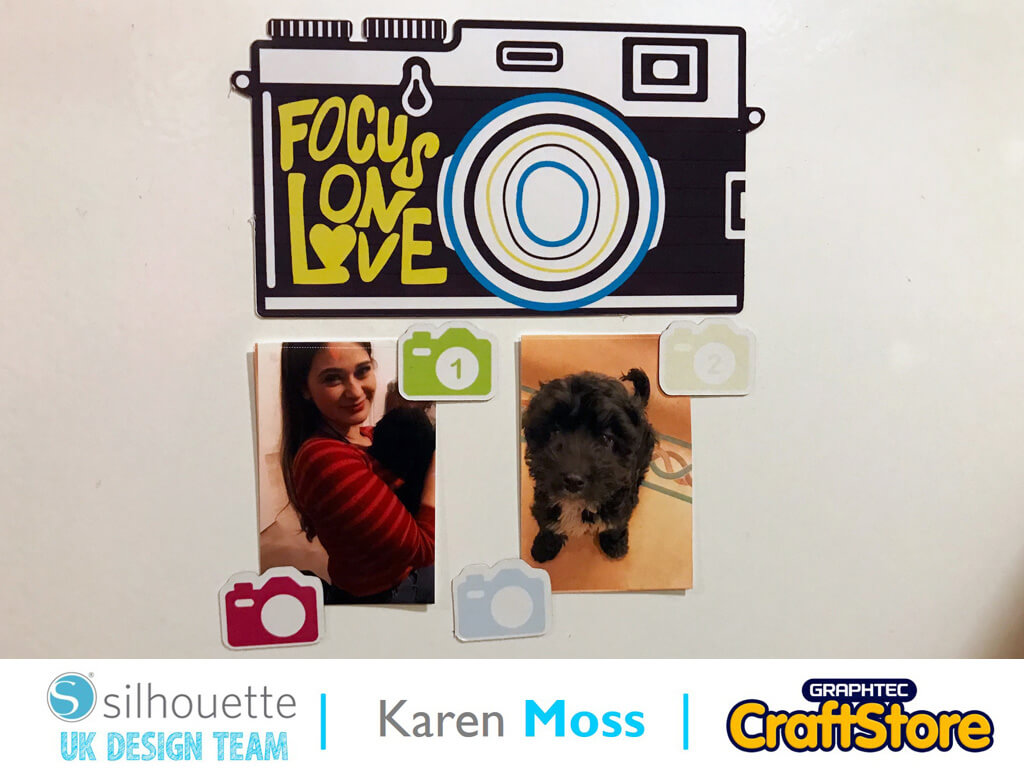
Focus On Love | Karen Moss | Silhouette UK BlogFocus On Love | Silhouette Printable Magnet Paper This year I am determined to print out more photos. I take quite…
PLEASE NOTE THAT THE OFFICE WILL BE CLOSED FROM 12PM FRIDAY 20TH DECEMBER 2024 AND WILL RE-OPEN ON THURSDAY 2ND JANUARY 2025
ORDERS FOR DELIVERY PRIOR TO CHRISTMAS WILL NEED TO BE SUBMITTED BY 2.30PM ON THURSDAY 19THDECEMBER 2024.
ORDERS RECEIVED AFTER THIS TIME AND DATE WILL BE DESPATCHED ON THURSDAY 2ND JANUARY 2025.
Merry Christmas & A Happy New Year to all our customers. Thank you for your continued support.
Hello crafters!!
Vicky here from Cut That Design!
Firstly I’d like to wish you all a happy new year, here’s hoping 2021 is a little easier on us all this year!
That being said, let’s get crafting!
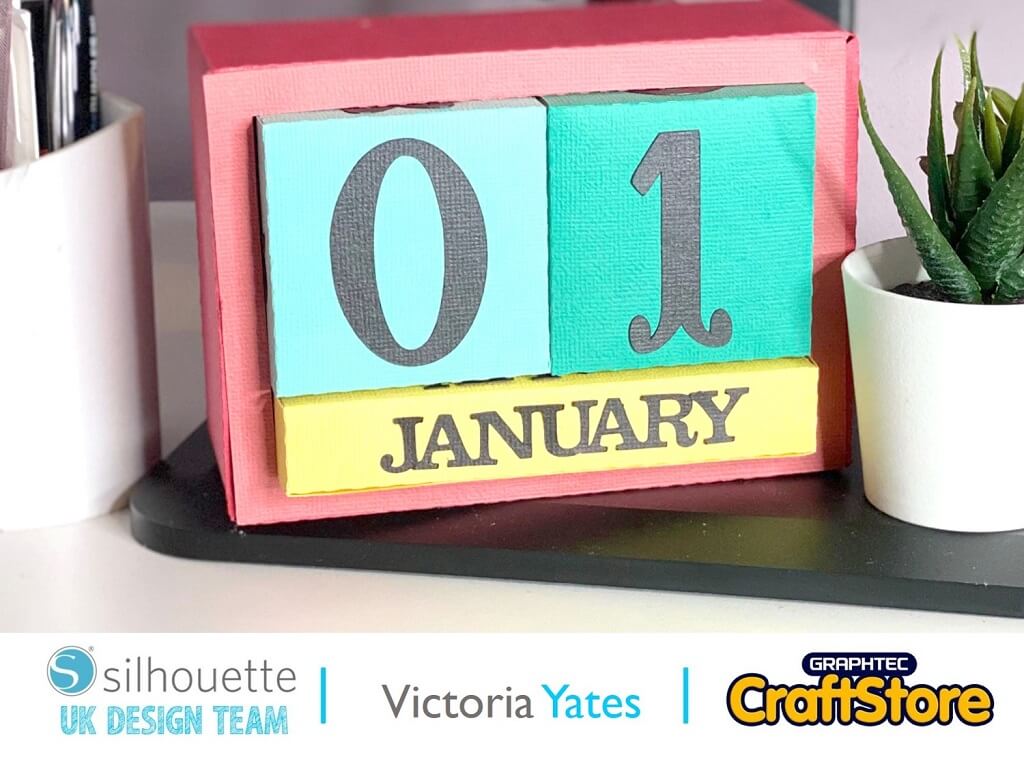
As it’s the start of a new year, I’ve made myself this colourful desk calendar. Can you tell I couldn’t decide on what colour to use?
So, in this post I’m going to show you how I put together this calendar, using Self-Adhesive Cardstock from Silhouette and cut with my Silhouette Cameo 4.
Items you will need:
• Silhouette Self-Adhesive Cardstock
• Silhouette Cutting Machine
• Double-Sided Tape or Glue

Firstly, I purchased and downloaded the 3D Box Calendar, by Lori Whitlock from the Silhouette Design Store.
I opened it in the Silhouette Studio Software.
For my own reference, I used the fill colour tool, and filled in the shapes with the colour of card I was going to use for that shape.
Once I had organized the shapes in to colours I clicked on the ‘SEND’ icon in the top right.
I adjusted my Material settings and blade settings accordingly.
As I was using the Silhouette Self Adhesive Cardstock, I used the recommended Blade, Force and Speed.
I’m also currently using the Premium blade, which is not automatic, so I also adjusted my Silhouette blade.
Once I was happy with my settings, I cut all the shapes out on my Silhouette Cameo 4.


Here are the shapes cut out.
The blue and green shapes are for the Numbers, the yellow shapes are for the months, and the red shapes are for the outer box!
When putting the box together I noticed that the adhesive wasn’t sticking as well as I’d like, so I used some double-sided tape (as shown) to provide extra adhesion.
I took the four rectangular shapes, folded the sides along the seam.
I adhered the smaller rectangular shapes to the inside of the larger rectangular shapes, making sure the fold is in the correct position (as shown in the top middle image)
You should end up with two 3D L shapes (as shown in the top right image).
I then adhered both the shapes to each other as shown in the bottom middle and left images.


Next up, I added the back panel and the front ‘window’ shape to the box. This gives it a neater look.
I also used the centre cut out of the front ‘window’ panel and stuck to the inside of the back of the box.
This is to add extra strength and also, as we are using Self Adhesive Cardstock, we don’t want the numbers and month boxes to stick to the back, making it unusuable.
Next up I put together the boxes for the numbers and the months.
I again, used some extra adhesion to ensure the boxes would stay together. Especially as these will be getting a lot of use throughout the year!


I found placing the month boxes in before the number boxes was much easier than doing it the other way around!
Please note: The number ‘6’ will also act as a number ‘9’
Here is the completed project!
It did start off a little tricky, although the Self-adhesive was very sticky, it wasn’t quite strong enough to hold the sides together, however the double sided tape saved the day!
This 3D Box Calendar is great year in and year out! Why not have a go and experiment with some fun colours!
Until next time. Happy Crafting!
– Victoria Yates xx –
• Design Used: 3D Box Calendar
Design Store Artist: Lori Whitlock
Design Store ID: 27977 > Download