Leatherette Christmas Decorations | Karen Moss | Silhouette UK Blog
Leatherette Christmas Decorations | Silhouette Leatherette Sheets
When I opened my pack of Silhouette Leatherette I was so thrilled – three sheets in such gorgeous colours, I am totally in love with the rose gold sheet.
We were tasked with making something ‘Christmassy’ with it and I immediately thought of Christmas tree decorations.
Preparing Your Design
I choose a design that had several options for cutting out Christmas decoration shapes and removed the ones I didn’t want and then resized them to 125%.
Adding The Stitching Holes
I wanted to add some stitching holes to my designs so I gave all the designs an external offset.
Creating Stitching Holes With The Rhinestone Option
I have used this option before and it is a really easy way to add stitching holes.
I changed the internal line to rhinestones as this will cut small regularly spaced holes.
I then changed the size to 1 and the spacing to 0.1 and this was perfect for my stitching.
Preparing The Designs For Cutting
Before cutting I duplicated the shapes by using the ‘mirror right’ option.
This was to ensure that once paired up the holes matched perfectly. All that was left to do was to change my design area to letter size and use the recommended settings to cut.
I have to say it cut perfectly.
Stitching The Pieces Together
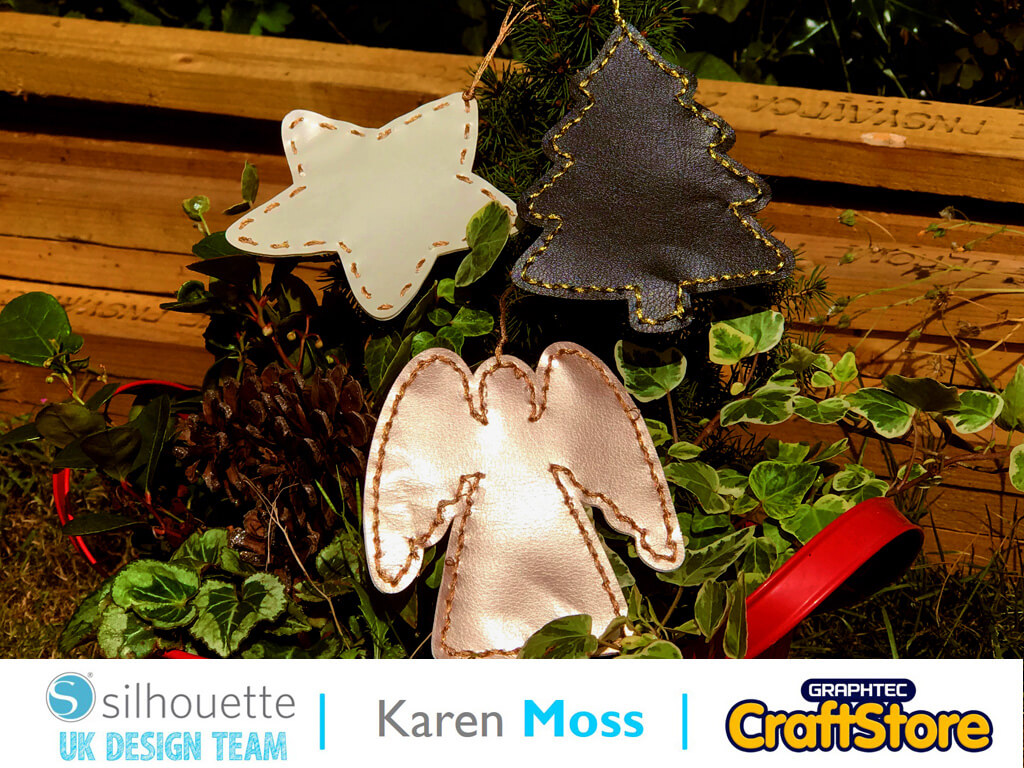
I used gold and rose gold embroidery thread and running stitch to secure my pieces together.
I was going to stuff them but liked the way they looked without stuffing.
(Make Sure You Scroll To The Right For Both Images)
The Perfect Tree!
This was the first time I have used Silhouette Leatherette and I would certainly use it again.
It cut beautifully and I am thrilled with the resulting decorations.
I fully intend making a few more to use as tags on my Christmas presents.
– Karen Moss –
