Sale!
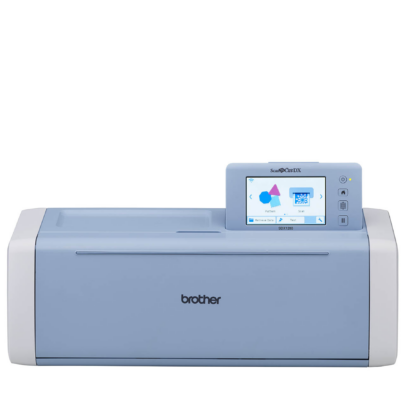
Brother ScanNCut DX Standard Tack Adhesive Mat
Price range: £19.80 through £33.74
Select options
This product has multiple variants. The options may be chosen on the product page
PLEASE NOTE THAT THE OFFICE WILL BE CLOSED FROM 12PM FRIDAY 20TH DECEMBER 2024 AND WILL RE-OPEN ON THURSDAY 2ND JANUARY 2025
ORDERS FOR DELIVERY PRIOR TO CHRISTMAS WILL NEED TO BE SUBMITTED BY 2.30PM ON THURSDAY 19THDECEMBER 2024.
ORDERS RECEIVED AFTER THIS TIME AND DATE WILL BE DESPATCHED ON THURSDAY 2ND JANUARY 2025.
Merry Christmas & A Happy New Year to all our customers. Thank you for your continued support.
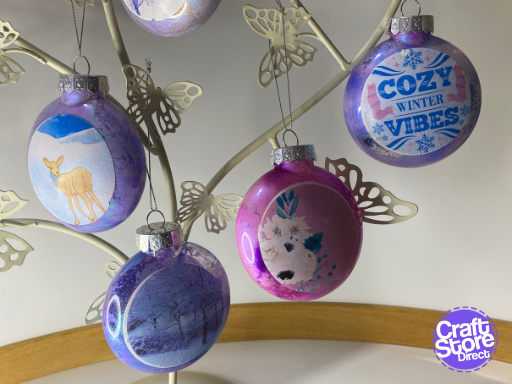
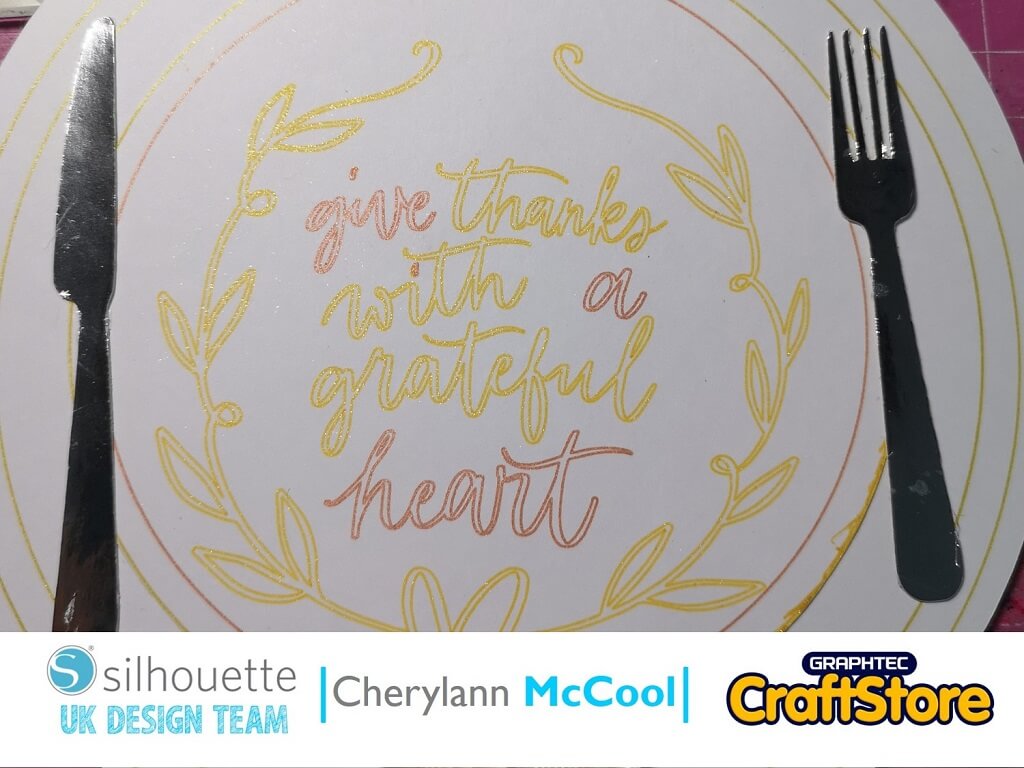
Baubles are great for gifting, selling at Christmas Craft Fairs, as well as decorating your home.
This time, let’s experiment with some unusual supplies. You will need some pearlescent pigment powders and a medium suitable for plastic.
Craft Materials We Used:
• Brother ScanNCut SDX1200
• SDX Vinyl Auto Blade
• Standard Tack SDX Cutting Mat
• Silhouette Image Transfer Paper
• Pearlescent Pigment Powder


Clean your bauble with alcohol and wipe clean with a damp cloth.
Remove the cap of your bauble, and squirt some of your medium inside your bauble. Gently rotate around the bauble so you get an even coverage of medium around the inside of the bauble. Drain excess medium into a spare cup.
Spoon your pigment powder in a little at a time and tip around the bauble.

As you can’t print directly from Canvas Workspace, you are going to need layout software where you can put an image in a round frame. My bauble measures just over 3 inches diameter, so my transfer needs to be 2.5” wide.
I used Affinity Designer V2 to create my circle frames first as well as 3 small squares for registration.


Your file is now ready to accept your images. These will need to be reversed, especially if they contain text.
Now, your images don’t have to be photos you’ve taken; you can use SVG files, sublimation files, public domain and royalty free photos (such as Pixabay).
Import in each photo and insert it into your frame. In Affinity Designer V2, this is as simple as dropping the image onto the frame in the layers panel. You can also add any image effects or tweaks you need.
Flip all your images if you haven’t already done so. Send your file to print on your laser printer following the instructions in the image transfer packet.


Export the file to SVG ready for cutting. If you don’t have the option, then use a circle on your ScanNCut to cut out.
Use the background scan on the darkest setting. Align your registration marks and cut away. If the cut line is slightly off it will just add to the vintage feel. For a perfect cut, you can always cut just inside the circle.


Clean and spritz the surface of your bauble with water. Peel away the clear backing paper and place onto your bauble. Lightly press down from the cent outwards, before spraying the backing to make the transfer more malleable. Once smoothed down, gently try sliding the paper away. Any resistance, spray and try again.
Once the paper is removed, press down any creases or bubbles. Bubbles can be pricked to release air to decrease the damage to the print.
Set aside to dry thoroughly before hanging or adding further decoration. You can add a vinyl frame or sentiment if you wish.

What a special way to bring a personal touch to a tree. It could be baby’s first Christmas, a memorial bauble or a special event or memory.
– Natalie x

Price range: £19.80 through £33.74
Original price was: £499.00.£449.00Current price is: £449.00.
Original price was: £16.49.£14.84Current price is: £14.84.
Original price was: £9.25.£6.94Current price is: £6.94.