Luck O’The Irish | Cherylann McCool | Silhouette UK Blog
Luck O’The Irish | Cherylann McCool | Silhouette UK BlogLuck O’The Irish | Silhouette Printable HTV Hi Cheryl here again. Why is it that all of the big occasions seem…
PLEASE NOTE THAT THE OFFICE WILL BE CLOSED FROM 12PM FRIDAY 20TH DECEMBER 2024 AND WILL RE-OPEN ON THURSDAY 2ND JANUARY 2025
ORDERS FOR DELIVERY PRIOR TO CHRISTMAS WILL NEED TO BE SUBMITTED BY 2.30PM ON THURSDAY 19THDECEMBER 2024.
ORDERS RECEIVED AFTER THIS TIME AND DATE WILL BE DESPATCHED ON THURSDAY 2ND JANUARY 2025.
Merry Christmas & A Happy New Year to all our customers. Thank you for your continued support.

Hi Cheryl here again.
I just love this time of year watching the leaves fall off the trees and the green is turning to red and orange and the kids are getting excited.
Yes it’s time to dress up again so what will I be this year?
• Silhouette Premium Glow-In-The-Dark Vinyl
• Cardstock
• DST / Wet Glue
• Ribbon
• Vellum
In your software open your file in the design space and workout what the different pieces are for and if you need to increase the size do it here so all your pieces will increase to fit.
Here you want to un-group the pieces to make things easier so right click on the box and select un-group and then you can start to cut your pieces.
(Make Sure You Scroll To The Right For Both Images)
If you start off cutting the main pieces first when you have got your piece laid out on your mat and happy with the size make sure you have the correct size of mat as per the design page settings then hit to send.
When you come to the send screen make sure you select the correct material as this will decide on your cut settings, also make sure your file fits within the cut screen then you can hit send to start cutting.
Take your mat and take off your cut piece and put aside and continue to cut the rest of your materials ensuring that each time you pick the correct material before cutting.
(Make Sure You Scroll To The Right For Both Images)
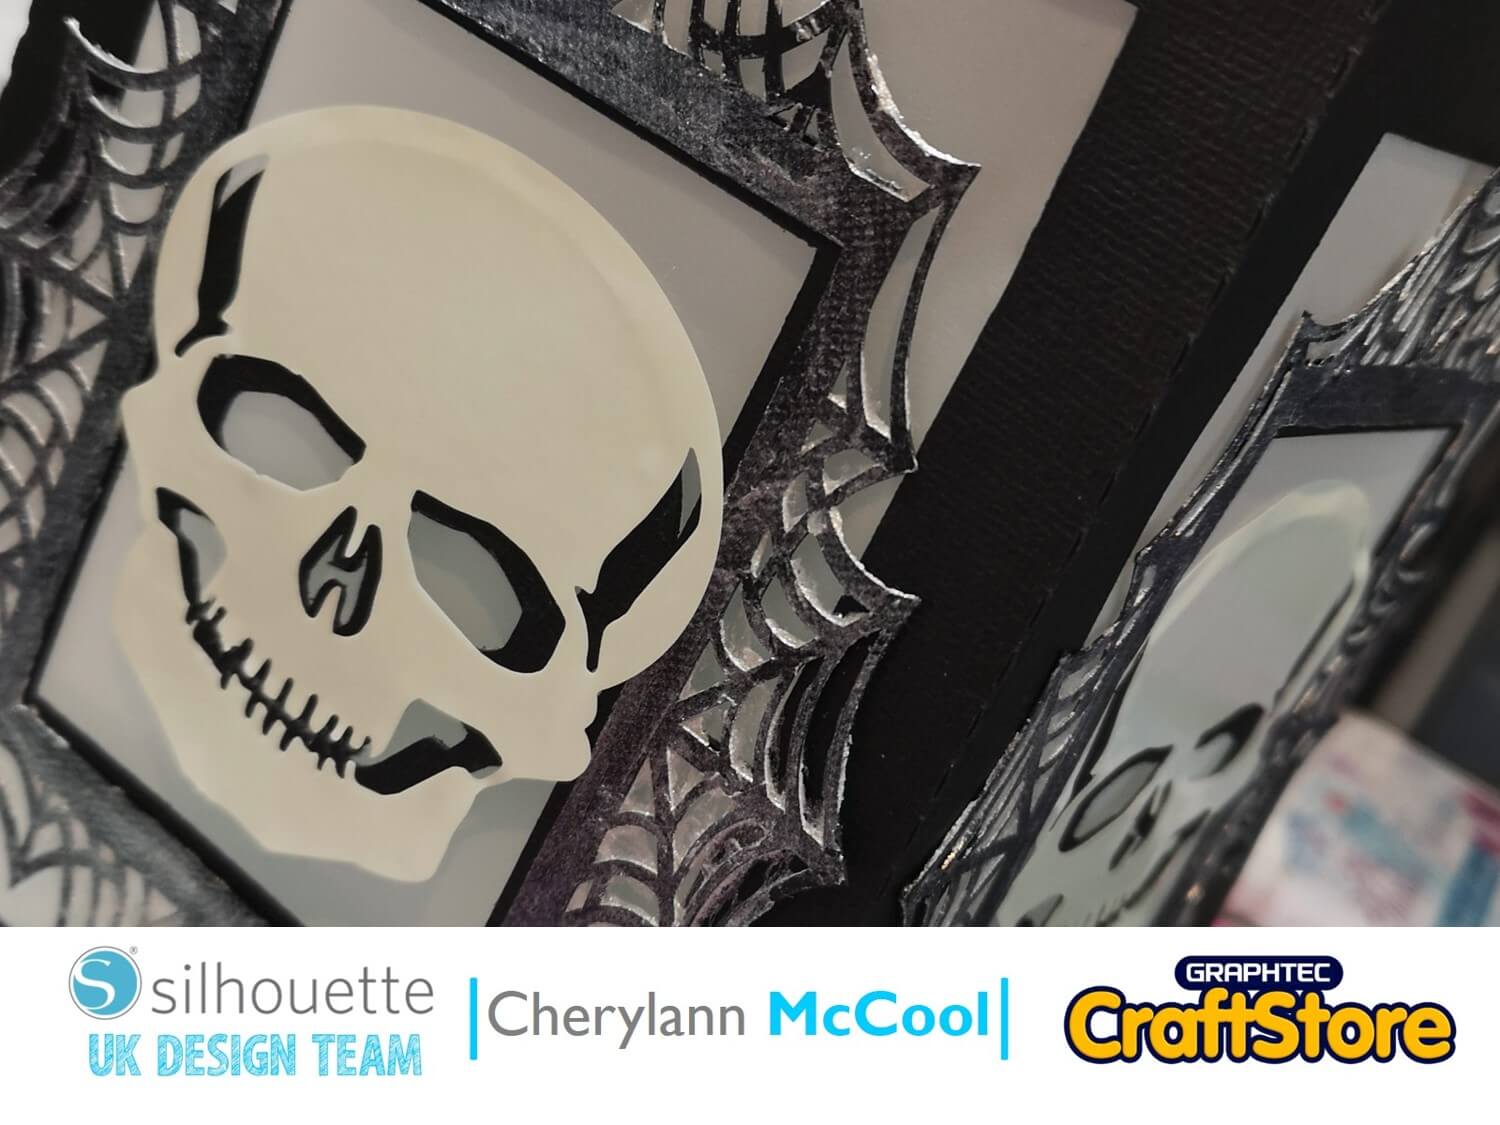
Now all the pieces have been cut it’s time to build the lantern up. Build the main part of the lanterns and then before you stick it all together.
Line the webs up against the thin lines next to the skulls and put the webs on the outside.
(Make Sure You Scroll To The Right For Both Images)
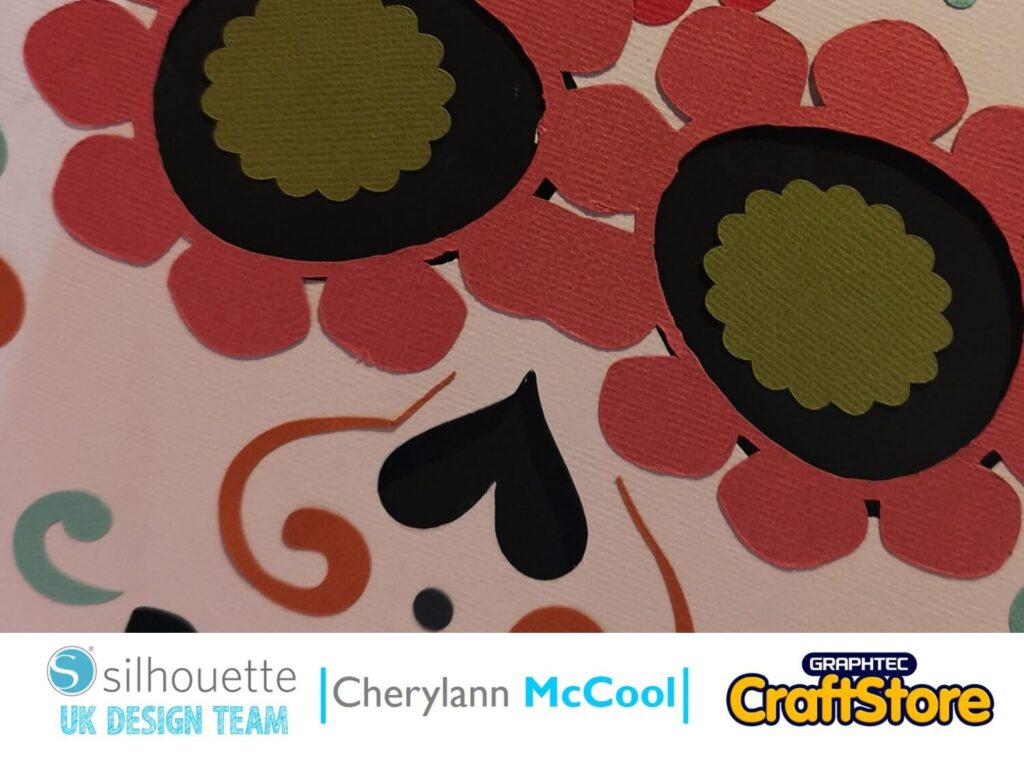
Now the fun bit time to put the Skulls on you will see as you hold the vinyl it will light up.
Then put the 2 main sections together and before gluing the lid put the handle through the top and finish off with some ribbon.
(Make Sure You Scroll To The Right For Both Images)
I absolutely loved this project and considering I’m not a big fan of Halloween I was really happy with how this turned out and I know that if you are having a Halloween party then these lanterns would make great decorations but make sure to only use battery lights and not real candles. This vinyl is suitable for a lot of Halloween decorations.
As I put the remainder of the vinyl into my drawer it was all lit up and it made me think of other things that I could make. I hope that you will show us what you make and would love for you to post them on the blog for us all to see.
– Cherylann McCool xx –
• Design Used: Skull Lantern (Flameless)
Design Store Artist: Jennifer Rush
Design ID: 149297 > Download