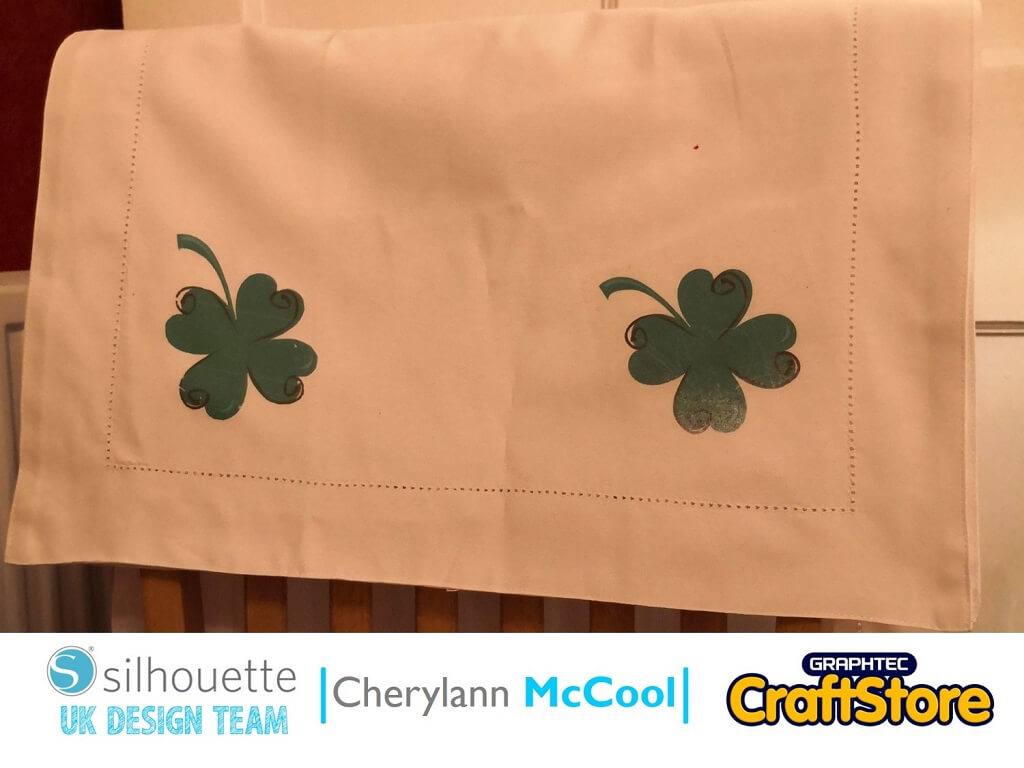
Luck O’The Irish | Silhouette Printable HTV
Hi Cheryl here again.
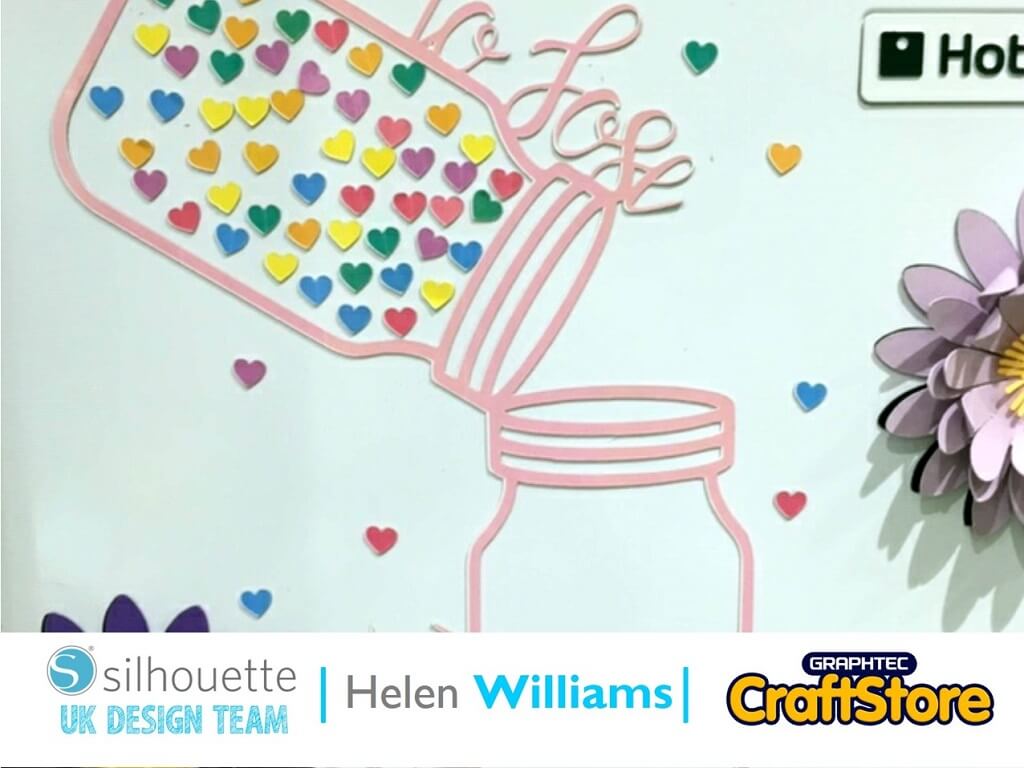
Why is it that all of the big occasions seem to be at the beginning of year? There are so many events and occasions coming up and we are only just getting into the new year, I have even seen a shop with lots of Easter chocolate in already!
If you like to celebrate St Patrick’s day then I think this project will suit you well.
Craft Materials Used
• Silhouette Printable Heat Transfer Material
• Blank T-Shirt or Place Mats
• Iron or Heat Press
In your software open your files in the design space and put your transfer paper into your printer.
Now you want to change your Media size to Letter on your page Setup panel and then change the size of your image by clicking near the image so that the scale shows, then with the boxes, change your size to what you require your design to be.
Once you are happy with your size then go to View in the ribbon and select to use Registration Marks.
Now select on the panel at the right hand size and you will see highlighted black marks and the grid section, your image must stay within those boundaries.
Before you print you should go to Object and Mirror, select the way you want your image to face.
Then you should go to file and print and wait for your image to come through your printer.
Once your image has been printed load it on to your mat.
Now select your material which is Heat Transfer Printable (Light Fabric) and your settings should automatically change.
If you are happy then select send to cut and your machine will cut your image out.
Once your image has been cut then you want to place your transfer paper with the image onto your fabric.
Make sure that the coating is to the top then heat on using either an iron or a heat press. Put pressure on it for a couple of minutes and check to see if the image has transferred onto the fabric, if so remove the coating and your item is complete.
I enjoyed making this item as I have never used heat transfer paper before and it was a lot easier to use than I prevulsy thought.
Once you heat press the image onto the material you don’t see any of the extra around your image.
I would highly recommend this material as it’s a great option if you need to make something quickly.
Bye for now!
– Cherylann McCool xx –
