Celebrate Card | Verity Biddlecombe | Silhouette UK Blog
Celebrate Card | Faux Foil Decoration
Hi everyone, Verity here today from PrettyLittleButton.
Silhouette Vinyl makes a great addition to your papercraft supplies especially when it comes to Metallic Vinyl. You can use it as an alternative way to add foil decoration without any messy glue needed.
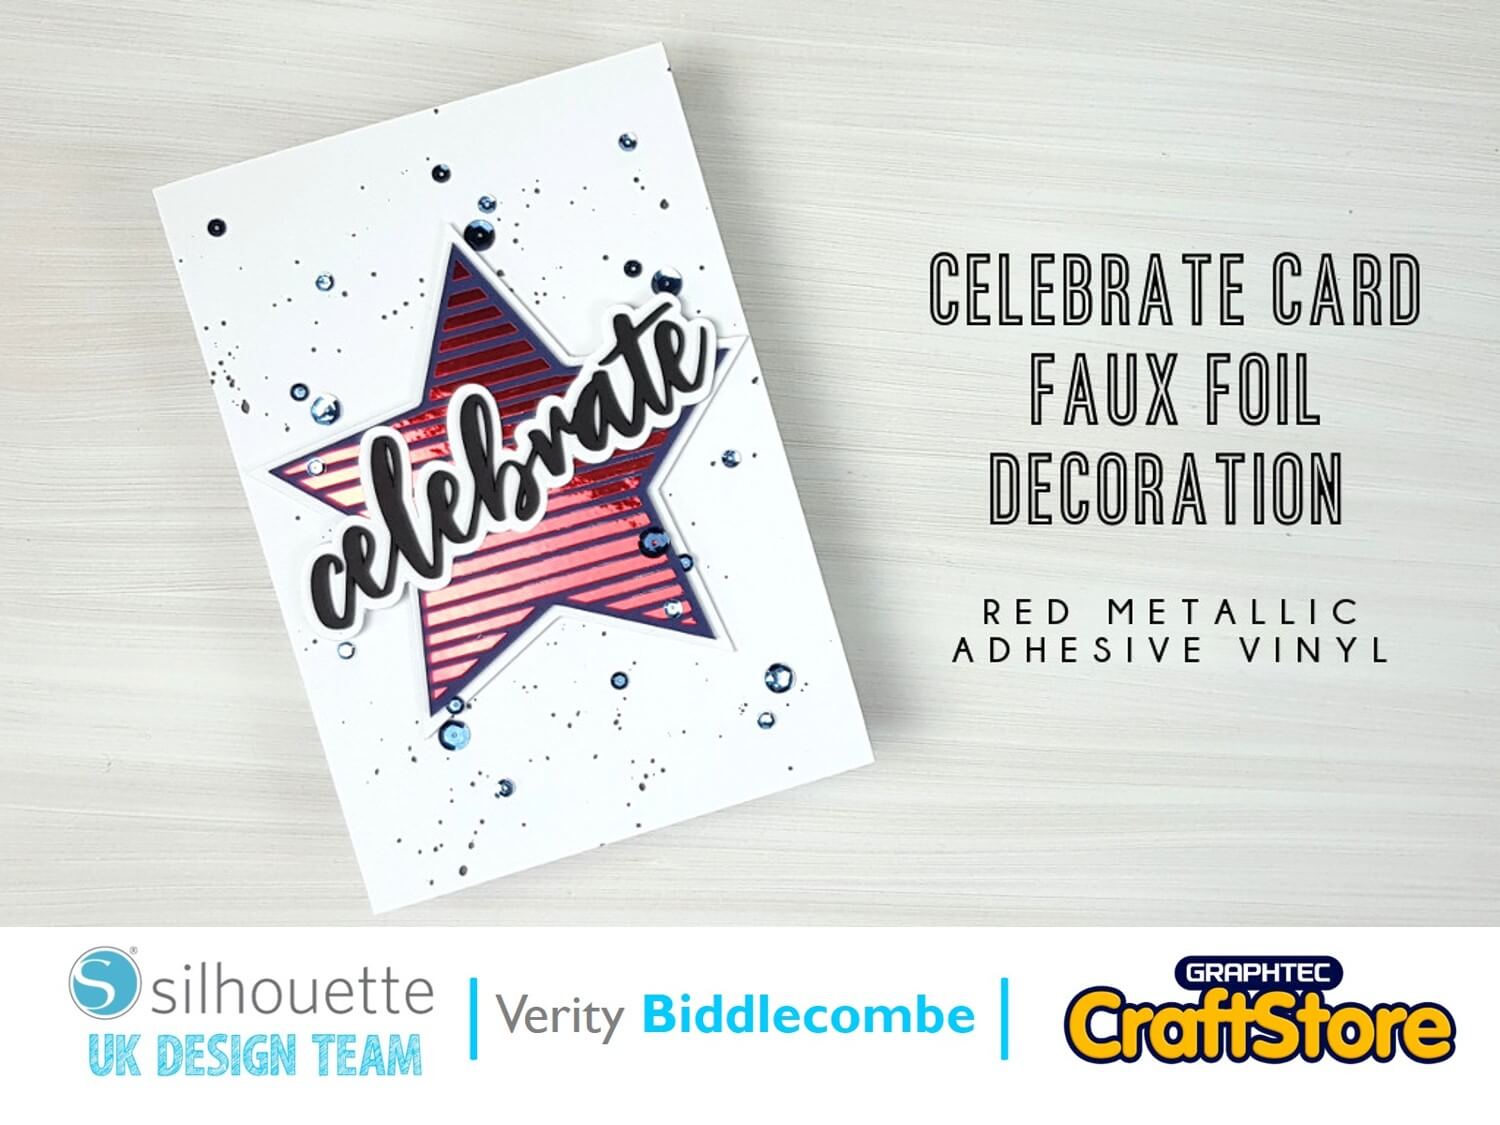
Today I make a card inspired by American Independence Day.
Creating The Celebrate Card Design
Start off by choosing one of the stars from the Nested star file by Alaa’K and inset this into your design space. Duplicate this start as you will need to cut out the star normally later on
To create the striped appearance to the start, we are going to use the knife tool to ‘cut’ the design up. Make sure you have the knife tool ‘solid’ cut and not ‘outline’ cut, as seen in the top left corner.
Cutting The Star
Whilst holding down the ‘Ctrl’ button, draw a line horizontally across the star. Using the ‘ctrl’ button whilst doing this makes sure your draw a straight line.
When you release the knife, a small section of the start will have been cut out, but the sections will contain one continuous line.
Keep cutting the star up, alternating the amount of space you cut between each section.
(Make Sure You Scroll To The Right For Both Images)
Deleting Unwanted Sections
Right click the start design and ungroup the elements. Next, select each alternate section (the smaller width sections) and delete these from the design.
You will now have create a striped star ready for cutting out. Trim down a piece of Silhouette red Metallic Adhesive vinyl to just larger than the star and load this onto your mat.
Send the design to cut, but make sure you do a test cut prior to ensure the design will cut – your blade could have dulled since you last cut the vinyl. Weed the excess vinyl using your Silhouette weeding tools, making sure you keep the stripes of the star and remove the negative space.
In addition, cut out the duplicated star we made at the beginning out of blue card as well as cutting out another start slightly bigger than this. To create that star, either create an offset, or use the size handles on the shape to make one bigger. Cut this start out of white card.
Creating The Sentiment
Load up the Charlie font in your design space and type out the word celebrate.
Alter the size of the word and when you are happy with this, open the modify panel. It is important to weld these letters before you cut out the design. Otherwise it will cut out each letter individually as opposed to once single word.
Cut this word out of black cardstock 3 times. In addition, open up the offset panel an create an offset of the word celebrate to cut out of white card.
Assembling The Celebrate Card
Using glue adhere the 3 ‘celebrate’ die cut words on top of one another for dimension and then adhere the layered die cut on top of the white offset outline die cut.
Using Silhouette transfer tape, transfer the red striped metallic vinyl star onto the blue start cut out of cardstock. Burnish the vinyl down and remove the tape.
Foam mount the striped star onto the white offset star for dimension. For the cardbase, fold a piece of A4 white cardstock in half and add some black paint splatter on the front. Once this is dry, foam mount the star pieces onto the front of the card.
Next, using liquid adhesive, adhere the ‘Celebrate’ sentiment on to the star and lastly, embellish with a few colour corresponding sequins.
(Make Sure You Scroll To The Right For Both Images)
Time To Celebrate
It is easy to take a simple shape and add a fun twist on it with just a few tools from the Silhouette studio.
What’s more, adhesive vinyl is a great way to a quickly add a fiddly design with out having fuss around with any adhesive, and doesn’t that metallic vinyl just shine?!
– Verity Biddlecombe –
