Autumn Colours | Silhouette Adhesive Back Textured Cardstock
Hi Cheryl here again.
Oh my hasn’t the summer flown so quickly which means we are nearly into my most favourite time of year!
Yes Autumn is coming and I can’t wait.
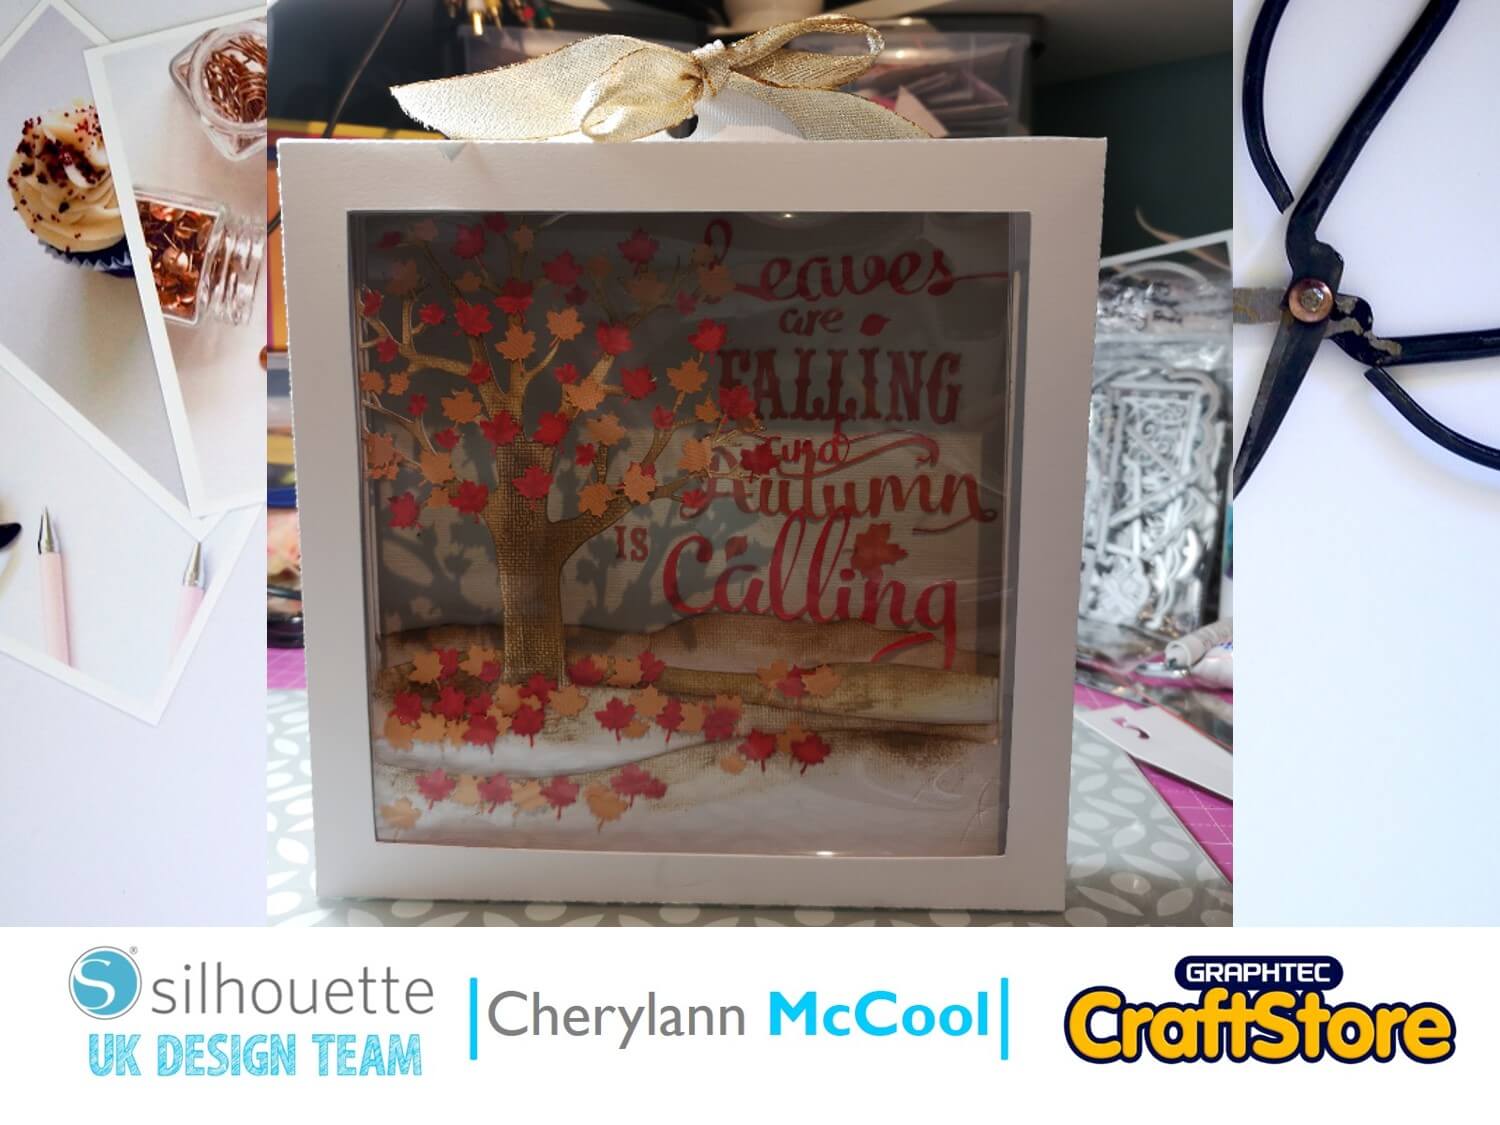
I love watching the leaves fall off the trees and the colours all change, and the air gets a bit cooler hence why I’ve made this Falling Leaves Shadow Box with the Silhouette Adhesive-Backed Cardstock Bumper Pack to brighten up the house.
Let’s see how I made this.
Craft Materials Used
Silhouette Adhesive-Backed Cardstock Essentials Pack
White basic cardstock
DST and wet glue
Pens and ink pads
Ribbon
In your Silhouette Studio software open your file in the design space and you will see all the main parts of the box have been numbered and have all been laid out vertically under the mat.
(Make Sure You Scroll To The Right For Both Images)
Bar a few small bits you will see that you will need to use 12 x 12 inch card.
For part 1, as it’s the front part of the box you can choose either to use basic cardstock or your adhesive cardstock but if you are wanting to make it using a single colour you will need to use some basic cardstock.
Next, lay the number 1 on your mat and go to edit and view display screen settings which opens on the right hand of the screen.
Now, for size, make sure it’s set to 12×12 and then hit the send tab and make sure the material is set for Adhesive Backed-Cardstock.
Cardstock Settings Tip:
• Speed: 10
• Force: 29
• Passes: 2
(Make Sure You Scroll To The Right For Both Images)
Your first piece has now cut so now you need to do the same for the rest.
You should use you adhesive-backed card for numbers 2, 3, 4 and 5 and the piece in between 4 & 5.
For the square with no edges I chose to use the light / warm grey cardstock. The leaves will fit onto the 12 x 12 with the square bit and the other bits cut on basic cardstock.
If you are creating a white box use the square with no edges and follow the same steps as in section 2.
(Make Sure You Scroll To The Right For Both Images)
Now you have all your pieces cut you should colour with your ink pad all of the pieces that look like the land and the tree.
So, from piece 2 to the piece between 4 & 5, with your pens colour in the leaves for the tree in red and orange colours for the Autumn theme.
(Make Sure You Scroll To The Right For Both Images)
Now you want to fold all the edges to make the box shapes.
Around the edges of these boxes you should use your DST and tape them but if using wet glue you need to wait.
With the warm grey adhesive backed card, you should stick this onto the white basic card and add the single piece of land to the bottom and onto the warm grey in the right hand side where its clear (you can if you wish) cut a quote and add it here.
(Make Sure You Scroll To The Right For Both Images)
Now to put it all together
You are better building it up from number 5 and each time before laying the next layer remember to take the DST off or put your wet glue round the edges.
Before you put number 1 one on you want to add the top of the box to hang up. You can do so by folding the long piece and lay it in the back top and then add number 1 once you have added piece number 1.
You want to stick the square with no edges to the inside of the back of layer 1 and then you want to add the leaves on placing them in different places.
Also, on piece 1 as it’s the top layer of the box, you can put some acetate to protect the inside of the box.
Then once its all put together add the ribbon at the top to make it complete.
(Make Sure You Scroll To The Right For Both Images)
I absolutely loved this project it was so easy and so much fun to do!
Every time I completed another bit of it I was getting so excited with how it was coming along. When I coloured the tree and the land it was popping in my eyes and I feel that with the verse added it makes it look really special.
I would definitely use this adhesive backed cardstock again as it is really sturdy and easy to use. You can easily colour it with pens or spray paint it.
Well, all I’m going to say for the next challenge is that I know someone who is waiting for their wife to deliver little baby feet.
That’s me for now and I will be back soon with my next blog before you know it.
– Cherylann McCool xx –
• Design Used: 3D Falling Leaves Shadow Box (Large)
Design Store Artist: Marji Roy
Design ID: 99560 > Download
• Design Used: Leaves Are Falling Autumn Calling
Design Store Artist: Megan Hardy Designs
Design ID: 146285 > Download


