Reindeer Place Card
Christmas 2020 will be like no other, but we will all be celebrating and having Christmas dinner with our family and loved ones.
As we look at setting our Christmas tables I have decided to make something that can be personalized.
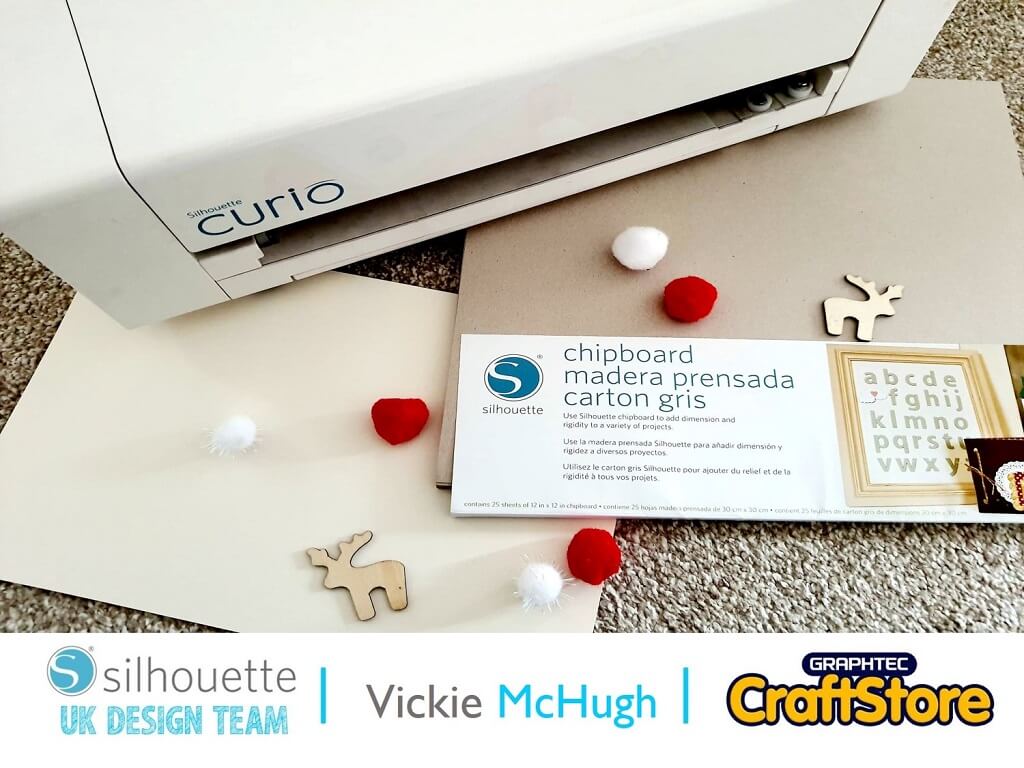
Required Items
• Silhouette Curio
• Silhouette Standard Ratchet Blade
• Silhouette Curio Cutting Mat (I Use The 8.5×6″ Mat)
• Silhouette Chipboard
• Glue Gun
• Extra Media For Decoration
I have choose to create a reindeer place card, so open up Design Studio and search for Reindeer Place Card Holder – 308065.
Once it has been purchased it will automatically download into your library. Once its been located double click and it will open up into Design Studio.
Once the file has imported into Silhouette Studio each piece will have a cut number on.
This is how many of each shame you will need to cut out to make your reindeer.
Right click on the large file and select “Ungroup”.
You can now move all of the shapes that you want to cut onto the mat.
I am starting with cutting out the antlers, so I have copied the shape onto my mat 4 times.
I have done this for each image, cutting out the amount the file tells me to cut.
Once you are happy with the placement of the shapes, click on the Send tab.
Check the Material selection and change if necessary.
I am using the Silhouette Chipboard, so I have changed my settings. Once you have selected your material, check what blade setting you need.
This shows me that I need to change mine to a 4.
When all the settings changes have been made, click Send.
Once all the shapes have been cut, sort them out and start sticking all of them together using a glue gun or glue.
Once it’s assembled you can add decoration.
I have decorated mine with a pom pom for the nose and googly eyes and added some glitter glue onto the antlers.
I have then used a small name stamp to stamp a name onto the card.
This was such a great craft item to put together and was great to personalize.
The chipboard is a great media to use and is very versatile.
I will be making more of these cute reindeers for the rest of my family for Christmas day.
– Vickie McHugh –


