Sale!
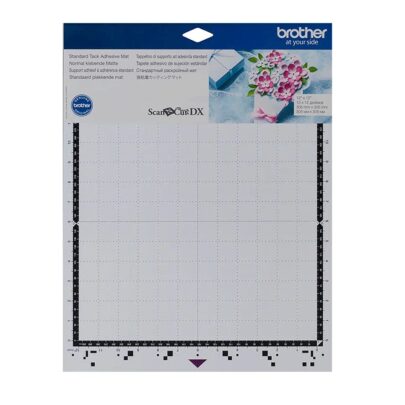
Brother ScanNCut DX Standard Tack Adhesive Mat
Price range: £19.80 through £33.74
Select options
This product has multiple variants. The options may be chosen on the product page
PLEASE NOTE THAT THE OFFICE WILL BE CLOSED FROM 12PM FRIDAY 20TH DECEMBER 2024 AND WILL RE-OPEN ON THURSDAY 2ND JANUARY 2025
ORDERS FOR DELIVERY PRIOR TO CHRISTMAS WILL NEED TO BE SUBMITTED BY 2.30PM ON THURSDAY 19THDECEMBER 2024.
ORDERS RECEIVED AFTER THIS TIME AND DATE WILL BE DESPATCHED ON THURSDAY 2ND JANUARY 2025.
Merry Christmas & A Happy New Year to all our customers. Thank you for your continued support.
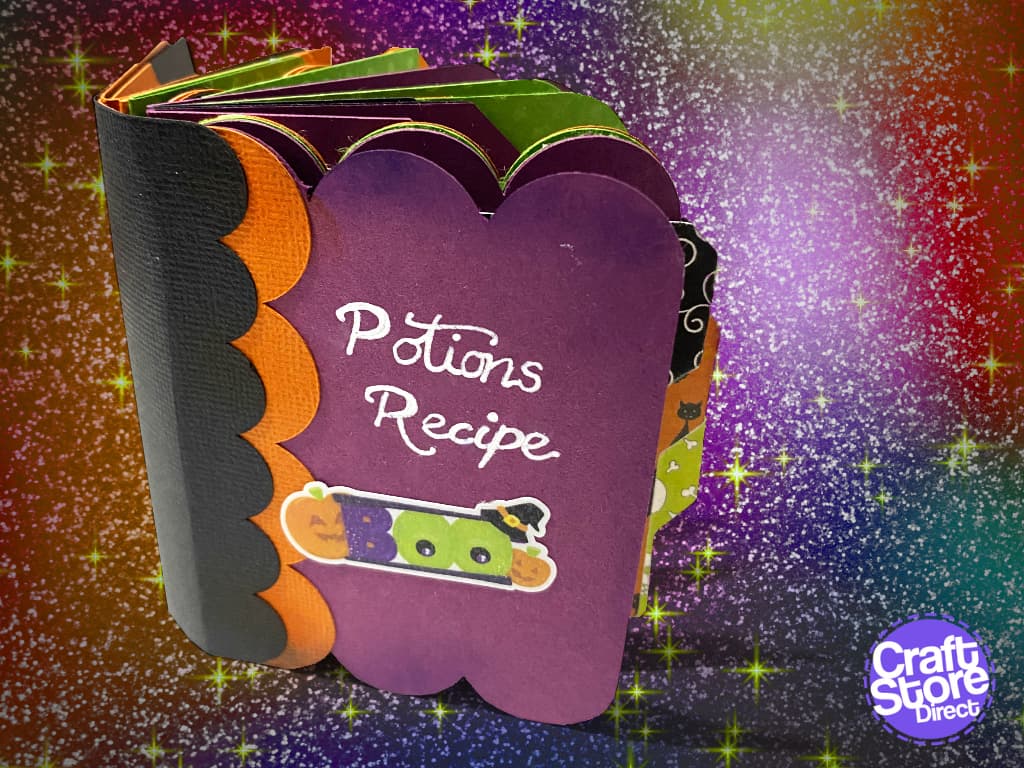
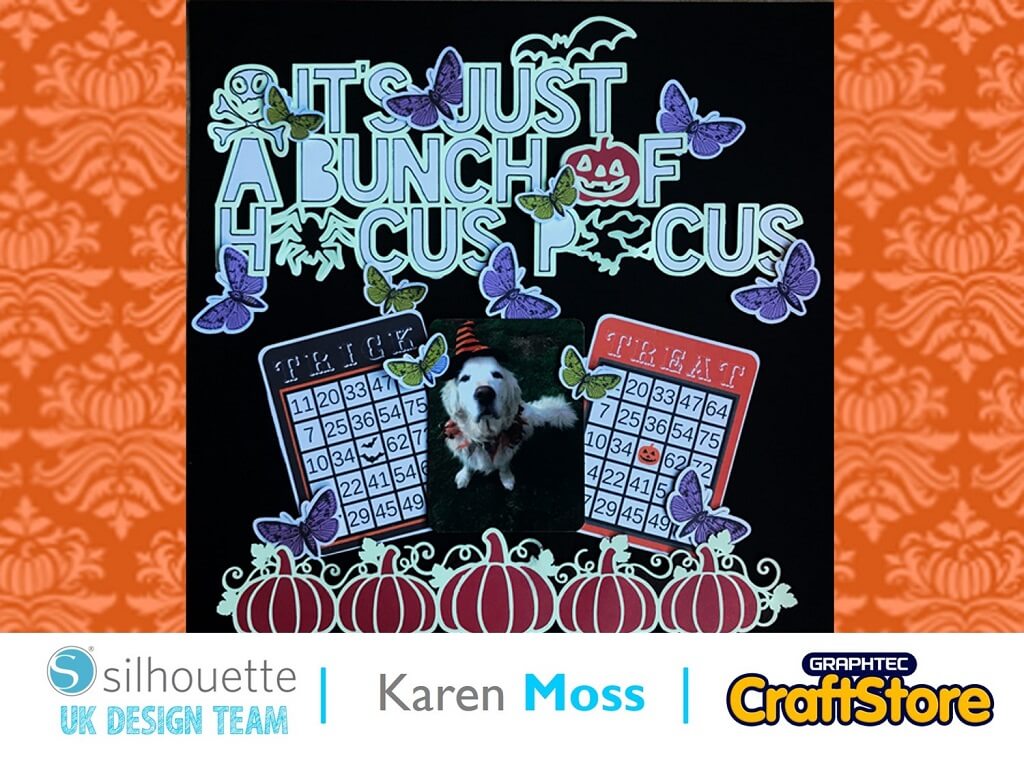
So, the brief for this project was to create something to celebrate the new launch of the film, Hocus Pocus 2; my first thought was let’s do a recipe book. However, instead, this project took a life on of its own and it’s more of an activity book.
• Silhouette Adhesive-Backed Textured Cardstock
• Silhouette Printable Sticker Sheets
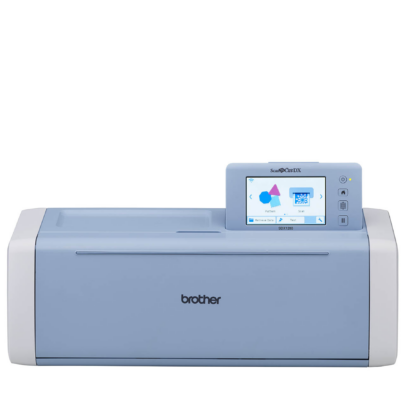
• Brother ScanNCut SDX1200
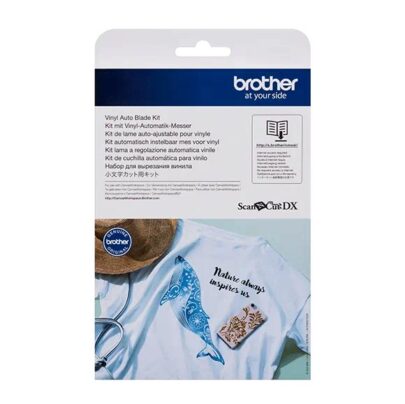
• Brother ScanNCut DX Vinyl Auto Blade Kit
• Brother ScanNCut DX Standard Tack Adhesive Mat

We are going to be using some shapes that are exclusive to the SDX900 and SDX 1200.
So, you will need to save these shapes from your machine to Canvas Workspace and import them so you can work on them. Once imported, you can add binding holes, score lines or even plan apertures.
To begin with I just kept these as a starting point until I had finished later sections of the project.


For this section, I used the ScanNCut Link for Adobe Illustrator. This is a great tool for complex cut jobs and is the most accurate way to fussy cut with the ScanNCut machine range. Please note: only SDX machines can read the automatic alignment registration marks, but you can still send cut lines to the CM for manual alignment.


Divide an A4 page into 4 across and 4 down. Draw a rectangle into each space. Using a shape as shown Mark out your tabs and use subtract. Rotate every other shape to next the ready for cutting.
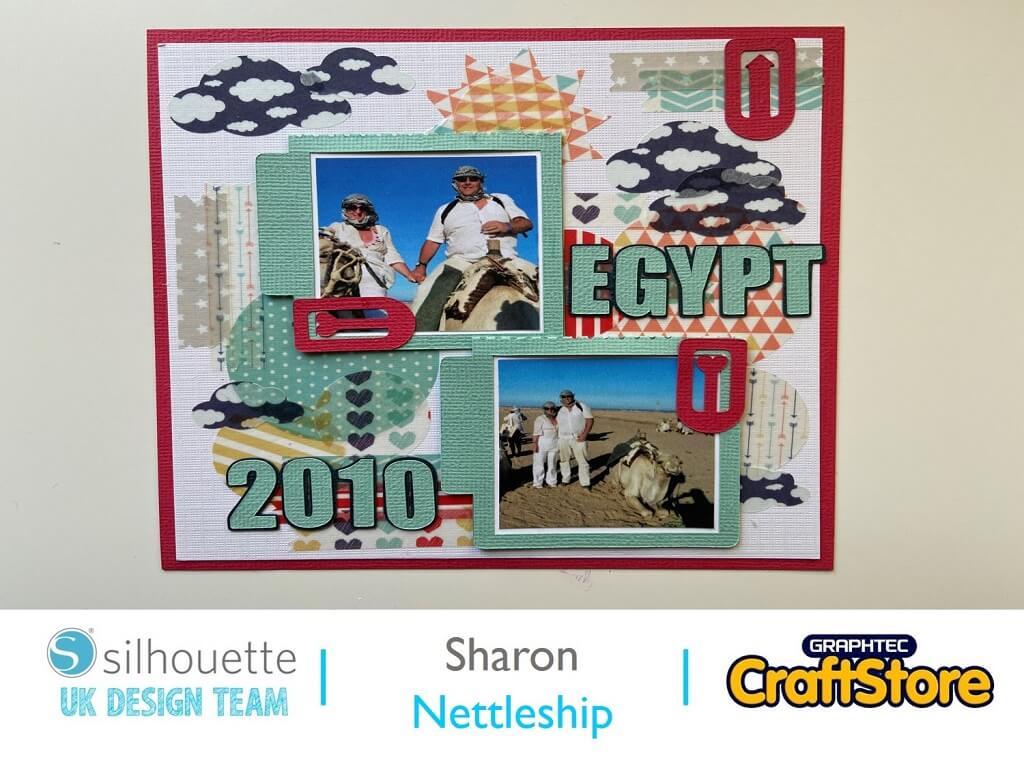
Import your first background image into the document and place it behind your first insert. Select the image and inserts shape and go to Object-Clipping Mask-Make.
Repeat the same for each insert. Then, add another white rectangle for a writing or drawing area.
Finish each insert with a prompt – mine are all scary food related. You could add a recipe if you wish, but I thought it would be more fun to leave blank for imagining what each item might be like.


Set aside the smallest black piece for the spine.
Score all the regular cardstock pieces in half and fold.
Use the adhesive pieces to join the pages together or use double-sided tape to make pockets.
On the last page, reinforce with one of the sticky pages and wrap around the spine to the front. Add the spine piece to finish.
Decorate with stickers and inserts and you’re complete!
I really enjoyed this project! It’s a great activity to do with little ones without being too scary. You could also adapt it to other events.
– Natalie x

Price range: £19.80 through £33.74
Original price was: £499.00.£449.00Current price is: £449.00.
Original price was: £55.00.£49.50Current price is: £49.50.
• Design Used: Halloween Cocktails, Cupcakes and Characters sets from Design Bundles by PrettyGrafik
Artist: PrettyGrafik at Design Bundles
Designs:Stickers Design > Download PDF