Halloween Treat Box | Sharon Nettleship | Silhouette UK Blog
Halloween Treat Box | Silhouette Adhesive Backed Cardstock
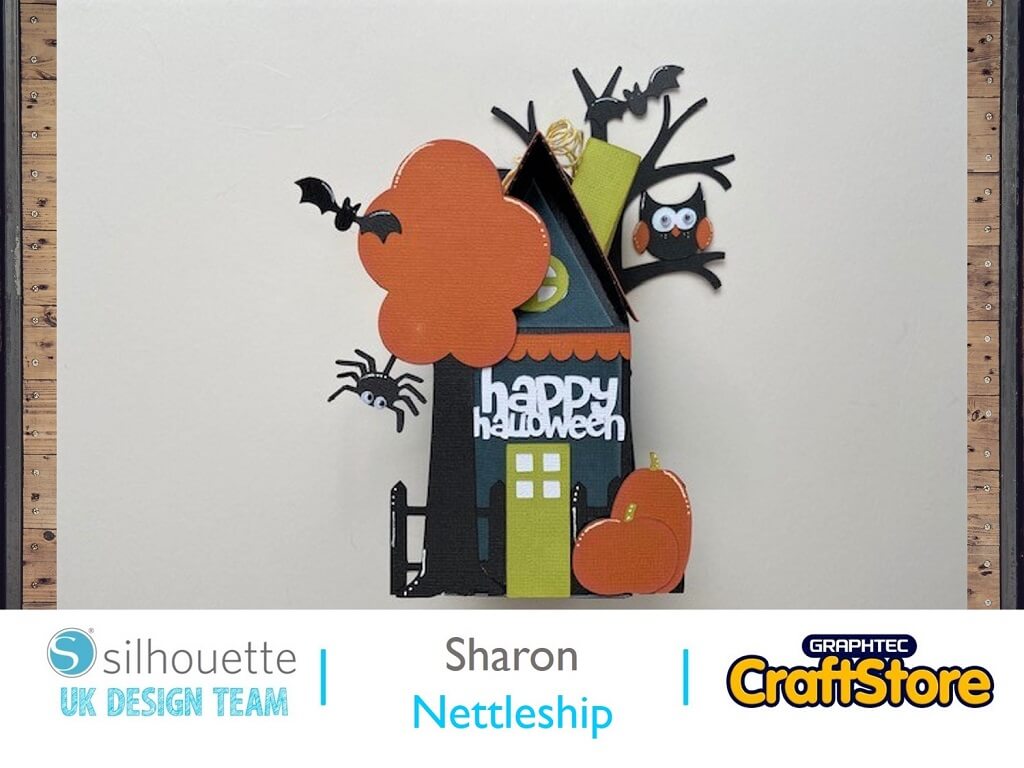
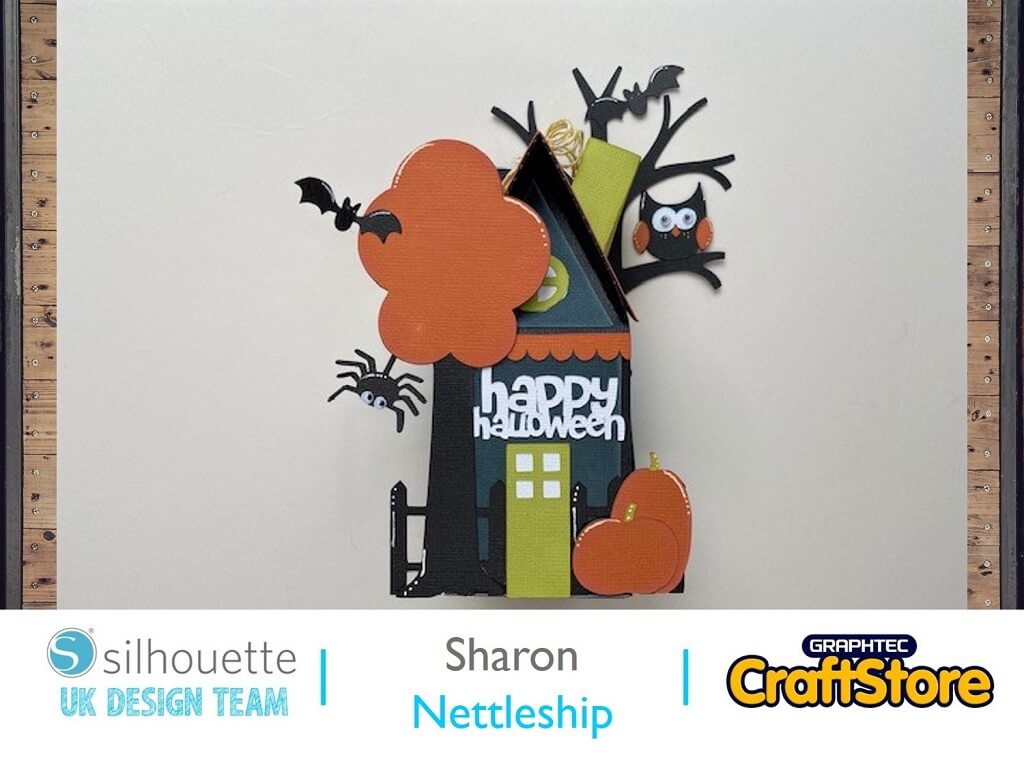
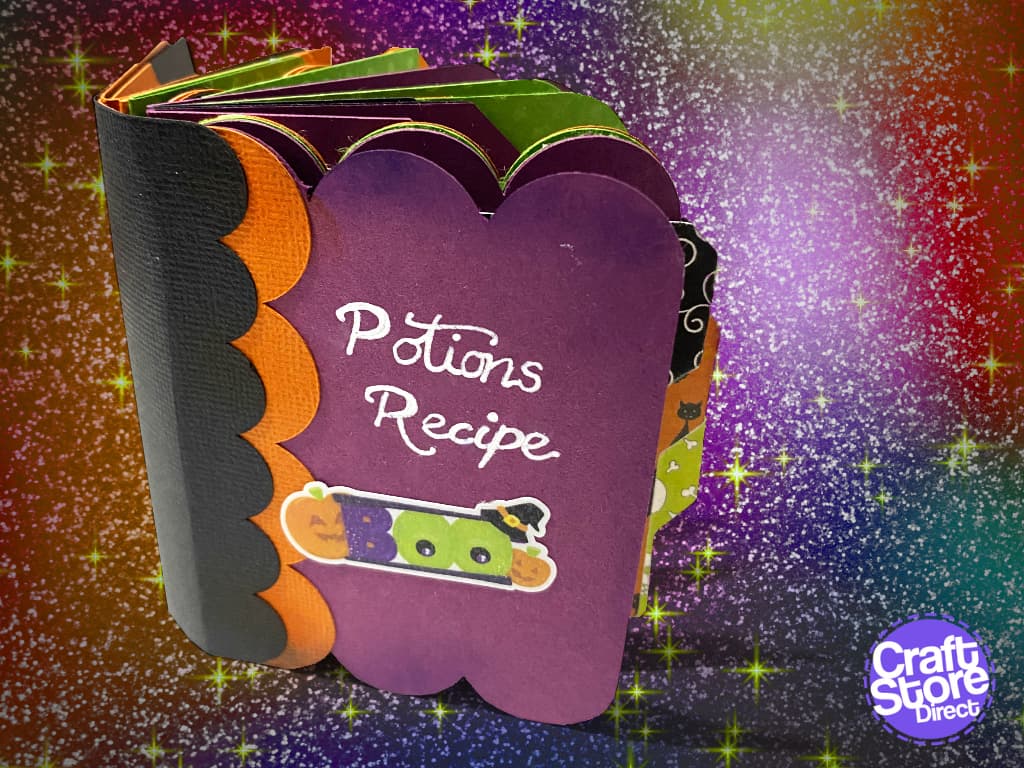
My project today is all about Halloween. I have made a Halloween Treat Box to fill with your own choice of treats.
I love to make 3D projects and this box really appealed to me with each of it’s different elements.
I’ve used the Bumper Pack of cardstock to make it.
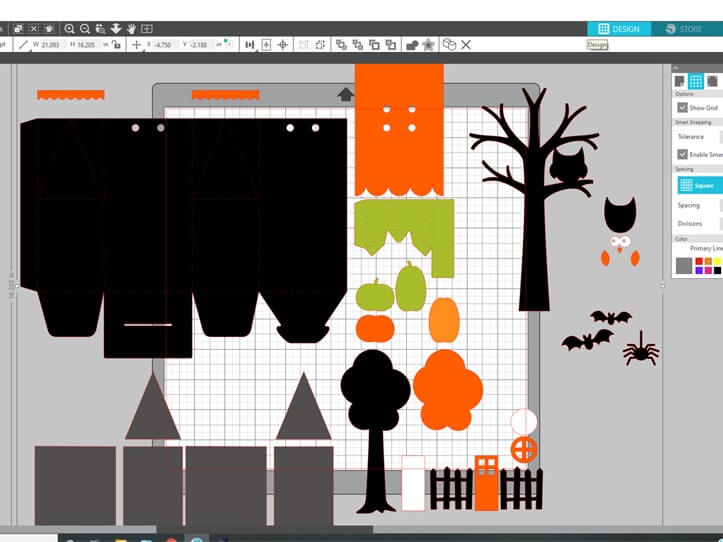
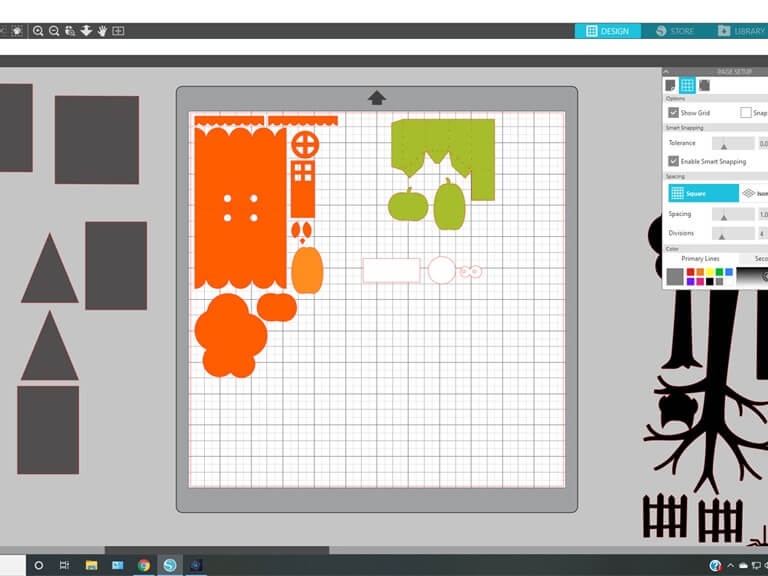
Bringing The File In Silhouette Studio
First of all I brought my file onto my mat.
This file was really easy to arrange as all the pieces have been colour coded.
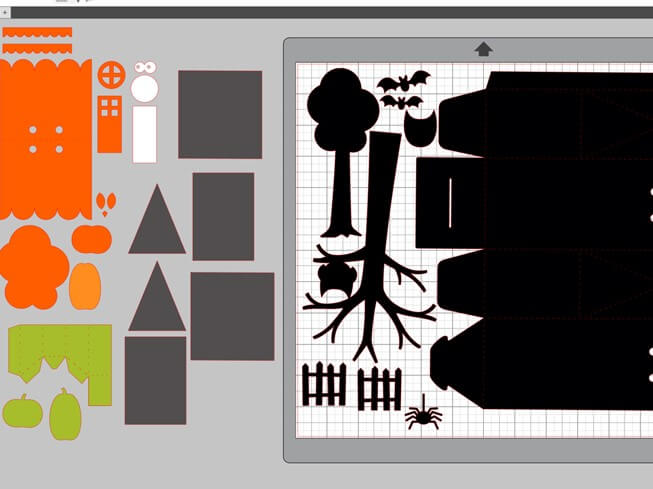
Arranging The Project Pieces
To save cardstock I arranged all the black images of the box onto the mat so that they fit onto one piece of cardstock and I could cut them in one pass.
Arranging The Coloured Pieces For 1 Pass Cutting
I then arranged the other coloured pieces onto my mat leaving a little space in between so I could place the different coloured cardstock onto my mat and cut the pieces in one pass.
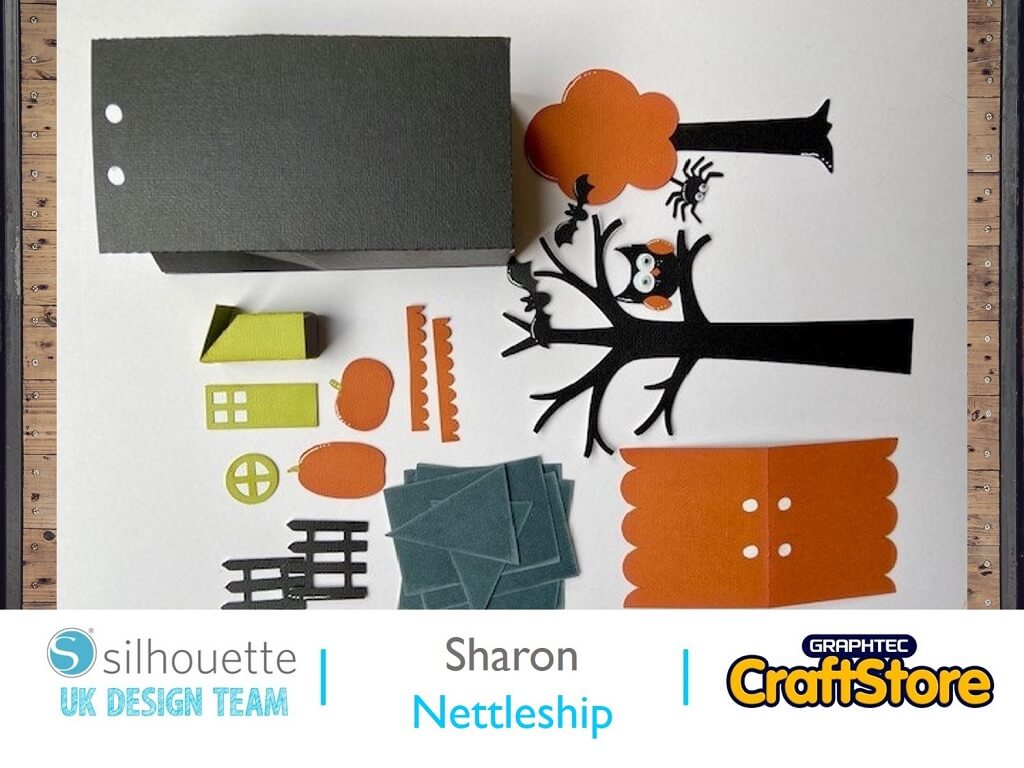
Adding Highlights And Texture
I like to ink the edges of my pieces to make them a little more 3D.
I also added some googly eyes to the owl and spider and used a white pen to highlight some areas.
Next I adhered all the pieces together and then assembled it.
The project was really easy to put together.
The actual file was colour coded for each piece which made it super easy to cut out and assemble.
The treat box could even be used for Christmas by using different accessories and colours.
– Sharon Nettleship –
Silhouette UK Blog Created By Sharon Nettleship
Silhouette Products Used
Silhouette Designs Used
• Design Used: Haunted House Box
Design Store Artist: Lori Whitlock
Design Store ID: 2673 > Download
