Halloween Tissue box | Denise Clark | Silhouette UK Blog
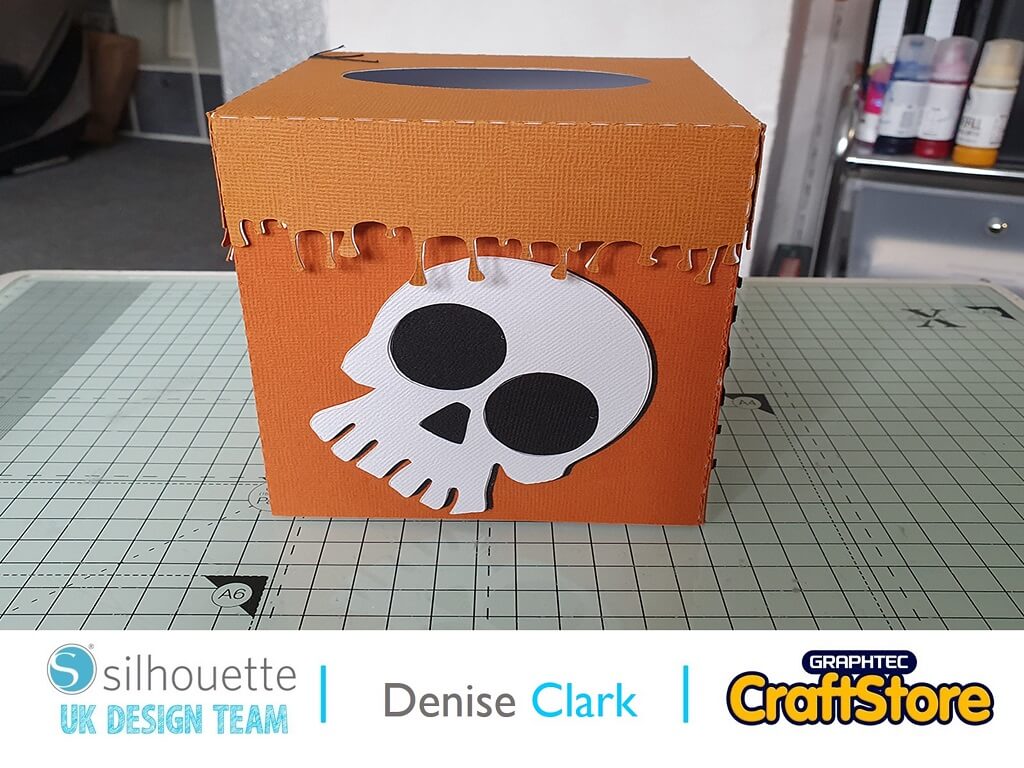
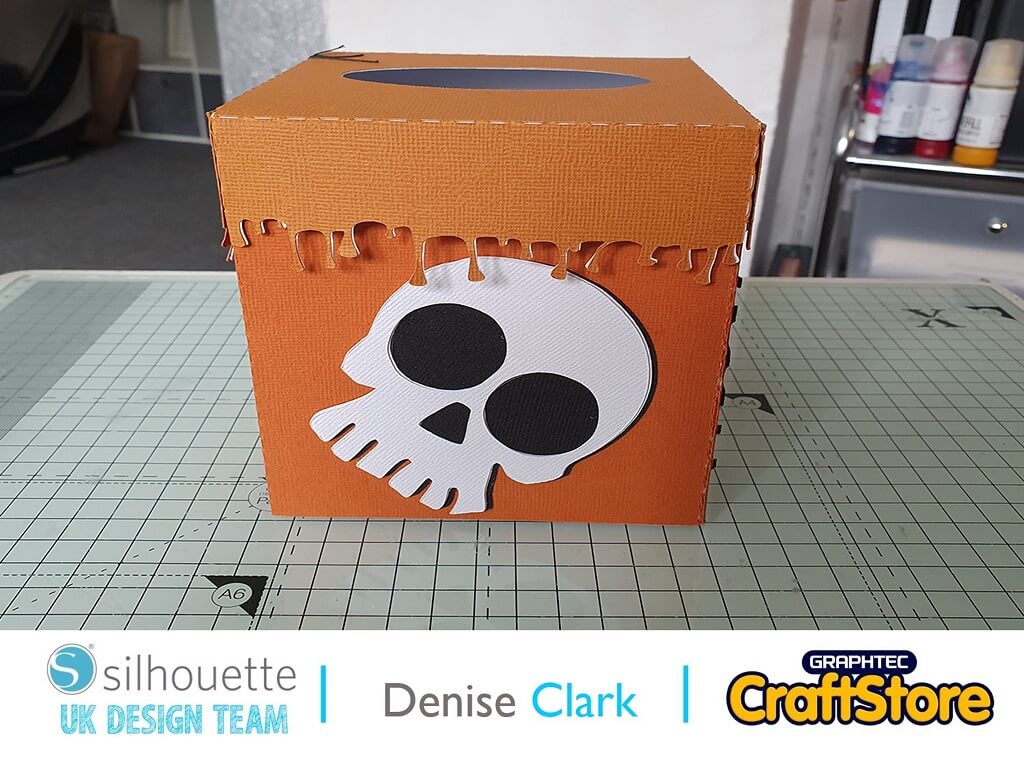
Halloween Tissue Box
Hi, Denise here.
I can’t believe Halloween is on its way.
This year has certainly gone fast! So today’s blog is Halloween tissue box.
Well, lets get started on our project.
Materials Used
• Silhouette’s Adhesive-backed textured cardstock
• DST- red liner double sided tape
• Grey Ink Pad
How To Get Your File
Open up your silhouette software
Go to top right hand corner where it says ‘Library’, click on it to find your files.
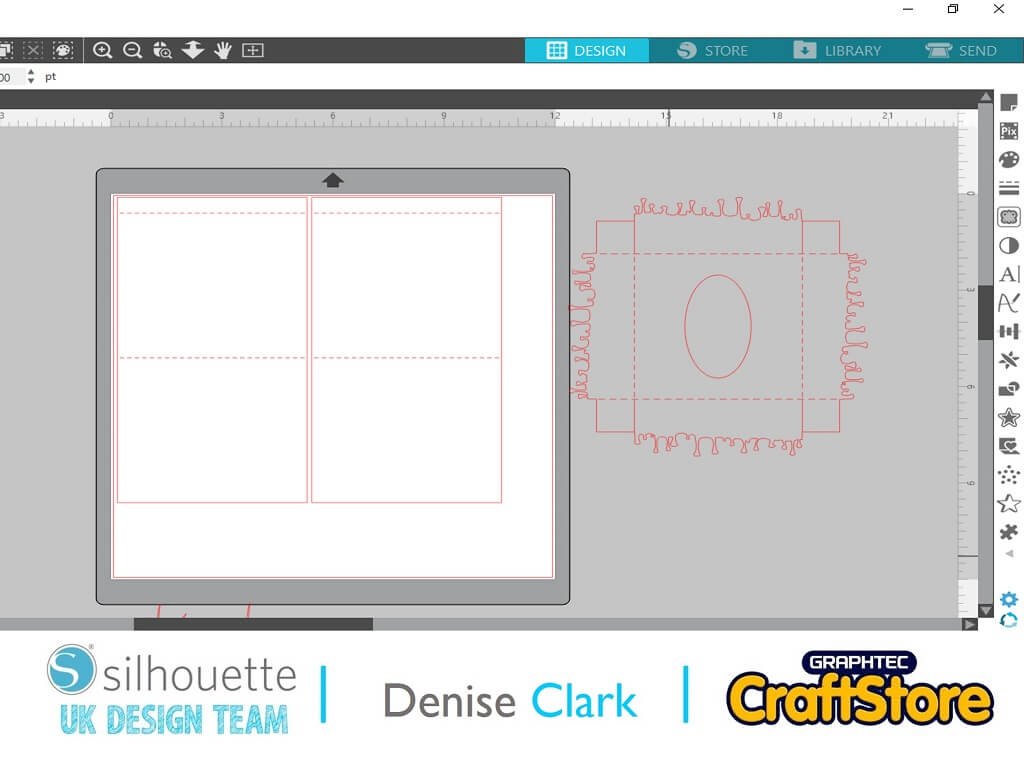
Look for the file and click on it so it opens up on your design space.
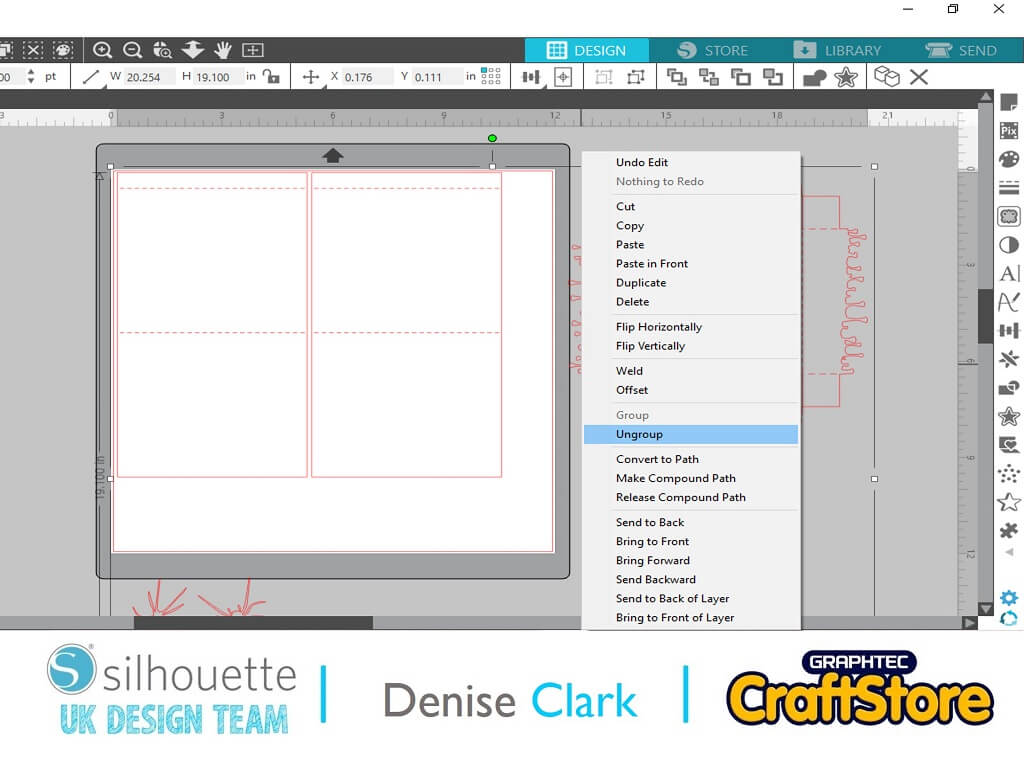
You will notice that your file is grouped, right click on it and scroll down to ungroup and click on it, that will separate the file.
Cutting Your File
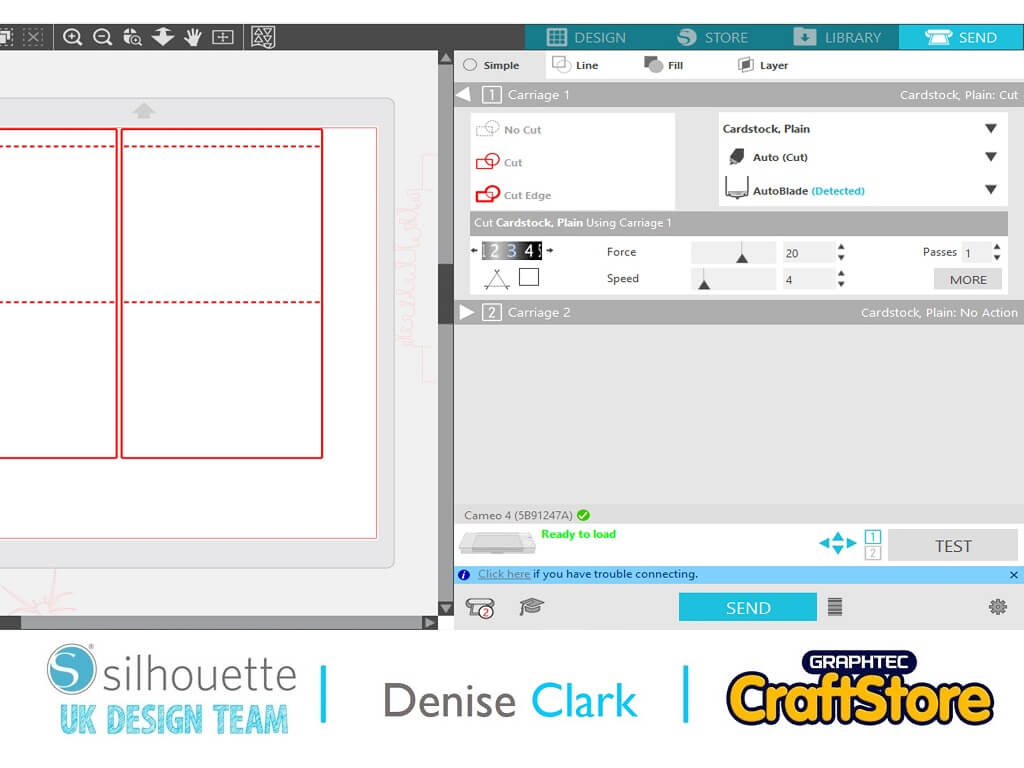
To cut your file, you need to go right hand side and click on send.
This will bring your settings for cutting.
Look for your media that your using to make your project and click on it.
Now add your media to your cutting mat and load it into the machine.
Assembling your project
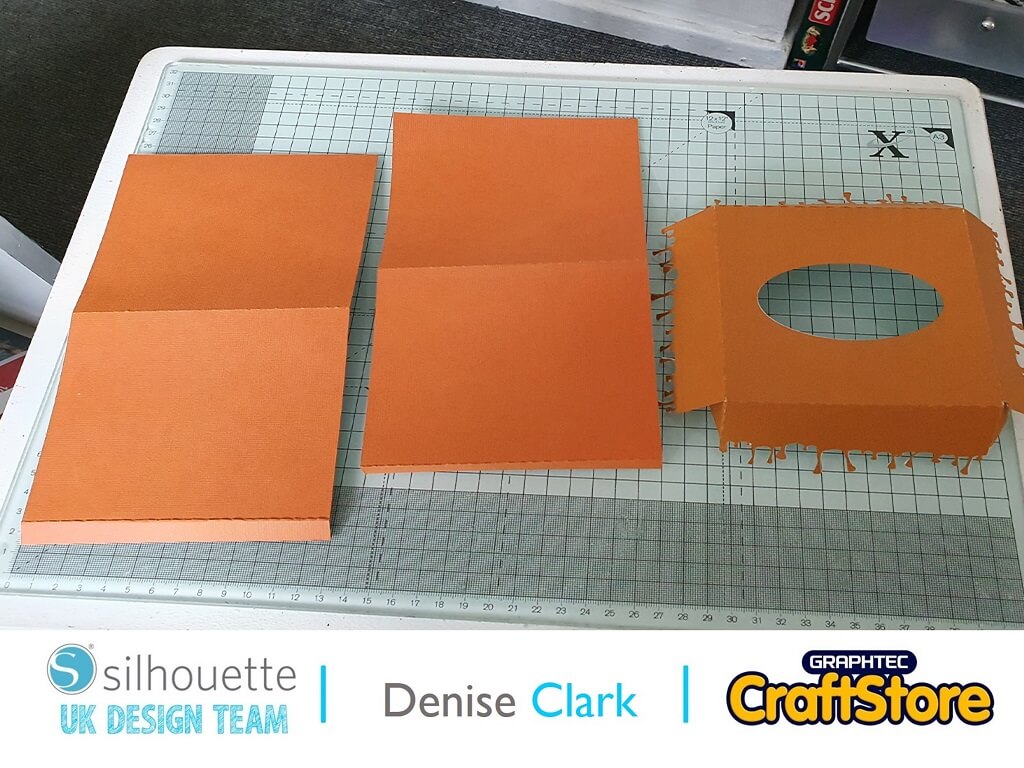
Once you have cut all your parts, it is now time to assemble them.
Fold your parts where they have perforated lines.
Using DST red liner tape on the tabs will hold them together.
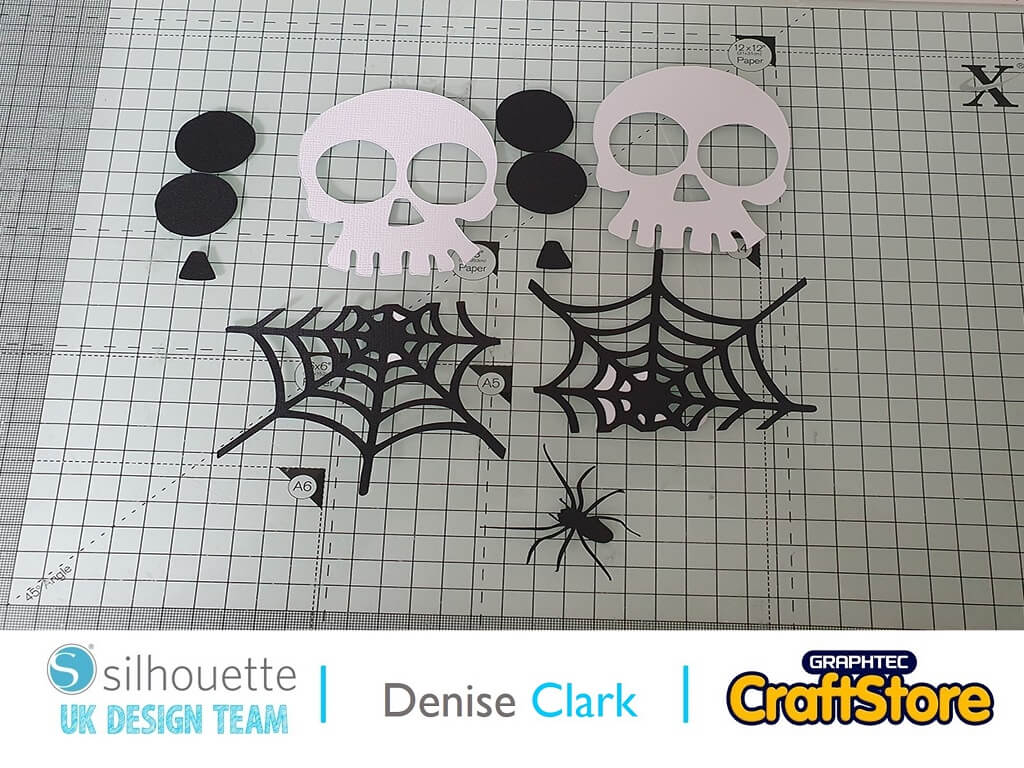
Once you assemble your main tissue box and lid, it is time to add your embellishments.
Cut them out twice if you wish to have all sides covered.
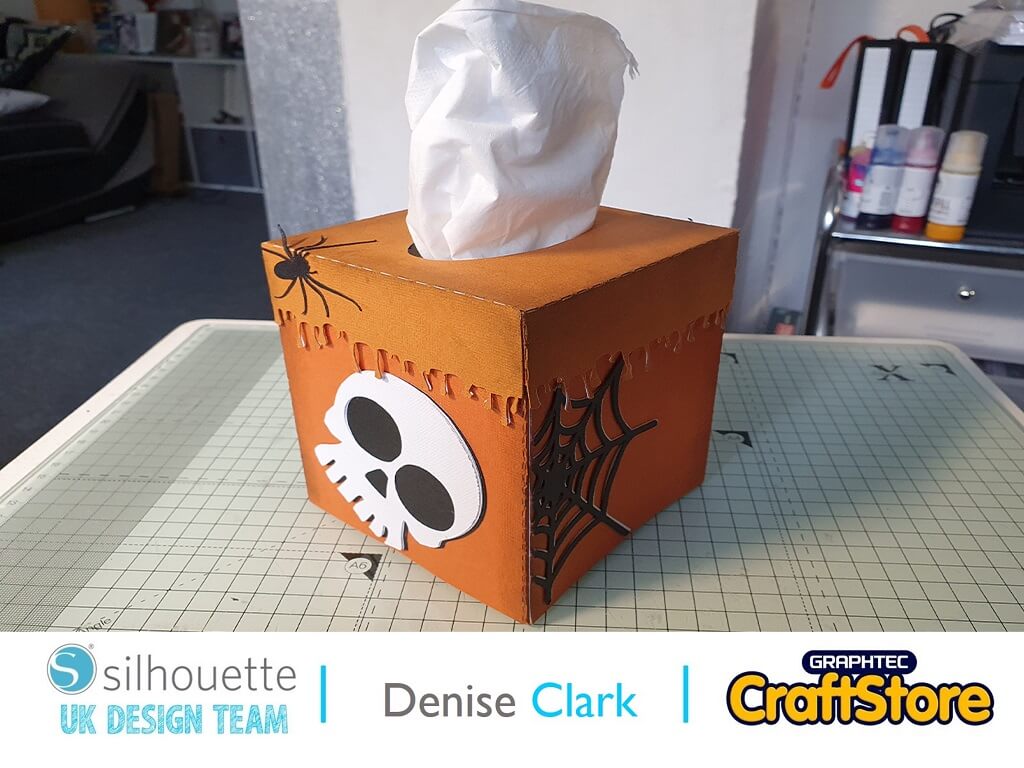
To complete the tissue box, I used grey ink to all sides of the box and lid.
Now that you have added the embellishments your project is complete!
This project was so easy to cut and assemble!
If you wanted to you could add other embellishments to it.
The creativity and personalisation possibilities for this project are endless.
I hope you enjoyed reading this blog and hopefully you’ll pop back again to read my next blog, which will be Bonfire night related!
– Denise Clark –
Silhouette UK Blog Created By Denise Clark
Silhouette Products Used
Silhouette Designs Used
• Design Used: 3D Halloween Tissue Box
Design Store Artist: Jamie Lane Designs
Design Store ID:64927> Download
