
Tattoo Paper Festival Layout | Karen Moss | Silhouette UK Blog
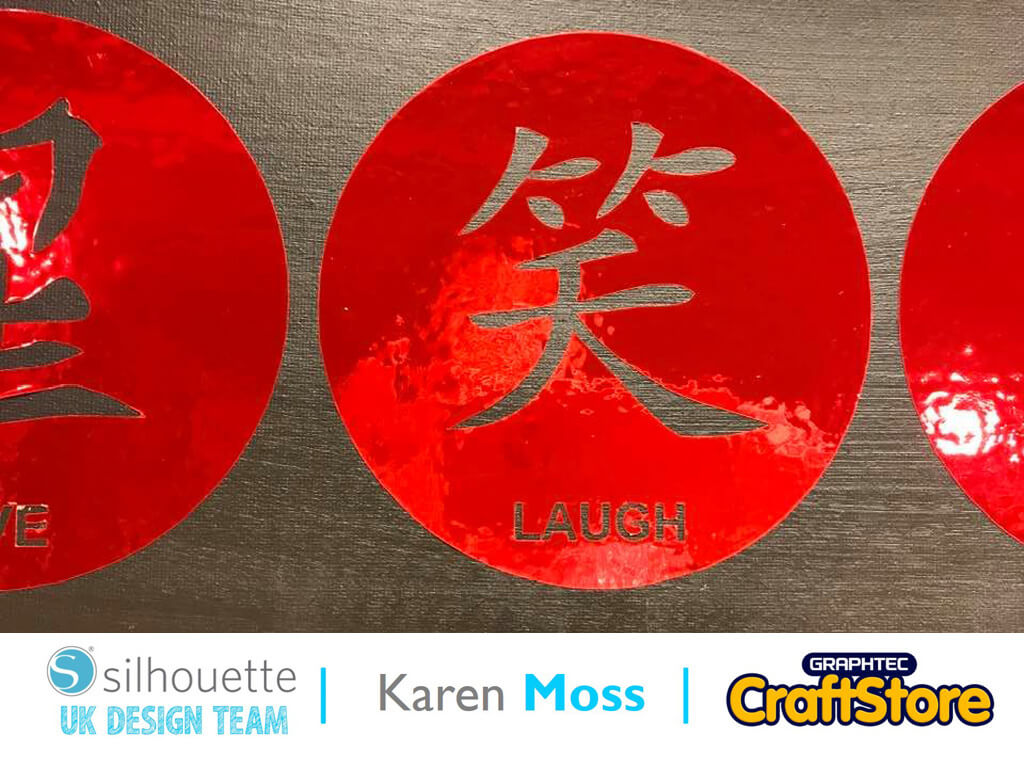
Tattoo Paper Festival Layout | Karen Moss | Silhouette UK BlogGold Leaf Effect Festival Layout | Silhouette Temporary Tattoo Paper Wow, that’s all I can say about this fabulous Gold…
PLEASE NOTE THAT THE OFFICE WILL BE CLOSED FROM 12PM FRIDAY 20TH DECEMBER 2024 AND WILL RE-OPEN ON THURSDAY 2ND JANUARY 2025
ORDERS FOR DELIVERY PRIOR TO CHRISTMAS WILL NEED TO BE SUBMITTED BY 2.30PM ON THURSDAY 19THDECEMBER 2024.
ORDERS RECEIVED AFTER THIS TIME AND DATE WILL BE DESPATCHED ON THURSDAY 2ND JANUARY 2025.
Merry Christmas & A Happy New Year to all our customers. Thank you for your continued support.
As a cookie baker and decorator, I am always looking around for small measuring cups to measure out small quantities of ingredients such as vanilla extract.
So, having found a file on a website called Thingiverse, I have found a 3d printable measuring cube. So this tutorial is going to show you how to locate the file in Thingiverse, download and then 3d print it using the Silhouette 3D software and my Alta 3D printer.
Thingiverse is a website that holds downloadable and 3d printable files. They are free to download. The file for the measuring cube can be found at the bottom of this tutorial.
Items I Used
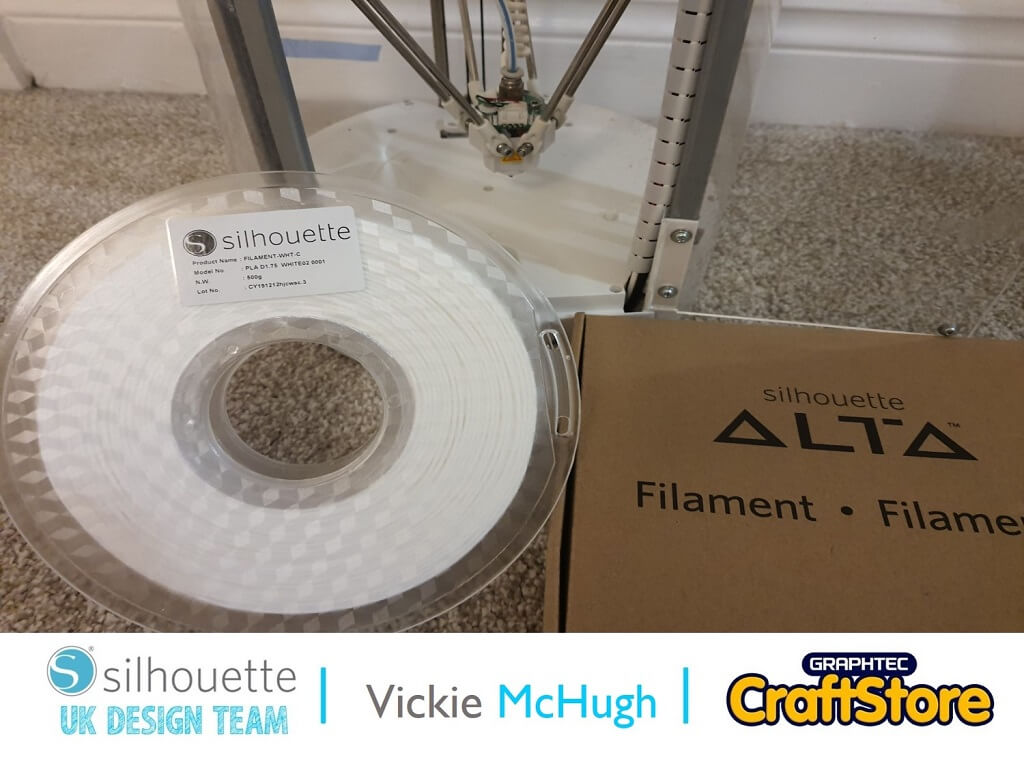
• Silhouette Alta or Alta Plus 3D Printer
• PLA Food Safe Filament
• Silhouette 3D Software

I love Thingiverse for 3D print files, they have a wide selection and are free.
To find the measuring cube file, please go to the bottom of this tutorial and click on the link.
Click on Download All Files and they will save as a zip file. Then unzip the file by right clicking and Extract All.
Please Note: This project has a print time of 10 hours on standard print quality.
Once the Silhouette 3D software is open, it will display the circular print bed.
To import the file, click on File and Merge.
Locate where the files have been saved and select Minicube.


This is what the file will look like in Silhouette 3D software.
Once you open up Silhouette 3D and the machine is turned on, it will show that your printer is connected to your computer.
You can then load the filament into the machine by clicking on the Load Filament.
Follow the instructions on the screen and the print head will heat up and the machine will pull the filament down ready to begin printing.


To send the file to be printed, it will need to be “sliced”. To do this click on the 3D Print tab.
It will tell you how long the print will take, now much filament will be used and if you click on the play button, it will show you a step by step on how it will print the cutter layer by later
Click Print
The print estimate for this file using the Standard PLA is 10hrs 34m.
The measuring cube will now start printing.
Please remember that this is a large printing time.
Before using the Measuring Cube: As this is being used in the kitchen and around food, please make sure that you give it a good wash beforehand.


I hope that you have enjoyed this 3d printed craft tutorial.
Don’t forget with the right imagination you can print just about anything on your 3d printer.
So why not have a look on Thingiverse and see what else you can print. Just be mindful of the print bed size.
…so it’s bye for now Silhouette followers but love is in the air for my next blog.
See you soon and happy printing.
– Vickie McHugh –


• Design Used: Baker Cube
Thingiverse ID: 2722562 > Download