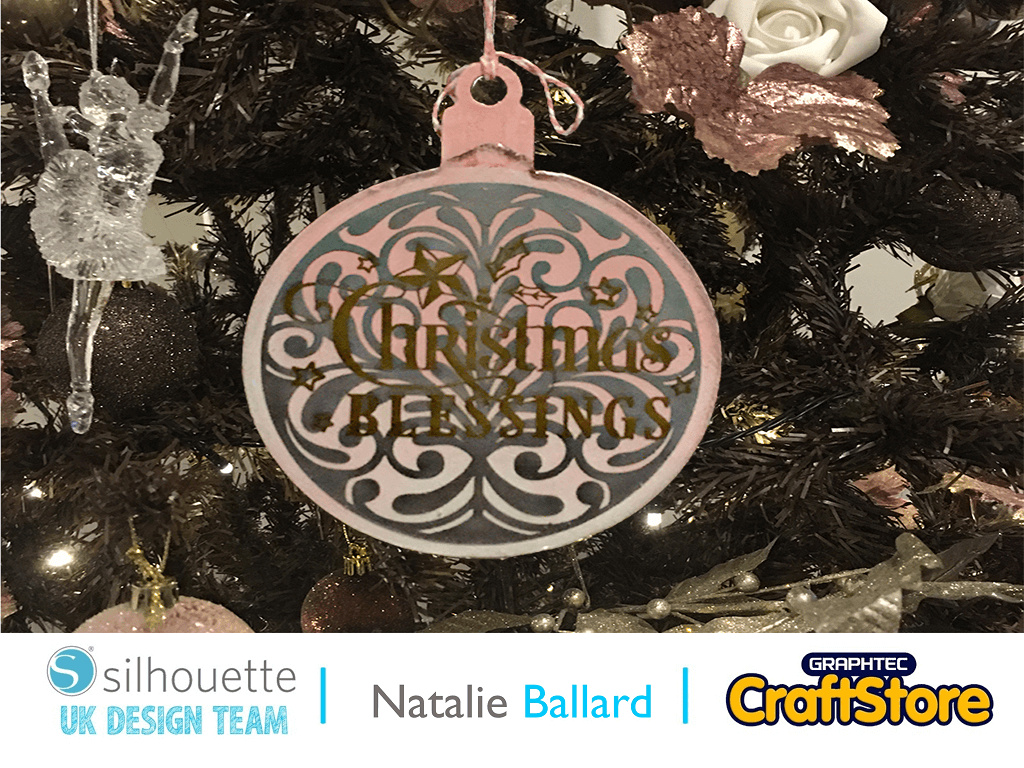
Resin Christmas Decorations
Since starting to use the Domed Sticker Starter Kit, I’ve become hooked on resin.
I’m so excited to start using it onto new surfaces.
With this project, I started with just a plain MDF blank.
You need to prepare your blank first.
Always start with a layer of gesso or white chalk paint.
This gives a key for everything else to stick to.
Use acrylic paint to paint an ombre effect in your chosen colour scheme.
You can even use a metallic or pearlescent effect acrylic paint for extra sparkle.
So, for my bauble I’ve selected a background pattern design as well as a text design.
You need to import both of these into the Silhouette Studio software and resize them to fit your project.
As my background design had a cap that wouldn’t fit my MDF blank, I had to do a little editing.
Add a square that is larger than the bauble design to your mat, along with a circle that matches to circular part of your bauble.
Subtract the circle for the square to make a frame.
Place this over your bauble design and subtract the frame from the bauble.
Move the elements of your design ready for cutting and trim your vinyl to the right size.
I used the Graphtec Vinyl Pack which cuts perfectly at Blade 2 Force 9 and Speed 8 even for the really intricate details on my Cameo 4.
Due to the intricacy of the text design, I used a couple of weeding methods.
The background is easy despite it looking complicated. Just remove the waste sections as they will lift away easily with the hook tool.
With the text, you need to do some reverse weeding; this is where we first apply transfer tape and then remove the waste.
This method is useful where you have a lot of small, individual pieces.
With transfer tape now applied to both pieces, firstly apply your background pattern to your MDF blank.
Your blank should be totally dry for this to work. You can use a heat gun to make sure.
Then, apply your text over.
Finally, finish with a layer of clear vinyl which will seal your paint before adding the resin
Next, fill your syringe as per instructions with the two parts of the resin.
Squeeze through onto your piece so you get a nice even coverage.
You may need to use one of the cocktail sticks provided to help it spread.
Take care not to scratch your vinyl beneath though.
Allow your resin to set overnight, you can then remove any excess overflows.
Finish your bauble with string, ribbons and any other embellishments you like.
I’ve really enjoyed creating these and have more ideas for using sparkles, glitter and snow effects in resin that I’m excited to explore.
As this is my last post before Christmas, I’d like to wish you all a Merry Christmas and watch this space for a New Year’s project with a difference.
– Natalie Ballard –


