Bunny Easter Egg Holder | Denise Clark | Silhouette UK Blog
Bunny Shaped Easter Egg Holder
Hello, Lovelies., it’s Denise here.
Oh gosh! Easter wow, upon us so quickly!
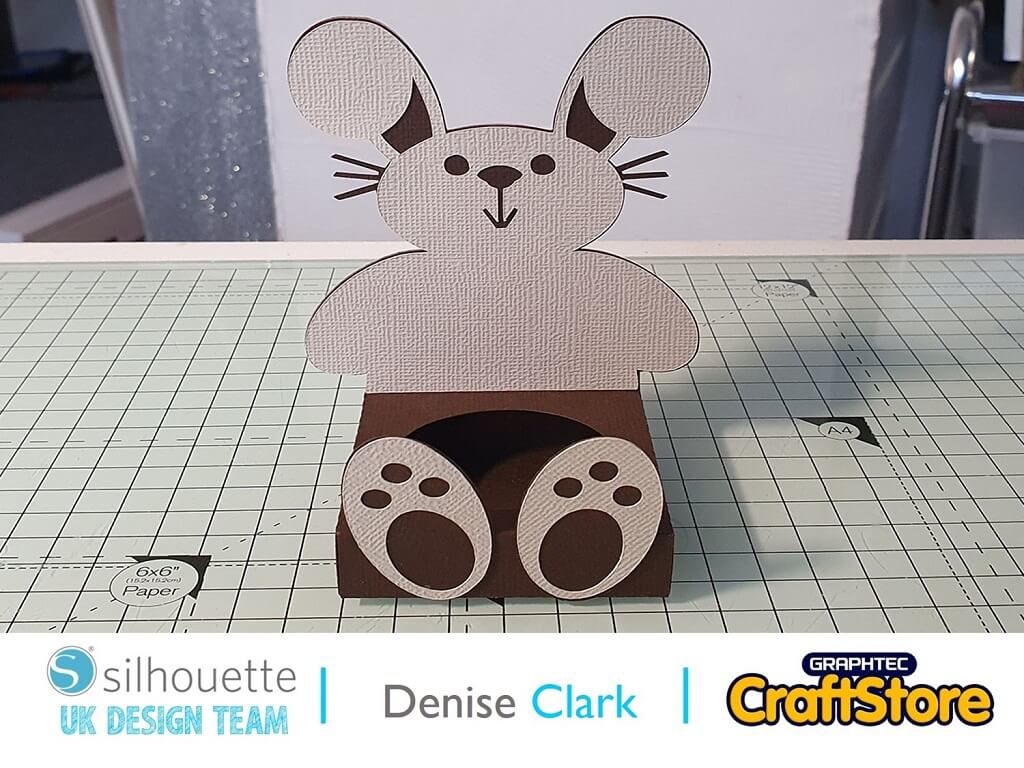
Today’s blog is a cute Bunny shaped Easter egg holder.
Spring is in the air! Love all the spring colours seeing the Daffodils out in gardens and the shops.
Materials Used
• 12×12″ Adhesive Backed Cardstock
• A4 Card
• Small Bow
• Wet Glue
Open Your File
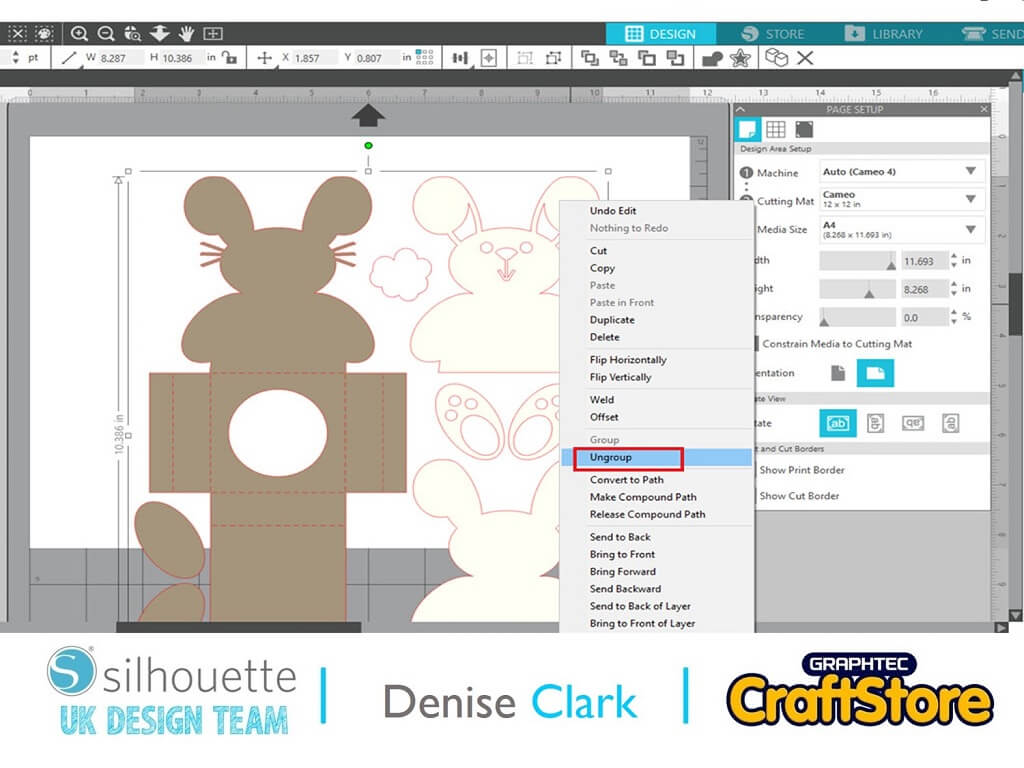
Open your software and once loaded go to your library on the top right-hand side and look for the file we are using and open it up.
Once you have opened it up you will see we need to ungroup it. You do that by right clicking on file and scroll down to ungroup and click on it.
Click anywhere on the design space to let the parts go. Now take all your parts off and keep your main tag on the design space.
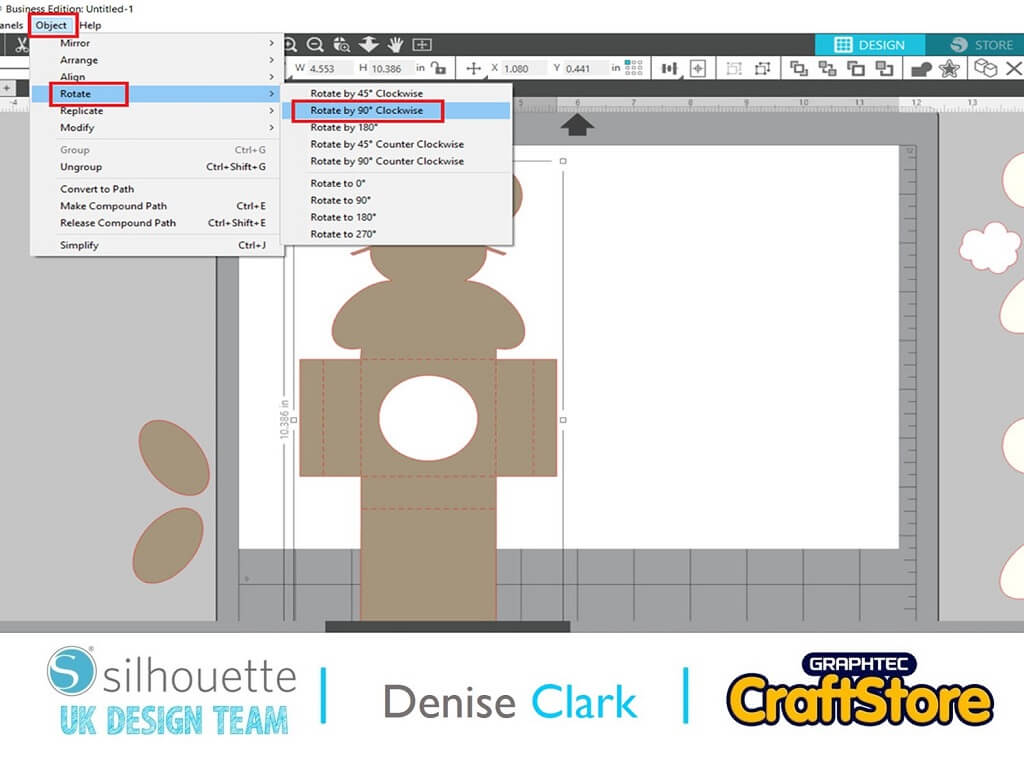
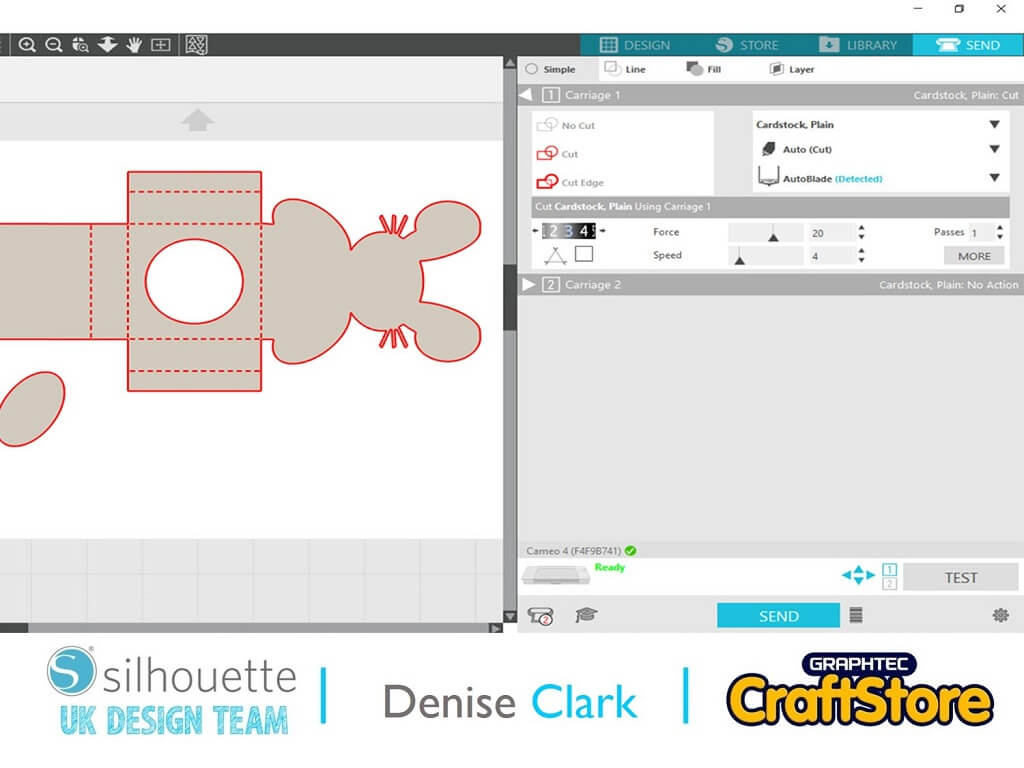
You will see it will not fit the design area. There are 2 ways to change this. One is set you’re your design area from landscape to portrait or rotate your file. To do this go to the top left side and click on object and then rotate, finally, rotate by 90 degrees clockwise.
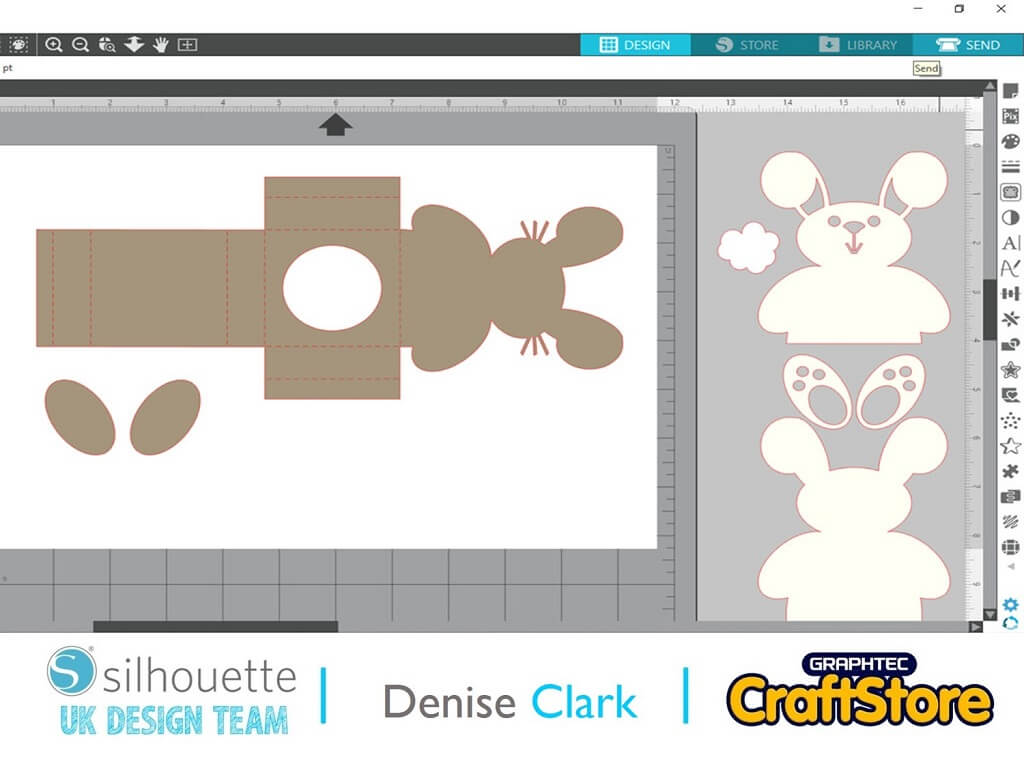
Now the base of the file will fit no problem on the A4 design space.
Cutting Your File
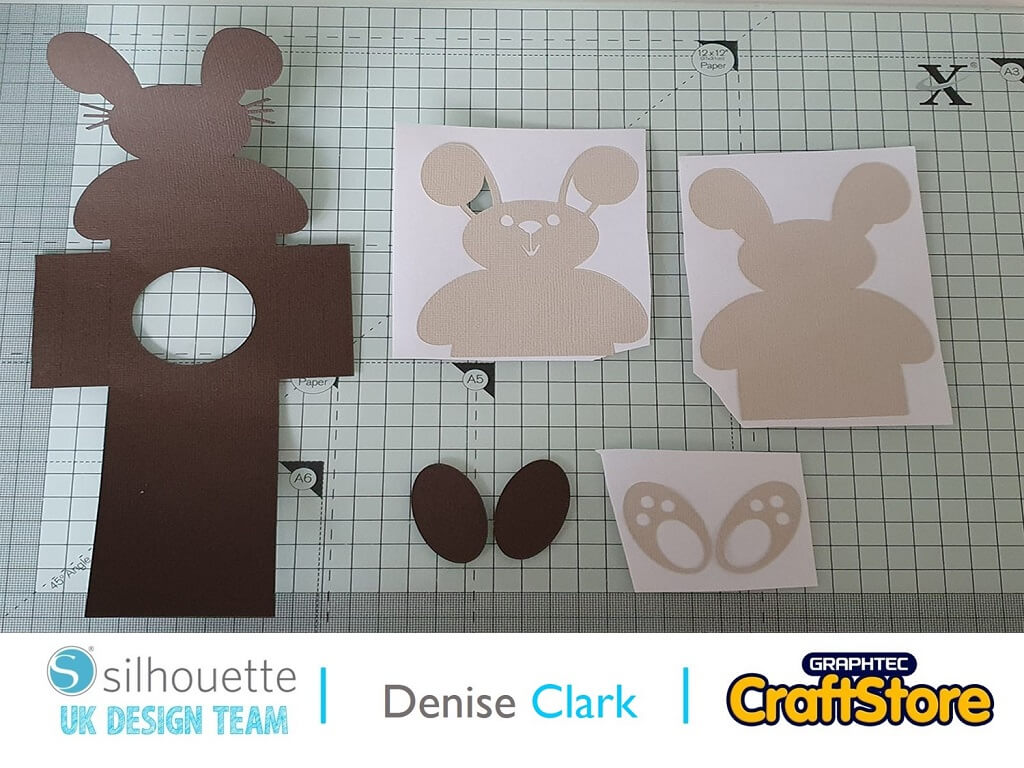
Once you have loaded your mat with your required cardstock (I used double sided cardstock for the base), head over to top right of your software and look for the send button and click on it.
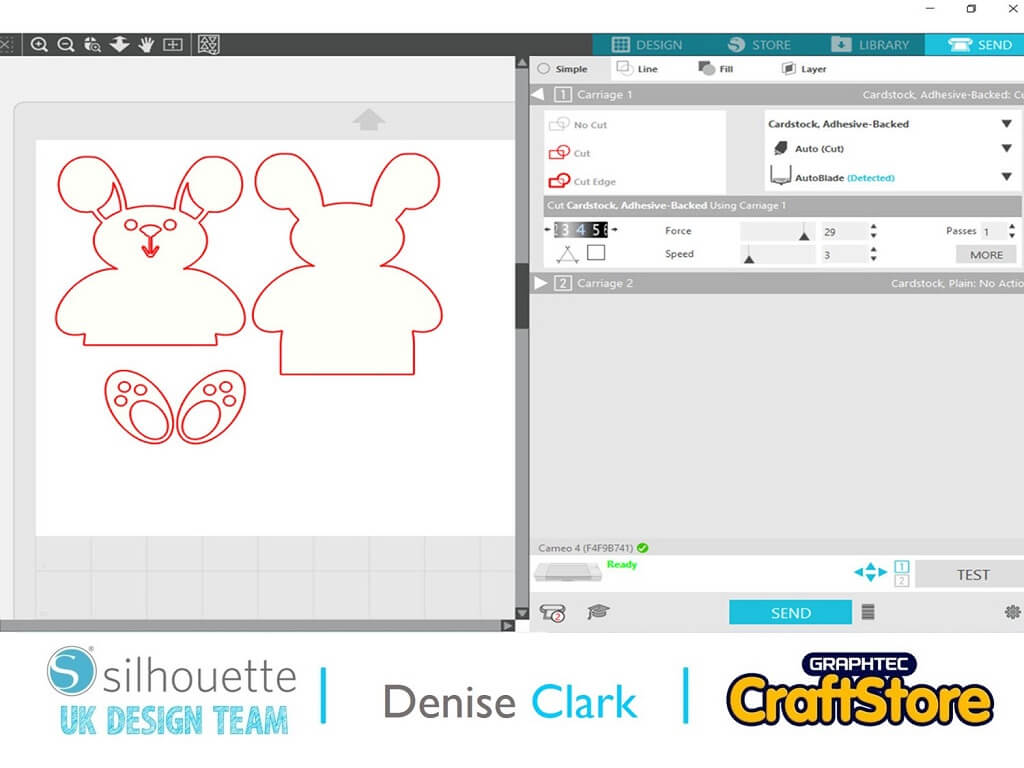
This is where you will find all the settings for cutting your media.
Change the material type from cardstock plain to the adhesive backed cardstock.
Now do this with the rest of your file with the required colours you have chosen to make your bunny.
Assembling The Egg Box
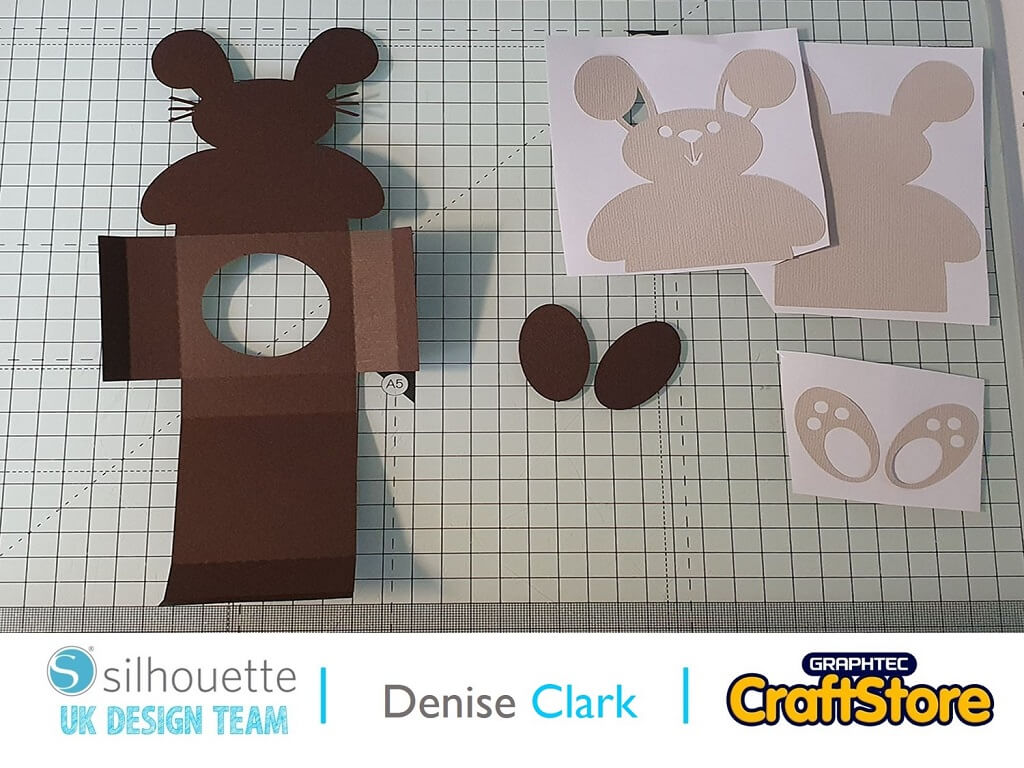
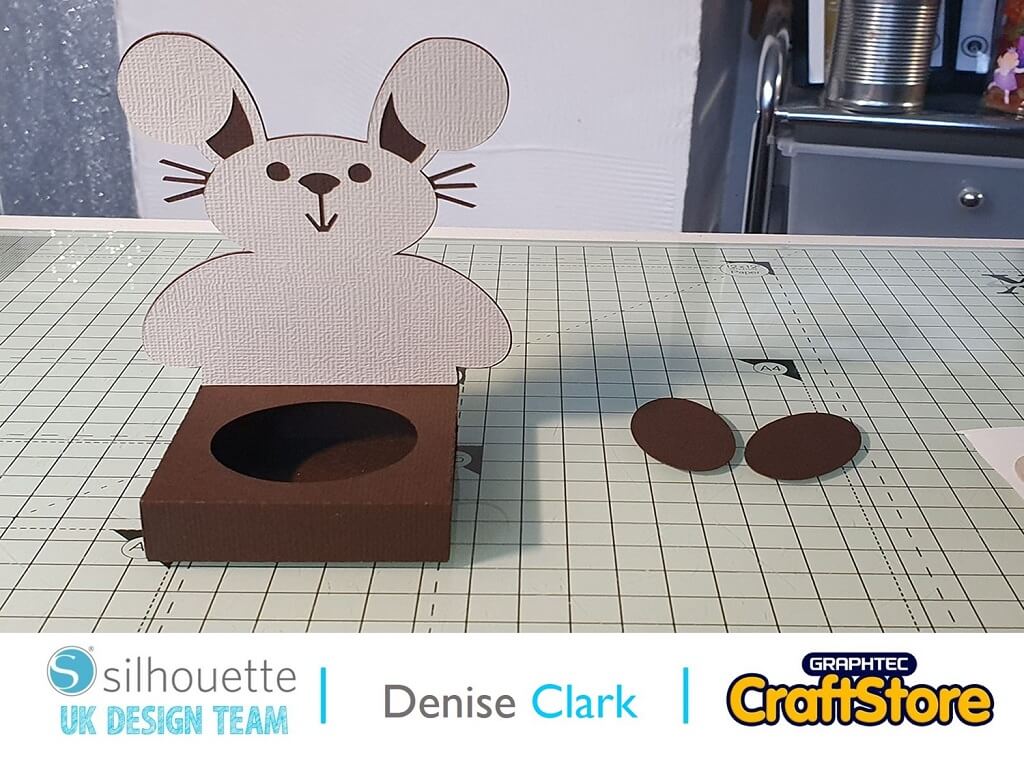
First thing to do is fold the box base, you don’t have to glue it.
When assembling it I didn’t as when you stick the back part of the bunny on that it secures it.
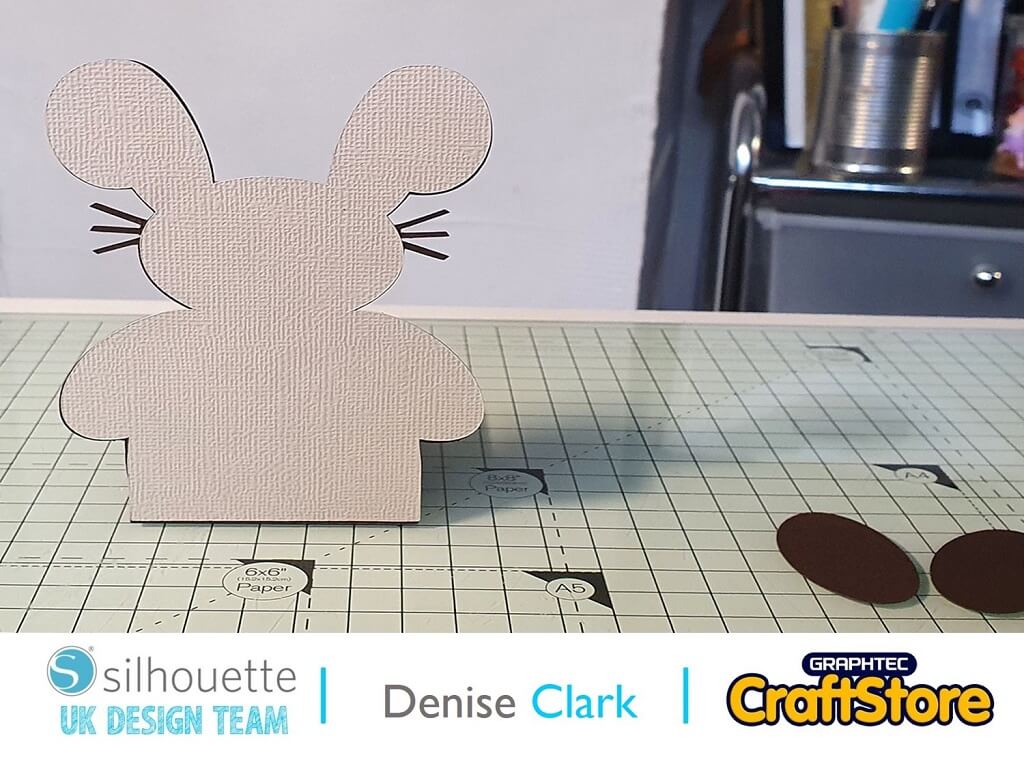
I stuck the front view on the bunny on front of egg holder by removing the backing of the adhesive card stock.
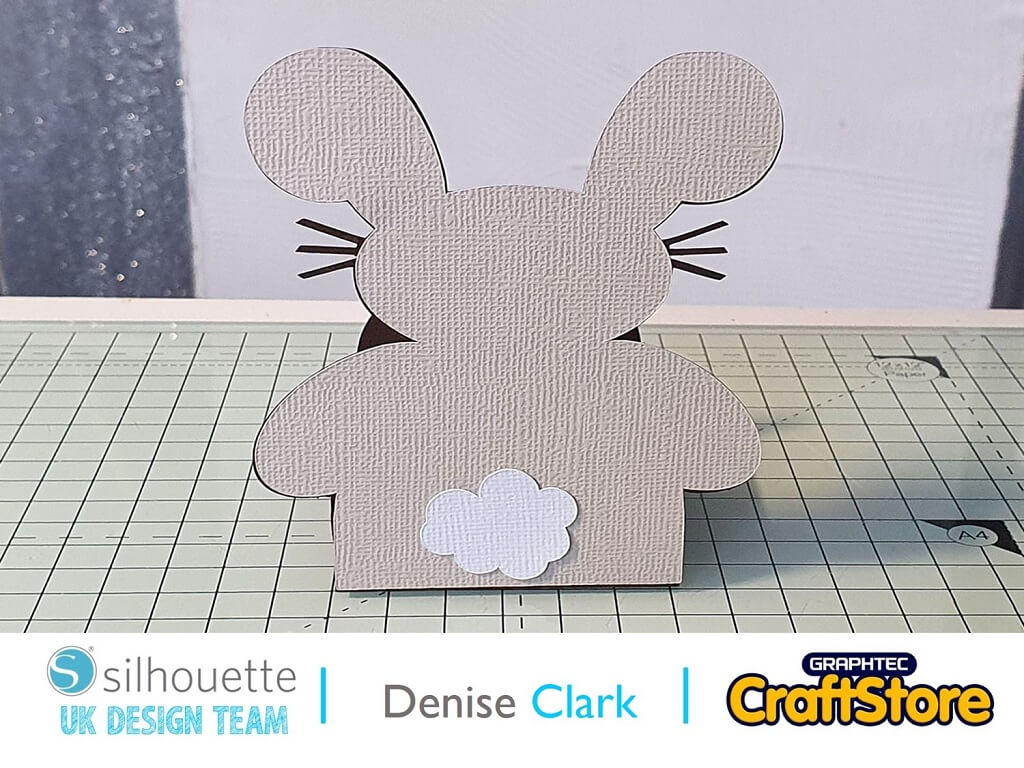
I turned it around then added the back part of bunny doing the same.
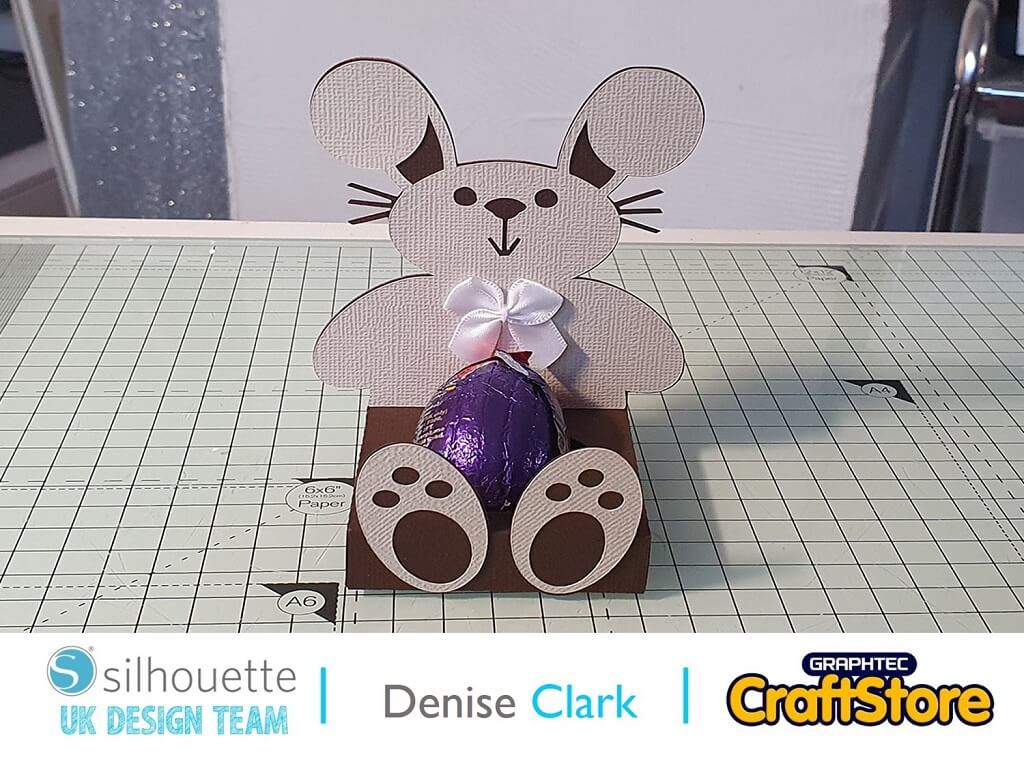
Now for the feet I combined the brown and cream parts of the feet together and used wet glue to adhere them to the holder at the front.
Adding The Finishing Touches
Now your holder is all put together I finished it off by adding it’s tail and a little white bow and then added the egg.
These holders work for Girls and Boys, just change the bow and you could even add some bling to it too.
These Bunny Egg Holders are great as you can make these together with the kids or even let the kids make them themselves.
They are so easy to do and you can take them on an adventure outside adding different colours to them.
– Denise Clark –
Silhouette UK Blog Created By Denise Clark
Silhouette Products Used
Silhouette Designs Used
• Design Used: Bunny Easter Egg Holder
Design Store Artist: Jennifer Rush
Design Store ID: 258812 > Download
