Christmas Advent | Cherylann McCool | Silhouette UK Blog
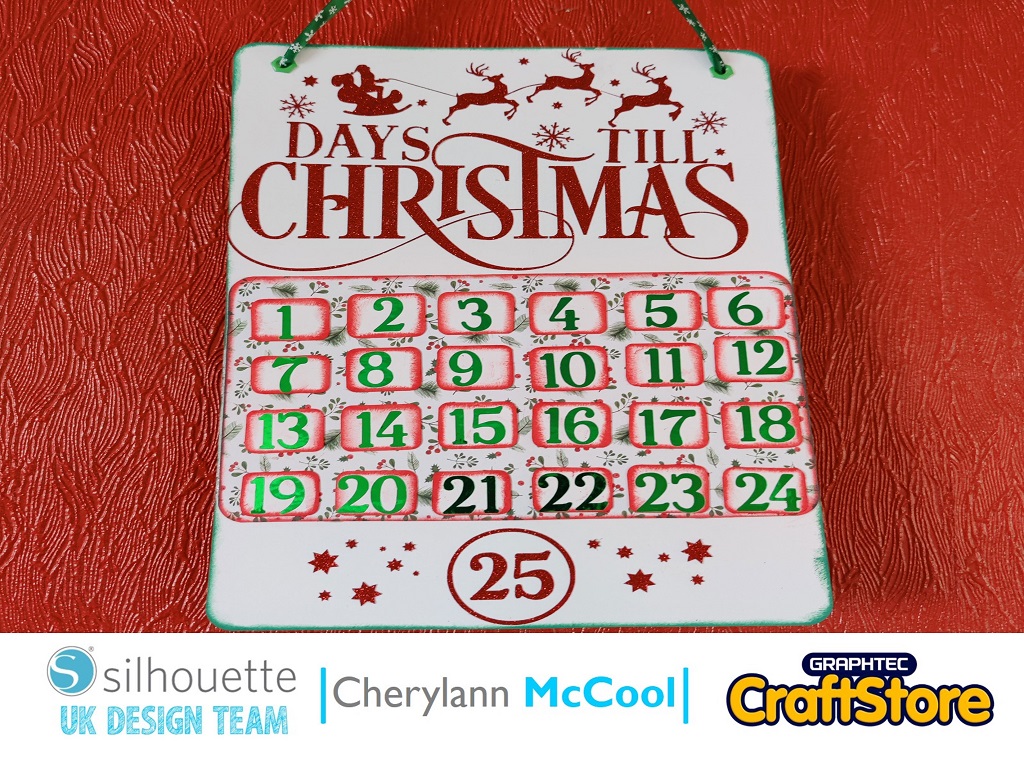
Christmas Advent | Cherylann McCool | Silhouette UK BlogChristmas Advent Calendar Hi Cheryl here again. The shops sure are getting busier in the preparation for Christmas and what a magical…
PLEASE NOTE THAT THE OFFICE WILL BE CLOSED FROM 12PM FRIDAY 20TH DECEMBER 2024 AND WILL RE-OPEN ON THURSDAY 2ND JANUARY 2025
ORDERS FOR DELIVERY PRIOR TO CHRISTMAS WILL NEED TO BE SUBMITTED BY 2.30PM ON THURSDAY 19THDECEMBER 2024.
ORDERS RECEIVED AFTER THIS TIME AND DATE WILL BE DESPATCHED ON THURSDAY 2ND JANUARY 2025.
Merry Christmas & A Happy New Year to all our customers. Thank you for your continued support.
Hi Cheryl here again.
Oh I’m so excited, this is my most favourite time of year!
I love all the colours changing to red and orange, the dark nights the smells and the hustle and bustle as we all get ready for Christmas.
This year we have treated ourselves to a new tree and this project is going to hang proudly off it.
Hope you like this project as much as I did.
• Silhouette Adhesive Backed Textured Cardstock
• Silhouette Glitter Vinyl
• DST / Wet Glue
• Ribbons
In your software open your file in the design space and right click and select un-group and then right click your mouse you should then be able to move pieces to make it easier to cut.
Here you want to remove the snow pieces and put to the side, and then remove the top layer and now you want to send the bottom layer to send.
At the send option choose plain cardstock for the material and then if you are happy you can hit send and watch while it cuts.
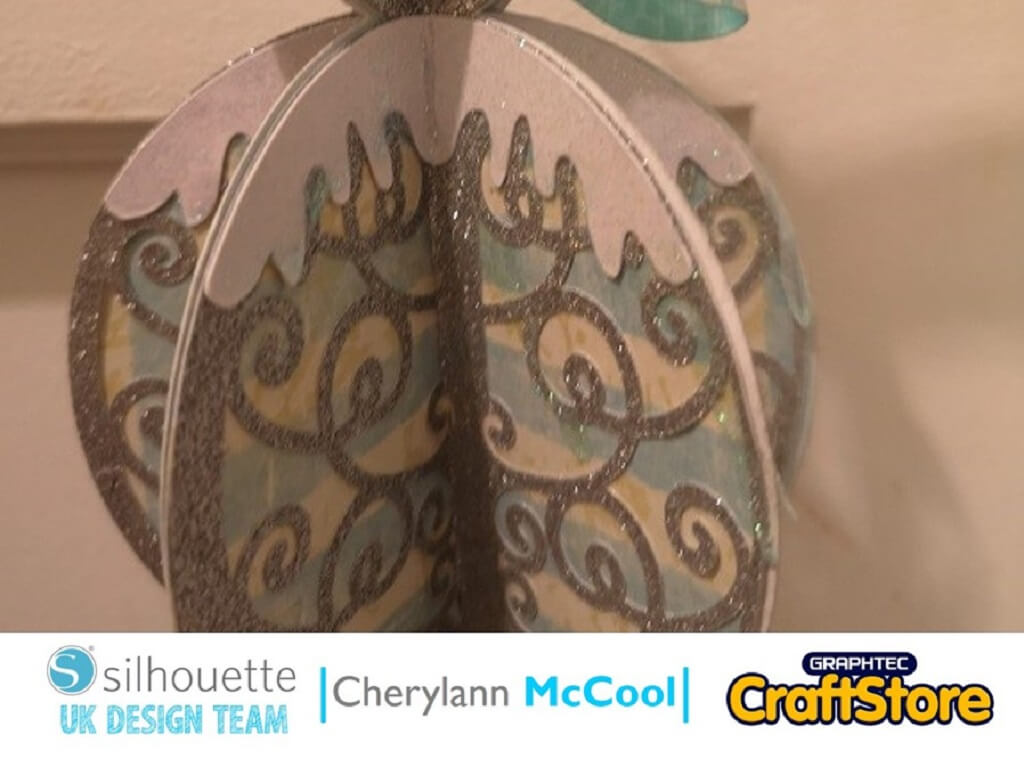
Once it has finished you can remove the card and you will be left with the start of the bauble.
Remove these and put to the side.
Next you want to put your glitter vinyl on the mat.
Now on your design space remove the lower part and put to the right hand side.
Now you want to put the top layer on the screen and once happy then click send and at the material option make sure that you select glossy vinyl for the material and then hit send to cut.
(Make Sure You Scroll To The Right For All Images)
Once your vinyl is cut remove these pieces like above and then you want to lay your white card on the mat.
To be able to cut your snow for the top repeat the same steps as above but make sure you change your material back to plain cardstock and then hit send.
Once cut, remove the excess card and take the snow bits off.
(Make Sure You Scroll To The Right For All Images)
Now to build it up!
First you want to fold all the pieces in a valley fold, then you want to glue the glossy vinyl onto the main bauble and then glue the snow parts on.
Let them dry then fold each bauble into each other and then you want to glue each back sides of the baubles onto each other until your full bauble takes shape.
(Make Sure You Scroll To The Right For Both Images)
At this stage you should fold the bauble and use clips to hold all the pieces to allow the glue to dry.
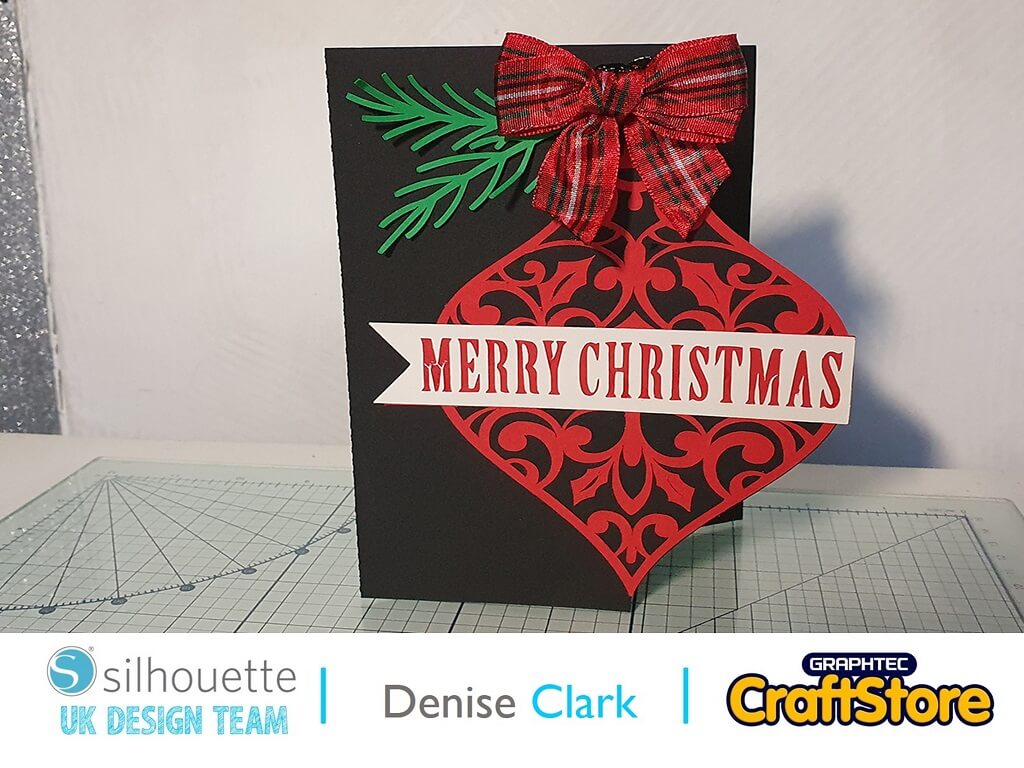
Once dry you should put some glitter glue over the snow area and then use ribbon to create a bow and then another ribbon to use to hang it up and you have completed your bauble.
(Make Sure You Scroll To The Right For All Images)
I absolutely loved this project and I am definitely going to make more of these for the tree, I may even give some to family and friends for theirs.
You also have the ability to do a few different things with your bauble.
If you know how much I love Christmas then I am going to have great fun making my last 2 projects for 2019 and I can’t wait to share them with you especially as the next one is an idea for your dinner table.
– Cherylann McCool xx –
• Design Used: Intricate Snowy Ornament
Design Store Artist: Carina Gardner
Design ID: 159406 > Download