Let’s Create A Print & Cut Calendar With CanvasWorkspace
Have you ever used the Print & Cut function on your Brother ScanNCut?
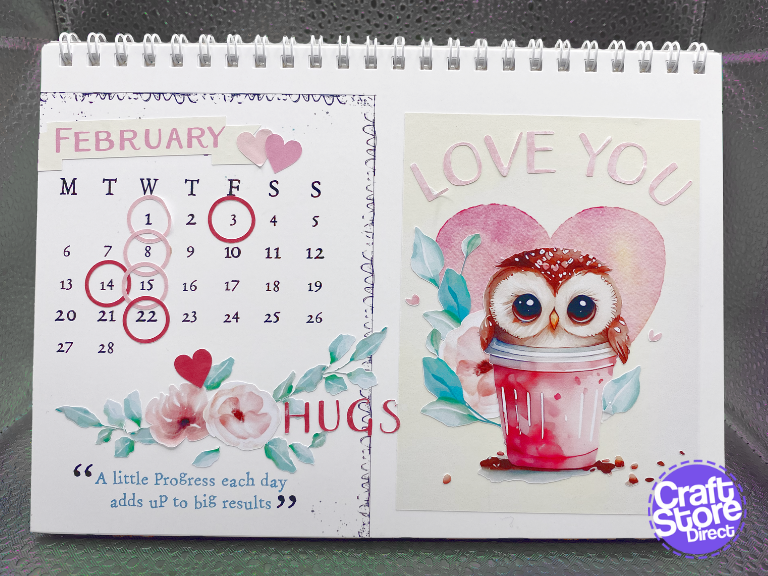
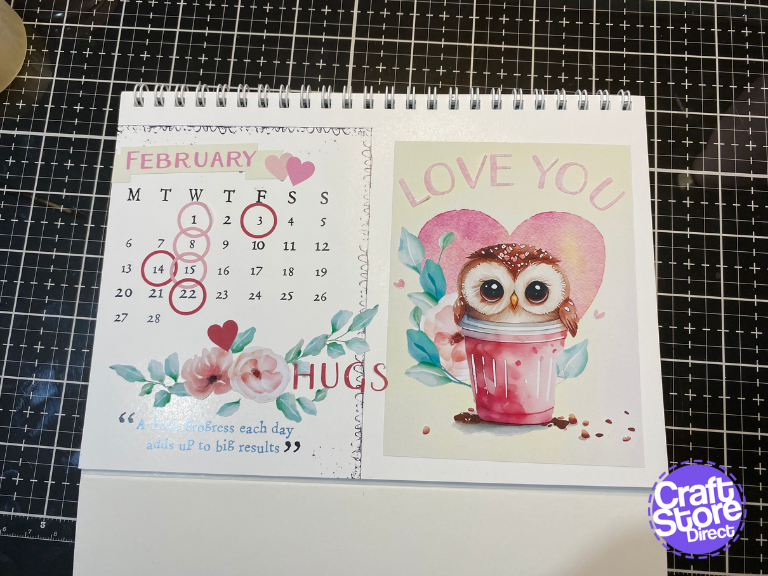
You can create your own planner stickers, dividers, tabs, charts and more using the Print to Cut add-on for CanvasWorkspace. Today, we are decorating a blank desk calendar from Funky Fossil.
Enable the Print to Cut function by activating the card on CanvasWorkspace Online.
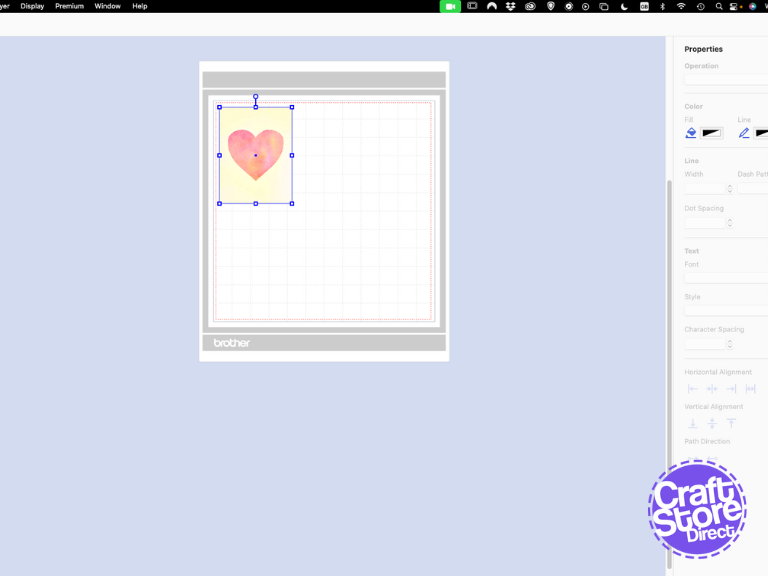
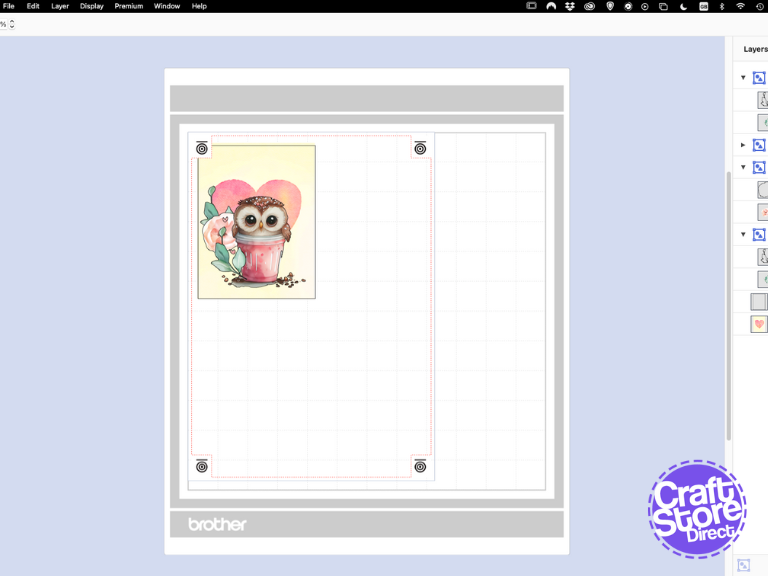
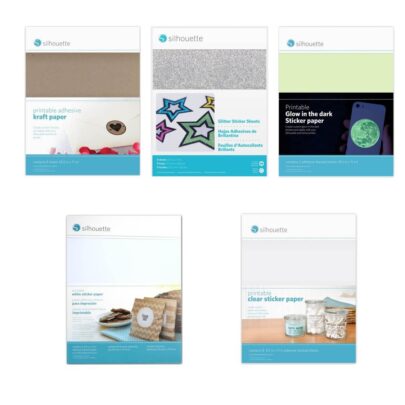
Start a new design in CanvasWorkspace Desktop, and select your material size for printing. I’ve used the Silhouette Sticker Paper so I needed to use the Letter setting.
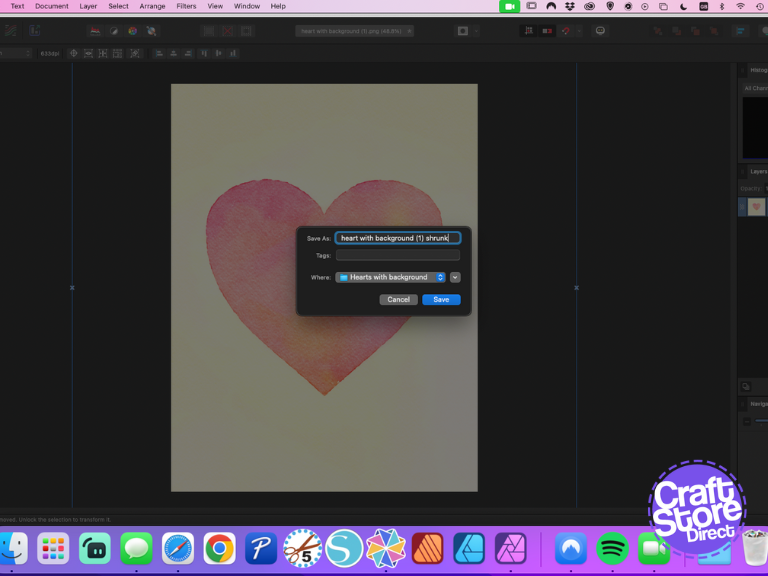
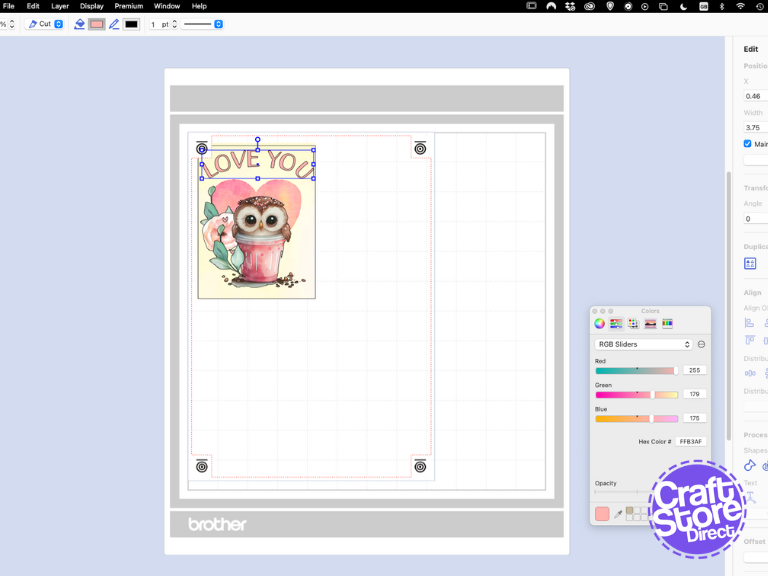
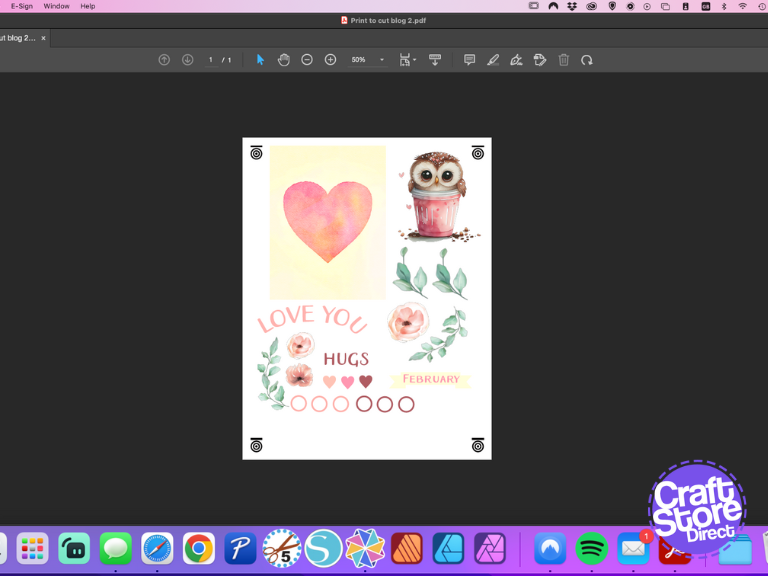
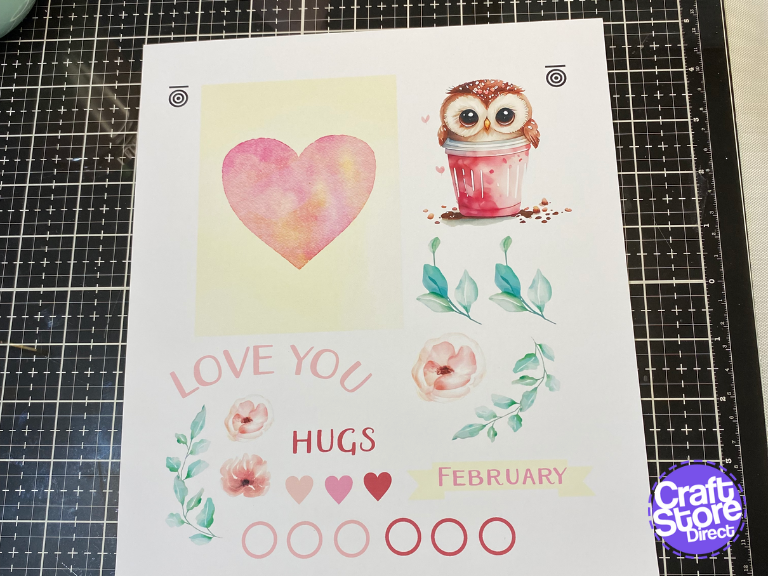
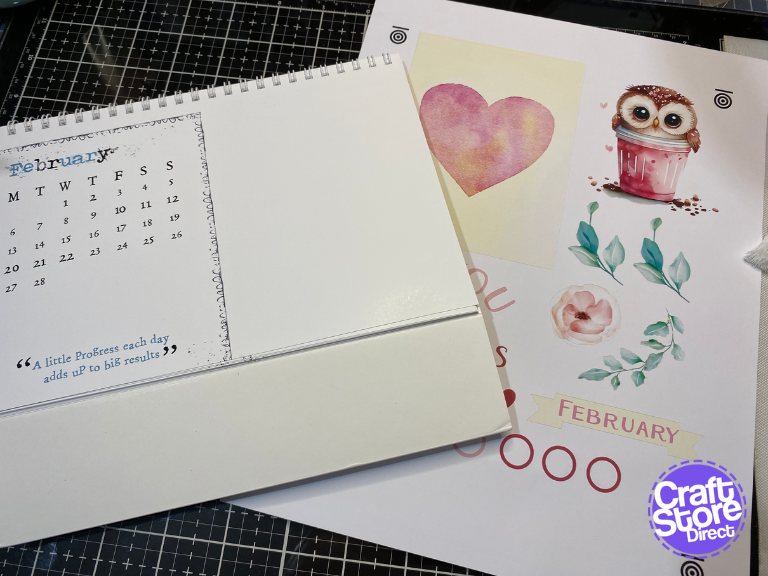
Measure your panel of your calendar blank. Import an image design that has been cropped to size in photo editing software using [File]-[Import from your Computer]. You can add a simple rectangle to cut this out.
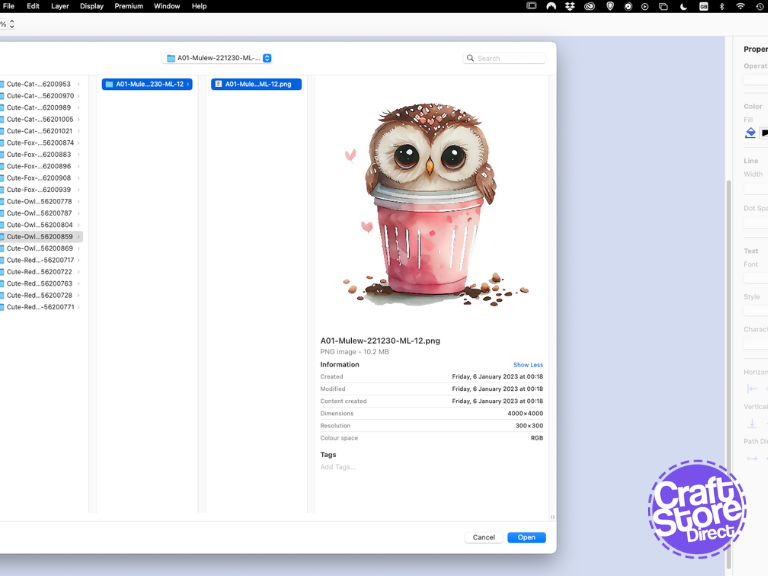
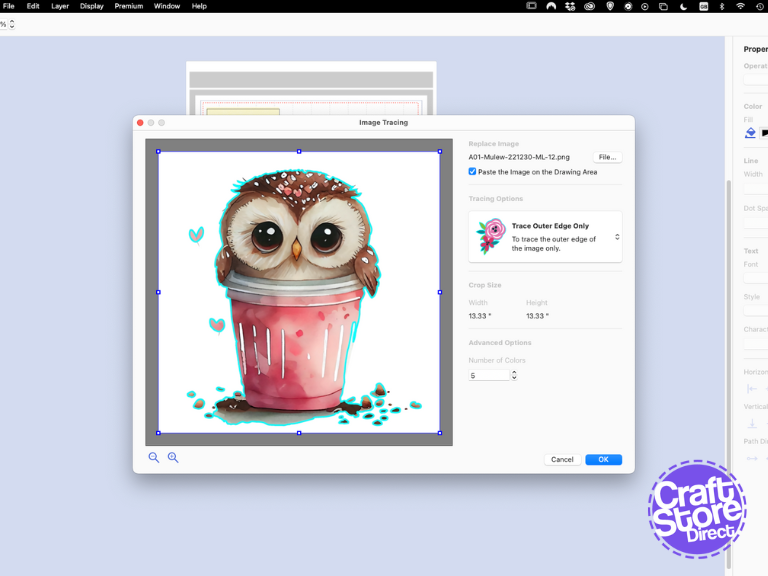
Then, use image tracing to bring pin additional image elements such as the owl, flowers and foliage. You want to keep the paste an image in.
Step 2: Non-Image Print & Cut
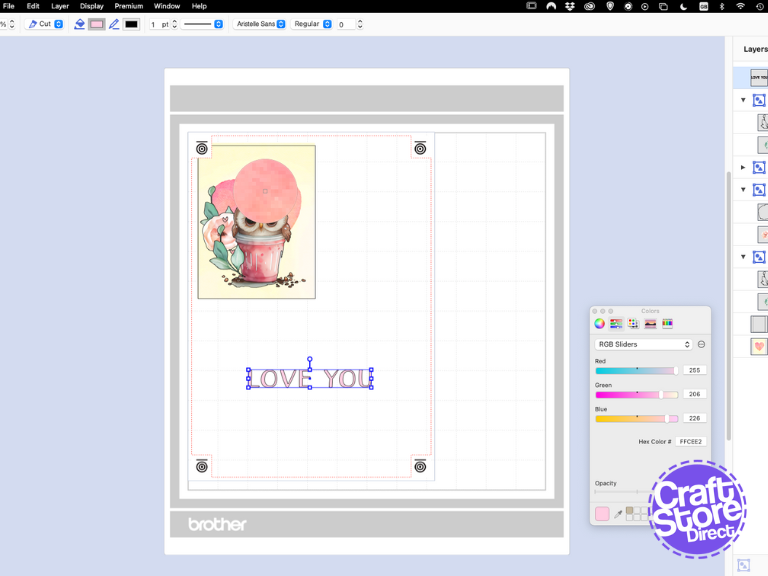
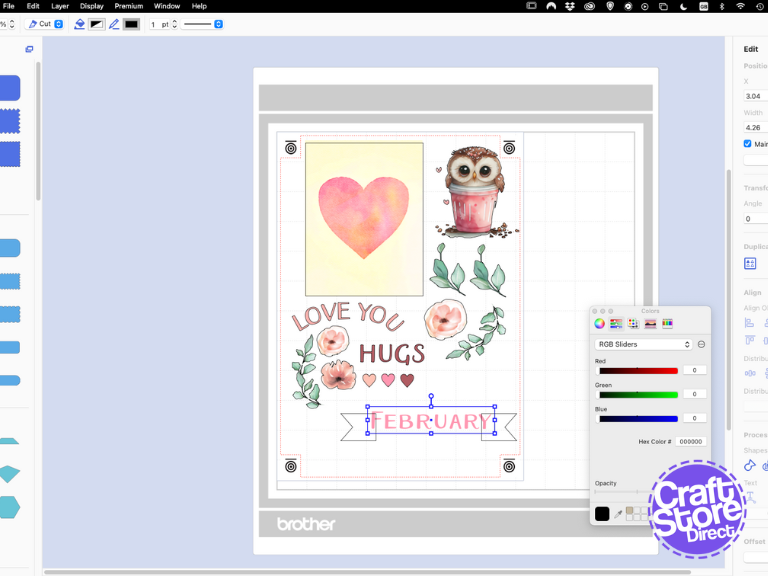
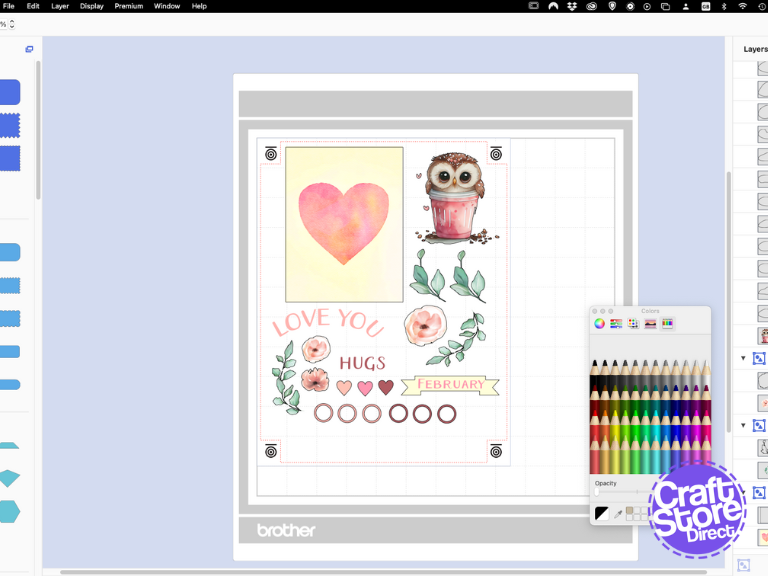
We can add elements directly in CanvasWorkspace for printing too. We do this by selecting the fill colour we want to print. You can also add bleed using a coloured stroke and line width on these elements.
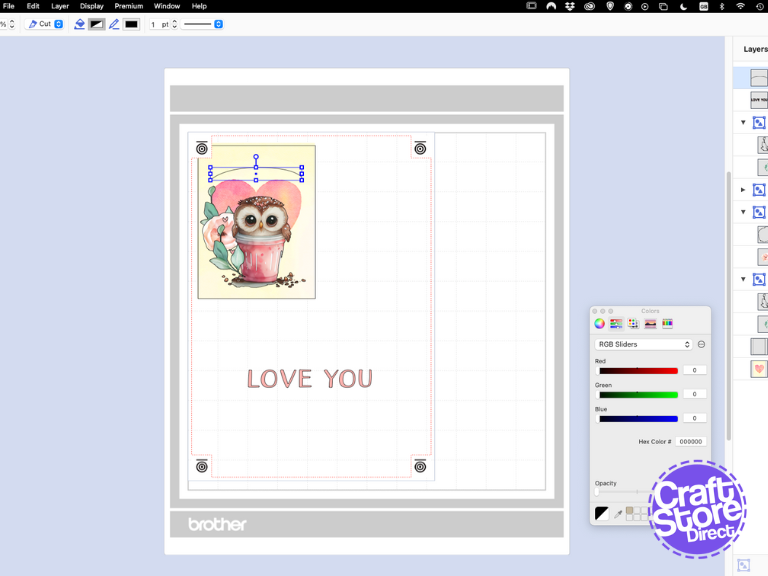
Firstly, I created curved text for the panel using the Text tool to add my text straight. Then, draw a curve over the owl and use Fit to Path to curve your text. You can use the eyedropper in the colour panel to pick a colour out of your images to fill your text with.
You can then add further text or shapes using the same colouring process. You can also layer them to create one sticker (but remember to set your shapes to draw instead of cut to avoid lacy stickers)
Step 3: Adding Registration Marks, Export PDF & Test
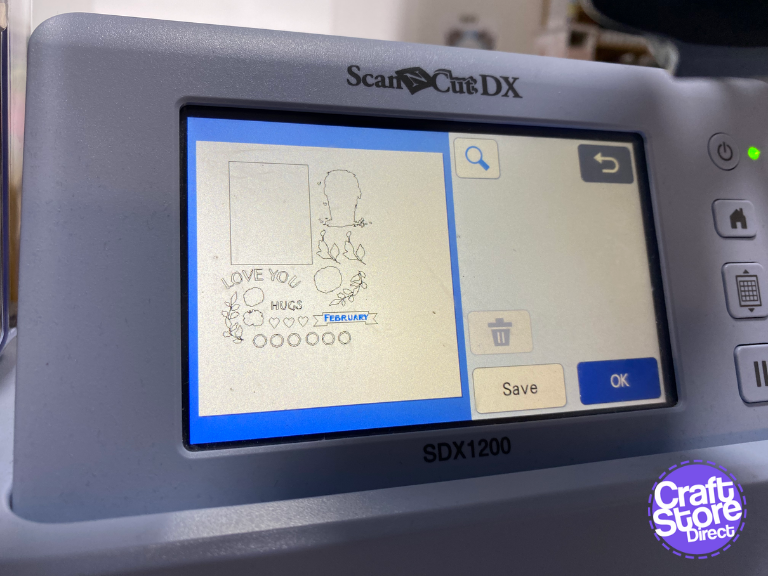
In the Artboard panel (on the right side of the screen) turn on the Registration Marks. These will automatically position the cut lines when you move to your machine.
You may find when you turn these on that some elements are cut off. You want to move these inside the dotted red line.
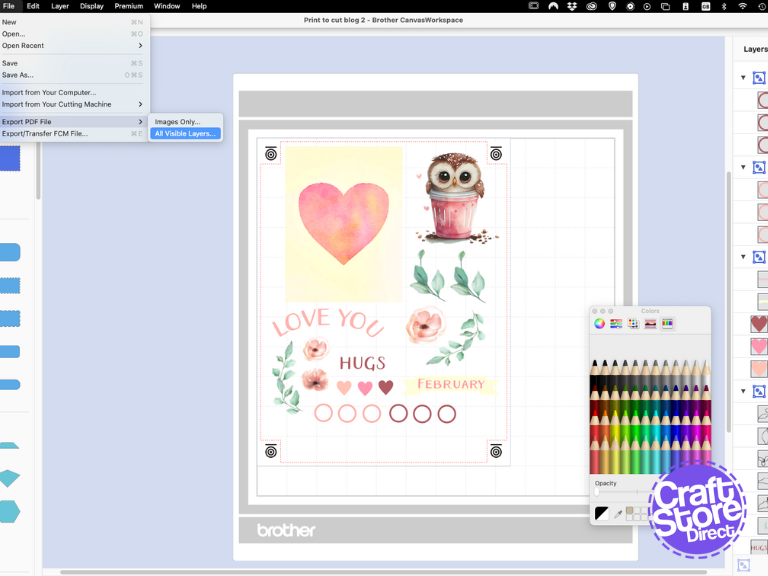
Hide all your cut lines to avoid getting black outlines on your print. Go to [File]-[Export to PDF File]-[All Visible Layers].
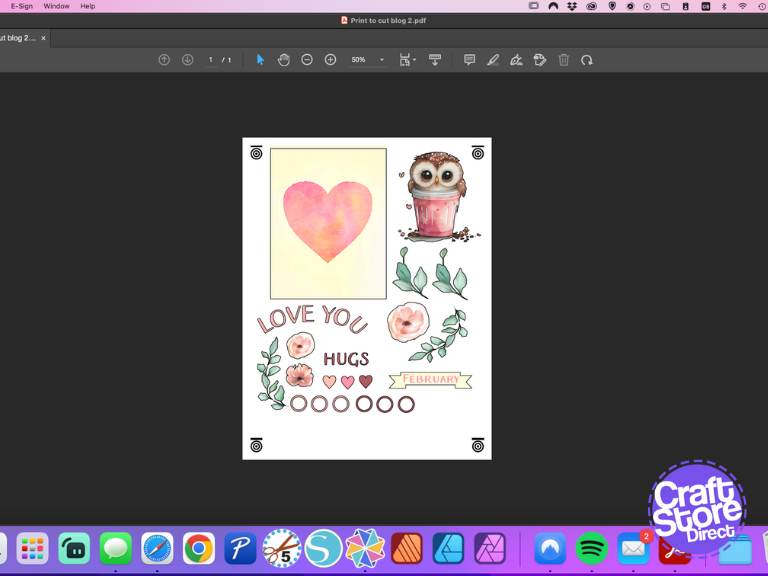
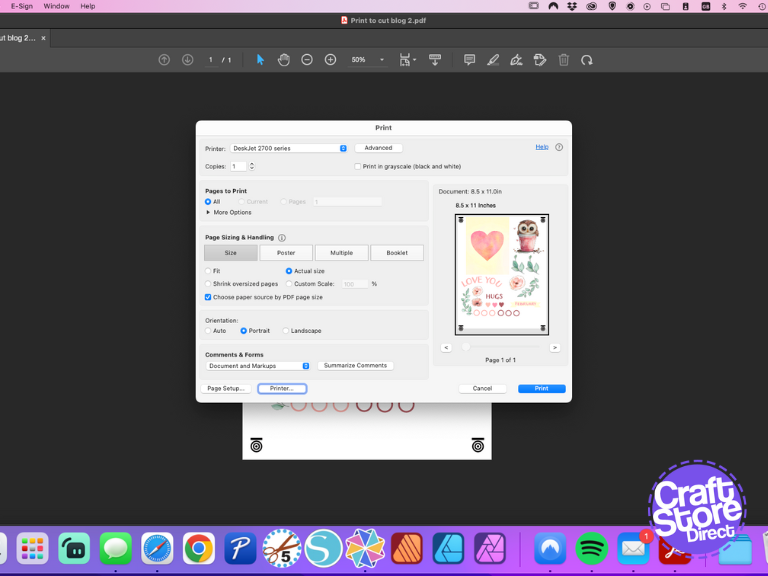
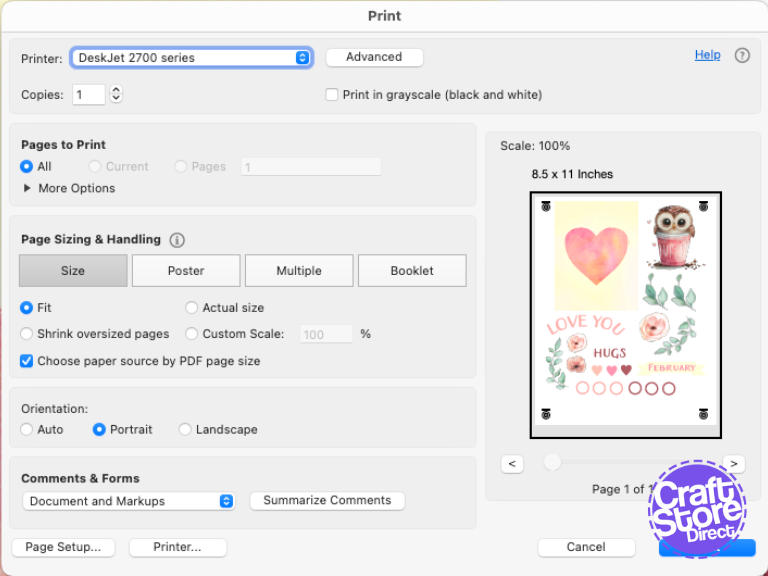
Open the PDF in Adobe Acrobat or other PDF viewer. Go to Print Preview, and you may notice your registration marks are being cut off. Use scale and set paper by PDF page size. This is something you need to bear in mind when setting sizes of objects that you need to oversize them.
Step 4: Adjusting Your Design
In CanvasWorkspace, if you need to adjust your design, you can use the resize by percentage in the Edit panel to increase you object size to counteract shrinkage.
Re-export the PDF and setup the print preview as before. Load the sticker paper into the printer and print your design.
Back in CanvasWorkspace, turn on all of the cut layers and export the cut file as normal. This can be over WiFi or by exporting a special file for the registration marks.
Step 5: Cutting The Stickers
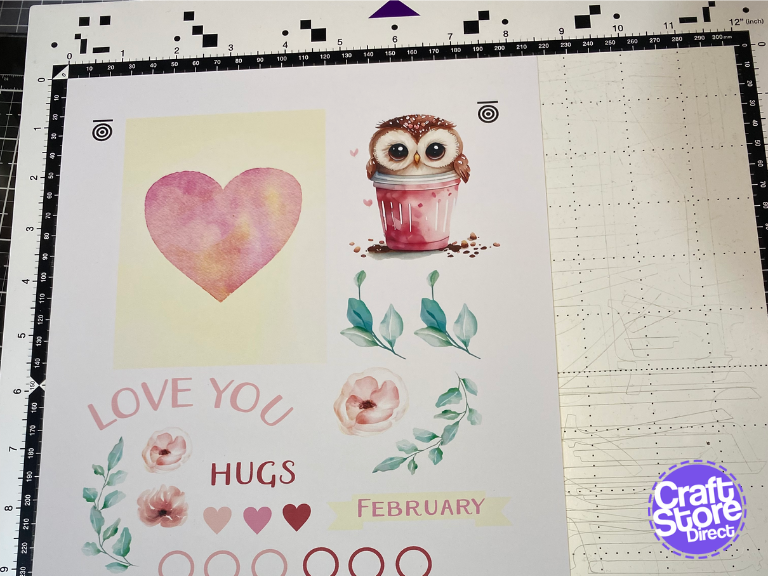
So, we want to place the sticker paper onto a standard tack mat. You want to get it as straight as possible but it can be anywhere on your mat.
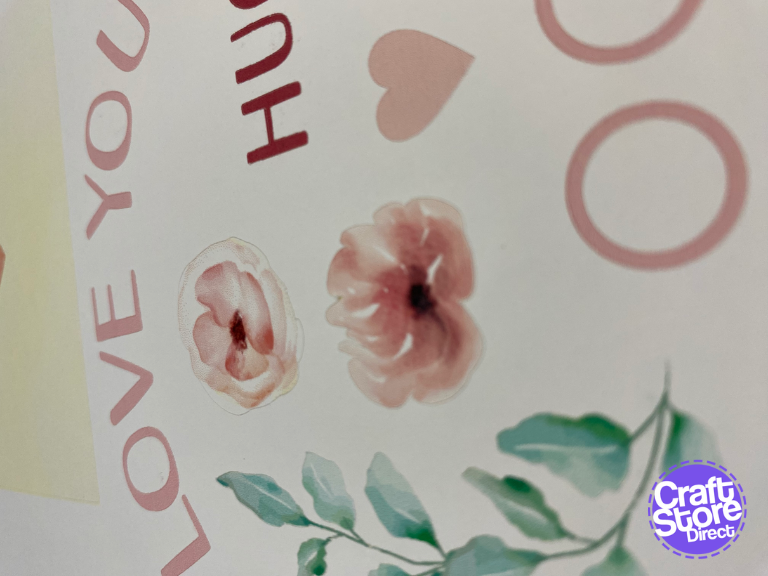
Use [Retrieve Data] to pull in your design. It will then recognise the registration marks and talk you through the process. Set your Cut settings to Half Cut. Proceed with the cut.
You can then apply your stickers to your project to recreate your desired layout or adjust it manually.
CraftStore Direct Blog Created By Natalie Ballard
I’m looking forward to creating the remaining pages of my desk calendar mixing printed and cut elements with more traditional paper craft techniques. Join me next time for a spot of journaling…
CraftStore Direct is brought to you by the UK’s OFFICIAL supplier for Silhouette, Brother ScanNCut products and Colour+Shape, Graphtec GB Ltd. When you purchase from CraftStore Direct you are buying piece of mind that you will be fully supported with your products for years to come as we manage all warranty and technical support requirements throughout the United Kingdom and Ireland. Read More...
Chipboard Trophy | Denise Clark | Silhouette UK BlogChipboard Trophy It’s Denise here today. Are you enjoying the weather? It’s been not bad just hope there is more sunny days…
Teacher Appreciation | Jordy Robinson | Silhouette UK BlogTeacher Appreciation Planner Page | Created With Cork Sheets Hey Everyone! Jordy back at it again with another blog post. Today’s project…
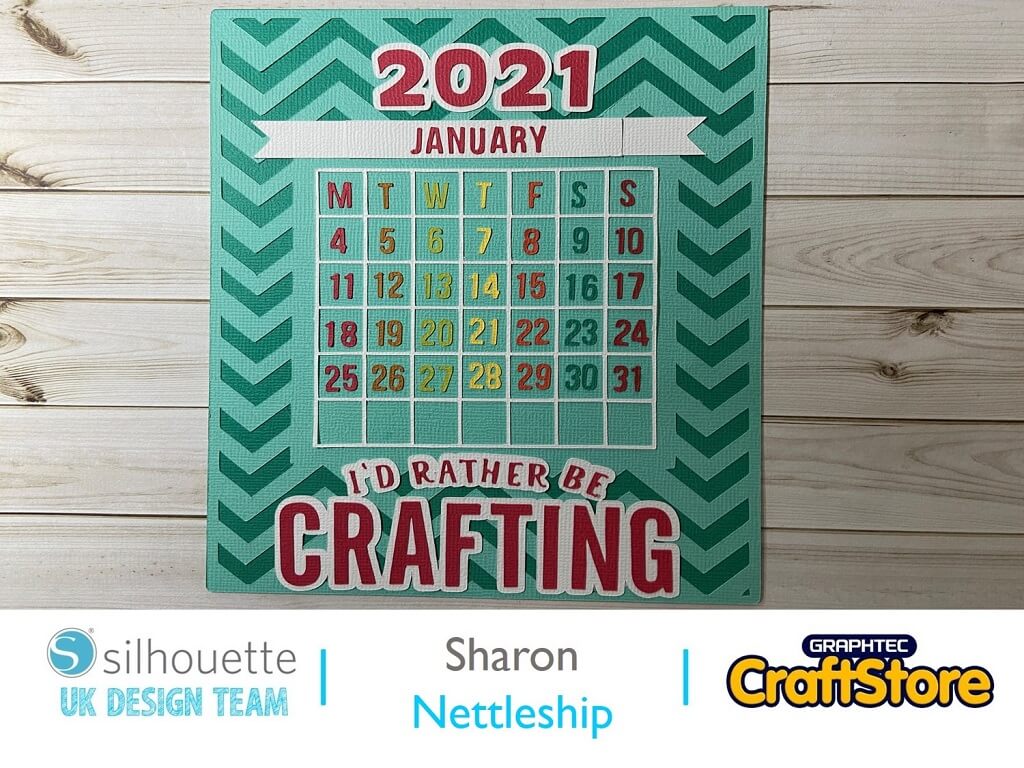
2021 Craft Calendar | Sharon Nettleship | Silhouette UK Blog2021 Craft Calendar Hi DT Sharon here. I hope you all managed to have a good Christmas. To start off hopefully…
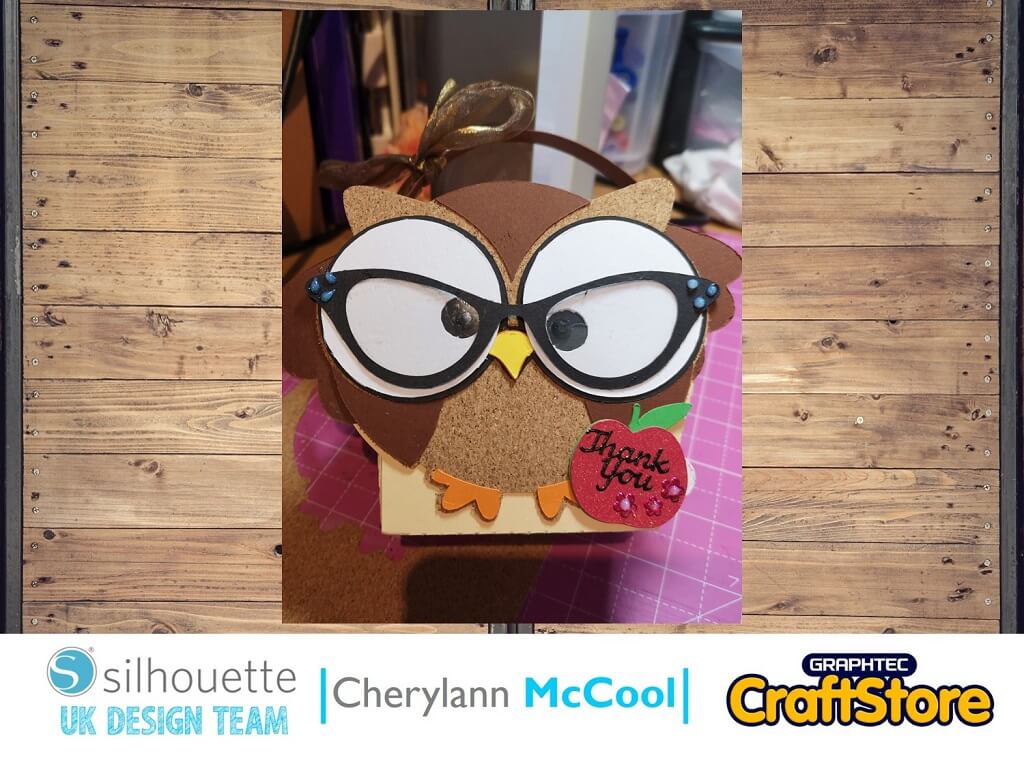
Thank You Miss | Cherylann McCool | Silhouette UK BlogThank You Miss Gift Bag | Cork Sheets Hi Folks, Cheryl here again, it just feels like yesterday since my last…
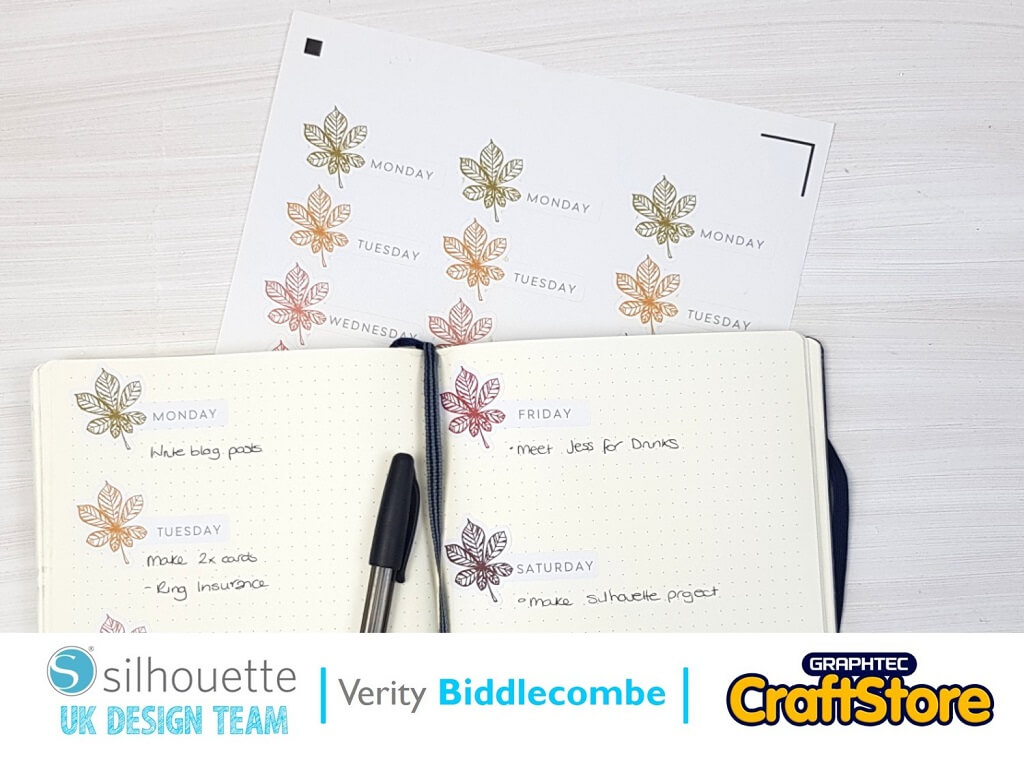
Autumnal Stickers | Verity Biddlecombe | CraftStore Direct BlogAutumnal Sticker For Bullet Jounral | Silhouette Printable Sticker Paper Hi everyone, Verity here today from PrettyLittleButton. If you want to get…
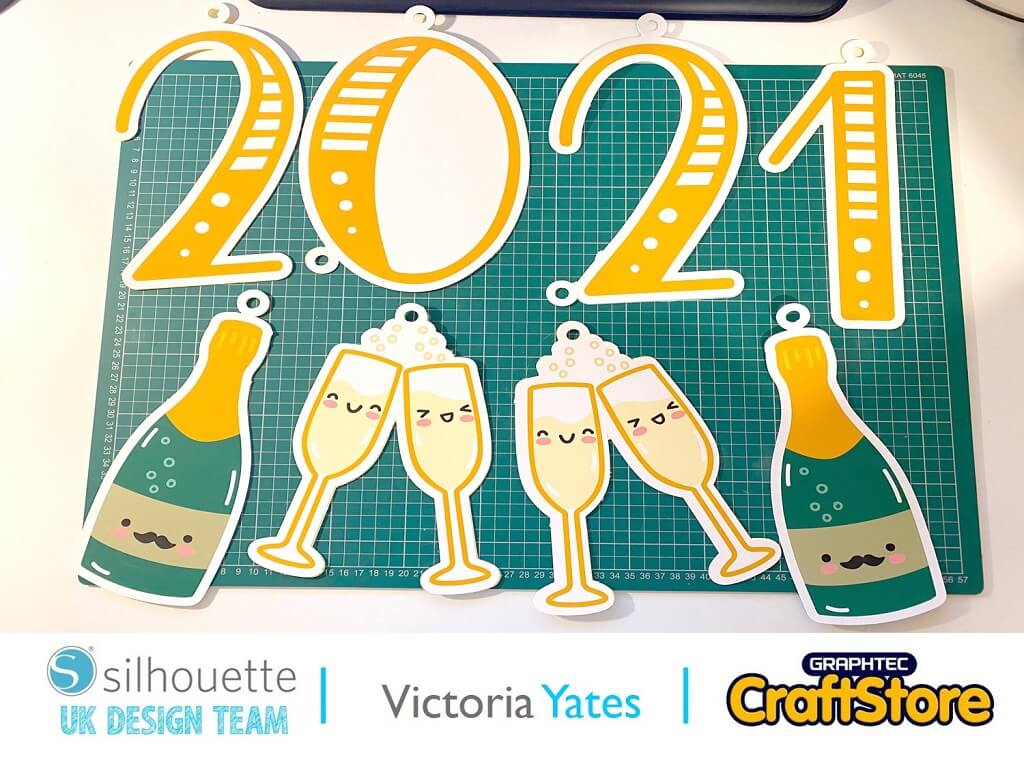
NYE Party Banner | Victoria Yates | Silhouette UK BlogNYE Party Banner Hello crafters!! Vicky here from Cut That Design! New Year’s Eve will be different for all of us…
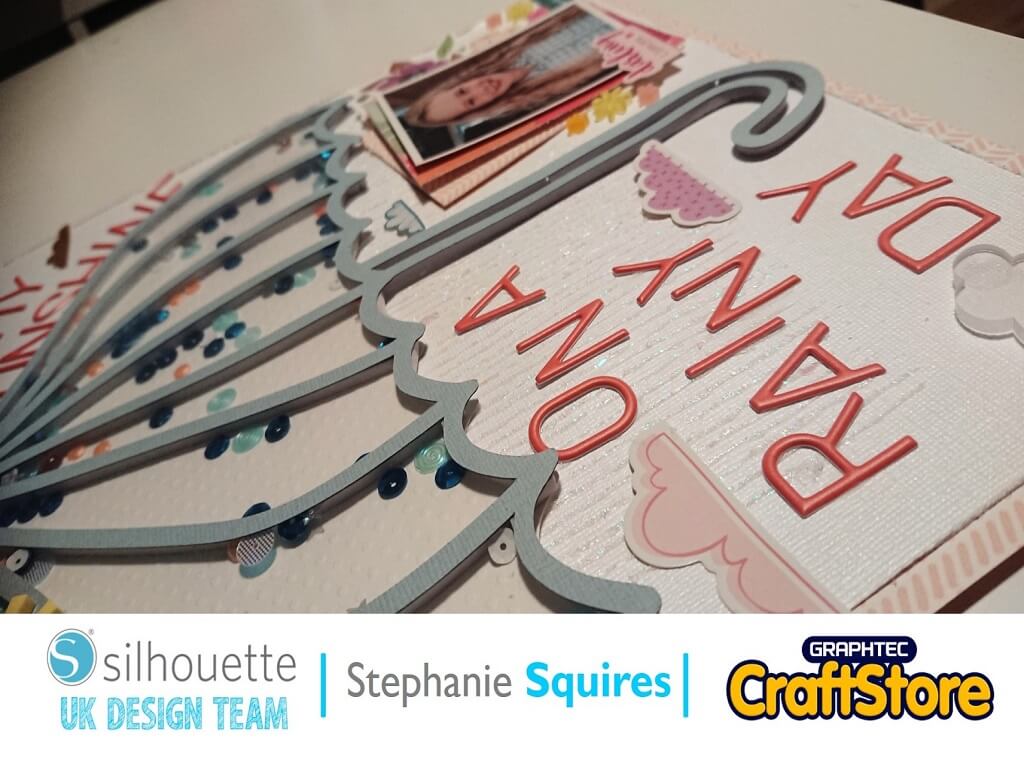
Sunshine On A Rainy Day | Stephanie Squires | Silhouette UK BlogSunshine On A Rainy Day | Umbrella Layout Hello scrapbookers and welcome to this weeks blog post! Choosing The…
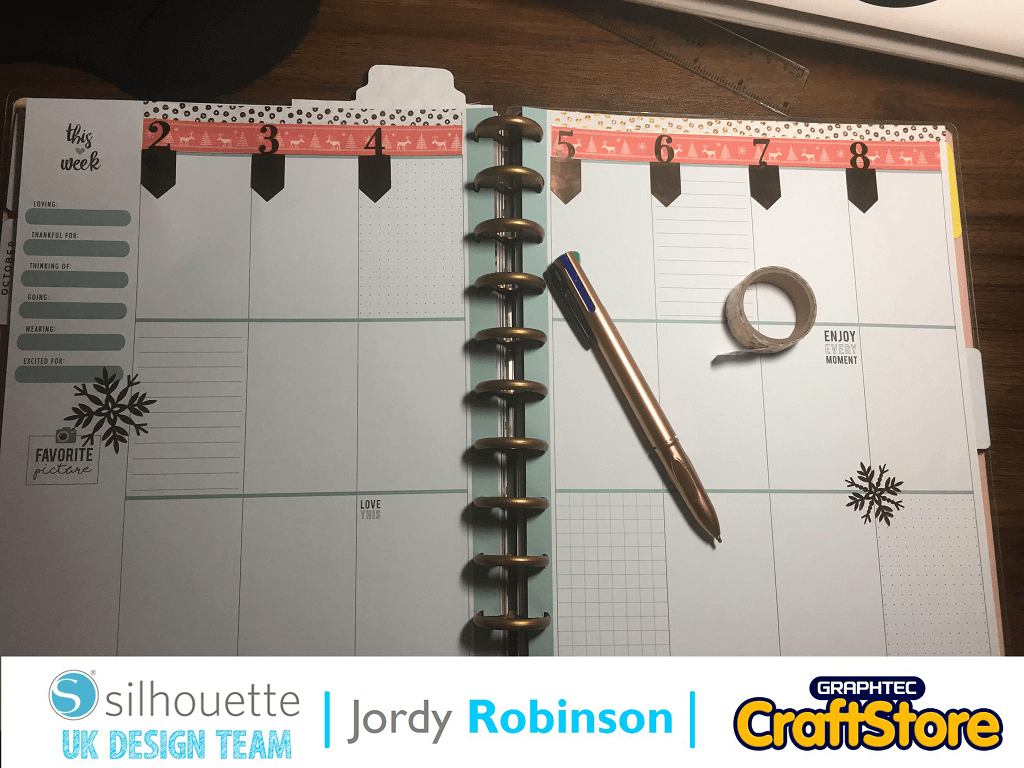
Christmas Embellishments | Jordy Robinson | Silhouette UK BlogChirstmas Embellishments | Silhouette Printable Sticker Foil Hey Everyone! Jordy back at it again with another blog post. It’s Christmas in July…
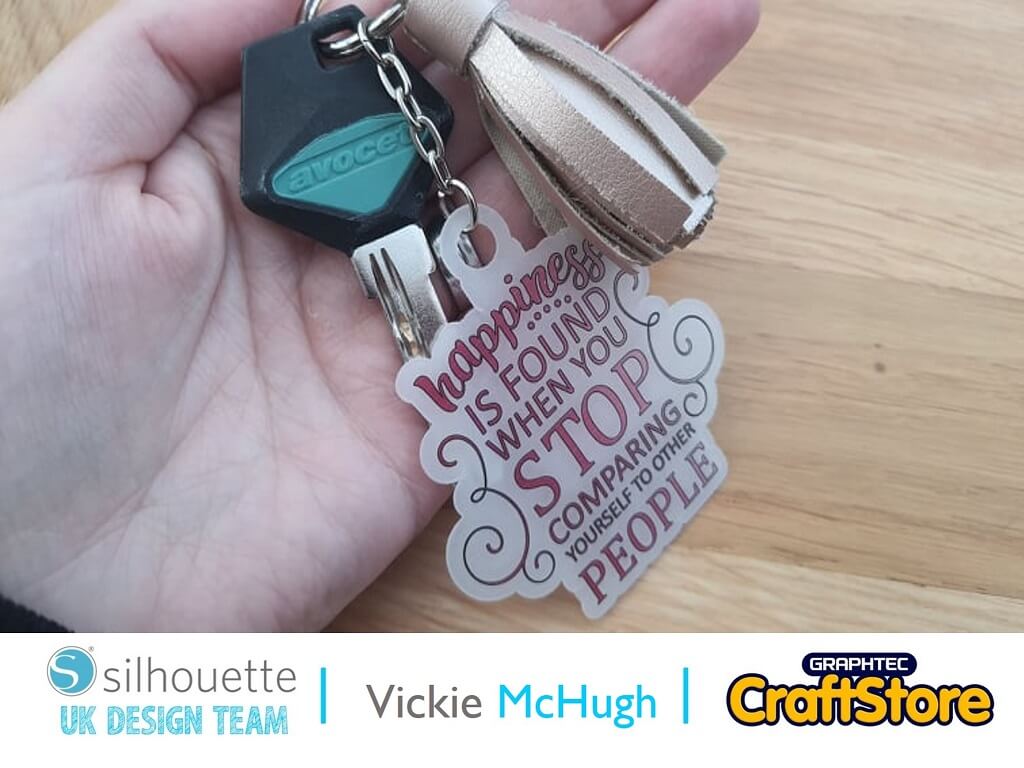
Inspirational Quote Keyring | Vickie McHugh | Silhouette UK BlogInspirational Quote Keyring Hello and welcome to this weeks Crafty Vic tutorial. Like I said during my last blog, I love…