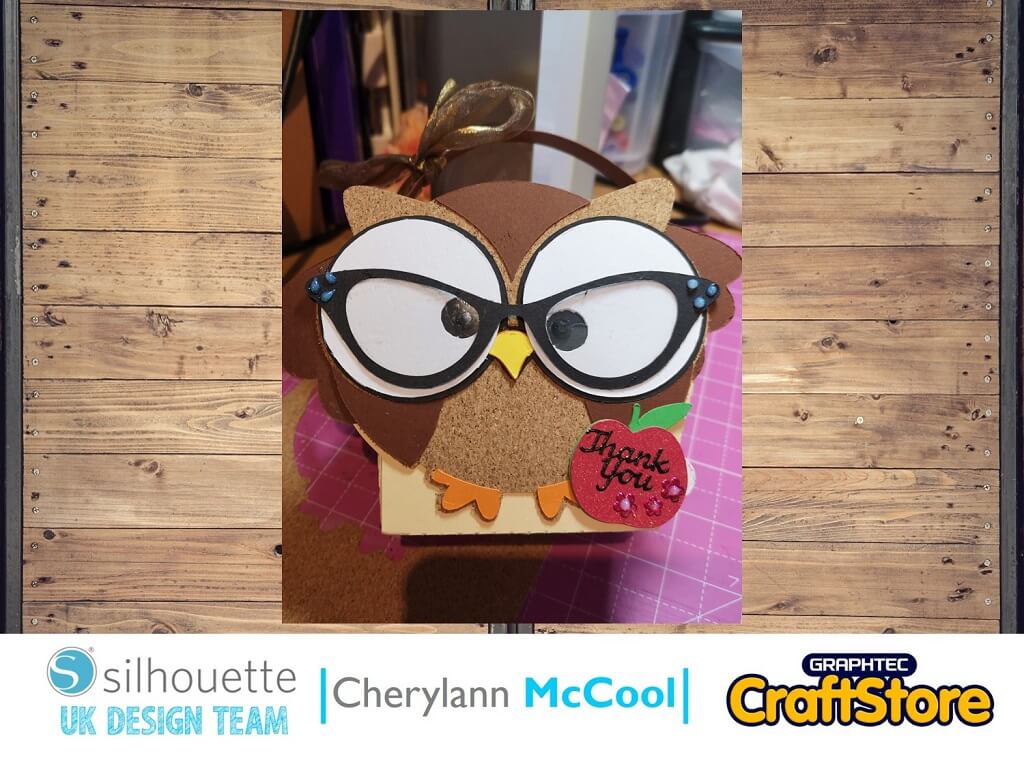
Thank You Miss Gift Bag | Cork Sheets
Hi Folks, Cheryl here again, it just feels like yesterday since my last blog and here we are again.
Well, summer is well and truly here and if not already the schools are about to stop so it’s time to say Thank You to all the teachers who help your children.
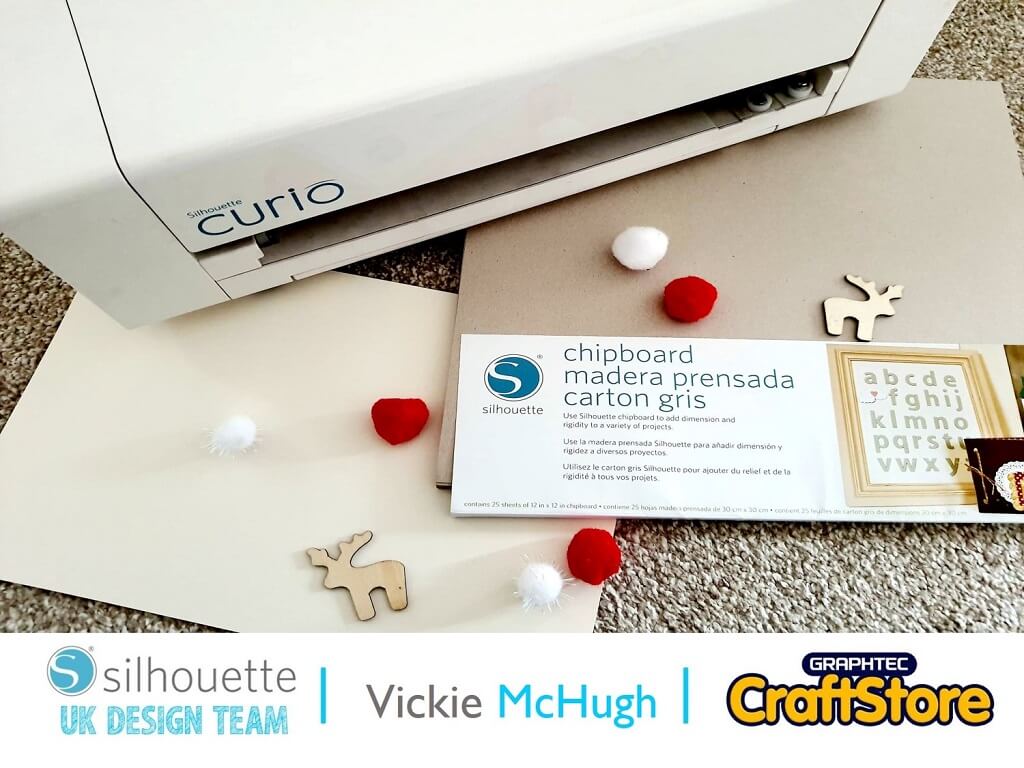
This week I have made a Thank You Gift Bag especially for a teacher using the Silhouette Adhesive Cork Sheets.
Craft Materials Used
Various Cardstock
Adhesive Backed Cork Sheets
Glossy Accents & Gems
Your Glue & DST
When you load up the file all the bits will appear on the 12 x12 screen. As we will be wanting to use different cards and cork move all the pieces over to the right/left side of screen with the black box around it.
If you want to increase the size of your box, I would do it here and go from the right hand top corner to increase or decrease to size required then move everything to the left side.
(Make Sure You Scroll To The Right For Both Images)
Here you should decide what piece to cut first and I would recommend doing the box first.
To ungroup everything you want to go to the top and where you have the 2 boxes with boxes behind them chose to ungroup and then right click.
You will now see if you click on the box it will only go round the box to cut, now move this to the centre of your mat and line your card up on your mat to cut.
Now, make sure you have cardstock chosen as your material and if your numbers are like mine then hit send at bottom to start cutting.
(Make Sure You Scroll To The Right For Both Images)
Now your box is cut, back in the design screen, move it over to the right side of your mat and choose the body part (yellow colour).
You will be using the cork board for this part project. Just like the box before, go to the send screen and for materials here choose Cork Sheets, you will see the numbers change and leave them as is as it is better to cut the cork slowly and neatly and then hit send to cut.
Once cut, move this part over to left side and for all the remaining parts follow the same steps as above for the box.
(Make Sure You Scroll To The Right For Both Images)
Now all the parts are cut its time for you to put it all together.
I started by putting the wing and tail part on the head shaped part on the box, then, I took the backing off the cork and stuck the cord on the wings and tail.
I bent the edges that will hold the box in place and put the 3 small brown pieces with one in the middle of the head and the other 2 just under the wings before adding the feet.
(Make Sure You Scroll To The Right For Both Images)
Now you want to do the eyes so you want to put the black parts down first then add the white on top.
Now, add the nose part on and now you want to put double sided tape on the folded box tabs and peel off and stick.
Then you want to add the handle through the slits on the side of the box.
(Make Sure You Scroll To The Right For Both Images)
Now for the final touches.
Make the apple up and write Thank You and maybe the teachers name and stick to the bottom right hand side. Then, for the glasses you could stick them on as they are or you could use acetate for the lens part or you can choose glossy accents and leave to dry and then add a ribbon bow.
(Make Sure You Scroll To The Right For Both Images)
That’s Owl To Do It!
I have thoroughly enjoyed this project, it was relatively easy to cut and make up and I definitely think it would make your gift stand out.
Go on, give it a go and then share your makes with us on social media.
– Cherylann McCool –


