Autumn Blessings Home Decor | Karen Moss | Silhouette UK Blog
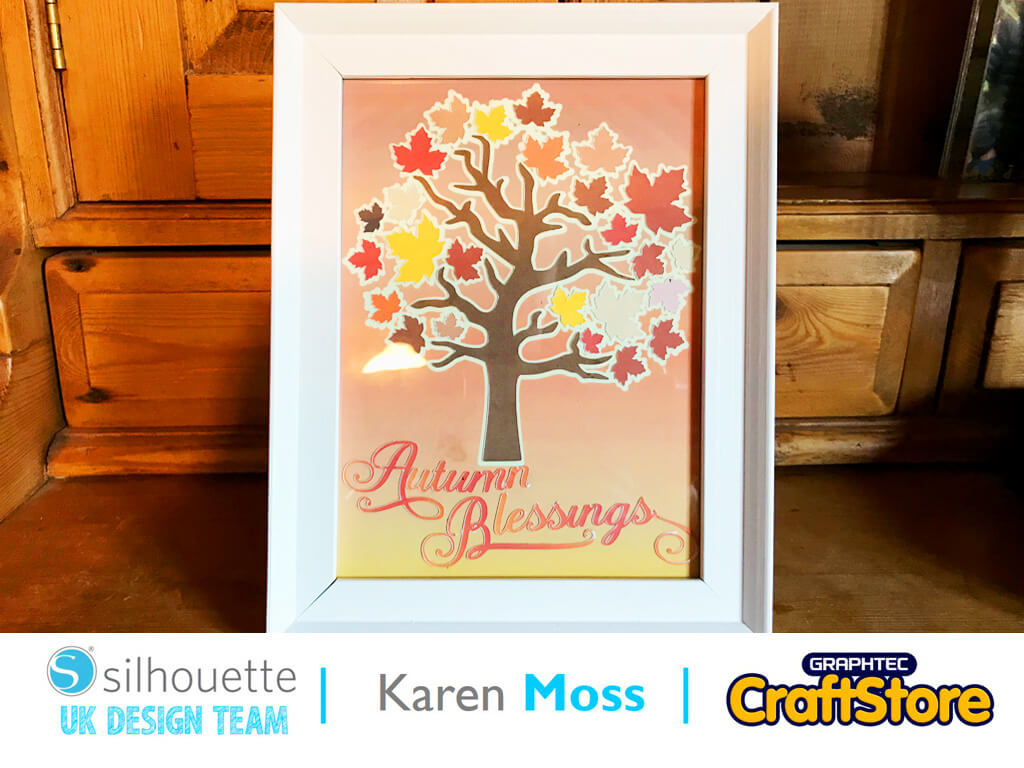
Autumn Blessings Home Decor | Karen Moss | Silhouette UK BlogAutumn Blessings Home Decor | Silhouette Sticker Paper For this week’s project I have used Glow in the Dark printable…
PLEASE NOTE THAT THE OFFICE WILL BE CLOSED FROM 12PM FRIDAY 20TH DECEMBER 2024 AND WILL RE-OPEN ON THURSDAY 2ND JANUARY 2025
ORDERS FOR DELIVERY PRIOR TO CHRISTMAS WILL NEED TO BE SUBMITTED BY 2.30PM ON THURSDAY 19THDECEMBER 2024.
ORDERS RECEIVED AFTER THIS TIME AND DATE WILL BE DESPATCHED ON THURSDAY 2ND JANUARY 2025.
Merry Christmas & A Happy New Year to all our customers. Thank you for your continued support.
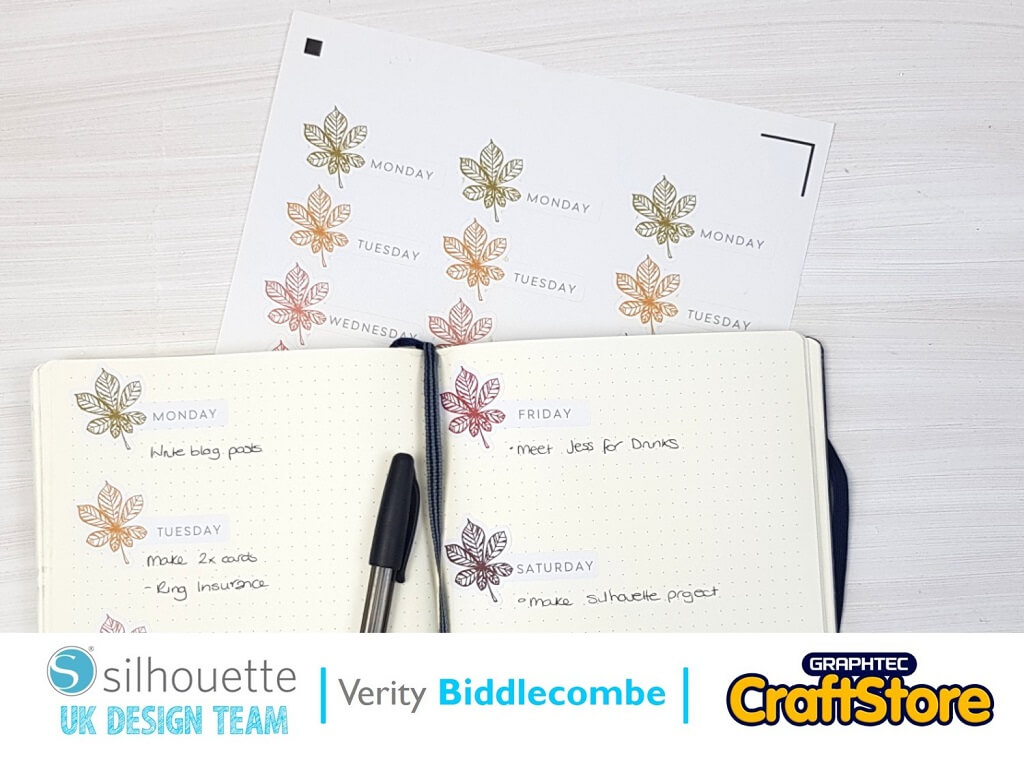
Hi everyone, Verity here today from PrettyLittleButton.
If you want to get on top of your bullet journal, why not create fun seasonal daily stickers that speeds up planning for the week ahead.
Print and cut several sheets for on the go and you can organize you week I no time.
Open up the Fall sketches design into your studio.
Next, draw a rounded rectangle and use the width and height dimensions on the top tool bard to adjust the size.
Next, resize the leaf and rotate, place this up to one of the rectangle.
Move the rectangle to one side and with only the leaf selected open the offset window and add an offset to the leave.
Using the line colour option in the top tool bar, change the line colour of the leave design to another colour, for example blue.
Now, select the leaf offset, no the leaf design itself, along with the rectangle and open up the ‘Modify’ panel.
In the modify panel, select weld to weld the rectangle to the leaf offset.
Next, change the colour of the leave design to a colour of your choose and add weight to the line.
If you do not add weight to the line, the leaf will not print out.
Duplicate this 7 times and add the days of the week inside the rectangle.
You now need to add the print and cut lines to the design space. Open up the Page Setup window, and select the ‘Registration marks’ tab. In the ‘Style’ drop down menu, select Type 1 Cameo.
This was now add the black square and lines as well as the hashed areas to the design space.
You can adjust the position of the inserts and lengths of the inserts in this window.
However, make sure you do not allow the cut area to go out side of your print area.
You can now move the stickers about making sure they stay within the print and cut area designated by the lines.
To fill the page up quicker, you can use the replicate tool.
Open up the replicate panel and select, in this case, the replicate to the row 2 times.
Send the design to print and once printed, load this onto your mat and into your machine. Now we only want the outline to cut – no the leaf design or the words. As these have cut lines assigned to them, we must cut by line color instead of using ‘simple’ cut settings.
Make sure only the red line colour is set to cut and all other line colours are switched off.
Make sure you to a test cut before cutting the whole sheet – you want a kiss cut where it cuts the top sticker paper but not through the backing paper.
You can Print & Cut several sheets out in one go keeping you stocked up for months and organising you life will have never been as quick!
– Verity Biddlecombe –
• Design Used: Fall Sketches
Design Store Artist: Tanya Batrak
Design Store ID: 151400 > Download