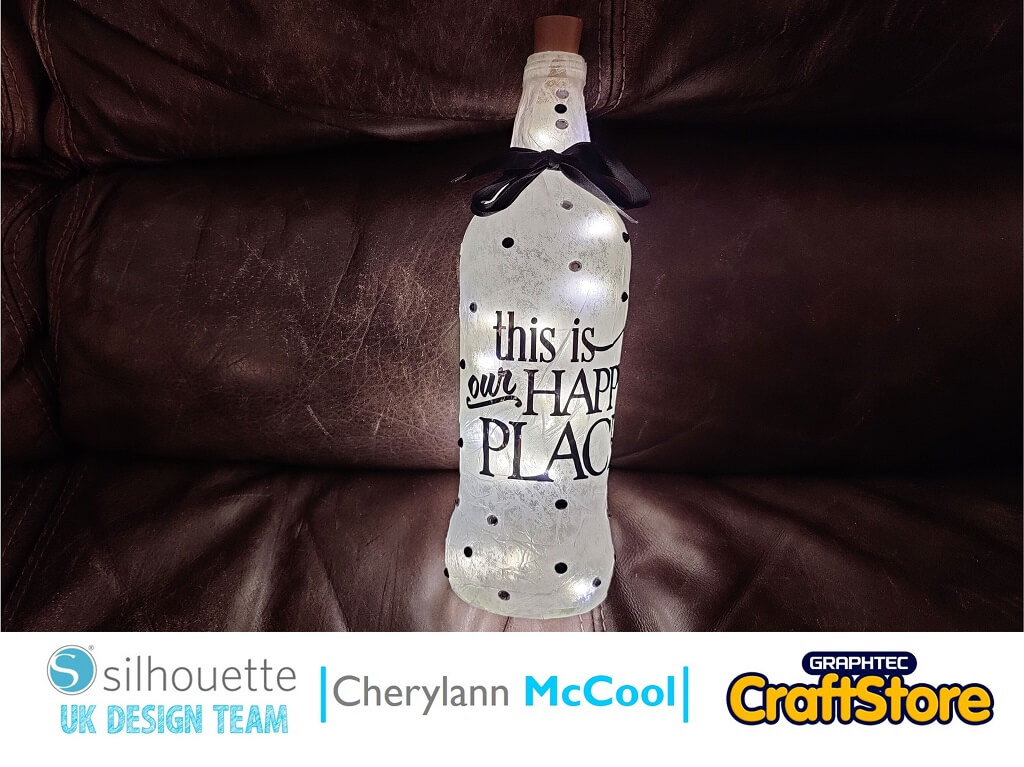
Light Up For Spring | Cherylann McCool | CraftStore Direct Blog
Light Up For Spring | Cherylann McCool | CraftStore Direct BlogLight Up For Spring bottle Hi Cheryl here again. Hi folks, well we are now at the time of year…
PLEASE NOTE THAT THE OFFICE WILL BE CLOSED FROM 12PM FRIDAY 20TH DECEMBER 2024 AND WILL RE-OPEN ON THURSDAY 2ND JANUARY 2025
ORDERS FOR DELIVERY PRIOR TO CHRISTMAS WILL NEED TO BE SUBMITTED BY 2.30PM ON THURSDAY 19THDECEMBER 2024.
ORDERS RECEIVED AFTER THIS TIME AND DATE WILL BE DESPATCHED ON THURSDAY 2ND JANUARY 2025.
Merry Christmas & A Happy New Year to all our customers. Thank you for your continued support.

I have absolutely loved working with shrink plastic in the past so I have decided to create the next 2 blogs using this media.
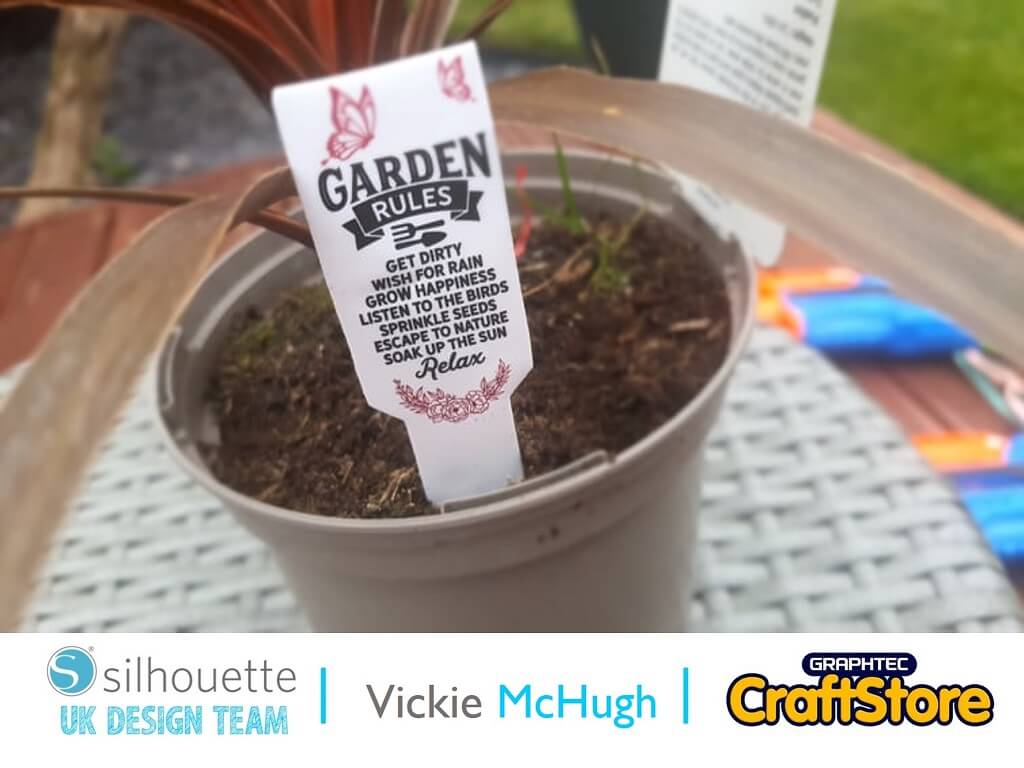
For this tutorial I am going to make some cute little plant sticks, which can be used to brighten up your garden, could be great for a gift or decoration.
Items I Used
• Silhouette Curio
• Cutting Mat (8.5″x12″)
• Shrink Plastic Sheets
• Standard Ratchet Blade
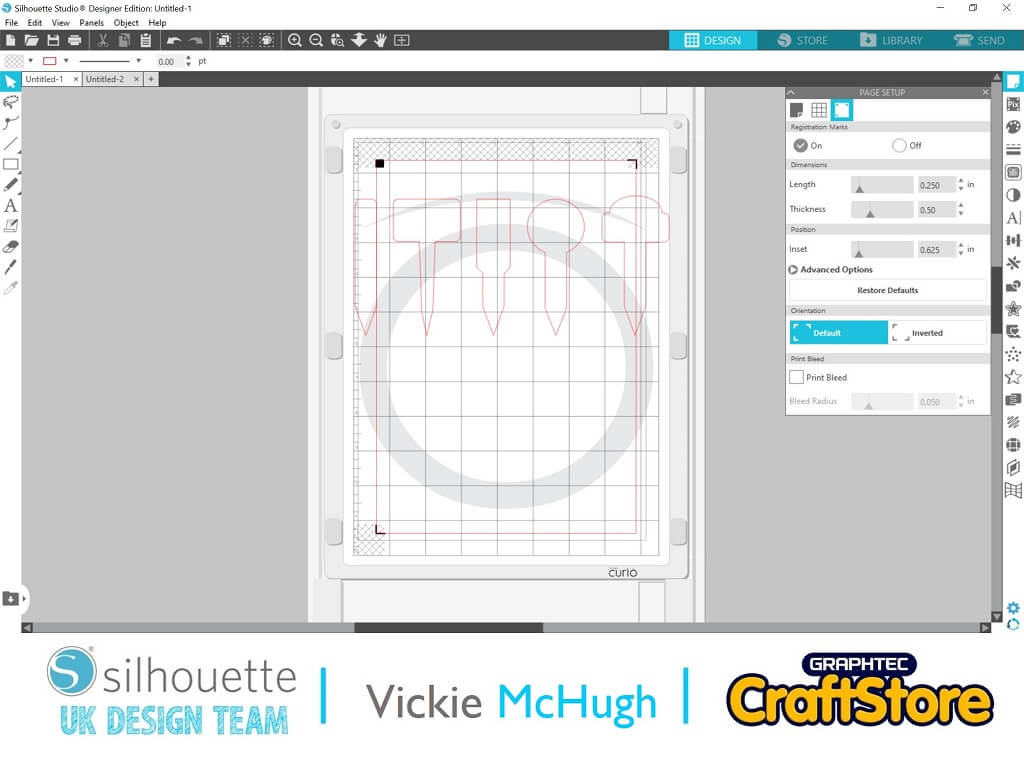
Purchase the plant sticks file from design store.
I have also purchased a garden quote to add on one of the sticks which would be used as a gift.
Open the plant sticks file within silhouette.
Turn on registration marks by going to page set up.
Right click and ungroup the sticks and select which one you would like to use.
Make this stick as large as you can (once you shrink the plastic it shrinks significantly)
I have managed to fit 2 on within the margins.
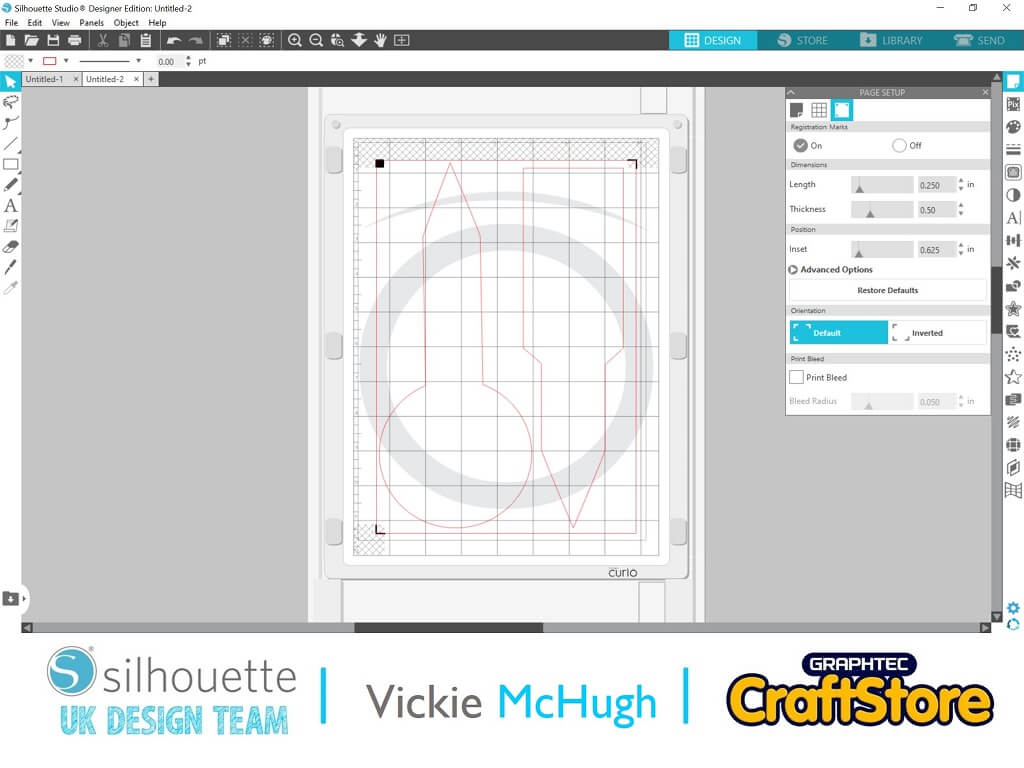
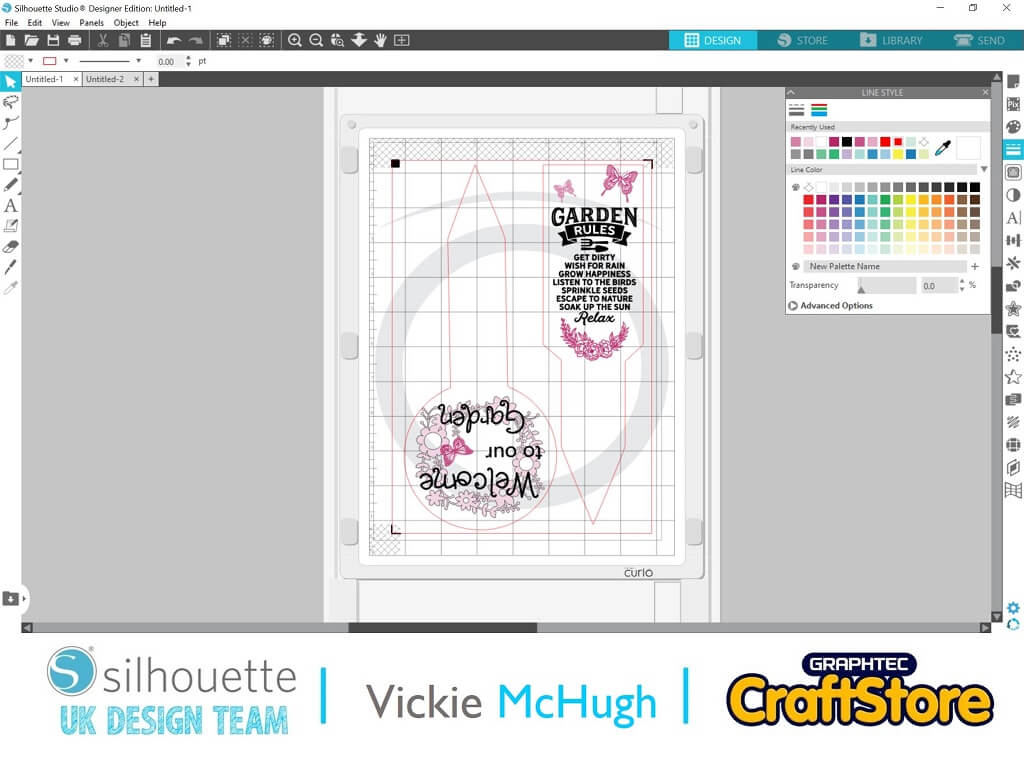
I am going to do 2 designs on my sticks using 2 shapes.
My first one is using a floral boarder, butterfly and font, all from the design store (codes below) the second I am using a gardening quote I have found in the design store.
In Silhouette Studio move the image from the mat and put to one side.
Drag the frame over and put a coloured piece of card onto the mat.
Using the same settings click send.
**If you are using the clear shrink wrap remove the backing**
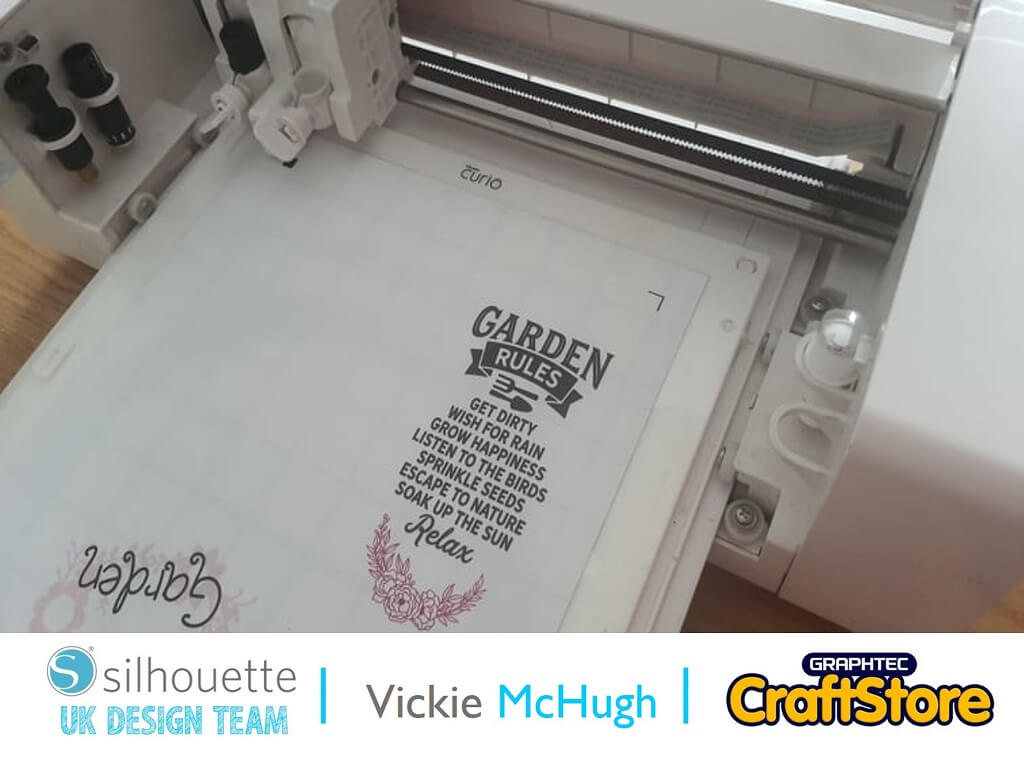
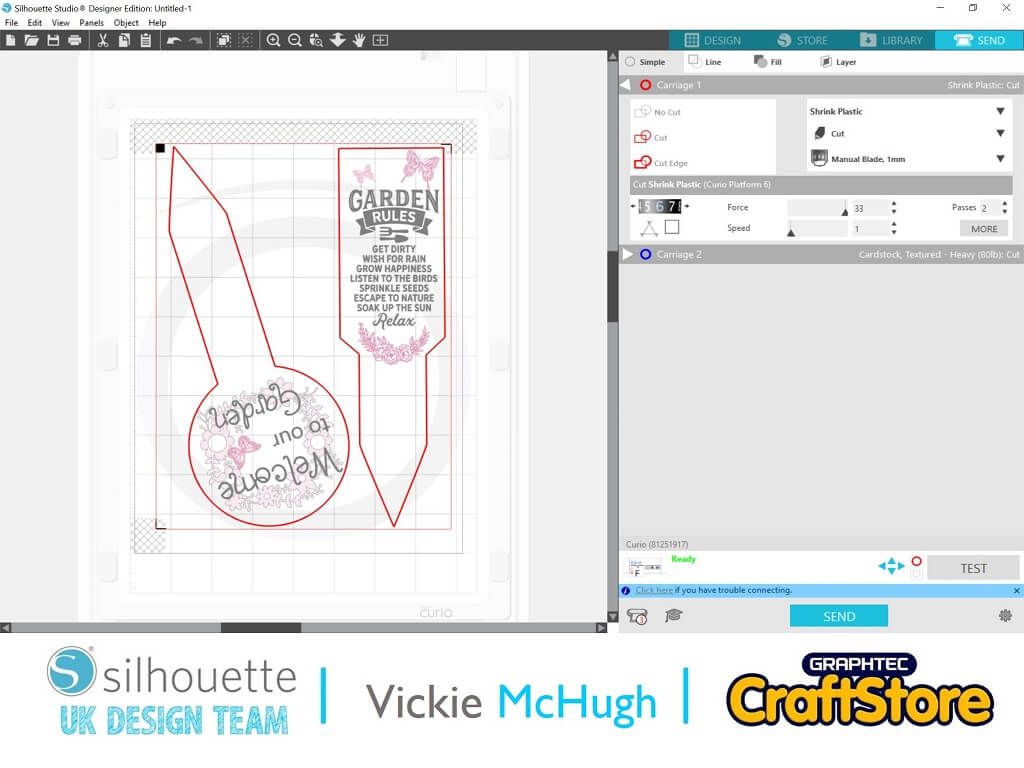
Click on the Send tab. Change the material to show Shrink Plastic.
Check that the areas you want to cut are highlighted in red. If they aren’t click on them and under the Tool 1, select CUT.
If the lettering is highlighted in red, this will need to be deselected by clicking and changing the Tool 1 option to NO CUT.
Once you are happy, click on SEND. The machine will then read the registration marks and with cut out the shapes
Preheat the oven to 160c.
Arrange the cut out sticks, printed side up onto baking paper making sure there is adequate space between them.
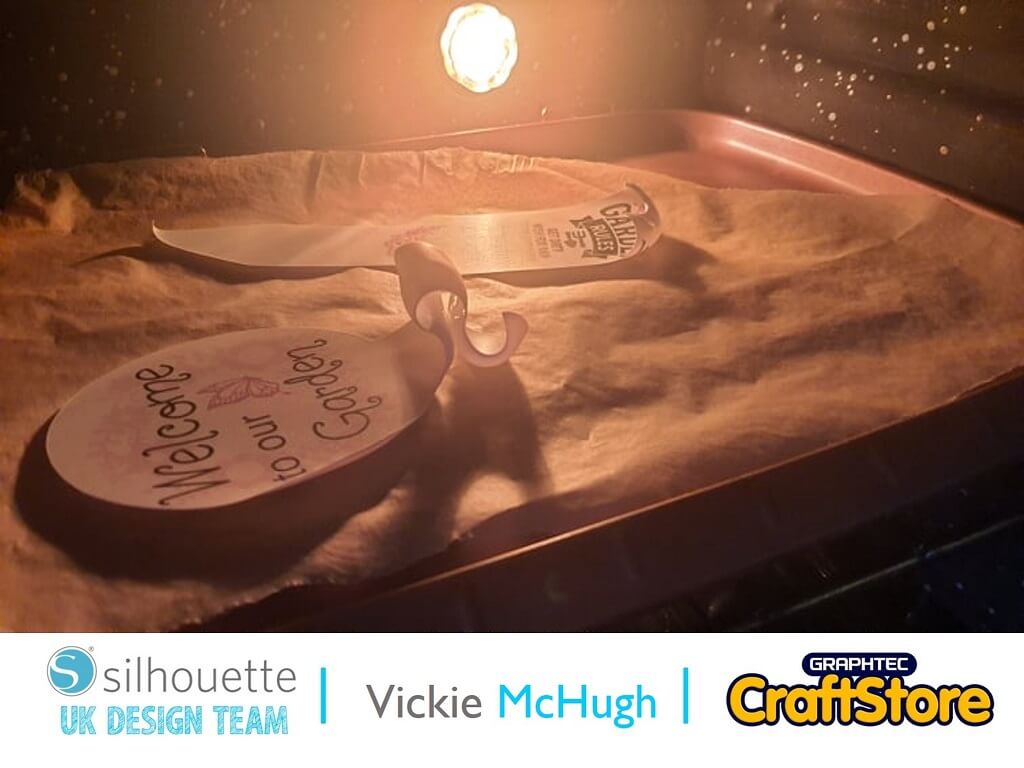
Put them in the oven and watch for the pieces to curl, shrink and then flatten. Then bake them for an additional 30 seconds.
Remove from the oven and take the baking sheet off. Use a flat implement to gently press on the charms to make them flat until they are cool.
And your sticks are made!
I hope you have enjoyed this garden sticks tutorial.
Shrink plastic is one of my favorite types of media and can be used to create lots of things.
To find out how to make something else using shrink plastic, tune into my next Silhouette tutorial.
I look forward to seeing what you make. Please don’t forget to tag me on Instagram so I can see your masterpieces @crafty_vickie
– Vickie McHugh –

• Design Used: Flower Wreath
Design Store Artist: Silhouette
Design Store ID: 58462 > Download
• Design Used: Garden Rules
Design Store Artist: Jillibean Soup
Design Store ID: 321754 > Download