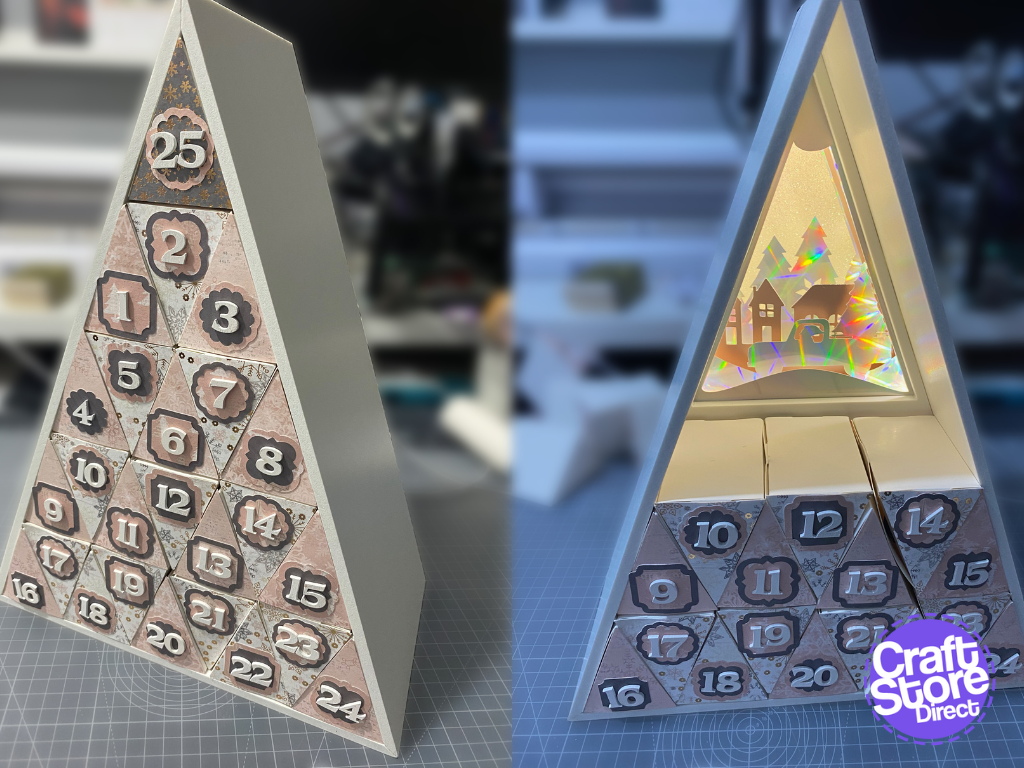
Make Your Own Advent Calendar With The Silhouette Advent Calendar Kit
The Countdown To Christmas is on… This week is Advent Calendar Week, so I went for a romantic twist. This time, the calendar is filled with reasons why the receiver…
PLEASE NOTE THAT THE OFFICE WILL BE CLOSED FROM 12PM FRIDAY 20TH DECEMBER 2024 AND WILL RE-OPEN ON THURSDAY 2ND JANUARY 2025
ORDERS FOR DELIVERY PRIOR TO CHRISTMAS WILL NEED TO BE SUBMITTED BY 2.30PM ON THURSDAY 19THDECEMBER 2024.
ORDERS RECEIVED AFTER THIS TIME AND DATE WILL BE DESPATCHED ON THURSDAY 2ND JANUARY 2025.
Merry Christmas & A Happy New Year to all our customers. Thank you for your continued support.
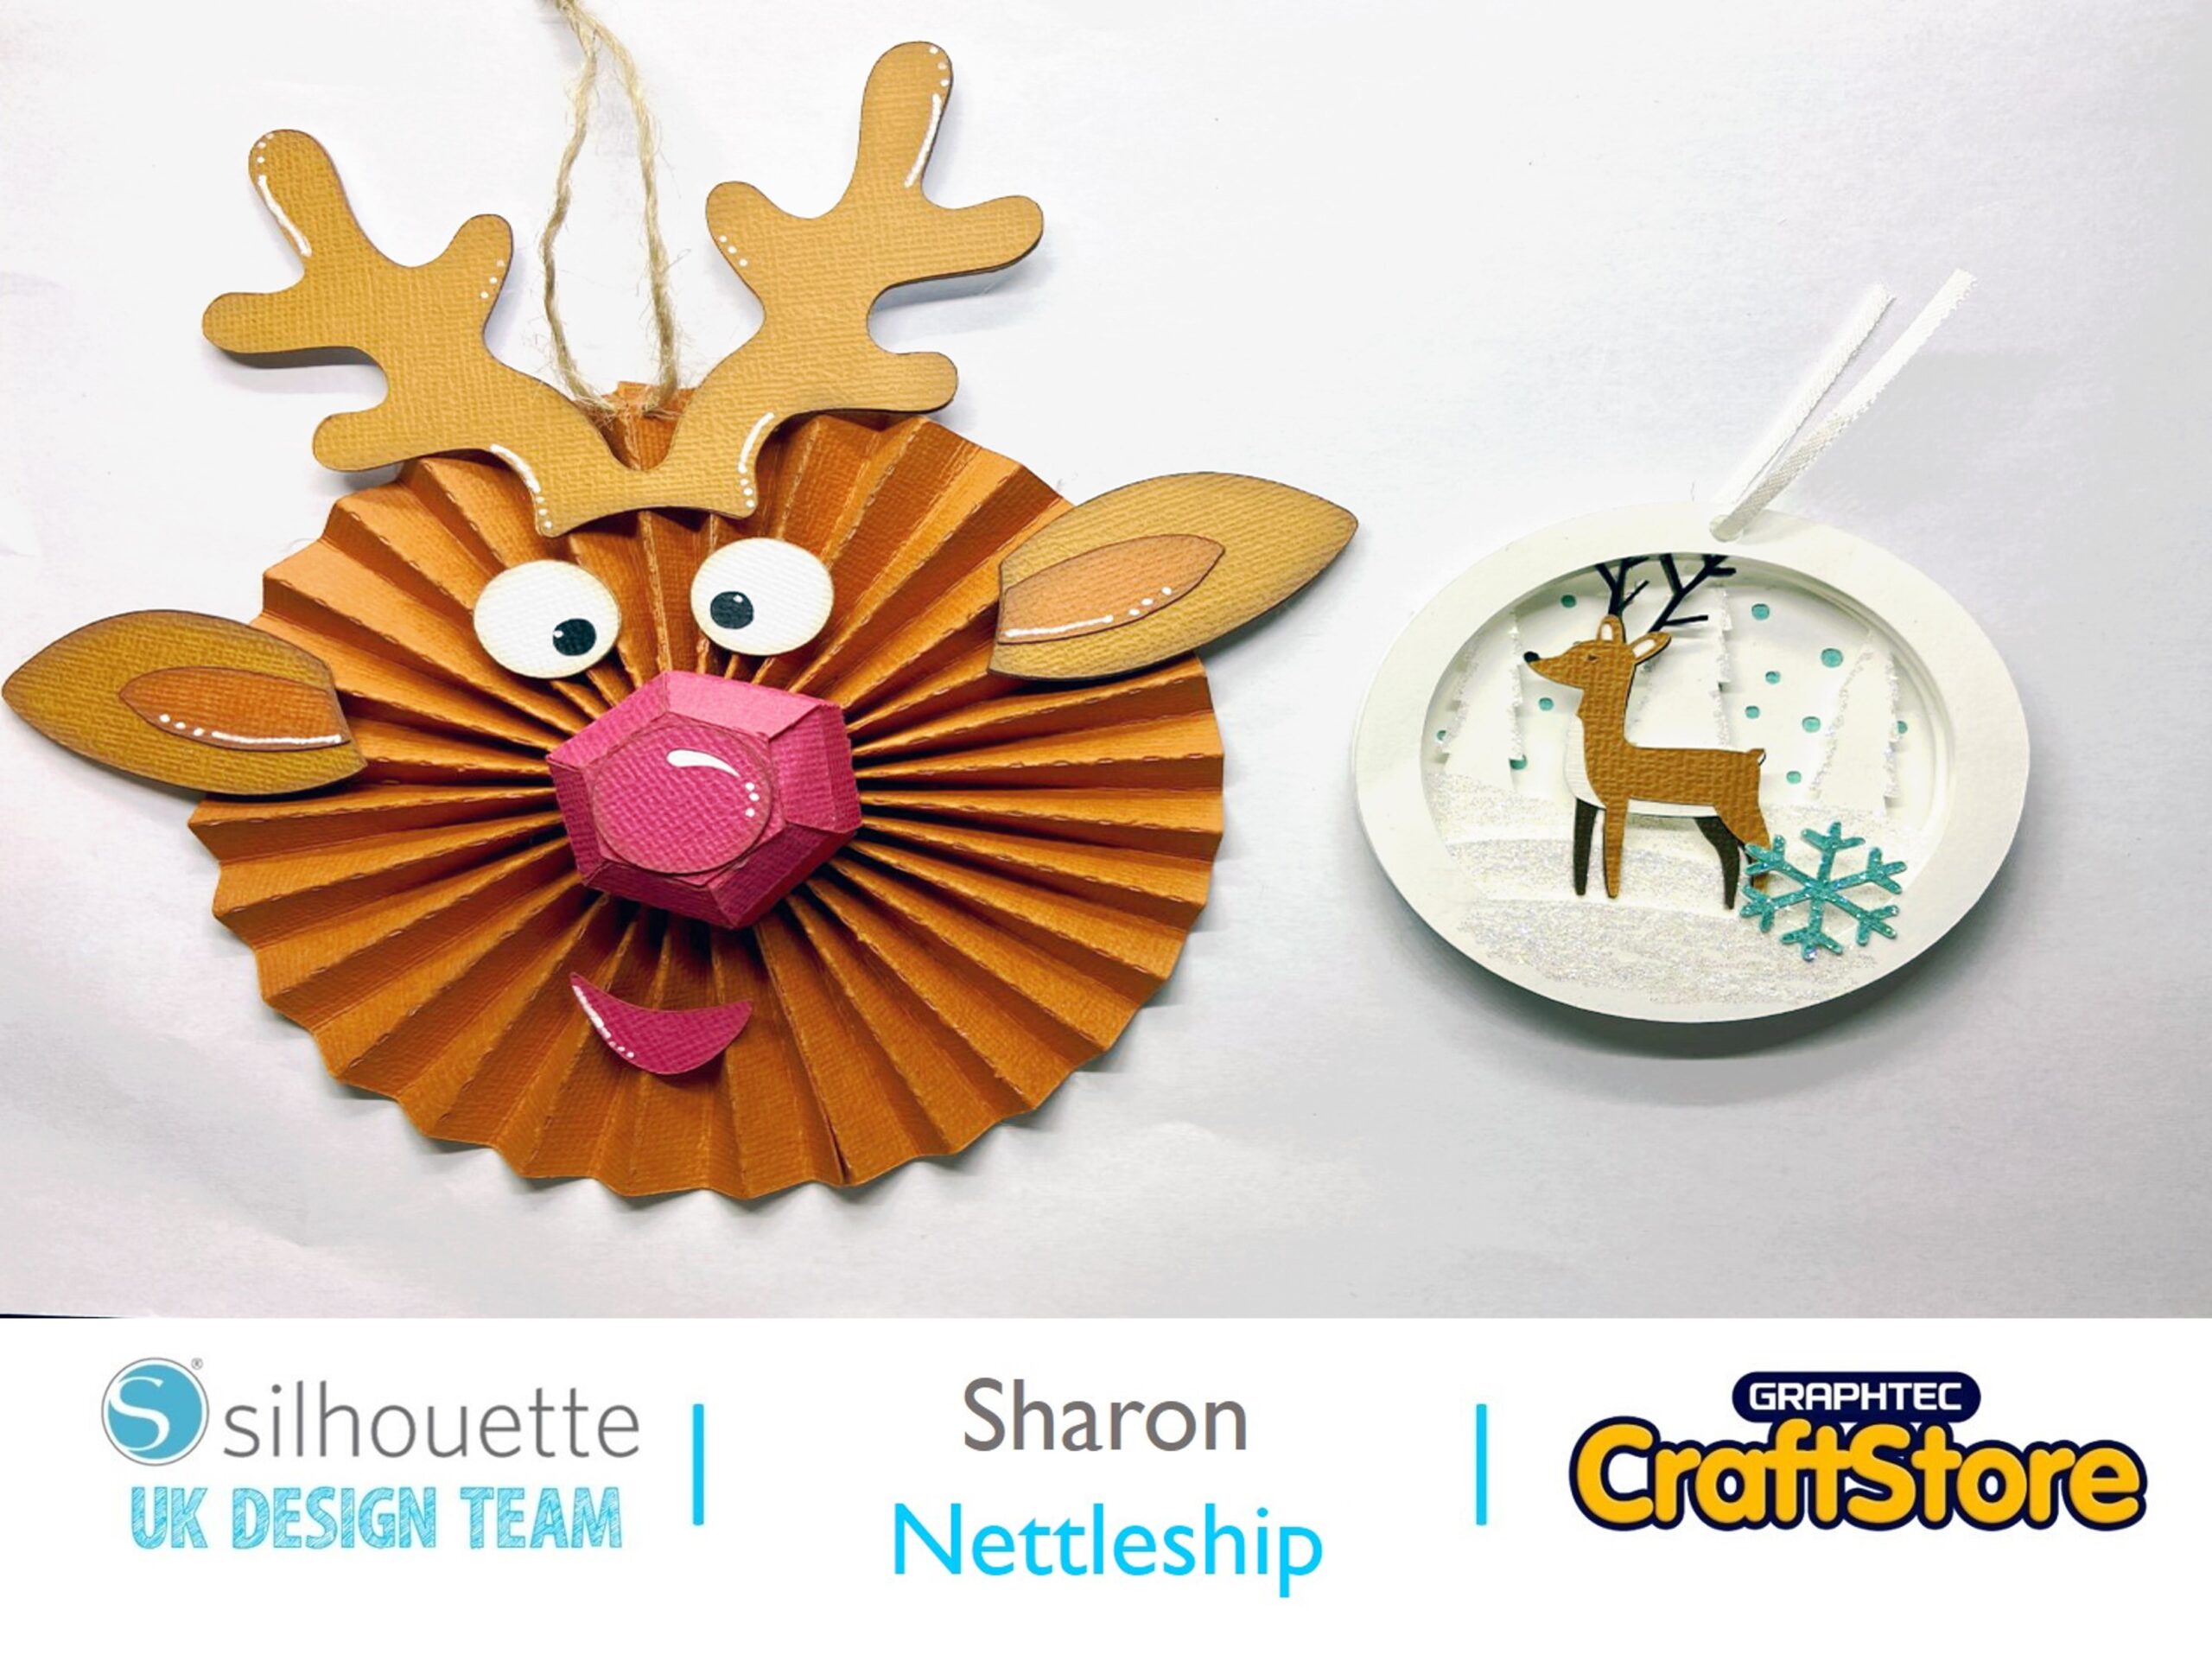

Hi my project today is two Christmas ornaments.
I made the first and thought that it was a kind of more adult ornament so decided to make an ornament for a child too.

First of all bring the reindeer file into studio.
Divide into colours to save time.
I’ve used the Silhouette adhesive, texture cardstock for my project.
Because I didn’t have a dark brown I’ve used Pumpkin and Burnt orange for my main parts.


Concertina the two longest pieces and adhere together at each end.
Push down to make a circle.
Make up the nose by folding all the tabs and gluing.
This makes a hexagonal nose.
Now adhere the circular piece.
Ink each piece with a brown ink and adhere the ears and eyes.
I’ve added white highlights with a pen.


Add all the features including the antlers.
Thread a piece of string or ribbon through the holes and there you go a fun Rudolph ornament for your tree.
Bring in the files for the reindeer ornament.
Divide into colours and cut out the layers.


For the reindeer the darker brown layer goes at the bottom and then the white one.
I’ve used a black vinyl for the antlers and nose as it was easier on my machine to cut out these tiny intricate pieces.
To make the ornament really Christmassy I have added glitter to the layers and the snowflake which I cut out of a turquoise card.


To make up the ornament the blue circle goes first, then the snow layer, next the trees, then the deer and then the snowflake one.
I used 3D foam pads to lift the layers.
Add the made up deer and glittered snowflake.
And here’s the completed ornament.
All you need to do is add string or ribbon so it can hang on your tree.

For the glittered ornament there are 3 different designs in the Silhouette store so you could even make all three a few times and string them together to make a Christmas banner.
I think the fun reindeer could be made by kids with the help of an adult as the concertina piece and nose are a bit tricky.
But again Rudolph could easily be made into a banner instead of a tree decoration.
– Sharon Nettleship –

•Design Used: Rudolf rosette ornament
Design Store Artist: Heartsewn
Design Store ID: 391710 > Download
•Design Used: Christmas Ornament Deer
Design Store Artist: Lori Whitlock
Design Store ID: 334709 > Download