Thanksgiving Bib | Karen Moss | Silhouette UK Blog
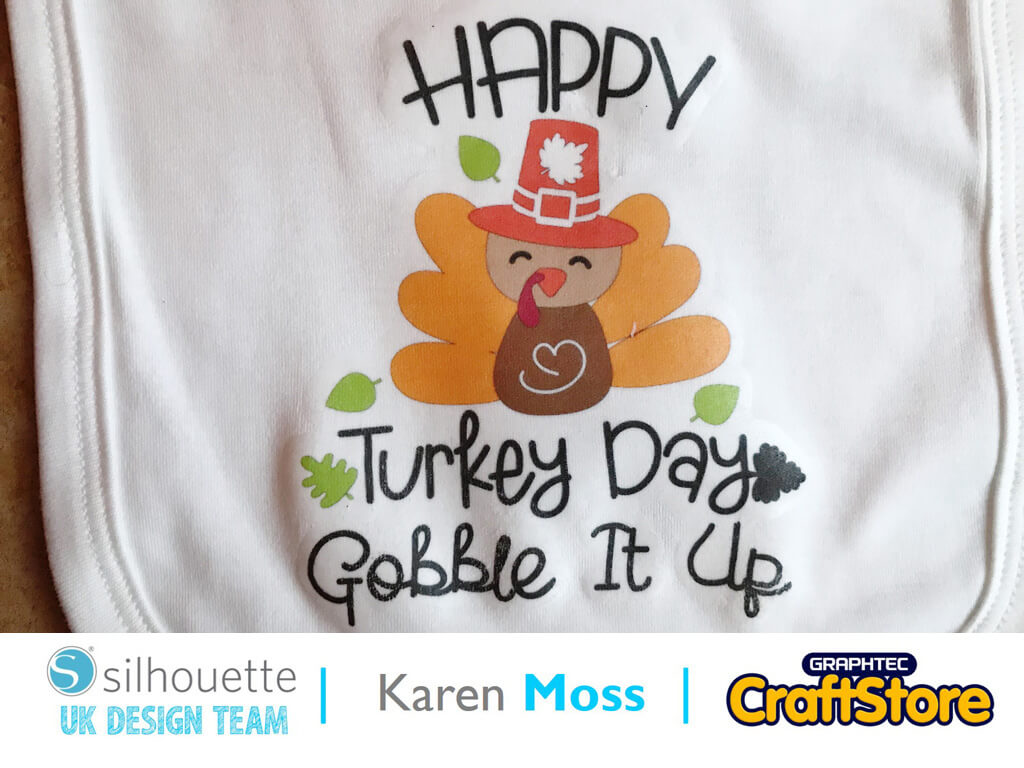
Thanksgiving Bib | Karen Moss | Silhouette UK BlogThanksgiving Bib | Silhouette Heat Transfer Material Hello, Karen here with a quick blog post on how I created my Thanksgiving Bib.…
PLEASE NOTE THAT THE OFFICE WILL BE CLOSED FROM 12PM FRIDAY 20TH DECEMBER 2024 AND WILL RE-OPEN ON THURSDAY 2ND JANUARY 2025
ORDERS FOR DELIVERY PRIOR TO CHRISTMAS WILL NEED TO BE SUBMITTED BY 2.30PM ON THURSDAY 19THDECEMBER 2024.
ORDERS RECEIVED AFTER THIS TIME AND DATE WILL BE DESPATCHED ON THURSDAY 2ND JANUARY 2025.
Merry Christmas & A Happy New Year to all our customers. Thank you for your continued support.

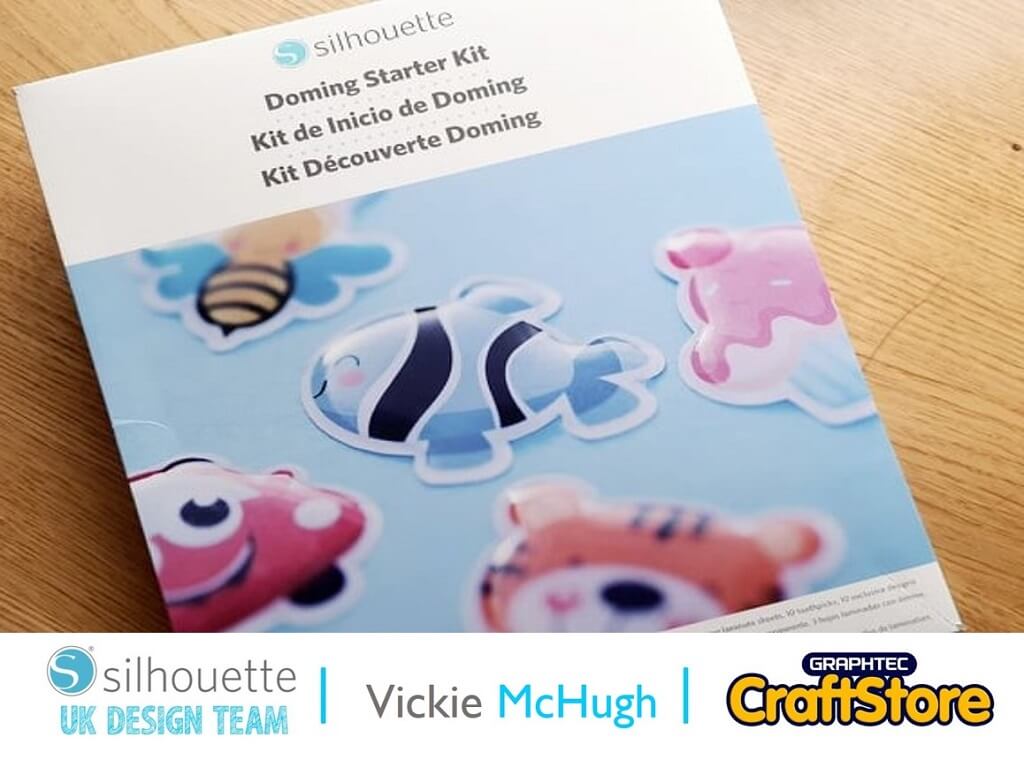
With the school summer holidays just around the corner, why not create some fun summer stickers to put on your books, fridges or rooms to put a smile on your face?
Items I Used
• Silhouette Curio
• Cutting Mat (8.5″x12″)
• Silhouette Doming Starter Kit
• Rubber Gloves & Hand Gel (With Alcohol In It)
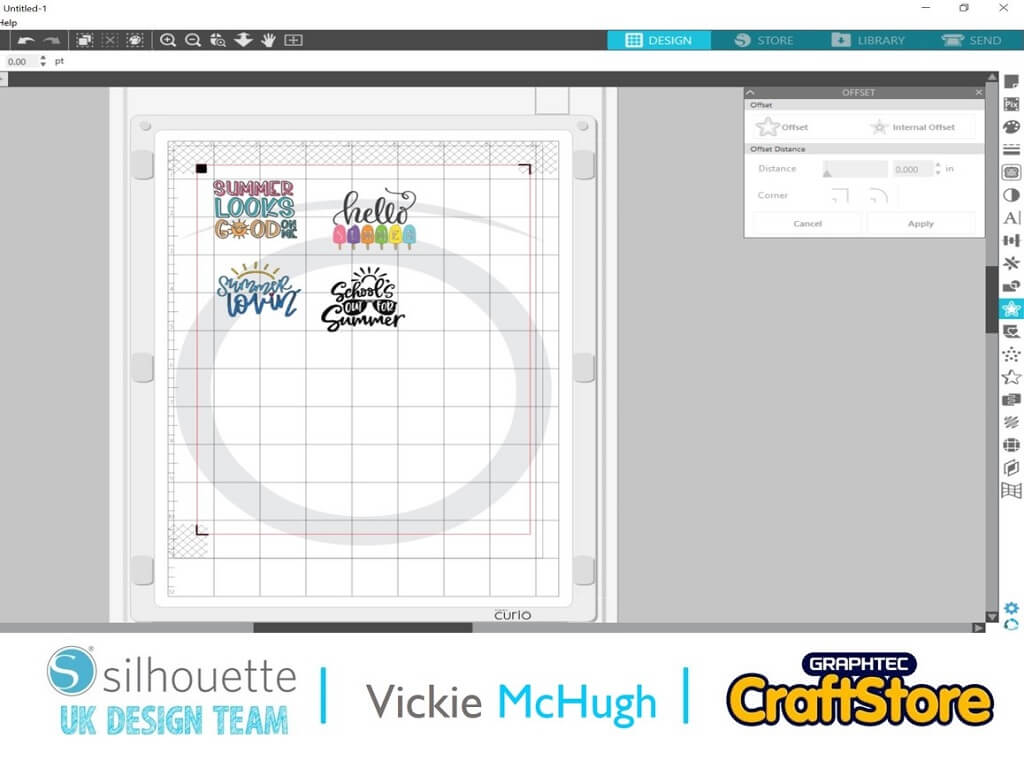
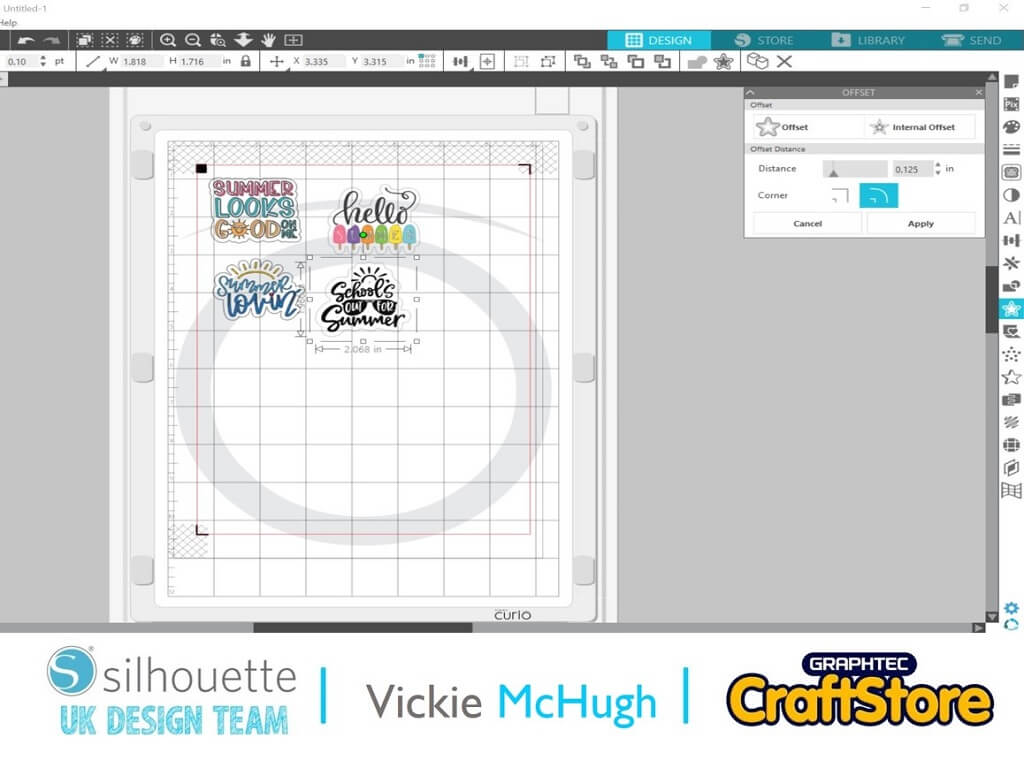
Purchase a number of summer themed images from design store and open it within silhouette.
I have purchased 4 and have resized them to around 2” each.
Create an off set on each of the images by highlighting them, right clicking and selecting “Make a Compound Path”.
Do this for each image.
Then go to the offset panel, click on one of the images and the click on OffSet.
I have just used the preset of 0.125.
Once you are happy with the layout, size and off set, go to file, print.
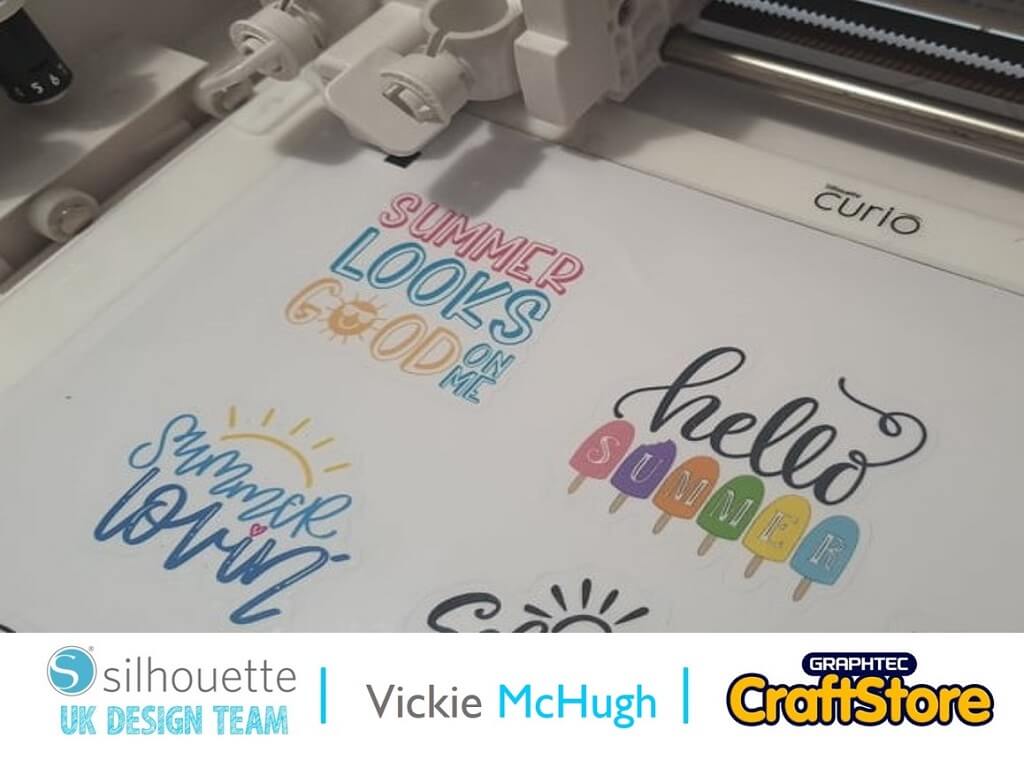
I have used the white sticker paper for mine, so once they are printed, apply a laminate sheet over the printed page (this is only to be done if using the white paper).
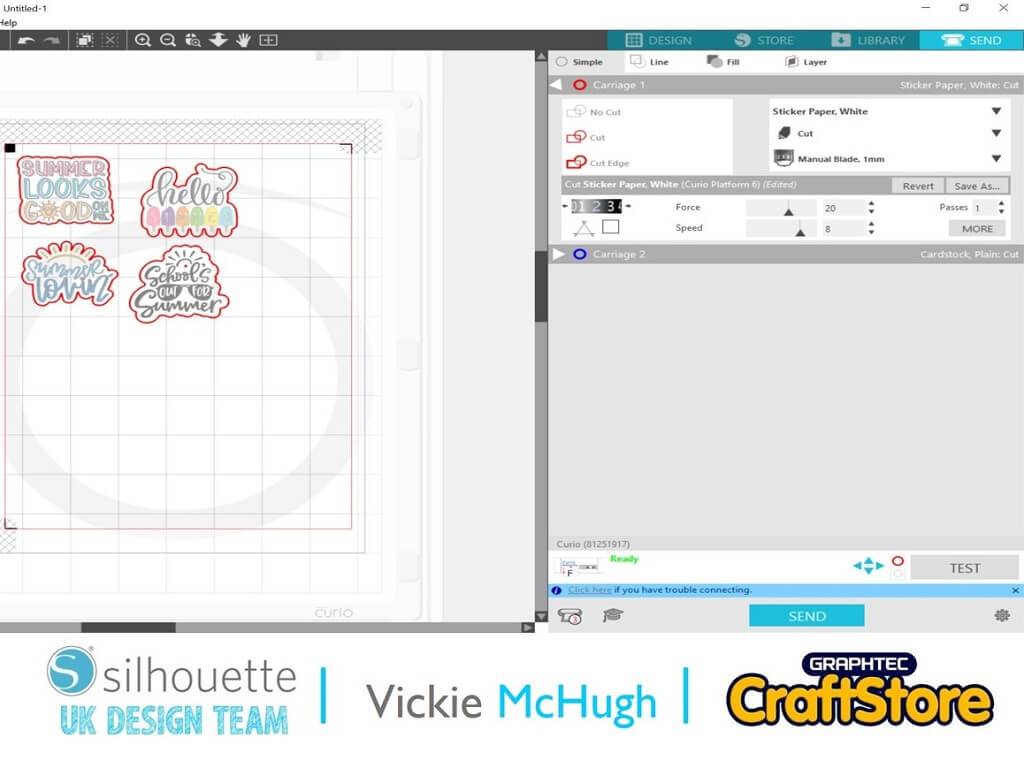
Set the material to Sticker paper (don’t forget to increase the blade by one if using the laminate sheets).
My Cut Settings:
> Material: Sticker, White
> Force: 20
> Blade Length: 3
> Click Send
Weed away the excess material from around the designs leaving jut the stickers on the sheet.
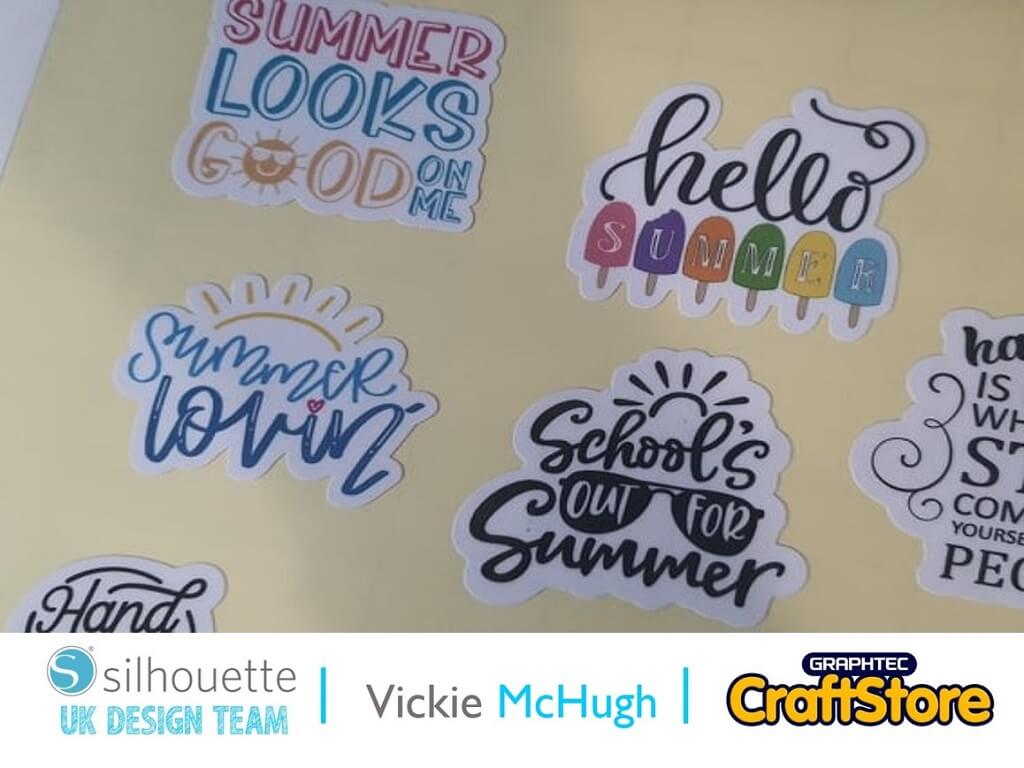
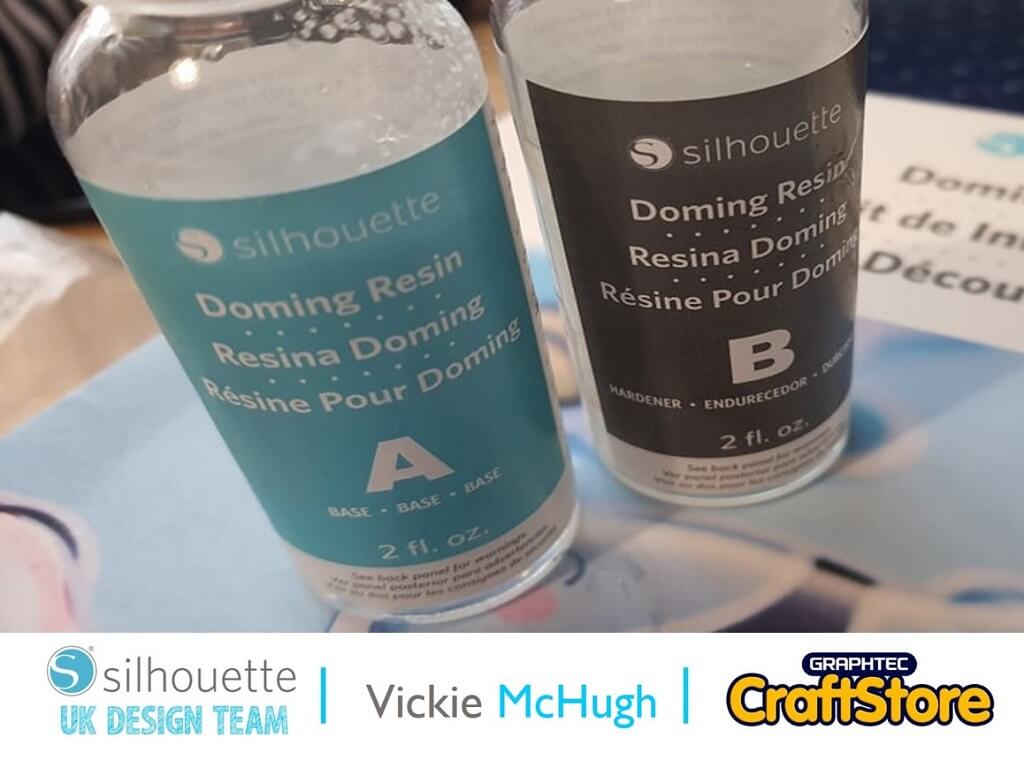
Fill A and B syringe chambers with equal amounts of the corresponding A and B resin.
Attach the syringe tip and squirt out a small bit of resin onto a scrap bit of paper, just to check that it’s working correctly.
This makes sure that an equal amount of A and B resin is used.
Put gloves on!!
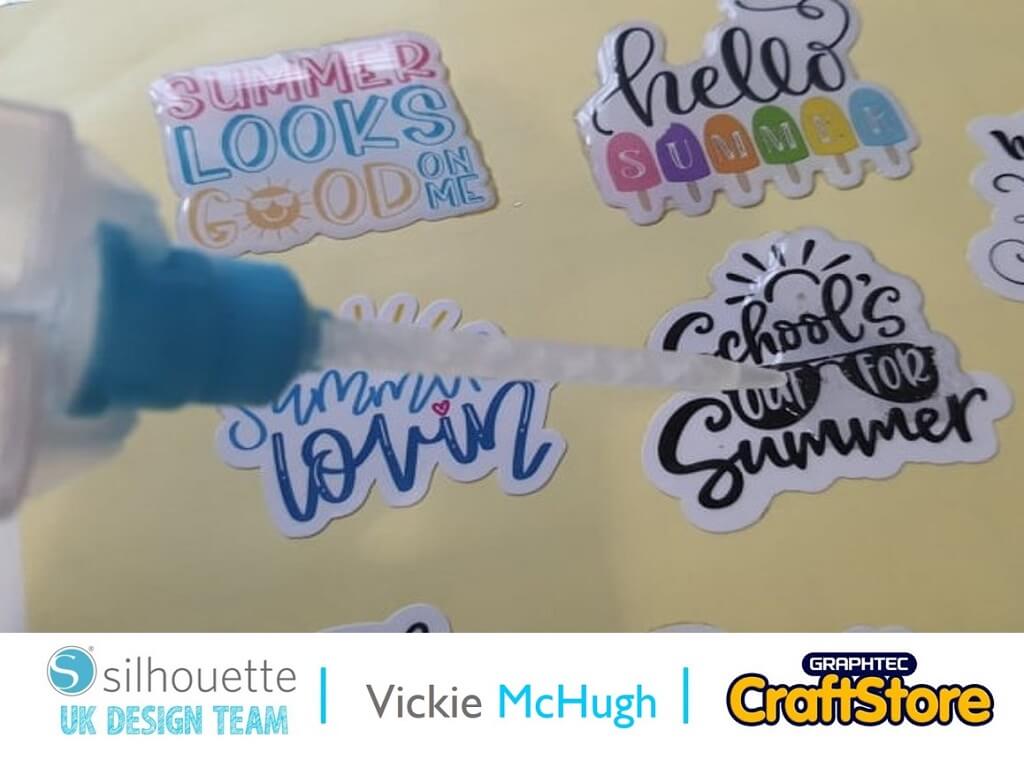
Place your printed stickers on a flat clean surface. Slowly apply the resin solution onto the surface of the cut pout design. I have started on the outer edge and worked my way into the middle.
Do no over-apply the resin as you don’t want it to go over the ends of the cut out design. Use the toothpicks provided in the kit to spread the resin around if the sticker is more detailed.
It can also be used to remove any air bubbles.
Allow the resin to set for 12 hours to fully harden.
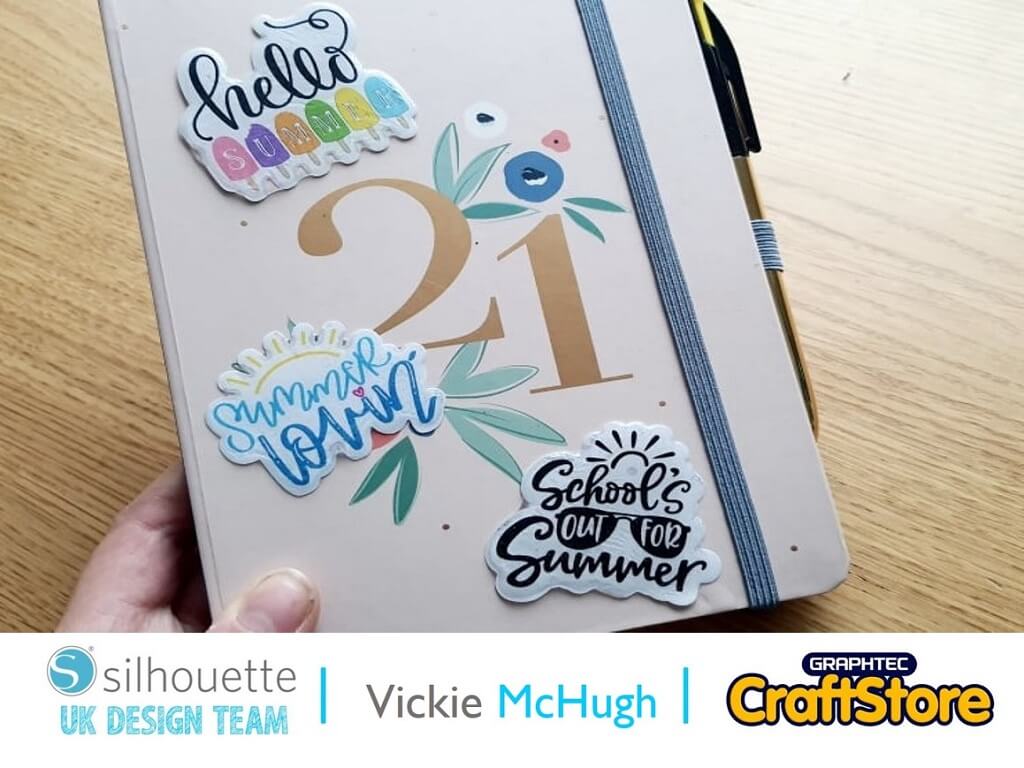
I have really enjoying using this new media and I think the stickers look great!! What do you think?
There are plenty of other sticker templates to choose from in silhouette studio, so have a look and I look forward to seeing what you make. Please don’t forget to tag me on Instagram so I can see your masterpieces @crafty_vickie
Are you looking forward to the summer holidays? Why not tune in for my next blog to see a great activity to do with your children.
– Vickie McHugh –

• Design Used: School’s Out For Summer
Design Store Artist: Sarah Bailey
Design Store ID: 352597 > Download
• Design Used: Summer Lovin
Design Store Artist: The Smudge Factory LLC
Design Store ID: 290569 > Download
• Design Used: Hello Summer – Popsicles
Design Store Artist: Diva Watts Designs
Design Store ID: 353159 > Download
• Design Used: Summer Looks Good On Me
Design Store Artist: Graphic House Designs
Design Store ID: 295083 > Download