Silhouette UK Blog | Showered With Love | Stephanie Squires
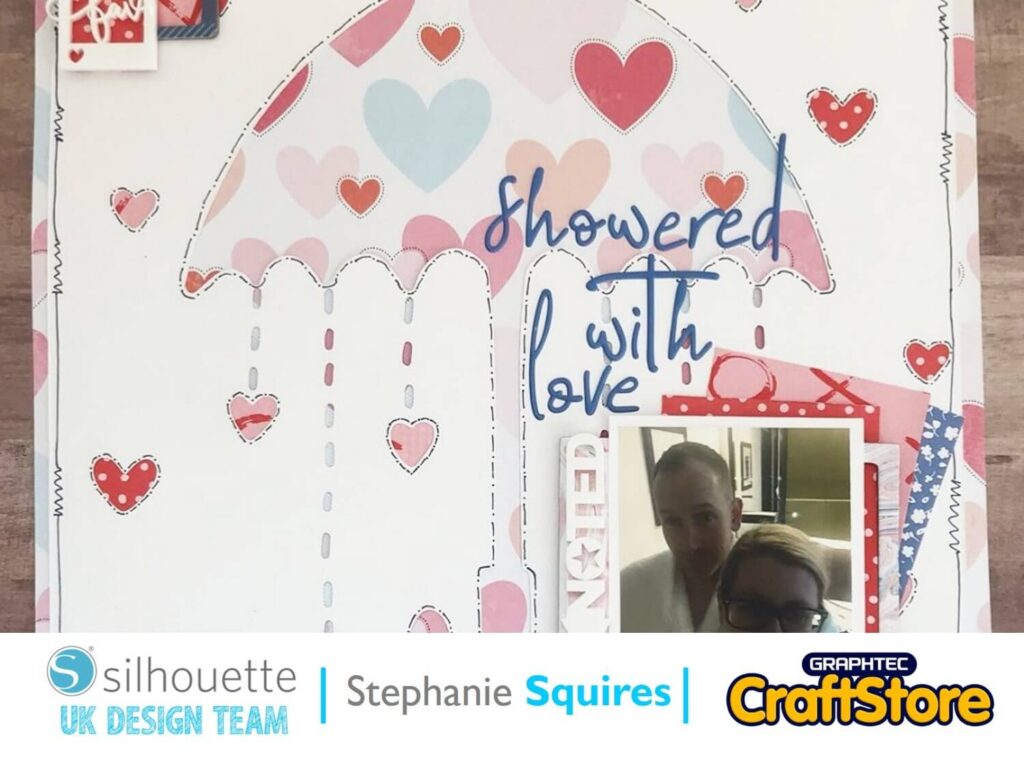
Silhouette UK Blog | Showered With Love | Stephanie SquiresScrapbooking With Steph Hello and welcome to todays blog post, Showered With Love ♥ So today I have made a 12…
PLEASE NOTE THAT THE OFFICE WILL BE CLOSED FROM 12PM FRIDAY 20TH DECEMBER 2024 AND WILL RE-OPEN ON THURSDAY 2ND JANUARY 2025
ORDERS FOR DELIVERY PRIOR TO CHRISTMAS WILL NEED TO BE SUBMITTED BY 2.30PM ON THURSDAY 19THDECEMBER 2024.
ORDERS RECEIVED AFTER THIS TIME AND DATE WILL BE DESPATCHED ON THURSDAY 2ND JANUARY 2025.
Merry Christmas & A Happy New Year to all our customers. Thank you for your continued support.
Hi everyone, Verity here today from PrettyLittleButton.
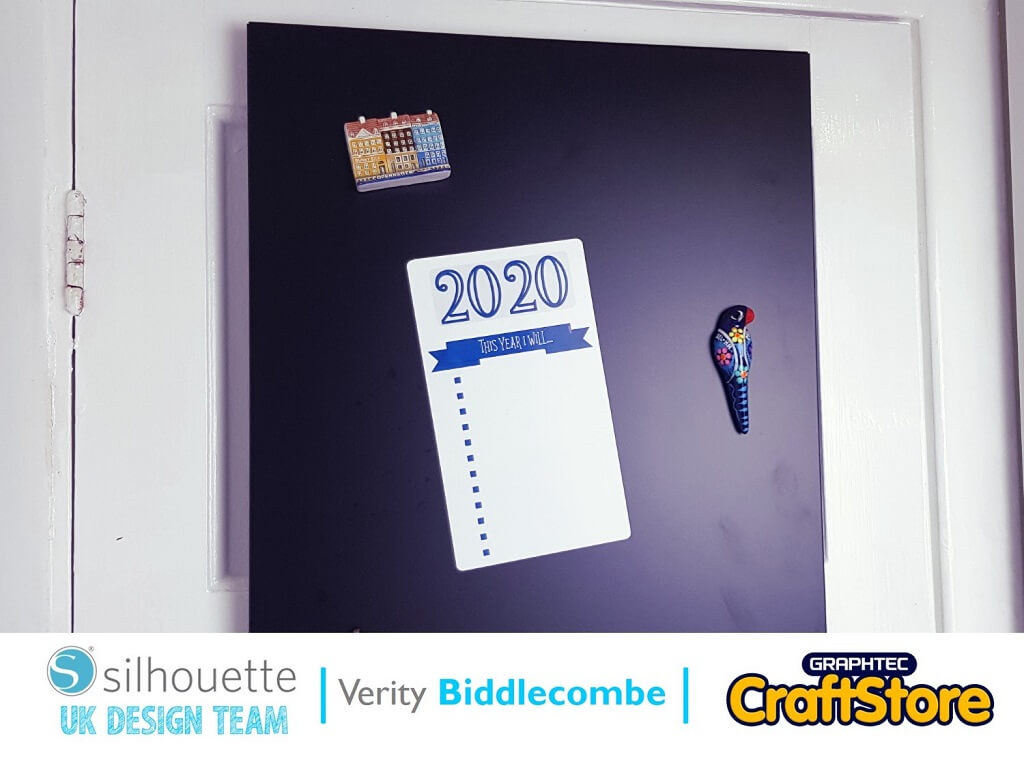
There’s still time to set some goals for 2020 and what better way to keep track of your goals then a magnetic reminder on your fridge!
Printable magnetic sheets make it so easy to design and customize your own fridge, that it is a perfect place to keep a track of your goals for the year.
Download the ‘THIS YEAR I WILL RESOLUTION & GOALS LIST’ design into your design space.
Next, ungroup all the elements in the design package as we need to update the design from 2019 to 2020.
Right click on 19 and delete this from the project.
Next, as we might not have a font to match the numbers in our library the new decade makes it easy to correct the year. Select ‘20’ and right click to copy. Next paste a new ‘20’ next to the original one and now we have the right year.
To make sure the numbers align correctly and are not wonky, select both groups of numbers and open the ‘Transform’ window.
Depending on how you need to align your numbers select the most appropriate option in the align tab.
For this project, Vertical align middle was the most appropriate to ensure the numbers were straight.
Currently if you fill in the bullet points you will just get a line outline of the bullet point. However, if like we have done here, you want the bullet point to be filled in your need to adjust the compound path.
Highlight all the bullet points and right click to release the compound path. Now, when you fill the bullet point in with colour, the whole square will be coloured, not just the outline.
To add a little more design to the Year, you can easily switch it up by using the offset too. With the year selected, open the Offset window and select internal offset. Choose the distance you desire and select apply.
Now to colour the numbers in, you need to make the outline of the numbers and the internal offset a compound path so the software knows to only colour between the lines.
Right click the design and select ‘Make Compound Path’.
Before sending the design to print, we need to add the Print and Cut registration marks. Open up the Page Setup window and select the Registration tabs.
Make sure you switch on the registration marks and adjust the marks to your desired length. In addition, make sure you add a box around the design for the cut line.
Next, send the design to print and load into your machine to cut out with the registration marks on.
– Verity Biddlecombe –
• Design Used: This Year I Will (Resolution & Goals List)
Design Store Artist: Sarah Hurley
Design Store ID: 284352 > Download