Easy Back Filled Designs | Silhouette Cardstock
Have you tried Silhouette adhesive card?
If you do you will love it – especially if you like to make projects back filled with patterned paper.
The sticky back to the card makes this technique an absolute doddle!
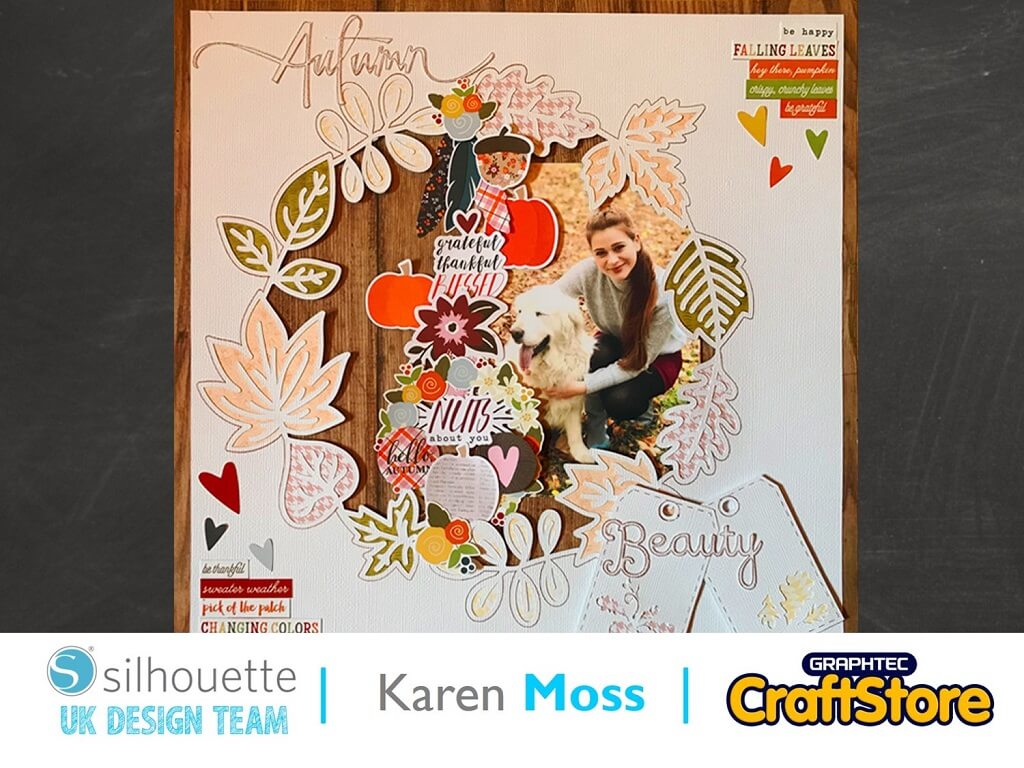
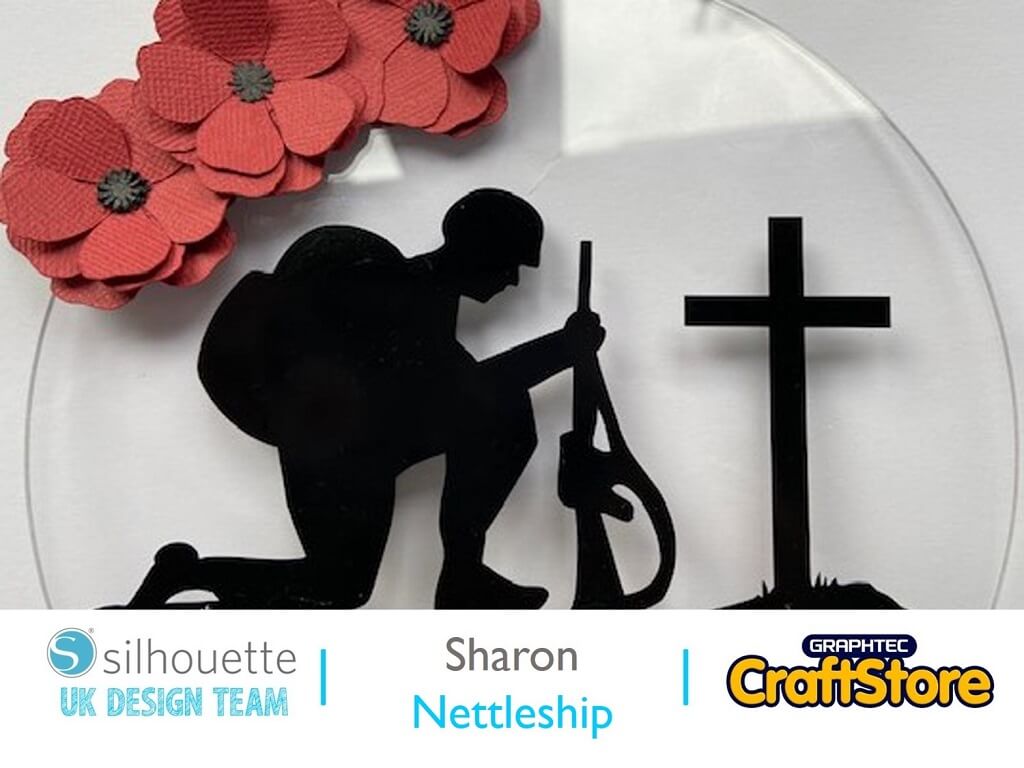
One way I love to use a cut file, that is intended to be backfilled, is to change the outside cut line to a sketch pen line – this means that the design remains attached to the surrounding cardstock.
To do this I use the Release the Compound Path function which can be found under the Object menu.
I then grouped everything but the outer line and changed the outer line colour to blue.
If you have a Silhouette 3 you can set the line colour to blue for sketch pen and red for cut.
If you have a 1 or 2 you will have to remove the blue line to cut and remove the red lines to sketch.
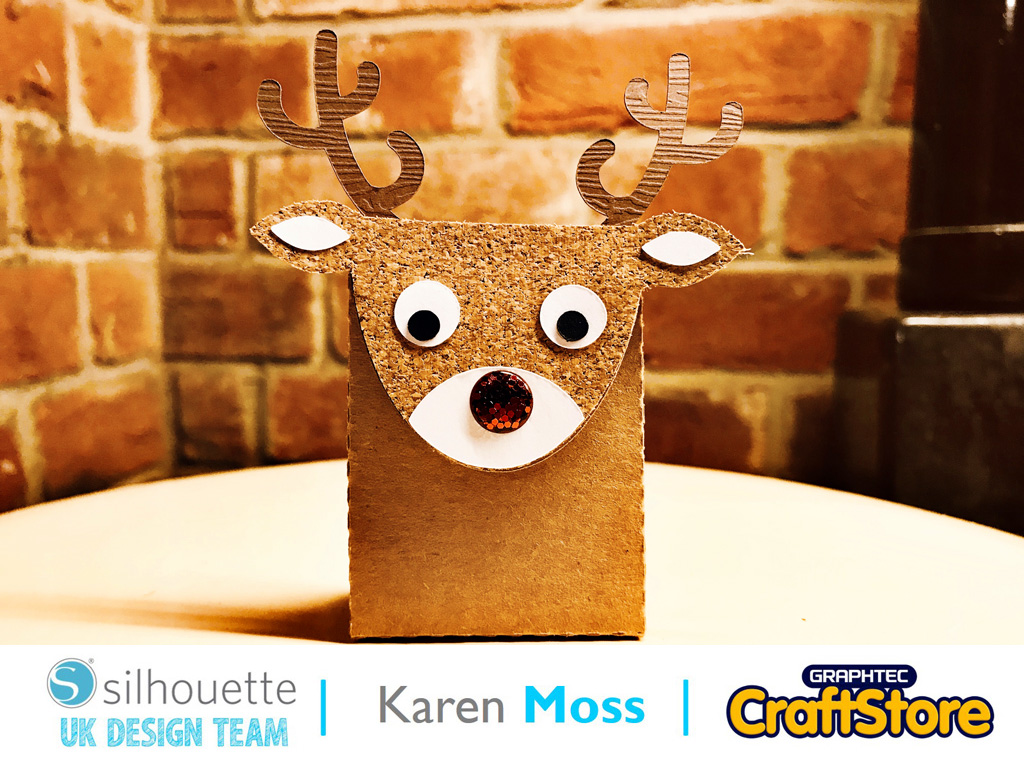
Now, I love this cardstock and try to make sure I don’t waste any.
With this in mind I decided to add all the other elements to my cut design on the area.
It’s so easy to get perfect cut patterned paper for your shapes.
To do this I deleted all but the outlines of the shape.
Then I added an internal offset of 0.05.
I then used the internal offset to cut the leaves for the wreath.
I placed four 5 in squares of different coloured papers onto my cutting mat and then arranged the leaves on my design space to correspond.
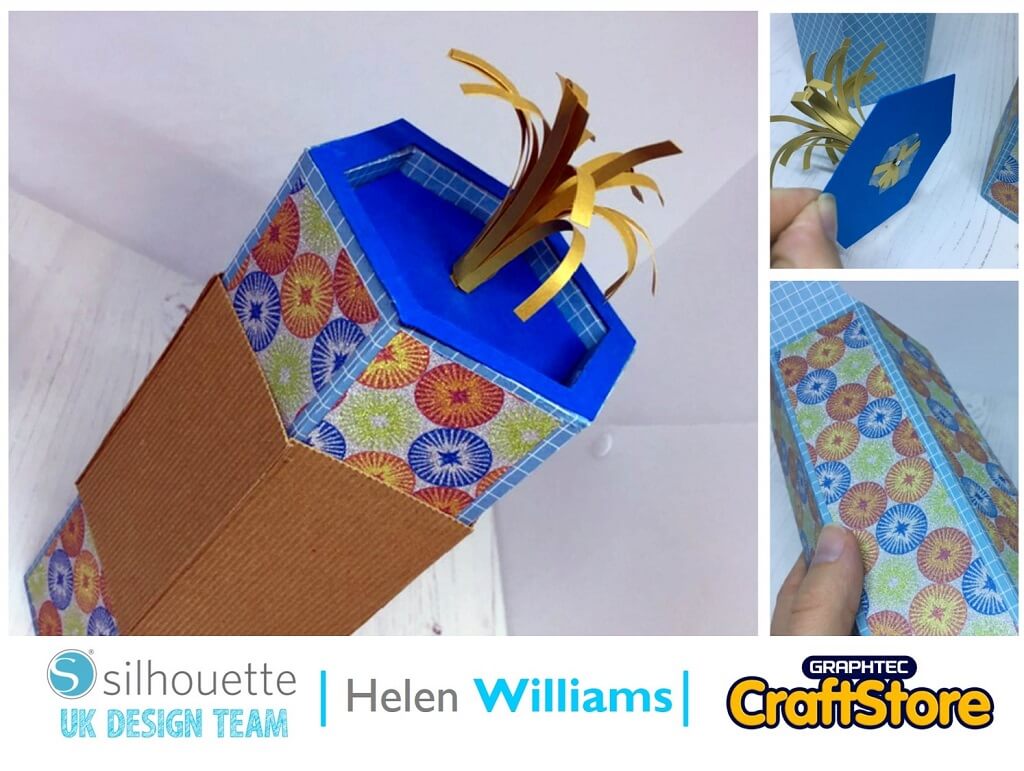
Now this is my favourite thing about adhesive cardstock – when backfilling the adhesive is already there – all you have to do is add the paper to the back – easy peasy lemon squeezy!
Because I had cut my title and tags from adhesive backed card it was easy to back the tags with a small piece of patterned paper and to add them and my title to my page.
I hope I have shown you how easy adhesive backed card is to use when you are making paper backed designs.
I love the ease with which it can be cut and used.
– Karen Moss –


