Window Cling Photo Frame | Karen Moss | Silhouette UK Blog
Window Cling Photo Frame | Silhouette Window Cling
This week we are using Window Cling for our projects and I wanted to use it for something a little different to sticking onto windows.
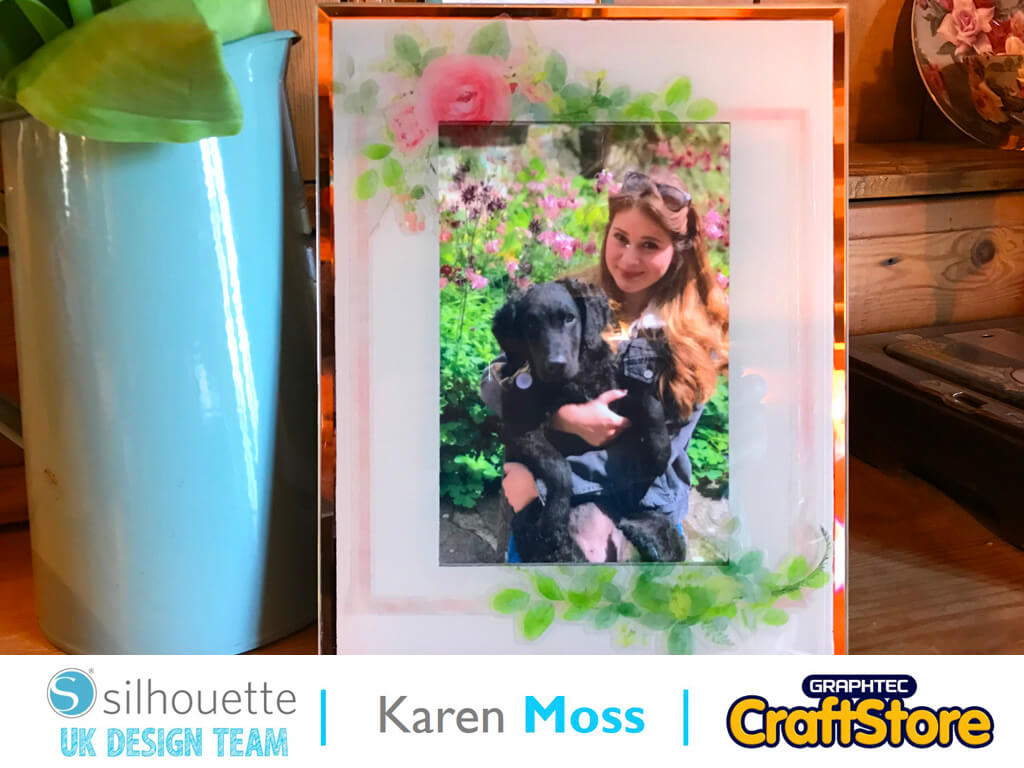
I thought it could just as easily be used to decorate a mirror or photo frame and decided to use it on a photo frame.
Preparing The Design
I have a lovely photo of Gracia and Isla (her dog) taken with some pretty flowers behind and wanted an equally pretty frame for it.
I chose a print and cut frame, I deleted the separate cut line.
Tracing The Design: Part 1
I used one of the corners to resize the design to fit my design space and chose the ‘Trace’ from the menu on the right.
From here I selected the trace area and drew a rectangle over the whole of the design.
Tracing The Design: Part 2
I changed the Threshold to 94% and chose the ‘Trace Entire Image’ option.
Tracing The Design: Part 3
This resulted in a cut line being produced on inside and outside the design.
I then used Ctrl x to remove the coloured design.
Next I released the compound path and deleted everything but the outer and inner lines.
Adding An Offset
To finalise my design before cutting I added a 0.05 offset to the cut lines, deleted the cutlines – leaving the offset ones and replaced my coloured design by using Ctrl v.
I resized the design to 7.75 x 5.75, added registration marks to a letter sized design space and sent it to print, then cut it on my Silhouette.
Picture Perfect
Sadly this is my final post as a member of the Silhouette UK Design Team, I have absolutely loved being a member of the team but it is now time to take on a new challenge.
Maybe one day I will make a return but for now, farewell!
– Karen Moss –
Silhouette UK Blog Created By Karen Moss
Silhouette Products Used
Silhouette Designs Used
• Design Used: Spring Greenery Frame
Design Store Artist: Rhonna Farrer
Design Store ID: 294676 > Download
