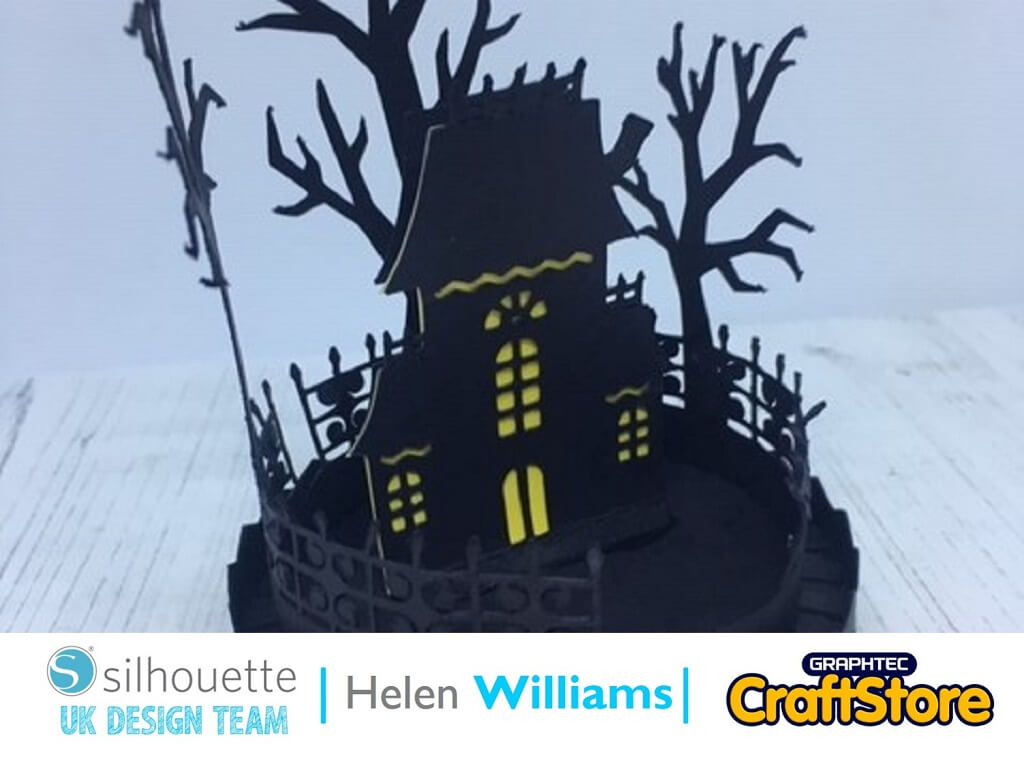
Halloween Haunted House | Silhouette Glow-In-The-Dark Sticker Paper
Hi everyone, Helen here today.
It’s almost fright night and I just had to make some Halloween themed decorations using the glow in the dark sticker paper from Silhouette UK.
This was a super simple project to cut out.
First I opened the haunted house file and cut the whole thing out from a piece of 12 x 12 card stock on the plain card setting.
After this I opened the spooky eyes file.
To format the file the way I wanted it I hightlighed all the eyes and resized them until I was happy with the size.
Then I coped them using the keyboard shortcuts.
I made sure there were a few of each type of eye as I wasn’t sure how many I would need.
To finish the glow in the dark look off I copied the yellow piece from the haunted house file and pasted it onto the same file as the eyes.
(Make Sure You Scroll To The Right For Both Images)
For this project I needed to print and cut using the glow in the dark paper.
You can put the glow in the dark paper straight into your at home printer.
Then make sure that you put the registration marks on the paper using page settings menu, selecting the right machine and paper size.
Then click on print and the file will print to your printer.
I was very impressed with how good the print quality was on the page.
Once your page has printed load it onto the carrier sheet and then into your cutting machine.
Go to the send screen and select the ‘sticker paper – glow in the dark’ setting. Also make sure that just the outline of each of the eyes and house is set to cut (the thick red line).
This means that it will just cut out the outline rather than each colour.
The cutting machine will detect the registration marks automatically and then cut out the eyes and house shape.
(Make Sure You Scroll To The Right For Both Images)
Once you have all of the pieces cut out it is time to assemble your haunted house.
The haunted house was actually really easy to assemble.
The first thing I did was to attach the edge to the circle to create the platform the house will sit on.
I then added the edges of the tree and fence to the smaller circle and put the edge on.
For the house itself I stuck the yellow glow in the dark paper to the black backing piece and then stuck this to the front of the house.
After this is was just sticking the house to the base followed by sticking the eyes to the outside of the project.
(Make Sure You Scroll To The Right For Both Images)
I’m really pleased with the way the house came out.
I can’t wait to use it as a hallowed decoration.
– Helen Williams –
• Design Used: 3D Haunted House Scene
Design Store Artist: Silhouette
Design Store ID: 301356 > Download
• Design Used: Spooky Eyes
Design Store Artist: Bella Blvd
Design Store ID: 303676 > Download


