Spring Basket | Denise Clark | Silhouette UK Blog
Spring Basket
Hello all you lovelies! Denise here today!
How’ are you all doing? I hope you are all enjoying reading our Blogs.
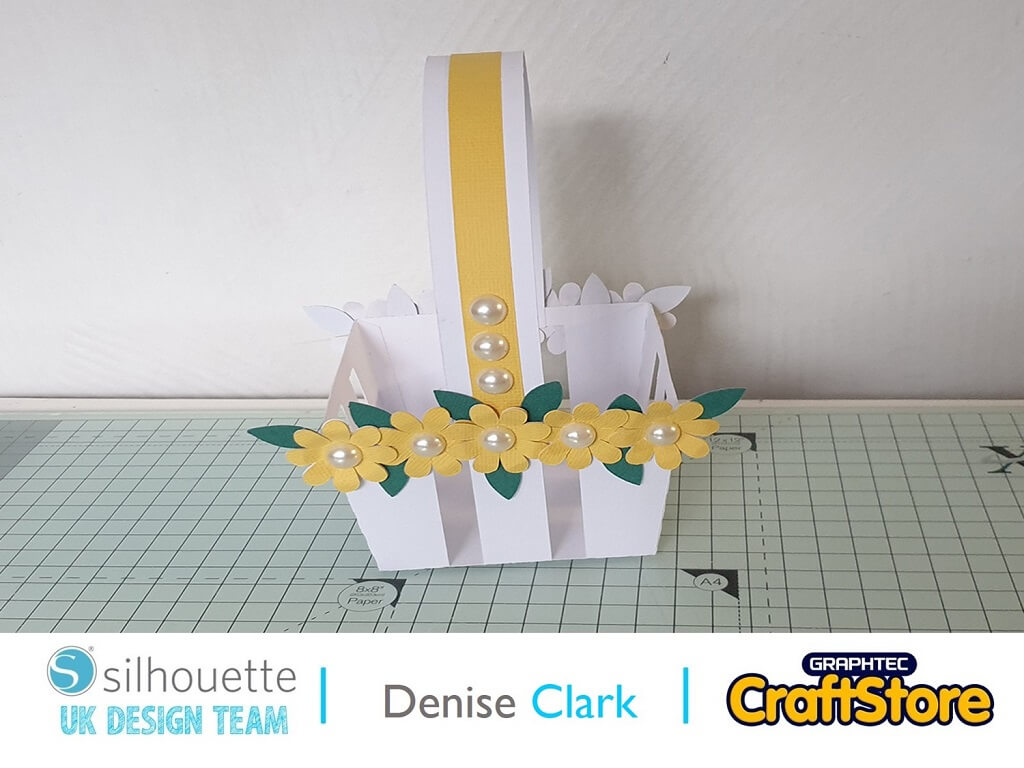
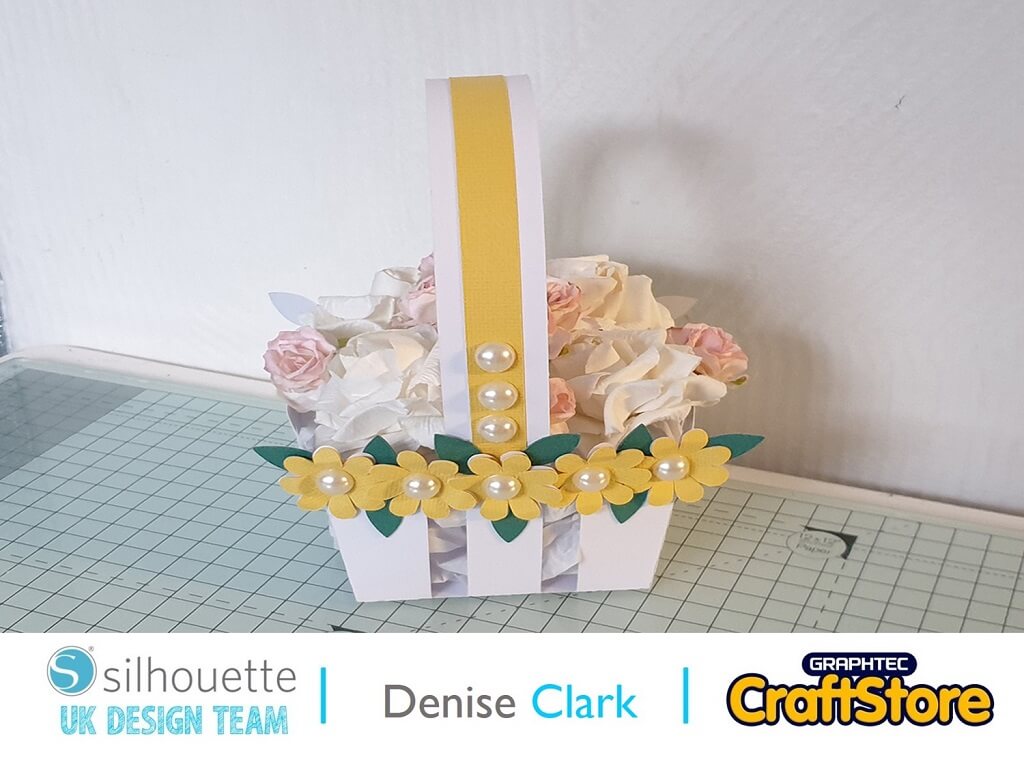
Today’s blog is Spring Basket make ready for Easter and is something so easy to create that you can adapt it to any occasion.
Materials Used
• 12×12″ Adhesive Backed Cardstock
• 12×12″ Cardstock
• DST
• Wet Glue
Open Your File
Open your software and once loaded go to your library on the top right-hand side of the screen.
Once opened, look for the file we are using today and open it up.
We’re working on A4 cardstock for this make.
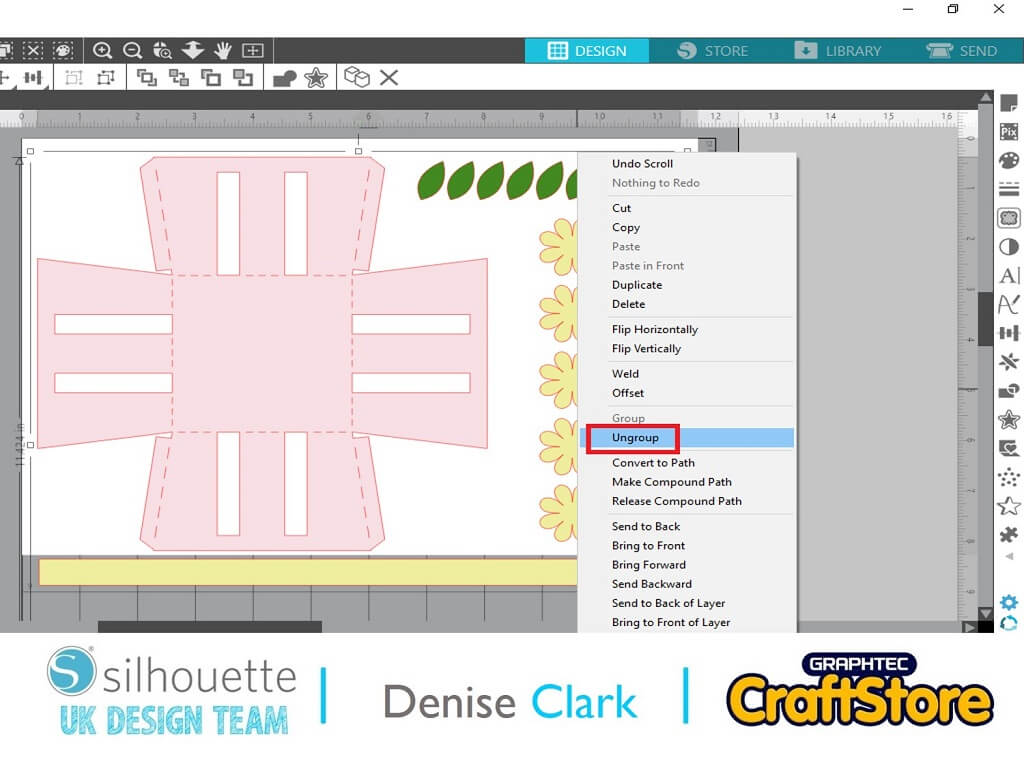
Once you have got your file in your design space you will need to ungroup it by right clicking on the file and click on ungroup which is highlighted in the photo.
Your files came in that colour to help you identify them.
Take all the parts of the file except for the main part which is the base for the basket. This file is good as you can cut your parts in any colour you want.
Cutting Your File
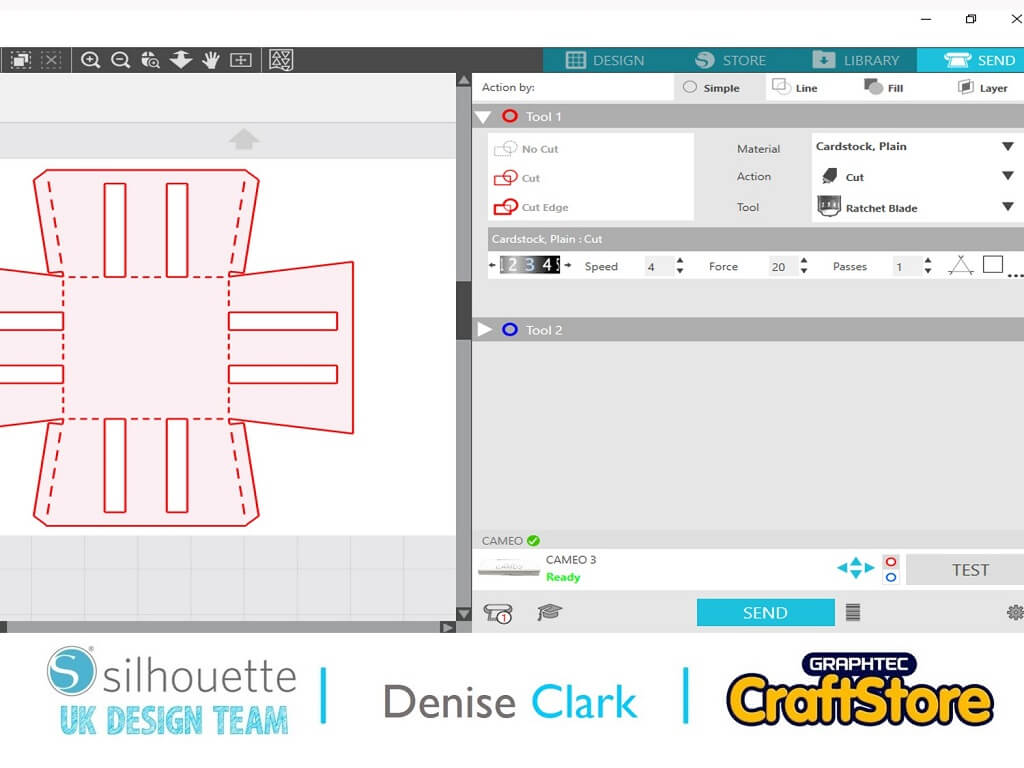
Once you have loaded your mat with your required cardstock, head over to the top right of your screen and look for the send button and click on it.
Now it is open, this is where you will find all the settings for cutting your media.
For the basket and handle I used plain cardstock which you will find on the dropdown menu under material.
I always use a ratchet blade which you will find in the select tool drop down.
Whatever blade you are using make sure you have it showing in the dropdown menu.
Everything else is set for you so you don’t have to touch anything else and press send to cut your file.
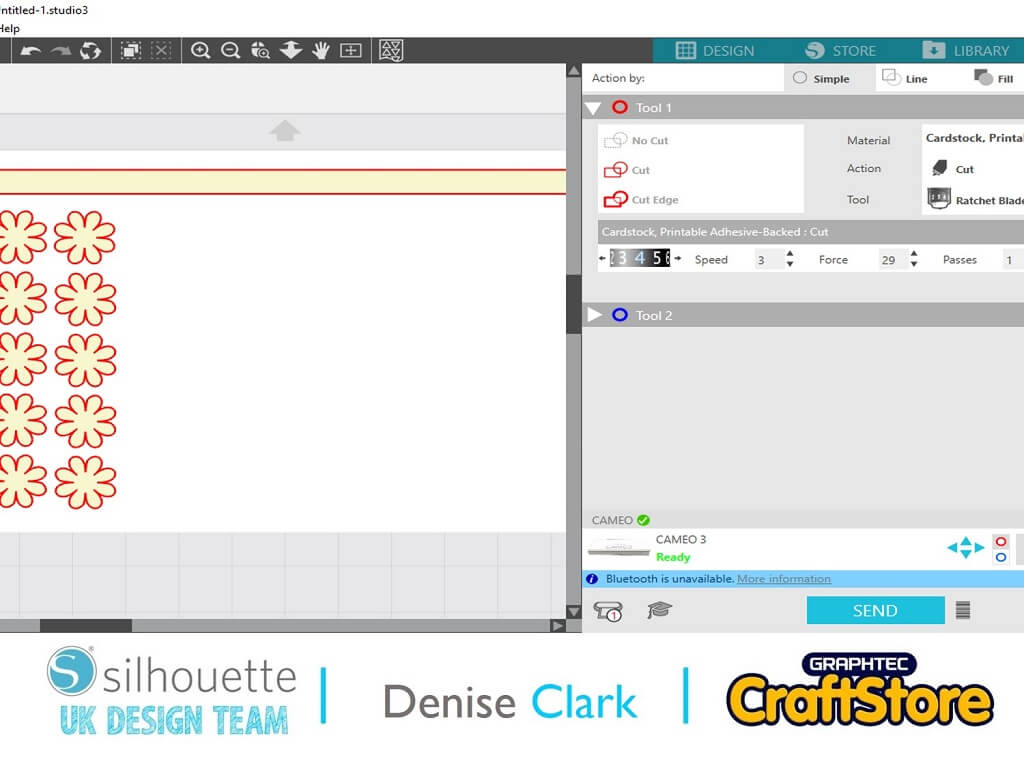
For the strip on the handle, the flowers and the leaves I changed my material to adhesive backed cardstock and again, you don’t need to touch anything else and press send to cut.
Cut all your pieces out in your cardstock chosen for it.
Assembling Your Basket
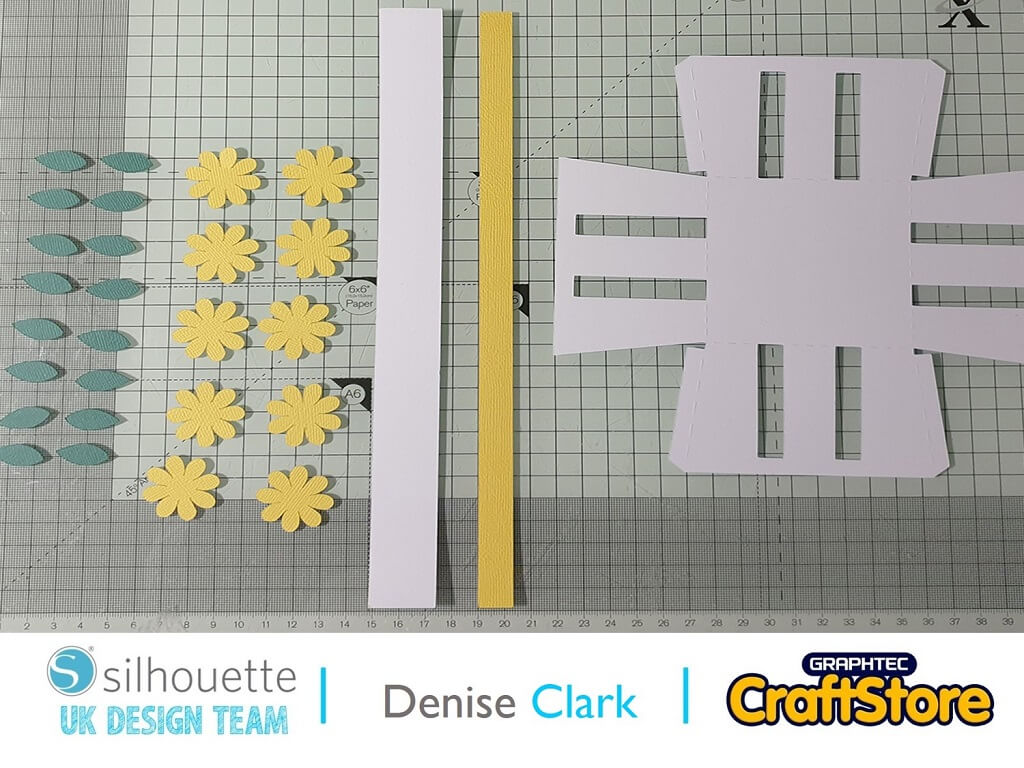
Once cut, I lay everything that I have cut in front of me and to help me with what I need to do next.
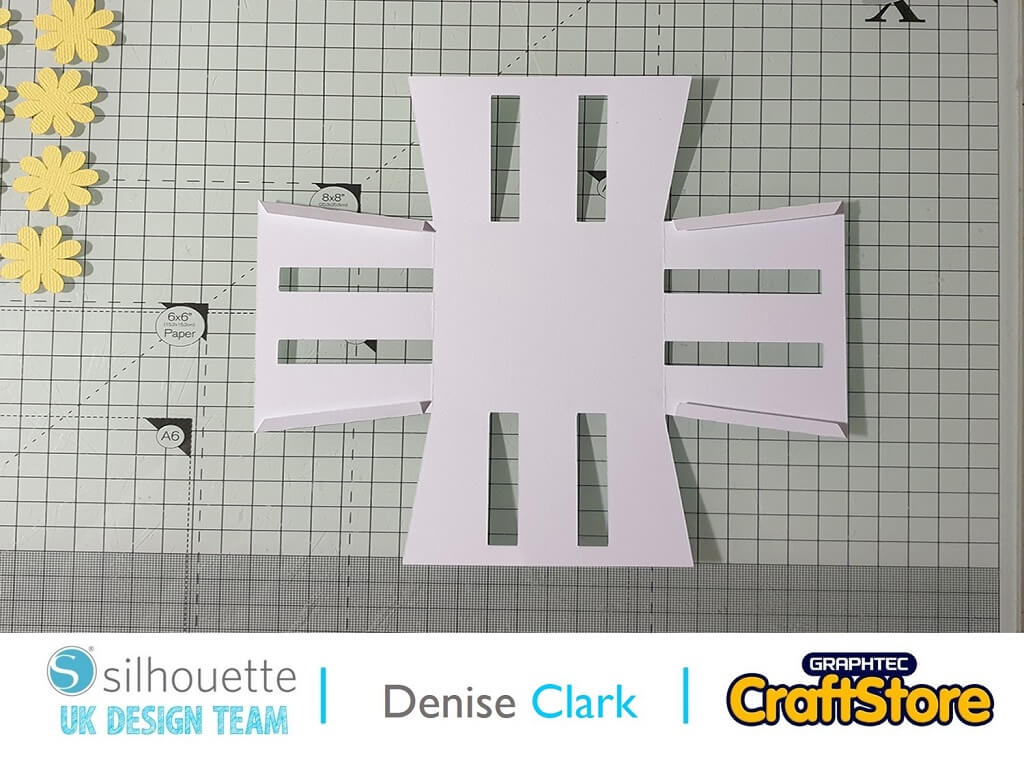
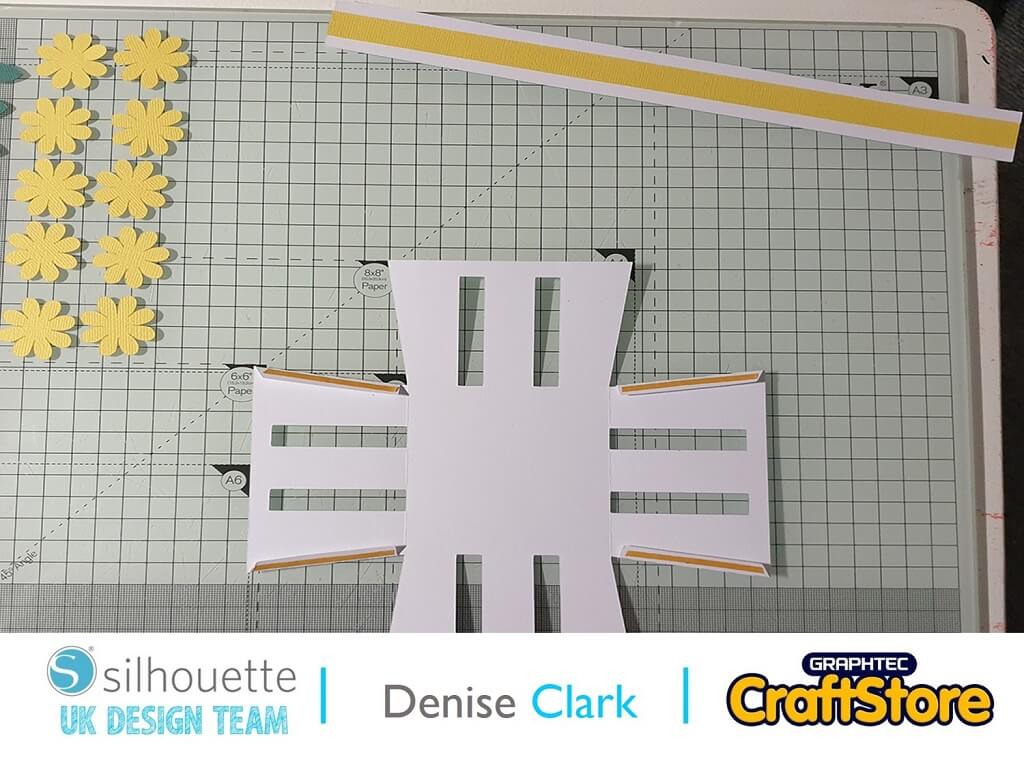
First, I folded the tabs along the sides of the basket. There are 4 tabs to fold in total and once done adhere the double sided tape to them.
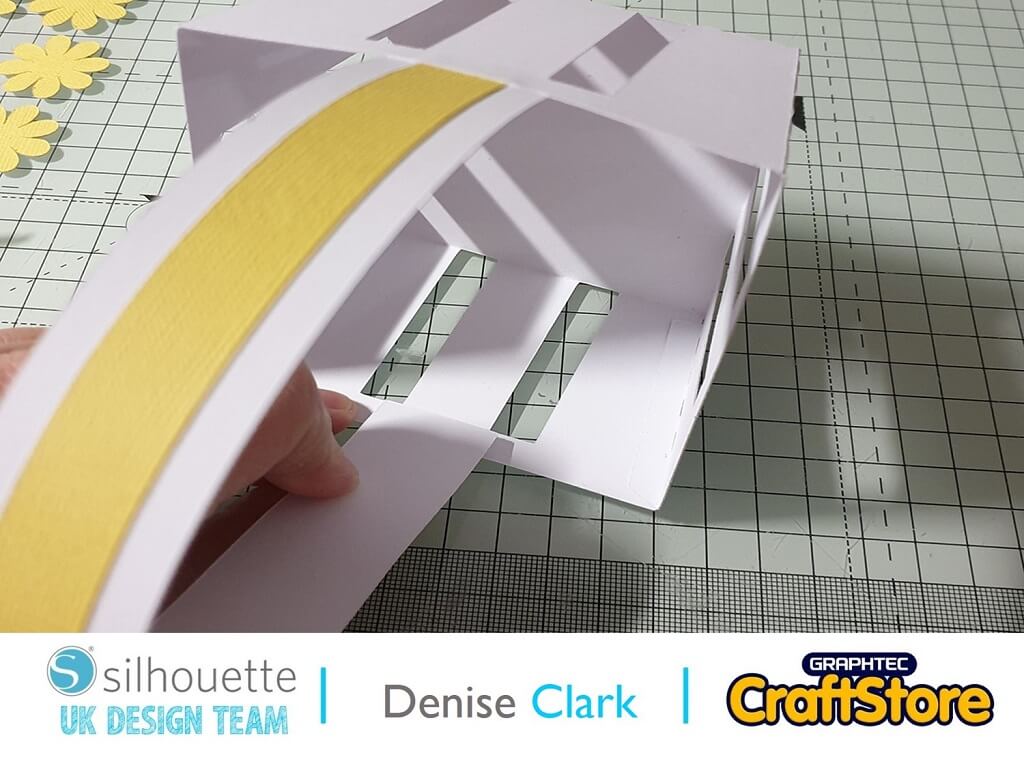
Next I went onto the handle and added the 2 strips together.
For this I just peeled off the adhesive backing and put them together like in the photo.
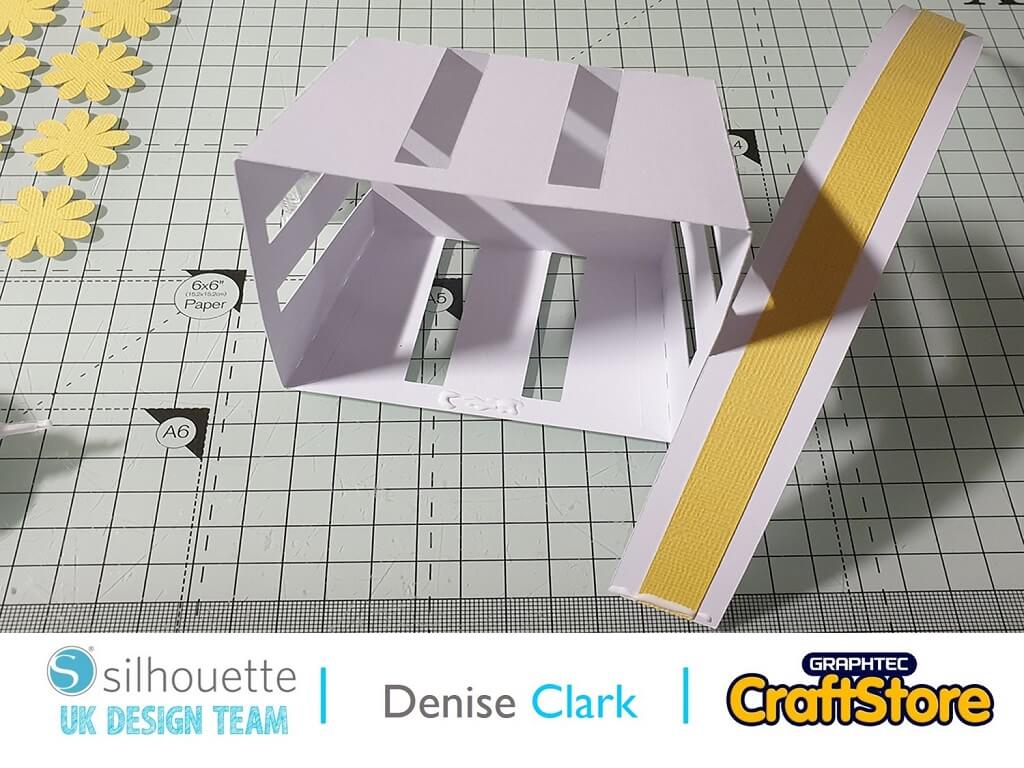
I used wet glue to add the handle to the basket as shown in photos.
Adding Embellishments
Now to add the flowers and leaves to the make.
To do this I used wet glue for this as well.
I shaped the flowers a bit as you can see, I also cut extra leaves.
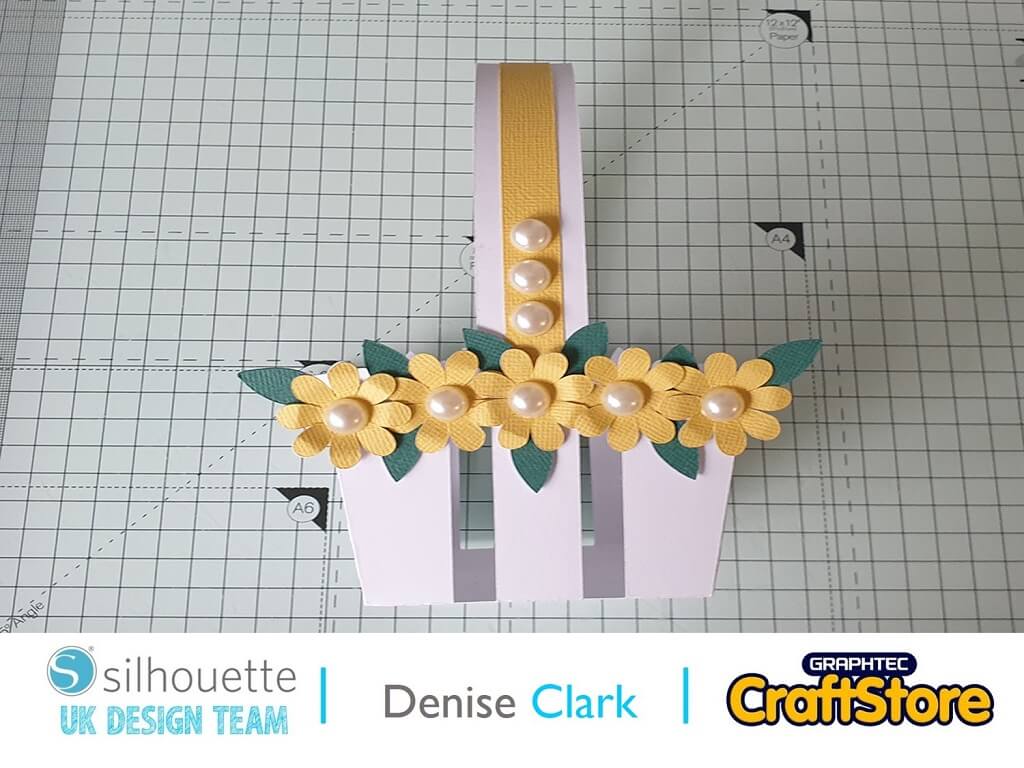
I added the flower first on bottom of handle then the 2 end ones and then added the other 2 in the middle of them.
I did this for both sides and finally added the leaves to the flowers.
For the center of the flowers I added pearls to them and 3 pearls each side of the handle.
This is an easy and very adapted file that you can use throughout the year to celebrate different events and one which kids can make this also for home/ school projects.
Decorating the basket has endless possibilities and is so much fun to do!
– Denise Clark –
