Sale!
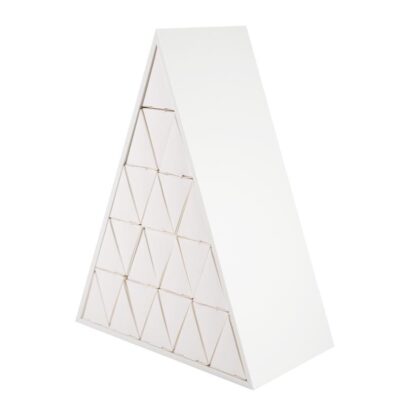
Silhouette Shadow Box Countdown Calendar
Original price was: £40.00.£17.99Current price is: £17.99.
PLEASE NOTE THAT THE OFFICE WILL BE CLOSED FROM 12PM FRIDAY 20TH DECEMBER 2024 AND WILL RE-OPEN ON THURSDAY 2ND JANUARY 2025
ORDERS FOR DELIVERY PRIOR TO CHRISTMAS WILL NEED TO BE SUBMITTED BY 2.30PM ON THURSDAY 19THDECEMBER 2024.
ORDERS RECEIVED AFTER THIS TIME AND DATE WILL BE DESPATCHED ON THURSDAY 2ND JANUARY 2025.
Merry Christmas & A Happy New Year to all our customers. Thank you for your continued support.
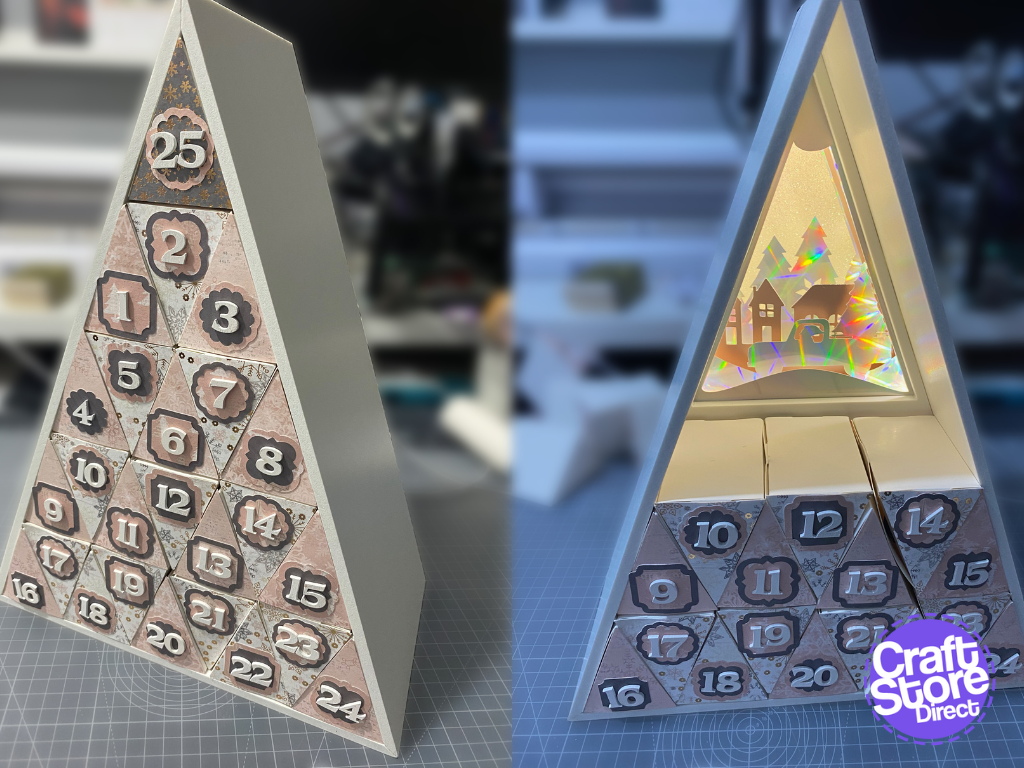
This week is Advent Calendar Week, so I went for a romantic twist. This time, the calendar is filled with reasons why the receiver is loved before opening a special hidden box inside the back section of the calendar. This project is for more advanced users of the Silhouette/ScanNCut.
This will be the second I have made of these. Beginners can hop over to my previous blog to work with the included files as they are. This time I’ve gone for something a little different
Craft Materials Used:
• Silhouette Cameo 4
• Silhouette AutoDetect AutoBlade
• Silhouette Standard Hold Cutting Mat
• Silhouette Studio Business Edition
• Silhouette Advent Calendar Kit
• Brother ScanNCut SDX1200
• Brother ScanNCut DX Vinyl Auto Blade Kit
• Brother ScanNCut DX Standard Tack Adhesive Mat (Triple Pack)


Start by unpacking the Silhouette Advent Calendar.
Download all of the files you will need from the Silhouette Design Store.
Cut the pyramid of triangles from one sheet of patterned card or paper. These will decorate the included boxes, and should be applied in the same order as they are cut.
If you don’t have big enough card in the colour you want to use, cut 25 of the individual triangles instead. I used two sheets of patterned card (rather than paper with would damage too quickly for this kind of project) with 12 triangles from each using the Media Layout feature in the Silhouette Studio software. The last triangle is from a contrasting card.


| In Silhouette Studio, open your back panel pieces, now if you are a beginner, we would recommend using one of the designs included.
Feeling brave? Let’s empty the frames for something new. Ungroup one of each size and delete the others. You can then use the polygon tool to draw a shape around the inside of each frame and select the shape and the frame body and use subtract to remove the inner detail. Visit the Silhouette Design Store to purchase alternative designs that we can adapt to fit the now empty frames. I used a folding card design that features a silhouetted landscape. Import this into the same document as your frames and split the design into three sections using subtract. Weld each of these into a copy of the empty top frame. Bear in mid vertical alignment so each layer goes up in height as you move towards the back. |

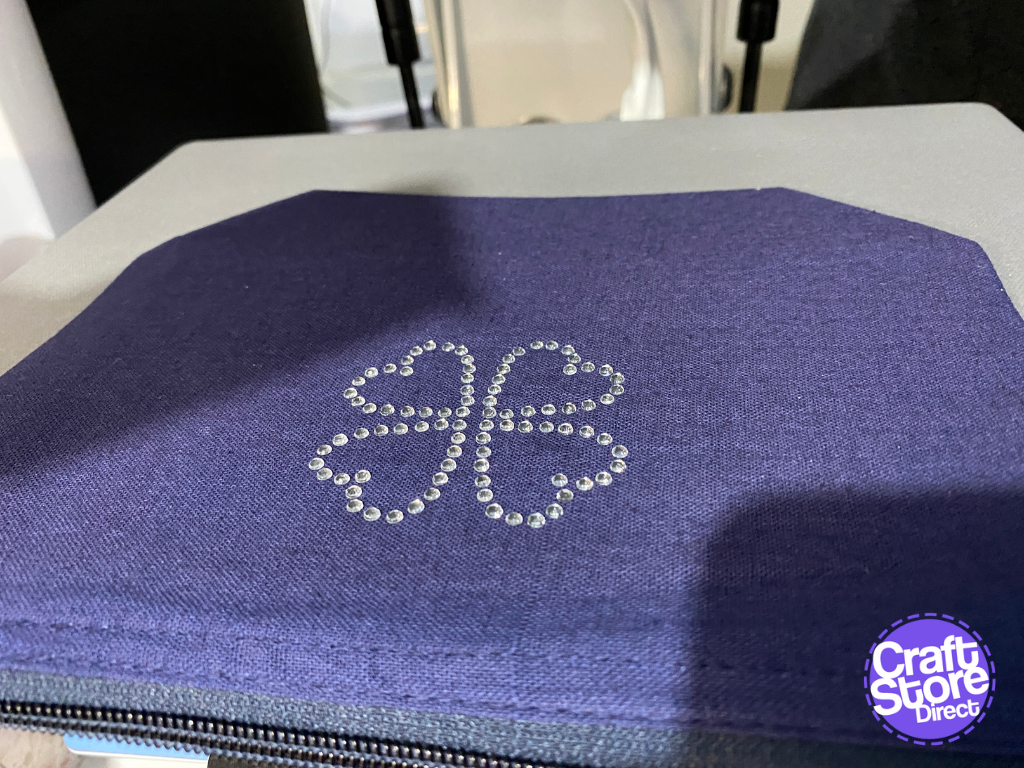
Now, while your Silhouette is busy cutting those other pieces, we can create some nice simple labels in either Silhouette Studio or Canvas Workspace. Now, when it comes to a variety of basic shapes to work with, Canvas will win hands down.
Firstly, start with a scalloped circle which we need to be about 3cm. Offset it by 0.25cm for an outer frame. Group both of these elements.
The next pattern uses a fat rounded rectangle, duplicate this and rotate 90º. Select both rectangles and align to the centre and weld. Resize to 3cm and offset 0.25 cm. Group both lines.
Finally, add the rounded cross pattern to the mat, rotate it 45º. Bring in a square and rotate 45º. Select both and align to centre and weld. Resize to 3.5cm and offset -0.25cm. This will keep the tip of your shape sharp.
Send these to your machine and duplicate so you have 25 and use double-sided card.


Boxes
Add a label set to each box down at the fatter part of the triangle.
Use wooden numbers and adhere with gel medium to avoid them falling off.
Decorative panel
Firstly, insert your front panel, as my card only have three panels I did an organic path for a low hill just to hide the wiring for my lights. Lay in your first lights, but don’t do the whole box like I did.
Then insert the first of your three panels, and add next row of lights. Repeat until all in. Cut another solid back to add to the back.


Cut a base panel but with a wider frame using offset and then moving the inner nodes to match. This will hide a light strip so measure the width of that to know how much of a frame you need.
Cut a solid piece as well for the back and use double sided tape along the back bottom edge to act as a hinge, and a velcro dot to attach at the top.
Battery Pack: as my lights are battery powered by 3x AA batteries, its quite a big battery pack. I built a pocket for the pack to sit in and can be slid out when needed. Measure the body of your pack and create one rectangle, then two sides to the height of your pack (which would make a U at this point). Add a glue tab to each of these sides as well as an additional side and tab to the front. You may need to adjust your front frame to make space.
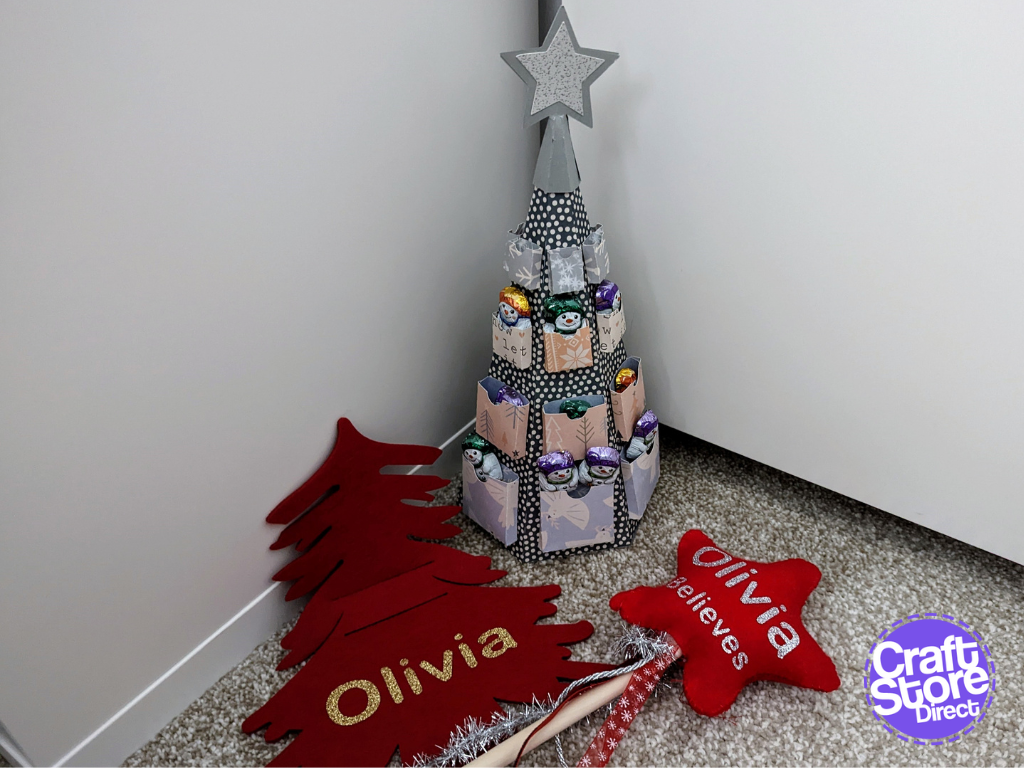
Christmas Ball Box: I kept it simple with just the box body and sparkly cap with metallic card for the cap.

What a perfect way to countdown a big surprise! What will you be hiding away??
– Natalie x

Original price was: £40.00.£17.99Current price is: £17.99.
Price range: £16.20 through £27.00


