Personalised Bottle | Natalie Ballard | Silhouette UK Blog
Getting Started
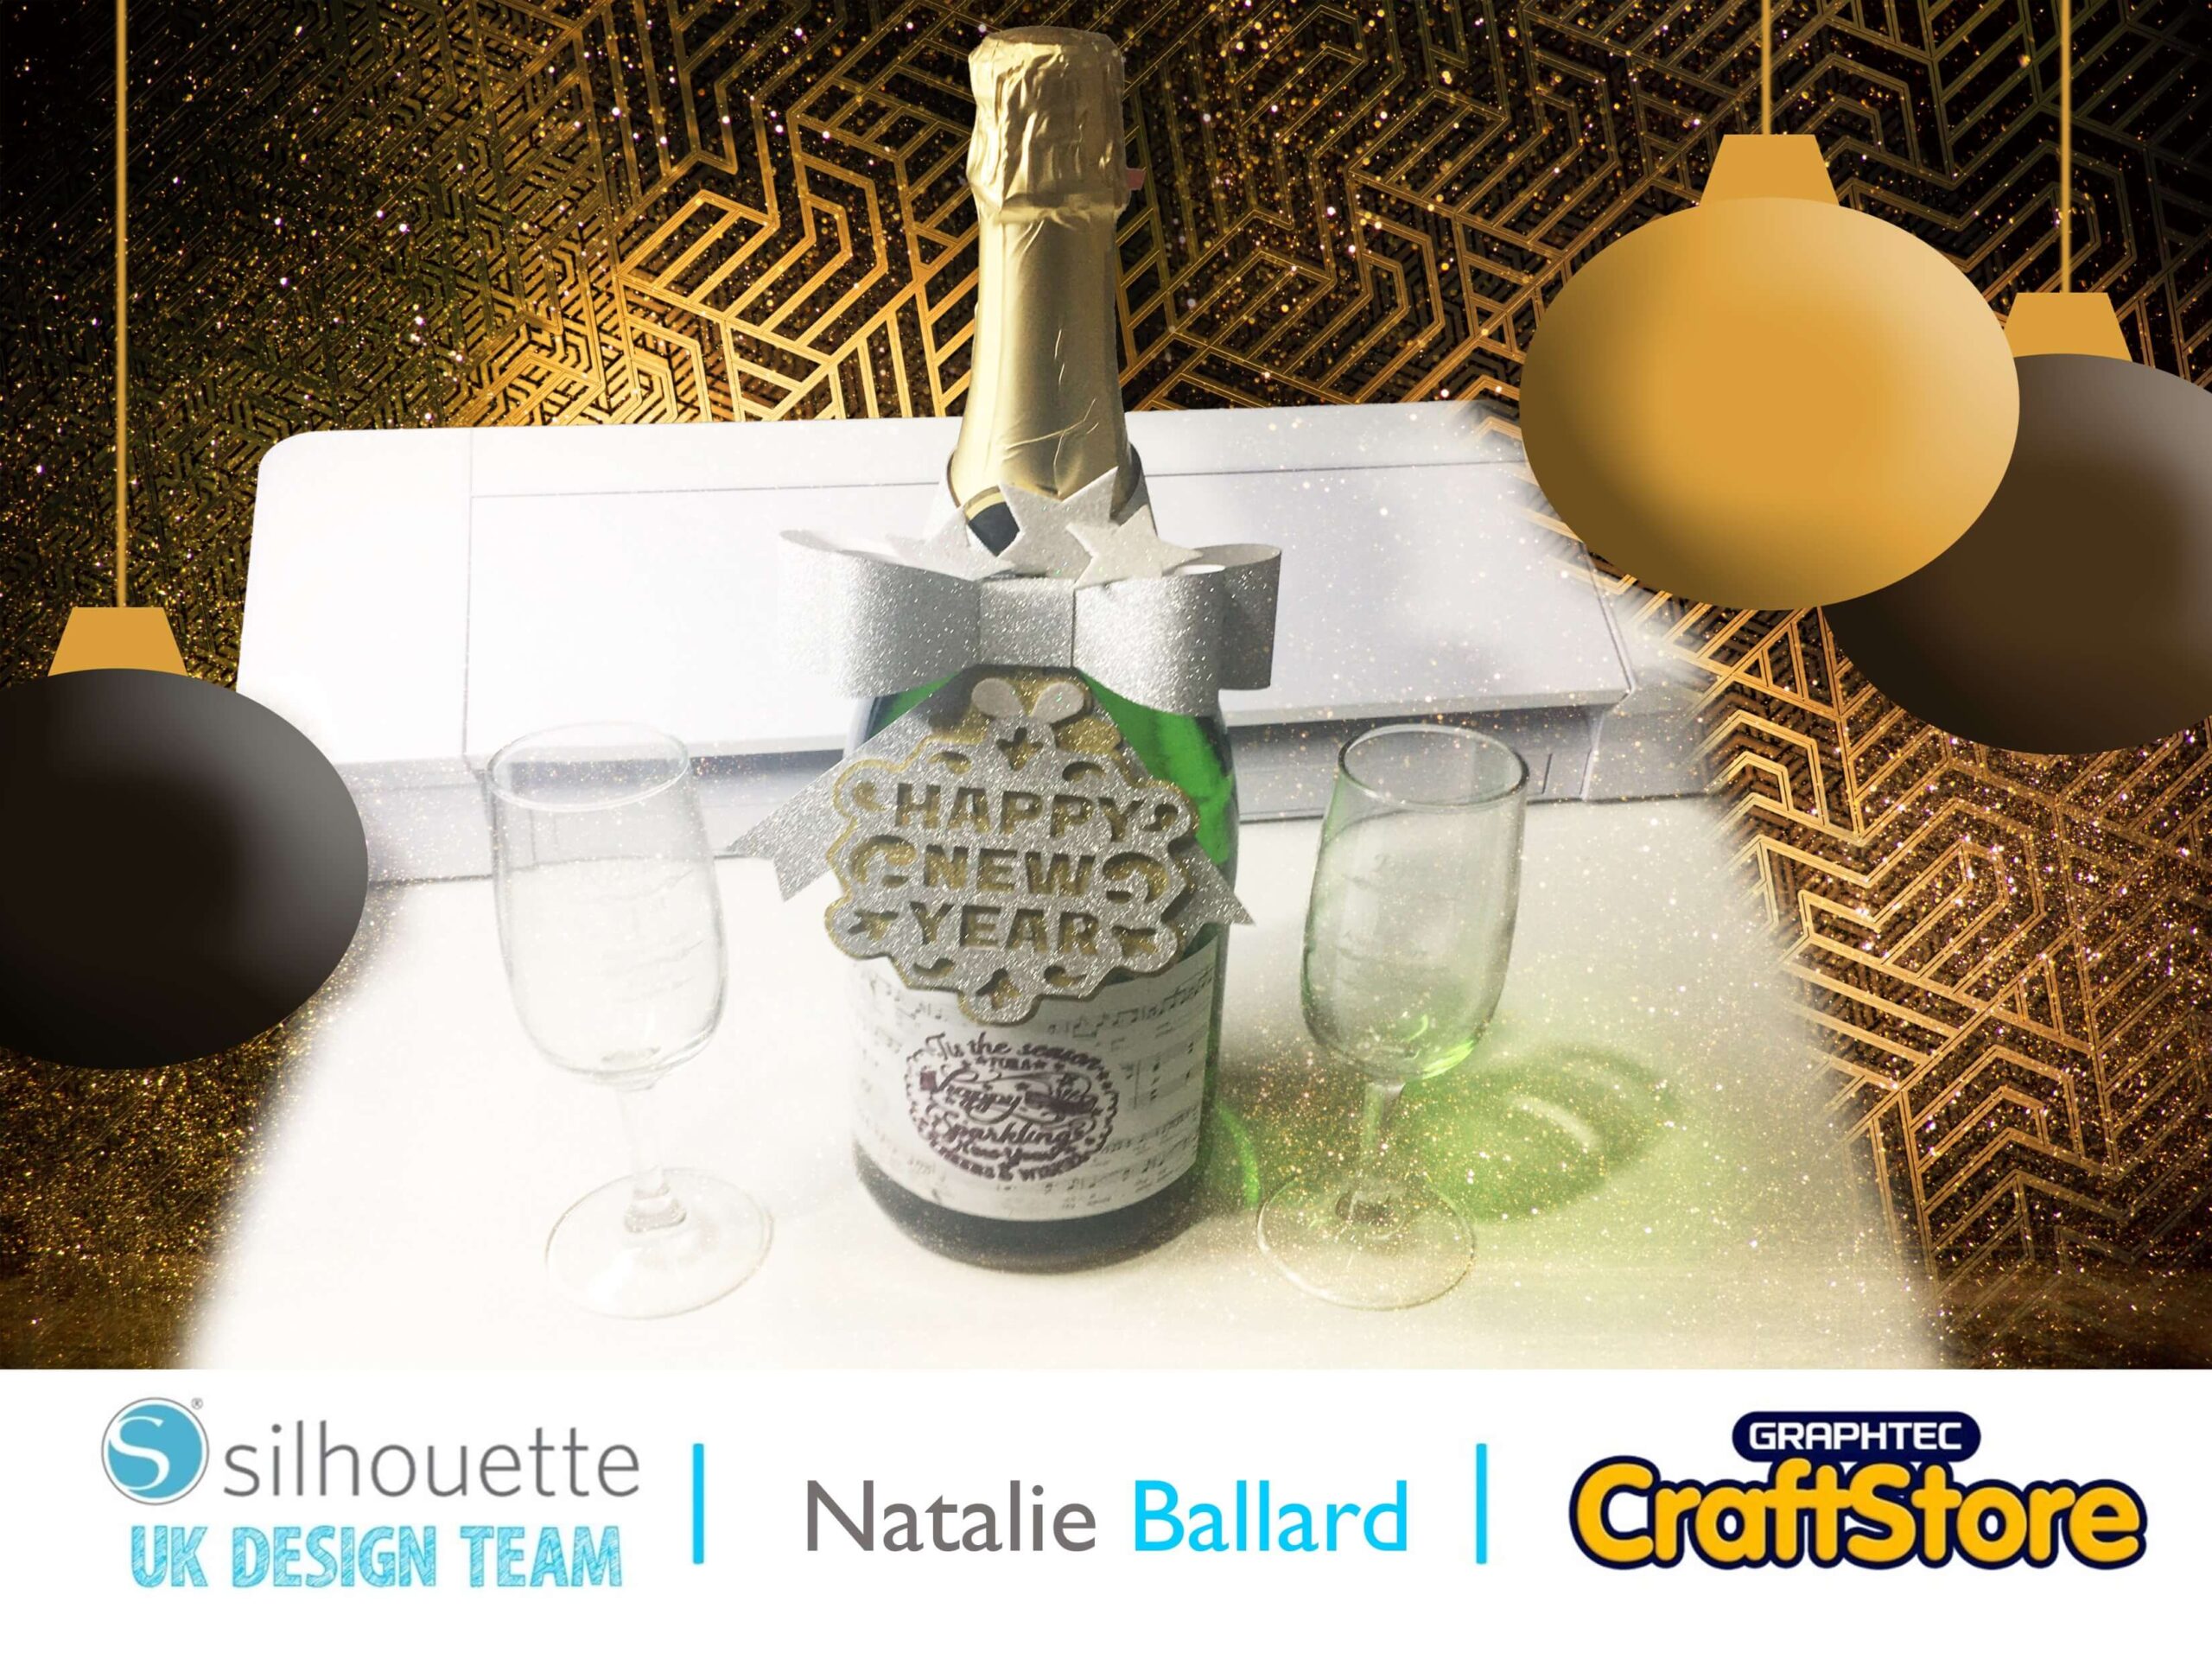
For today’s blog post, I wanted to do a last minute New Year’s project.
We all have plans that may change last minute so here’s a quick host gift you can put together.
Prepping the blank
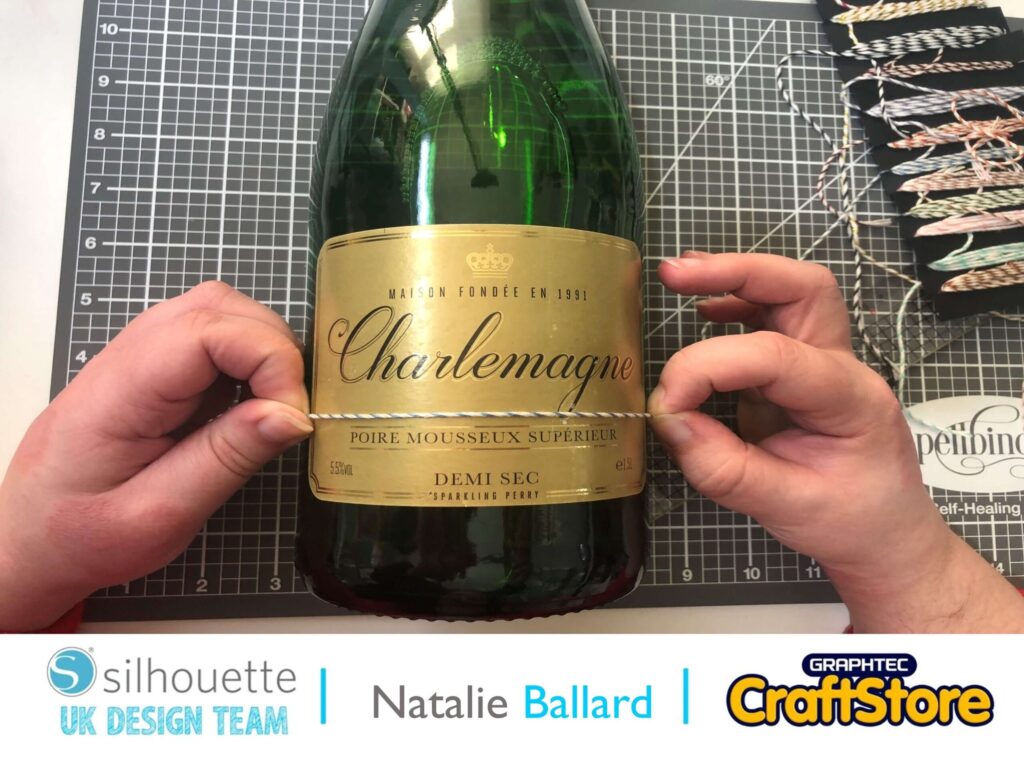
You need to prepare your blank first.
Always start with a layer of gesso or white chalk paint.
This gives a key for everything else to stick to.
Label design time
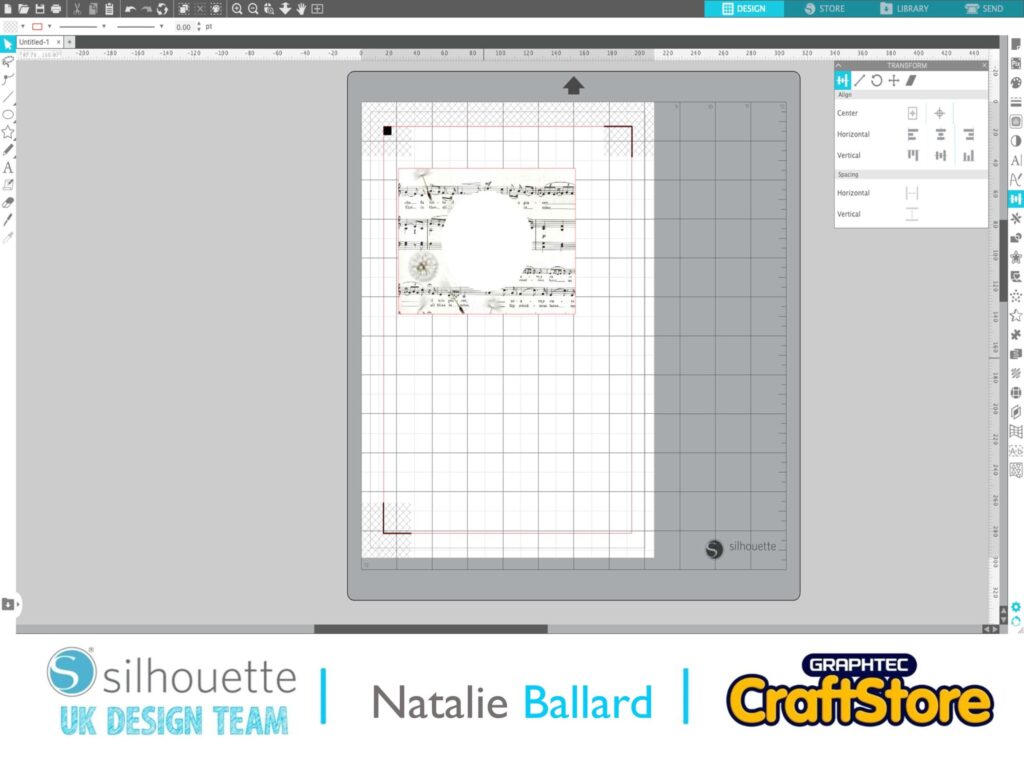
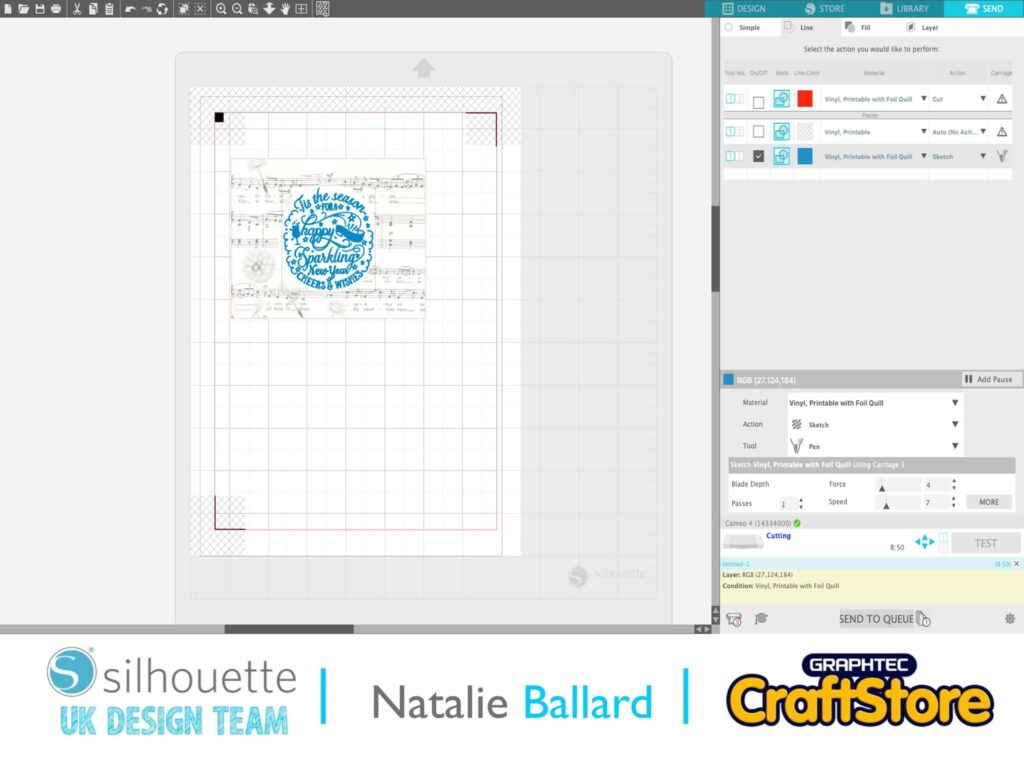
Draw a rectangle measuring your desired label size.
Drag the pattern into the rectangle from your library to fill the shape.
Draw a white circle to knock out the pattern for your labels focal point.
You will also need to add another shape for any legal text you need to add such as alcoholic volume if your label covers this information up on the original bottle.
Adding the detail
Drag in the design and resize it to fit your white circle.
Add any legal text you need to add using the Text tool.
You want the background pattern to print along with your legal text, but don’t print the label text as we will be foiling that.
Adding the foiling
Firstly, cut the outer edge of your label.
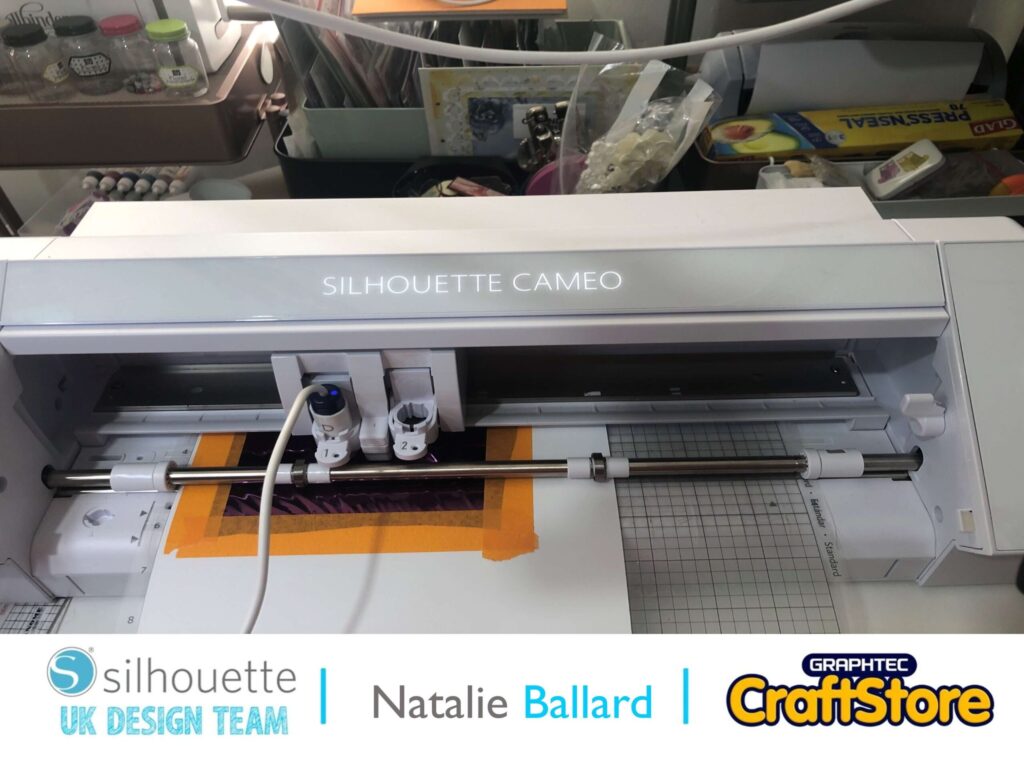
The foiling for my label will be added with the Foil Quill.
You could also use a two-way glue pen in your pen holder.
Creating the bow and tag
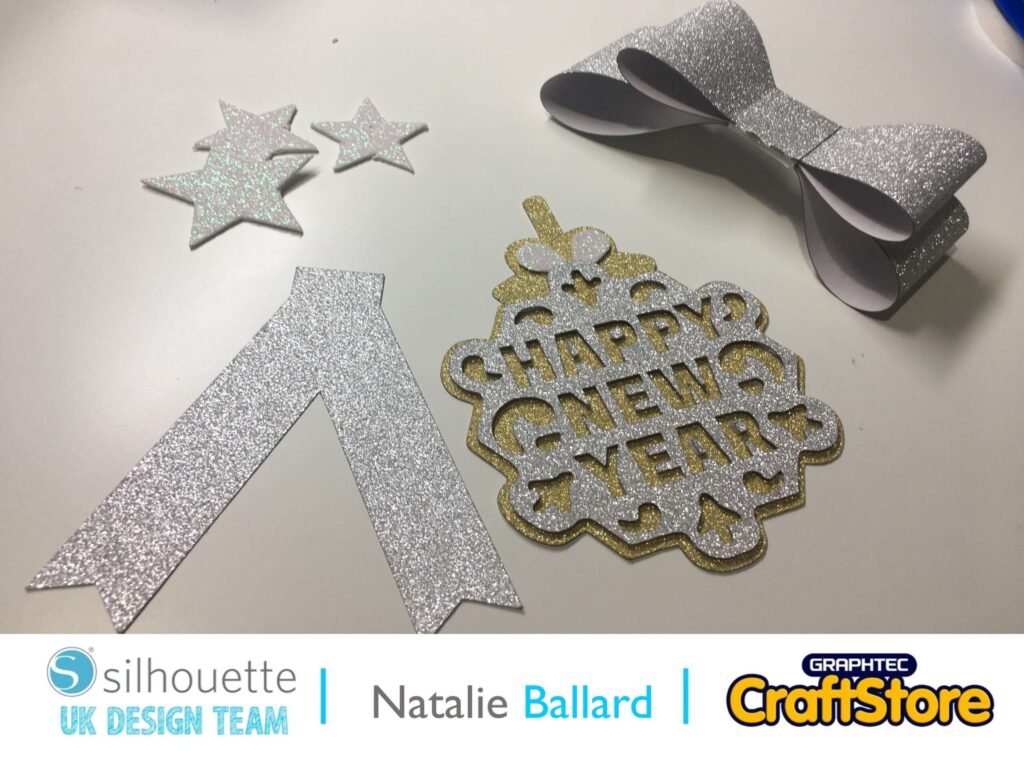
Cut the bow design and the tag overlay from glitter card. Cut a solid version of the tag from card.
Shape the bow by gently pulling it over the edge of your desk to curl without creasing the card.
Assemble the bow and add the tag. I’ve also cut some foam stars using the 2mm kraft blade.
I’ve really enjoyed playing with materials for this project and can’t wait to show you all the exciting projects we have planned in 2022.
Happy New Year!
– Natalie Ballard –
