Summer Fun | Ruth Sim | Silhouette UK Blog
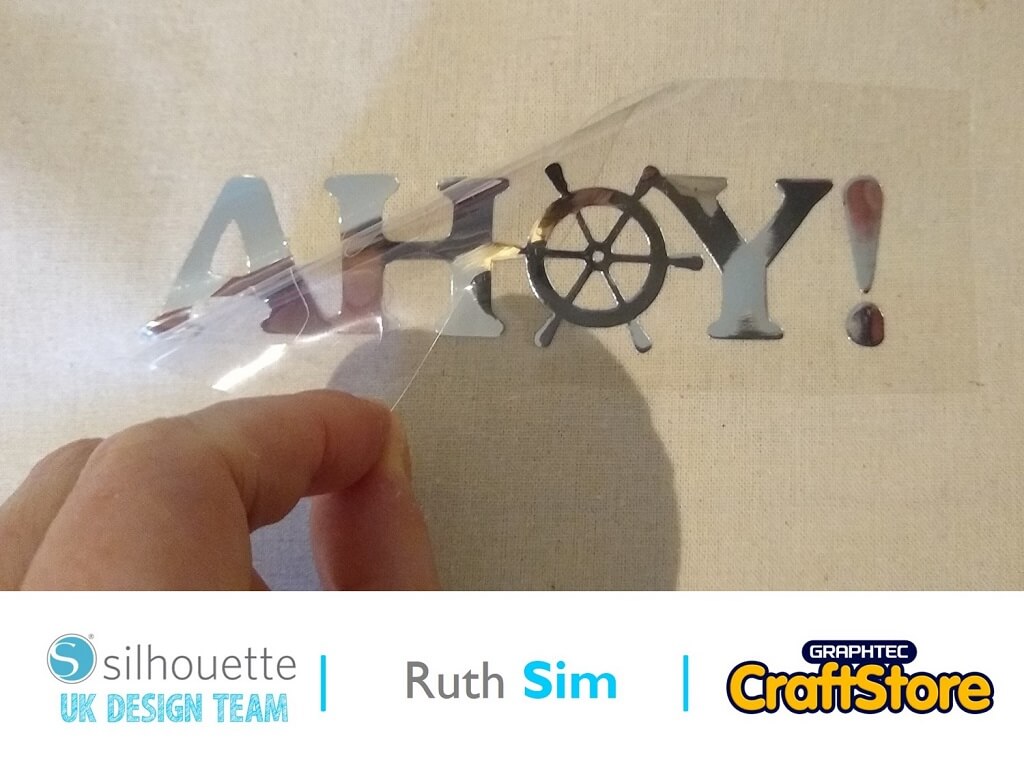
Summer Fun | Ruth Sim | Silhouette UK BlogSummer Fun | Silhouette Metallic Heat Transfer Material Silhouette produce so many fabulous materials and this week I am using silver Metallic…
PLEASE NOTE THAT THE OFFICE WILL BE CLOSED FROM 12PM FRIDAY 20TH DECEMBER 2024 AND WILL RE-OPEN ON THURSDAY 2ND JANUARY 2025
ORDERS FOR DELIVERY PRIOR TO CHRISTMAS WILL NEED TO BE SUBMITTED BY 2.30PM ON THURSDAY 19THDECEMBER 2024.
ORDERS RECEIVED AFTER THIS TIME AND DATE WILL BE DESPATCHED ON THURSDAY 2ND JANUARY 2025.
Merry Christmas & A Happy New Year to all our customers. Thank you for your continued support.
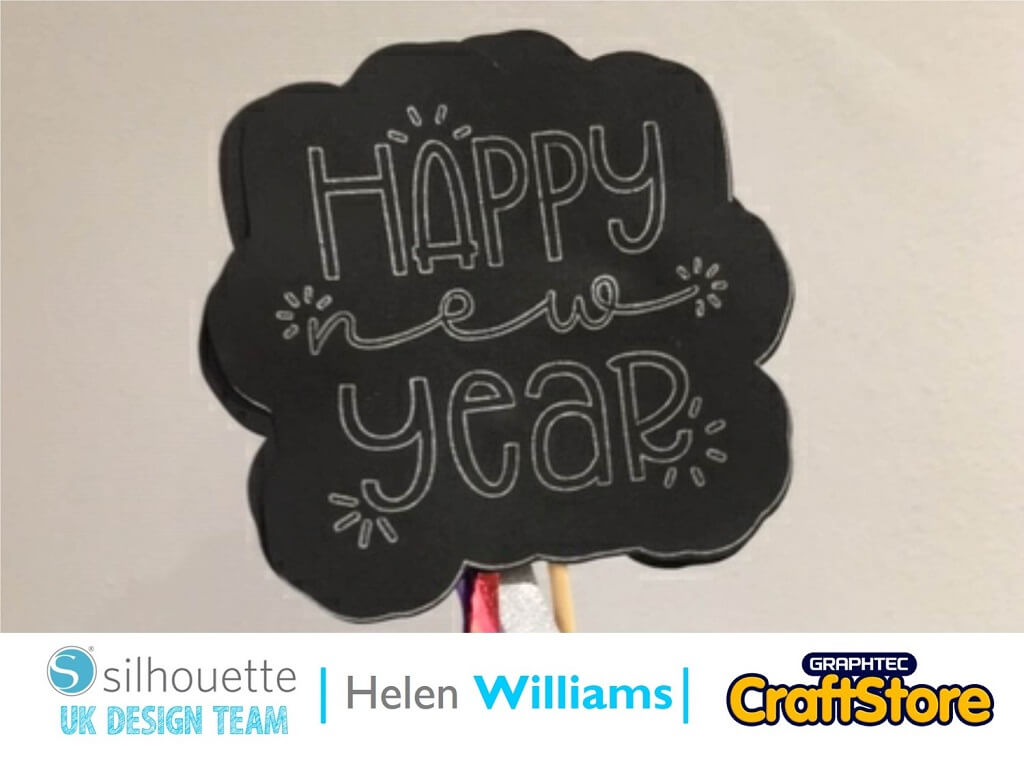
Hi everyone, Helen here today.
This year is the first New Year that the kids will be old enough to attempt to make it to midnight!
So I wanted to make them something super cute for New Years Eve. Here is how I created this New Years Eve wand.
Here is how I did it.
For this project I used this sweet file from the Silhouette Store. I didn’t need to change the file much. I just made a boarder using the external offset tool. After that I just duplicated it to fill the canvas by using the ‘fill page’ option on the ‘replicate panel’. I decided to use the pen tool and draw and cut on an A4 piece of card stock. Once I had filled the canvas I went to the send screen.
On the send screen I changed the first tool to ‘sketch’ and made sure all the writing parts of the design that I wanted in silver where highlighted red. I then used the second tool and selected it as ‘cut’ and made sure all the outlines of the shapes where in green so that they would be cut. I then put the auto blade into the second tool slot and the silver gel pen in a pen holder in the first tool slow.
I then pressed send and the machine automatically drew and cut the design on my black cardstock.
A quick tip for using the pen tool. If you find that the pen is ‘dragging’ like the image on the left you can fix it easily.
All you need to do is pull the pen out of the holder slightly. That fixed the problem and produced the really clean lines you see on the right.
Now that you have drawn and cut the top part of the wand it is super simple to assemble it.
Use the hot glue gun to fix a barbeque stick to the back of the design. If you crafting for small children made sure the pointy end is glued to the topper.
Then add ribbon from you craft stash. I cut the ribbon to roughly 15cm lengths and tied the ends together securely. Use the hot glue gun to the to attach the ribbon.
Then you can either attach another topper to the back or attach a small piece of vinyl to the back.
I cant wait to use these at New Year for the kids they are going to love them!
Look out for my next blog where I will be creating some cute New Years Resolutions projects.
– Helen Williams –
• Design Used: Happy New Year
Design Store Artist: Planeta Silhouette
Design Store ID: 310524 > Download