Christmas Card
Christmas is nearly here.
Dark nights are settling in and the weather is changing.
Time to snuggle up on the settee with a cup of hot chocolate and watch movies. So here is Instructions on how to make a Christmas card step by step on these cold and crispy mornings
Materials Used
• A4 Car
•Wet glue
Open your studio software and go along the top right hand sight you will see library, click on it and look for your file which you can do by searching in the bar if you know the name or file number for quickness.
Once you open the file you will need to ungroup it by doing right click and click on ungroup.
Now that you’ve ungroup it you will need to take the parts of the file off your design space and leave the main part of it on your design space but before you do that highlight you card by click and drag a box around it and group your card as it’s got perforated line for the fold.
Now you’re ready to cut your project out.
Now go to top right hand corner and click on send this is where all the information is for cutting, you just scroll down and find your media and the rest is done for you.
Load your media onto the cutting mat and load it into your cutting machine now click on send to cut your project out.
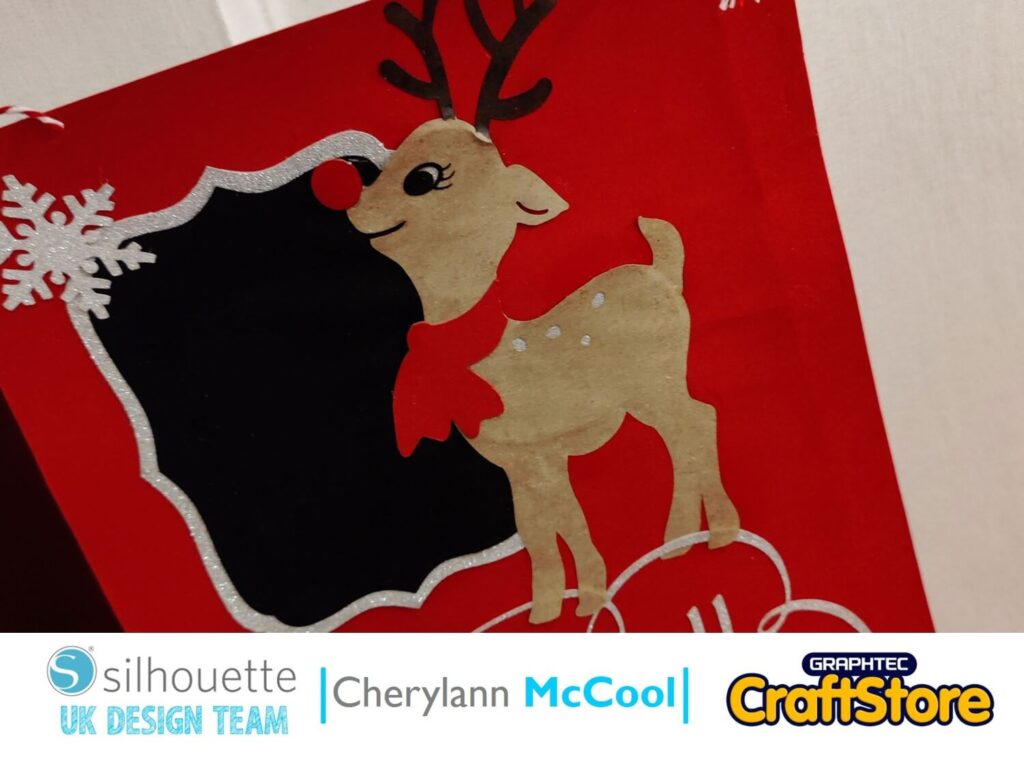
Once you have cut all your parts out its time to assemble your project.
For assembling the card, I used wet glue for it all.
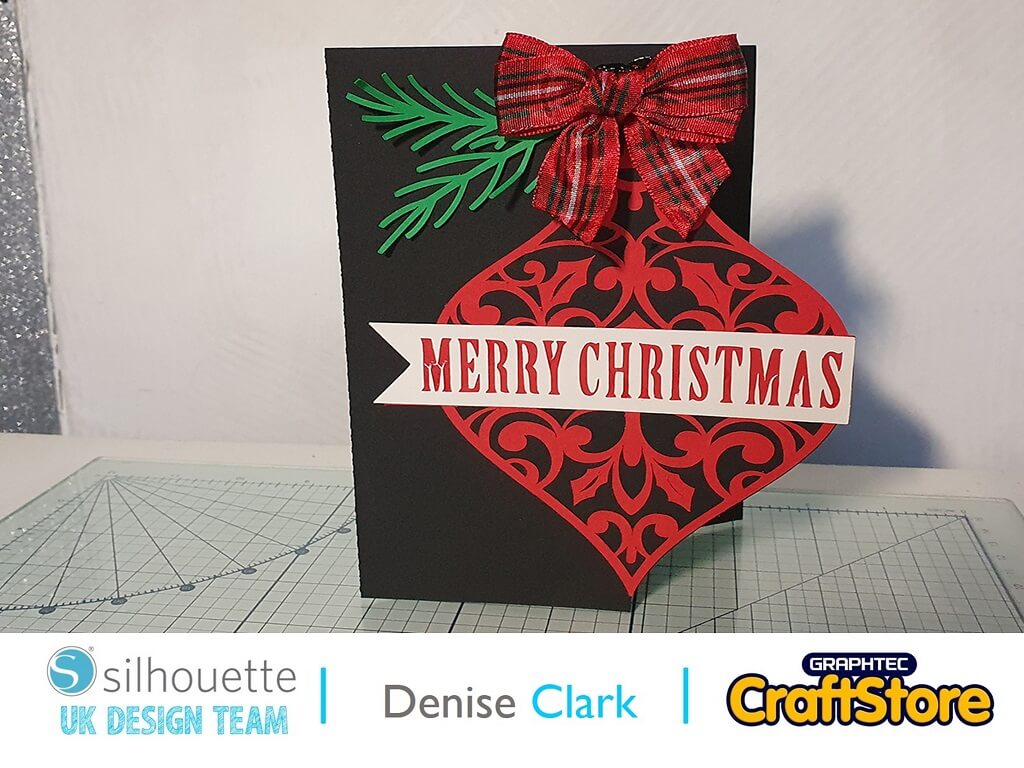
I adhere the banner part together first to the bauble.
I folded the card along the perforated line then I shaped the leaves and adhere it to top of card.
To finish of the card, I added Ribbon. Your project is now finished.
This card was easy to make!
You could have a production line going on to make a few of these and the Children can help to assemble the card too.
Hope you have fun making this card and please pop back to read my next blog which is about Christmas decoration
– Denise Clark –


