Sale!
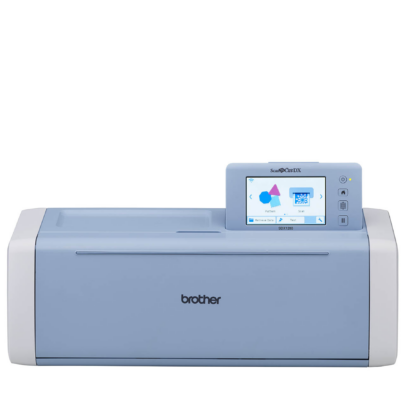
Brother ScanNCut SDX1200
Original price was: £499.00.£449.00Current price is: £449.00.
PLEASE NOTE THAT THE OFFICE WILL BE CLOSED FROM 12PM FRIDAY 20TH DECEMBER 2024 AND WILL RE-OPEN ON THURSDAY 2ND JANUARY 2025
ORDERS FOR DELIVERY PRIOR TO CHRISTMAS WILL NEED TO BE SUBMITTED BY 2.30PM ON THURSDAY 19THDECEMBER 2024.
ORDERS RECEIVED AFTER THIS TIME AND DATE WILL BE DESPATCHED ON THURSDAY 2ND JANUARY 2025.
Merry Christmas & A Happy New Year to all our customers. Thank you for your continued support.
`
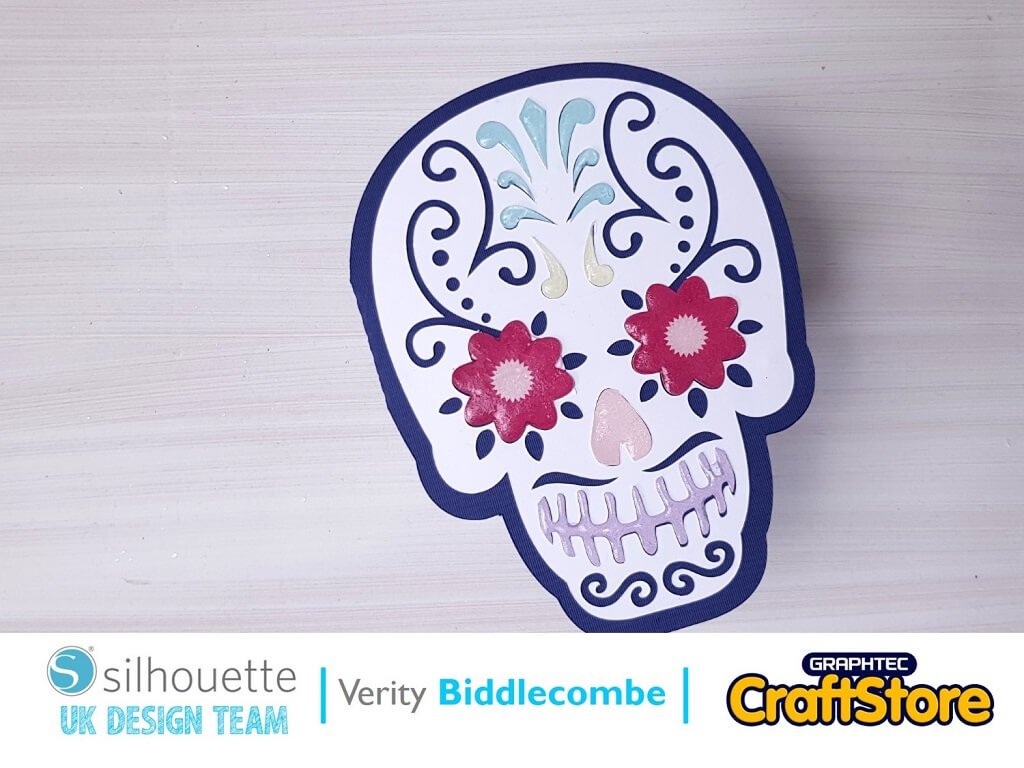
The ScanNCut is a great tool for crafters, as it offers a lot of flexibility when it comes to creating custom designs. Its stand-out feature is that it can be used without a computer, allowing you to create intricate designs using the LCD touchscreen and on-board design library. With the ScanNCut, you can scan your own images and use them as a starting point for your designs, or you can use the vast selection of images and fonts in the on-board library. With this tool, you can easily create unique and intricate designs without needing a computer.
The ScanNCut is a great tool for designers too, as it allows you to create amazing designs without the need for a computer or drawing skills! The wide range of templates and stencils available make it a great choice for those who want to design their own files. With just a scan mat, some paper, and a pen/pencil/eraser, you can create intricate designs without needing to be a skilled artist. This makes the ScanNCut a great choice for those who want to create something unique without needing to invest in a lot of additional equipment.
Craft Materials We Used:
• Brother ScanNCut SDX1200
• SDX Vinyl AutoBlade Starter Kit
• Standard Tack SDX Cutting Mat
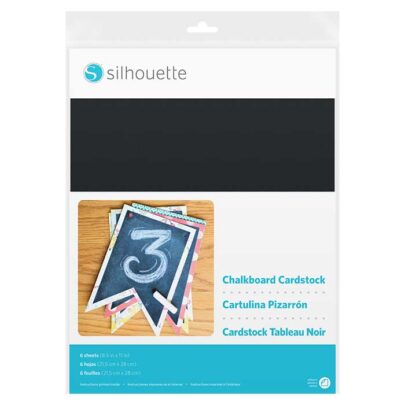
• Silhouette Chalk Board Material
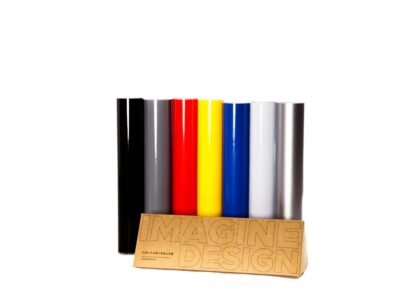
• Colour + Shape Black Vinyl
• White Carbon Fibre Vinyl
To get you started, here are the basics to help you start…
• Right Angle Triangle or T-Ruler
• Protractor (for 3D projects)
• Circle & Square Templates
• French Curves or a Flexible Curve
• 5-1.0mm Fine liners
• Pencil & Eraser

When deciding what kind of file to create, it’s important to think about the end use of the file and the scale in which you will be creating it. If you are creating a sentiment or shape design, consider what elements (like foiling or other special effects) you want to include and how this will affect the scale. If you are creating a 3D net, you may want to consider the angle, thickness and size of the shape. It can also be helpful to brainstorm multiple variations on a theme. Keep your ideas to word only format initially.
Once your word based brainstorming is complete. We move onto thumbnail based sketching. These are known as scamps and are a great way for focusing on the design as a whole without getting into the detail.
Starting with a blank sheet of paper can be intimidating, but don’t worry! To make things easier, try printing a framework for your design. You can also print the text you want to use beforehand, and then use it for tracing. This will make it easier to put the design together. So, once you have an idea for the layout, it’s time to do some “scamps” or thumbnail sketches. A sketchbook or layout paper are both great for this. Doing scamps helps you figure out what printing you’ll need to do, like text on a curve.


Now, scale up your chosen design using a framework method. I divide my designs firstly by marking up the centre lines both horizontally and vertically and then draw the extents of the design. You want the finished inking to be larger than your finished project ideally, but when working on larger projects like this kitchen frame that’s not always an option.
Inking
To get the best results, use a piece of layout or tracing paper, and a lightbox if you have one. Taking your time is important to make sure your lines are smooth and your pens flow properly. Make sure all lines meet each other with no gaps, then trace over your design with your fineliners. Doing this on a fresh piece of paper ensures your scanner won’t pick up pencil marks or previously drawn lines.
The good thing about working with paper designs, is that you can make changes directly. You can also create multiple variations on a theme. You can stick on any amends and rescan. The cover of your scan mat will help these to stay in place, or use Magic tape or similar. At the brainstorming stage, this means you can plan for a range rather than focusing on one design only.
Pro Tip: If it’s a repeat, draw one
If your design features a repeating design or element, draw one. A lot of designs look less professional because repeating shapes and letters don’t match exactly. You can then duplicate these elements during the cutting process. If you are hand-drawing your text, this is also the same approach to take with repeating characters that should be identical.


Starting to use your scan mat for the first time can be daunting, but don’t worry – it’s super easy! Just remember to keep the big cover intact, then peel off the little blue strip to reveal the contrast bar. Next, carefully slide your finished sketch underneath the cover and make sure it’s aligned with the top left corner. It’s a good idea to leave a small border between the mat edge and the start of your design, so the design can be easily isolated.
To reset back to the Home screen on the machine, simply press the Home button. Then, select the Scan to Cut Data option from the Scan menu. When scanning, make sure to choose the Black and White option and use the window and saving options to isolate elements as needed. The icon graphic provided is really helpful and should help you understand how the scan setting will affect the design. When saving, I’d recommend using a USB memory stick as it’s the best way to make sure that all pieces of your design are saved safely and securely together. Additionally, it’s a good idea to make a note of all the filenames so that you can easily access them later.


Now, that you have all of your scanned and saved items, it’s time to start creating your mat layouts. Start by duplicating any repeating items, then arrange them by colour and material. If you feel it would be helpful, you can even resave the files as finished cut files. When you’re all finished, you can go ahead and cut and assemble your project. If you’re not ready to complete your cut yet, you can always save the files for another day.
If you find you need a bigger screen to see the details, you can always hop across to CanvasWorkspace. It wil also enable you to use other advance functions such as Tiling, which you will need for working on larger projects like this frame.


Cut your completed design from solid coloured vinyl. I decided that, as my frame could be subject to heat, steam and splashes, I would cut my design out mirrored from plain back vinyl. I used CanvasWorkspace to enlarge my design and, using the Tiling function (part of the Vinyl Autoblade Kit), split up the design to fit 12×12″ or A4 vinyl sheets.
Once cut, remove any waste material ready for transfer.
Applying adhesive vinyl can be a great way to decorate walls, windows, and other surfaces. Here are some tips to make sure you get a successful result:
Following these steps should help ensure that your adhesive vinyl is applied successfully.
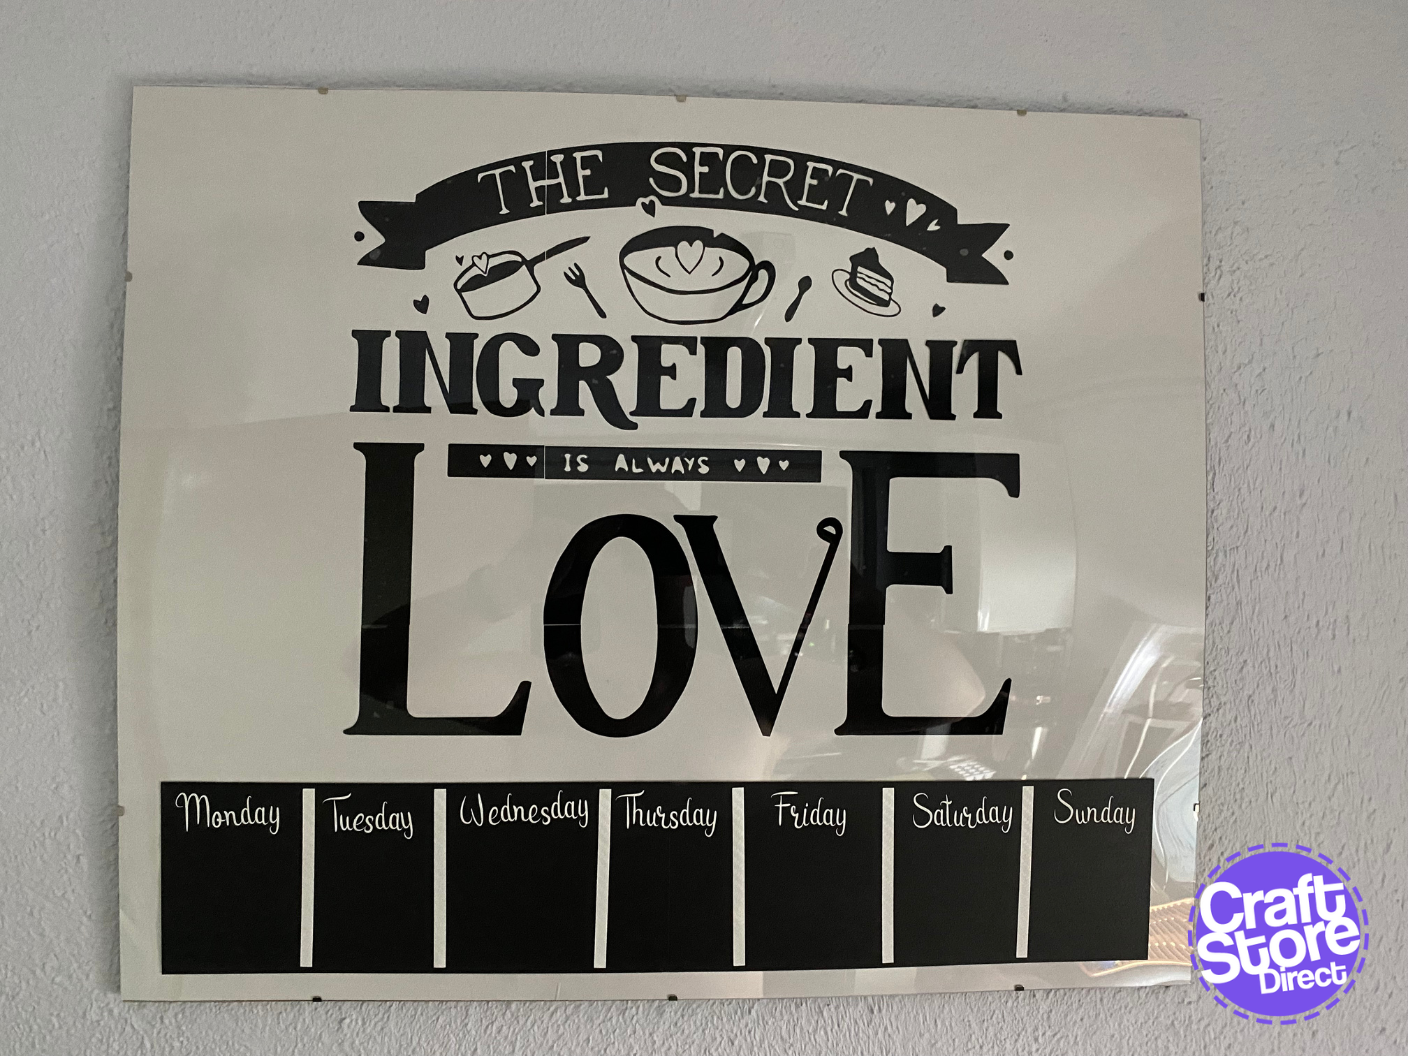
I then took a sheet of the chalkboard adhesive backed card and cut it in half vertically to make a long strip by joining it end to end. I then applied this to the front of the glass. You can then add white carbon fibre vinyl to this for marking a day chart.

I love using vinyl to make decor projects as it lends such a personal touch to your interiors. While we’ve done a kitchen sign here, you can use vinyl in almost any room in the house.
– Natalie x

Original price was: £499.00.£449.00Current price is: £449.00.
Price range: £7.23 through £14.88
Original price was: £10.00.£7.50Current price is: £7.50.
Original price was: £10.00.£7.50Current price is: £7.50.


