Halloween Tissue box | Denise Clark | Silhouette UK Blog
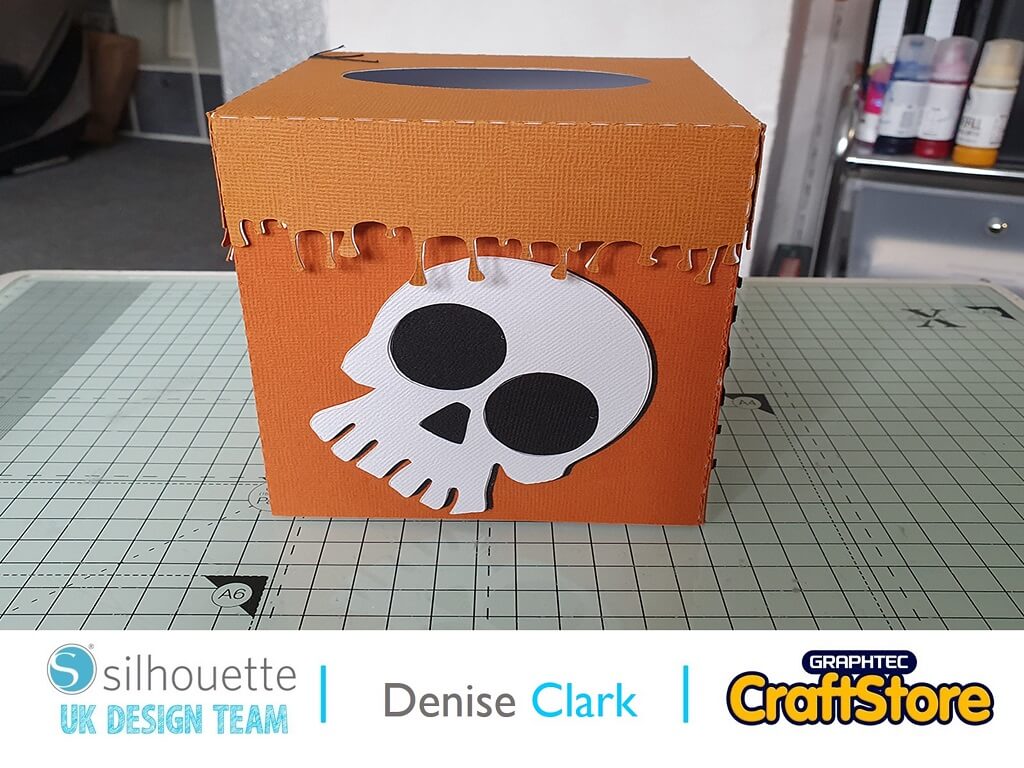
Halloween Tissue box | Denise Clark | Silhouette UK BlogHalloween Tissue Box Hi, Denise here. I can’t believe Halloween is on its way. This year has certainly gone fast! So…
PLEASE NOTE THAT THE OFFICE WILL BE CLOSED FROM 12PM FRIDAY 20TH DECEMBER 2024 AND WILL RE-OPEN ON THURSDAY 2ND JANUARY 2025
ORDERS FOR DELIVERY PRIOR TO CHRISTMAS WILL NEED TO BE SUBMITTED BY 2.30PM ON THURSDAY 19THDECEMBER 2024.
ORDERS RECEIVED AFTER THIS TIME AND DATE WILL BE DESPATCHED ON THURSDAY 2ND JANUARY 2025.
Merry Christmas & A Happy New Year to all our customers. Thank you for your continued support.
Hey everyone!
Vicky here from Cut That Design!
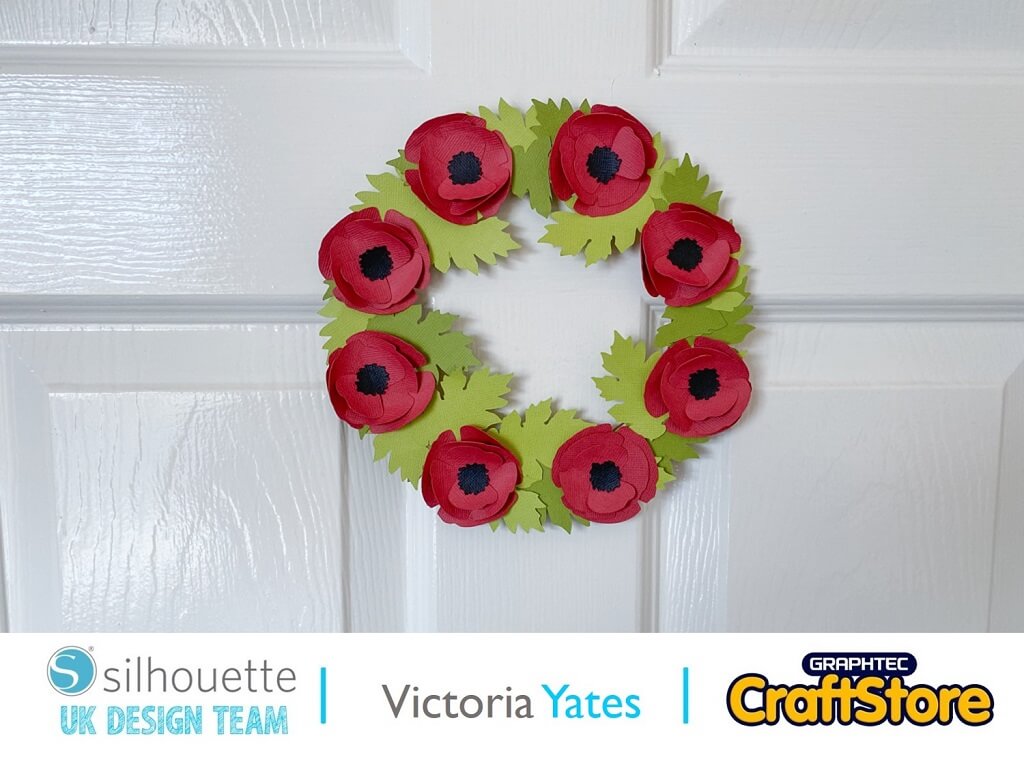
For this project I have made a Remembrance Day wreath, using Silhouette’s Self Adhesive Cardstock and a MDF craft ring I had in my craft stash, which I thought was perfect for this project!
Items you will need:
Silhouette Adhesive Backed Cardstock
MDF Craft / Wreath Ring
Strong Adhesive Sticky Pads (To Adhere Wreath To The Door / Wall)

I went searching for a 3D Poppy and a leaf in the Silhouette Design store, I purchased, downloaded and opened them up in Silhouette Studio.
I also coloured them in so I could see them clearly.
I measured the MDF ring that I was applying to design to, to gauge how many Poppies and leaves I was going to need.
I then used the replicate tool to make several duplicates of the Poppy sections and the leaves.


I grouped the sections by colour and sent them to cut.
I did an extra cut of the leaves using a different shade of green, so the wreath would have no gaps showing the wood ring underneath.
Next up, I changed the cut settings in the ‘Design Area’, to 12×12 cardstock and removed the registration marks.
I grouped the design by colour, as it’ll be easier for me to move them around on the cutting mat.
I loaded my cutting mat with the first colour of cardstock, set my material as; Cardstock Adhesive Backed, and kept the default cut settings.
I pressed send to cut. I then removed the material from the cutting mat.
I repeated these steps for each colour of cardstock.


To give the poppy that 3d effect, I curled the edges with my weeding tool, although the same can be done with a pencil or a pen.
I then adhered the different sections to the Poppy, starting with the largest at the bottom.
I repeated the same process with every Poppy!
As I am using Silhouettes Self-adhesive Cardstock, no glue is required!


I added the leaves around the wooden frame as shown, the leaves adhered nicely to the wooden frame.
I had a few leaves left over which kept to one side.
I added all the poppies to the wreath.
Once all the poppies were added, I used the leaves that I kept to one side and added them to the wreath where the wood was showing.

Here’s my completed wreath, I added a Strong adhesive foam pad to the back of the wreath and placed it on my door.
I am really pleased with the way this has turned out, and it was so much fun to make.
If you like crafting with Cardstock as much as I do, you will love this fun and quick project.
Thank you for reading and Happy Crafting.
– Victoria Yates xx –
• Design Used: 3D Poppy
Design Store Artist: Silhouette
Design Store ID: 14524 > Download
• Design Used: Leaf
Design Store Artist: Silhouette
Design Store ID: 1472 > Download