Kitchen Cutting Board | Denise Clark | Silhouette UK Blog
Kitchen Cutting Board
Hello all you lovelies! Denise here today!
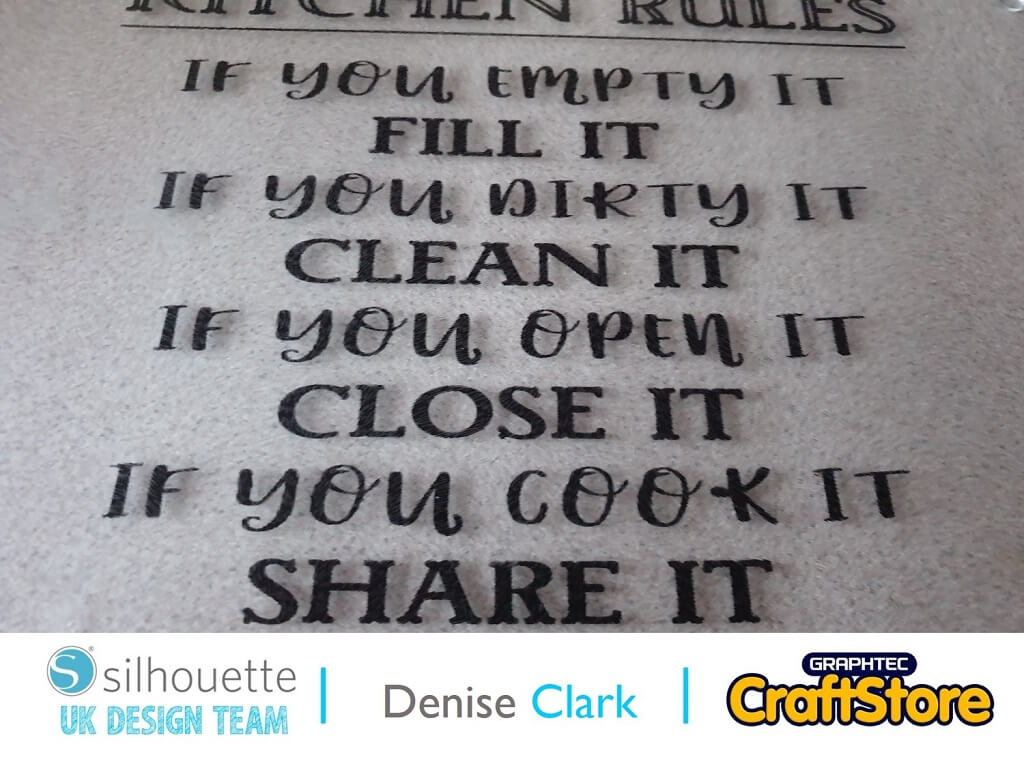
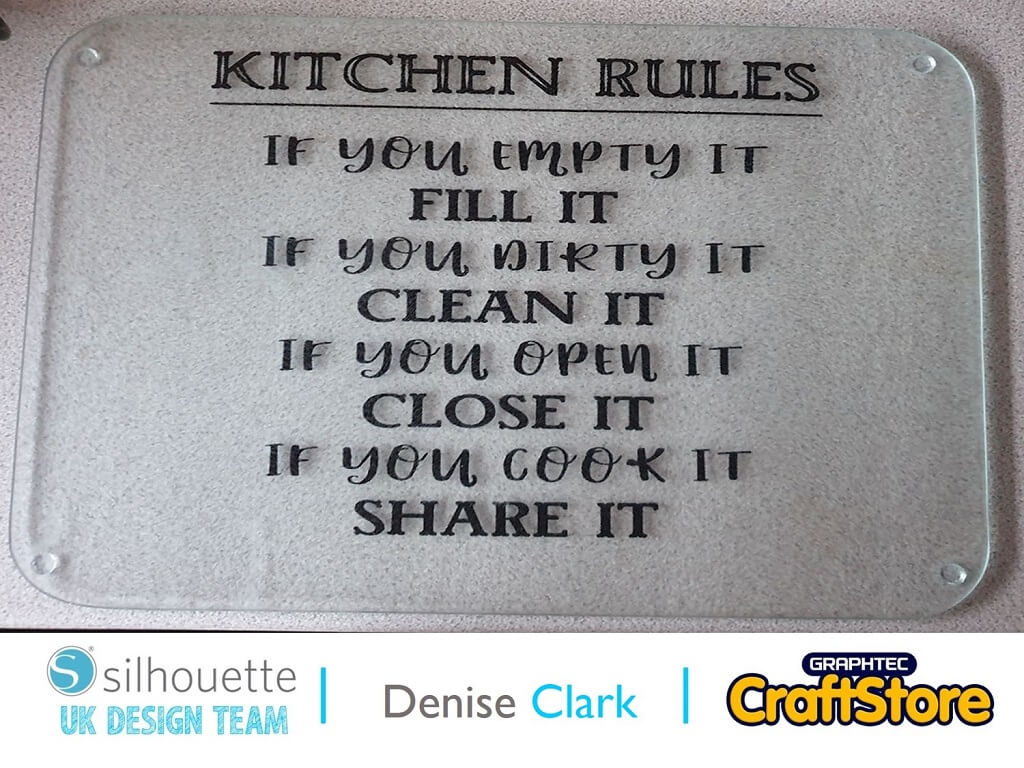
This project is for the kitchen, a glass cutting board personalised with adhesive vinyl.
I must say, I do love these kind of things in the kitchen especially having 3 boys in the house well, to tell the truth it’s my hubby and 2 boys.
I used this quote as thought it would go great on the cutting board.
Materials Used
• Self-Adhesive Vinyl
• Plain Glass Cutting Board
Open Your File
Open up your software and once loaded go to your library top right hand side and look for the file we are using today.
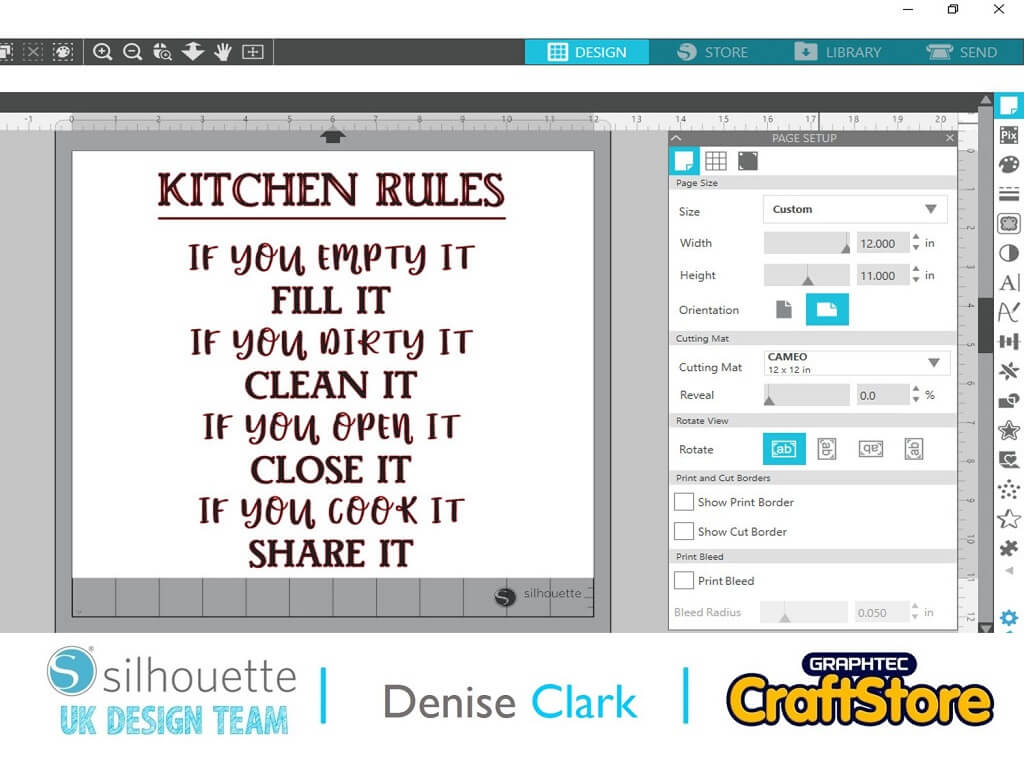
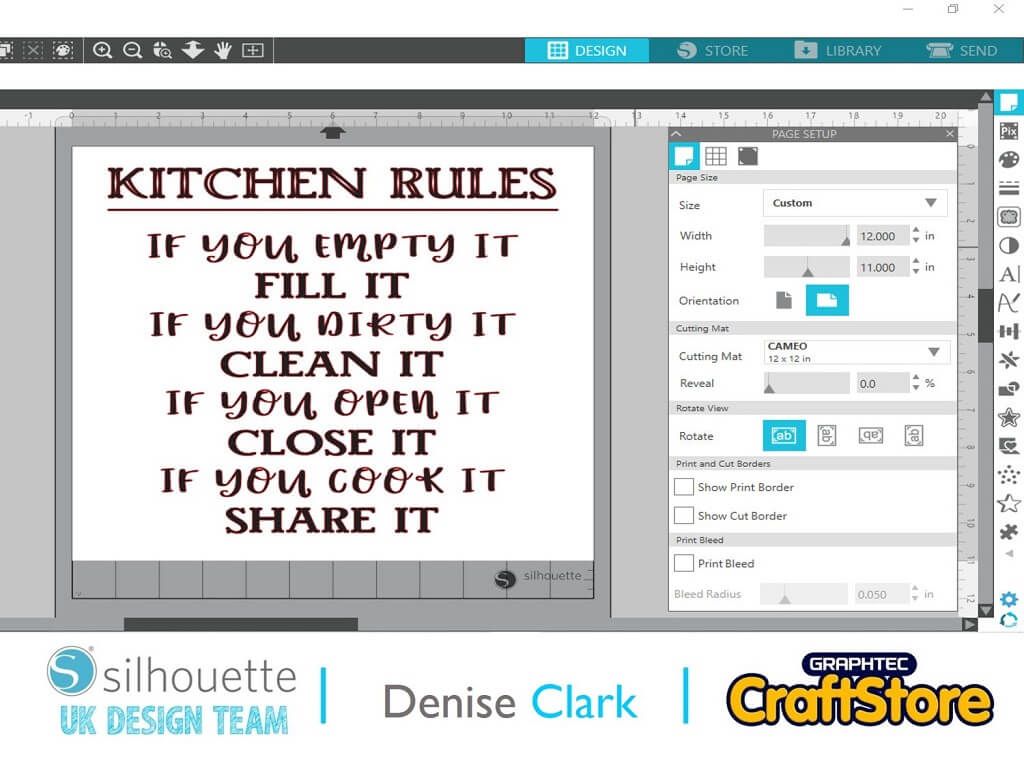
I was working with 12×11” vinyl as that was the perfect size for my cutting board.
So I resized my file to the size I wanted it.
Cutting Your File
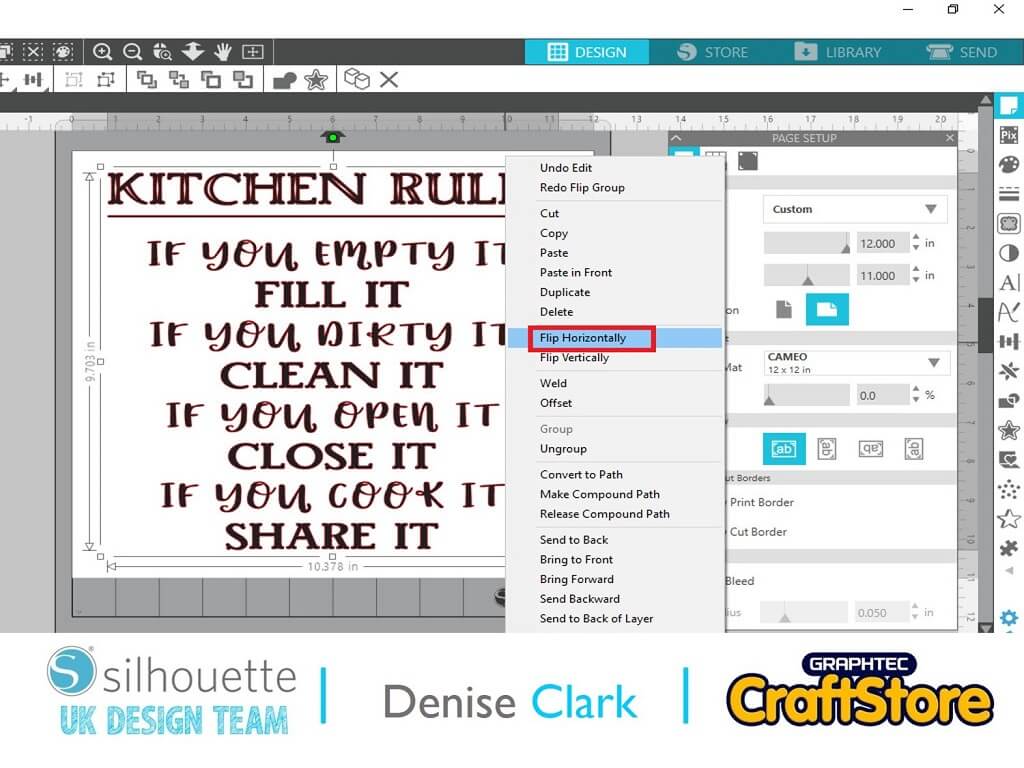
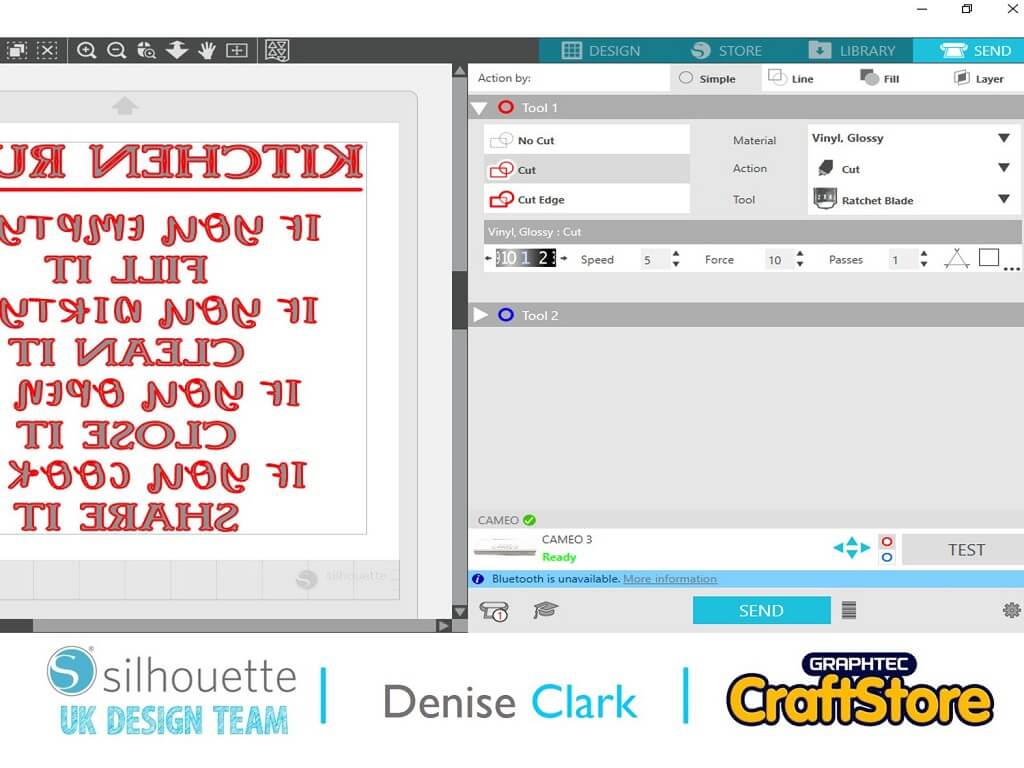
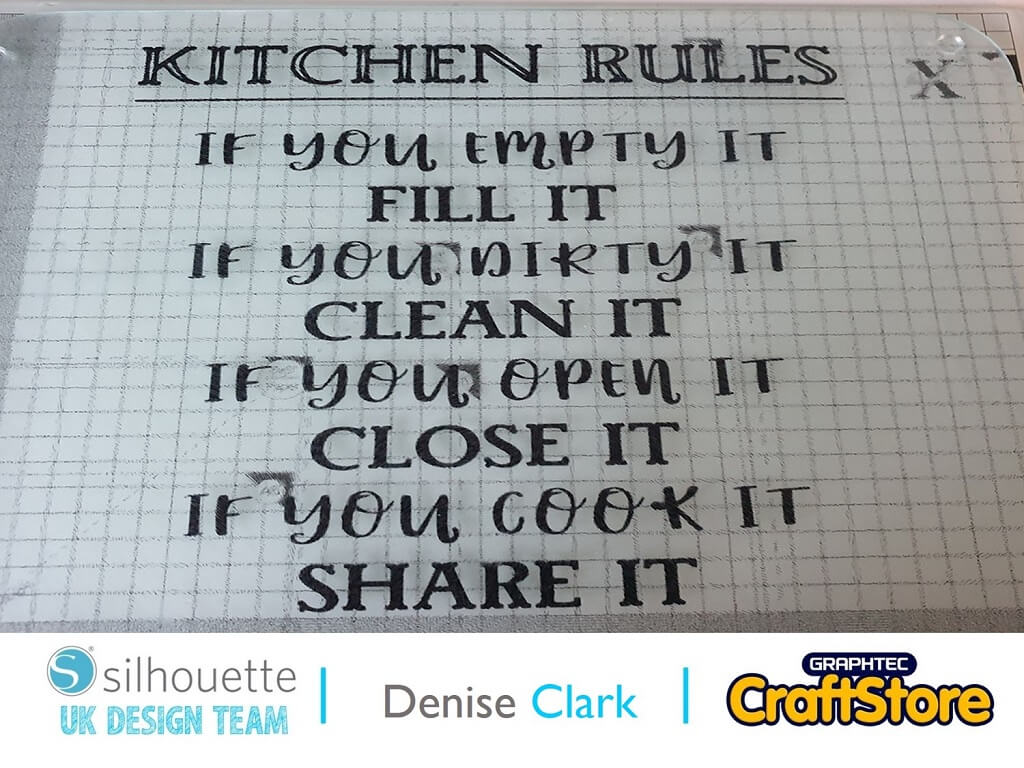
To have this cut you need to mirror (flip horizontally) your image as this is going onto the bottom side of your cutting board.
Once you’ve loaded the vinyl onto the cutting mat and loaded into the machine go to your send tab which is on top right hand side and click on it.
Under tool one, this has your cut options, I was using vinyl so that’s the material to select and for blade I selected the ratchet blade as I prefer using that to the AutoBlade.
I didn’t have to change anything else as it was all set for me.
If you are happy with your settings press send.
Weeding Time
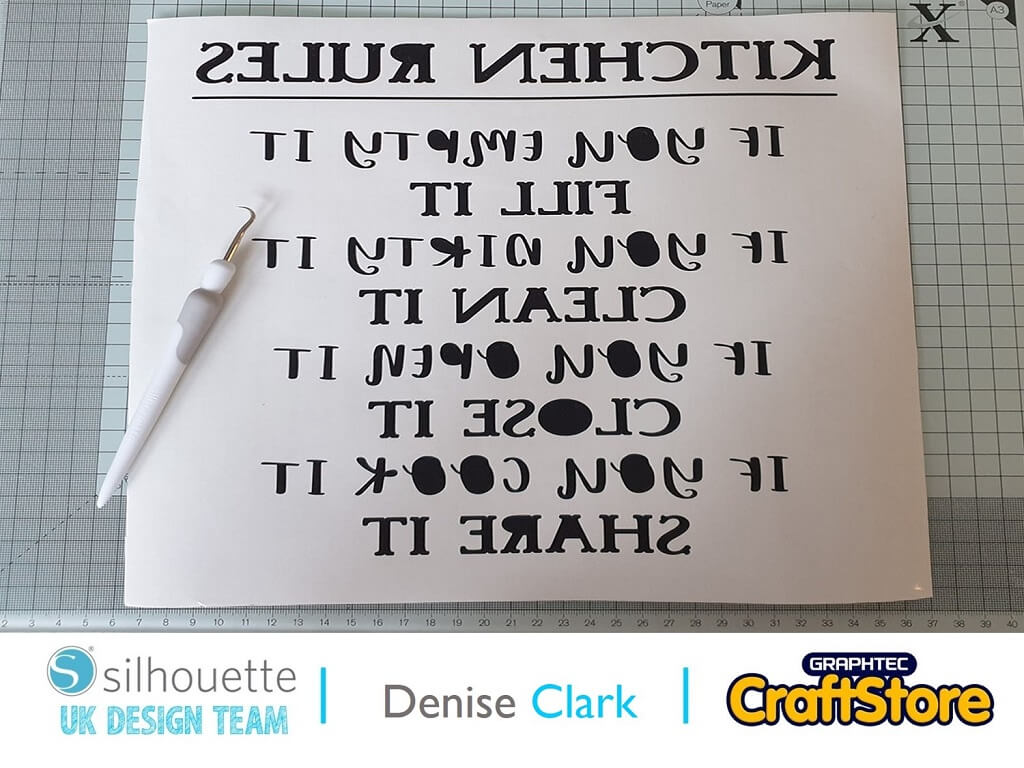
Now that it’s stopped cutting and you’ve unloaded your mat, take the vinyl off it and lay it down.
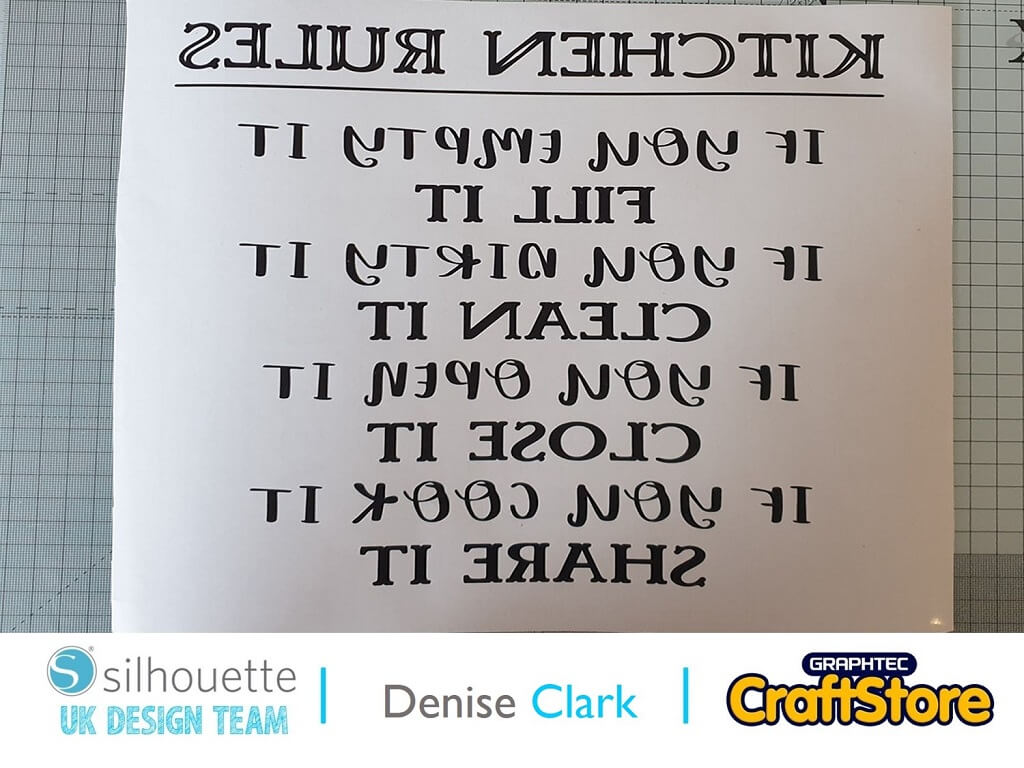
To start weeding it, remove the waste around the words and then the parts inside the letters as you can see on the photo.
Once the weeding process is complete it’s time to add transfer tape to transfer the vinyl off the backing sheet and onto the cutting board.
Applying The Vinyl
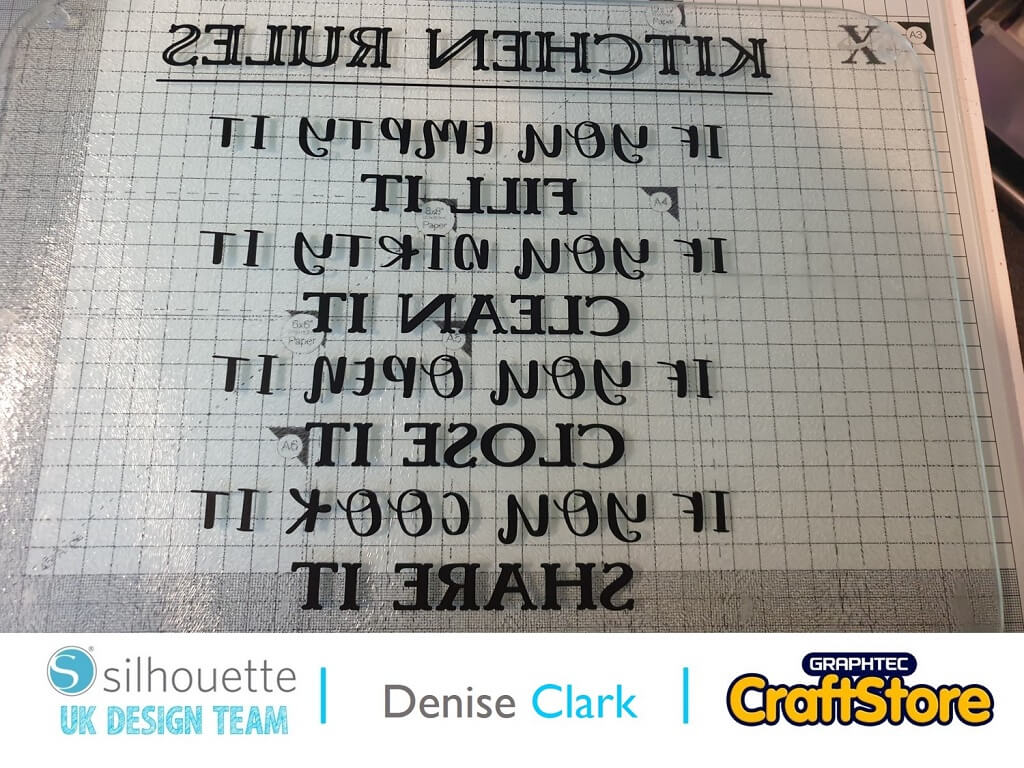
Once you have your Transfer tape on your vinyl now is the time to take it to the cutting board making sure cutting board bottom is facing upwards as this is the side the vinyl needs to go on.
Position it down where you are wanting it to go and then rub down to remove any air bubbles using a scraper or squeegee.
Once you are happy with it peel the transfer tape off.
If any parts of the vinyl come up with the tape just lay it back over the letter and give it a rub and lift the tape off.
Once you have finished taking the transfer tape off you can then turn your Cutting Board over to reveal the kitchen rules on the right side of the cutting board.
This was super easy to do and you can use any colour of self-adhesive vinyl you like.
It certainly is a great way to jazz up a plain cutting board and add a bit of unique colour to the kitchen.
Be sure to pop back next time and see my next make.
– Denise Clark –
Silhouette UK Blog Created By Denise Clark
Silhouette Products Used
Silhouette Designs Used
• Design Used: Kitchen Rules
Design Store Artist: Lori Whitlock
Design Store ID: 271449 > Download
