How To: Using The Silhouette Punch Tool
The Punch Tool is now available in the UK and has been specifically designed for use with all versions of the Silhouette Cameo 4 including the Plus and the Pro models..
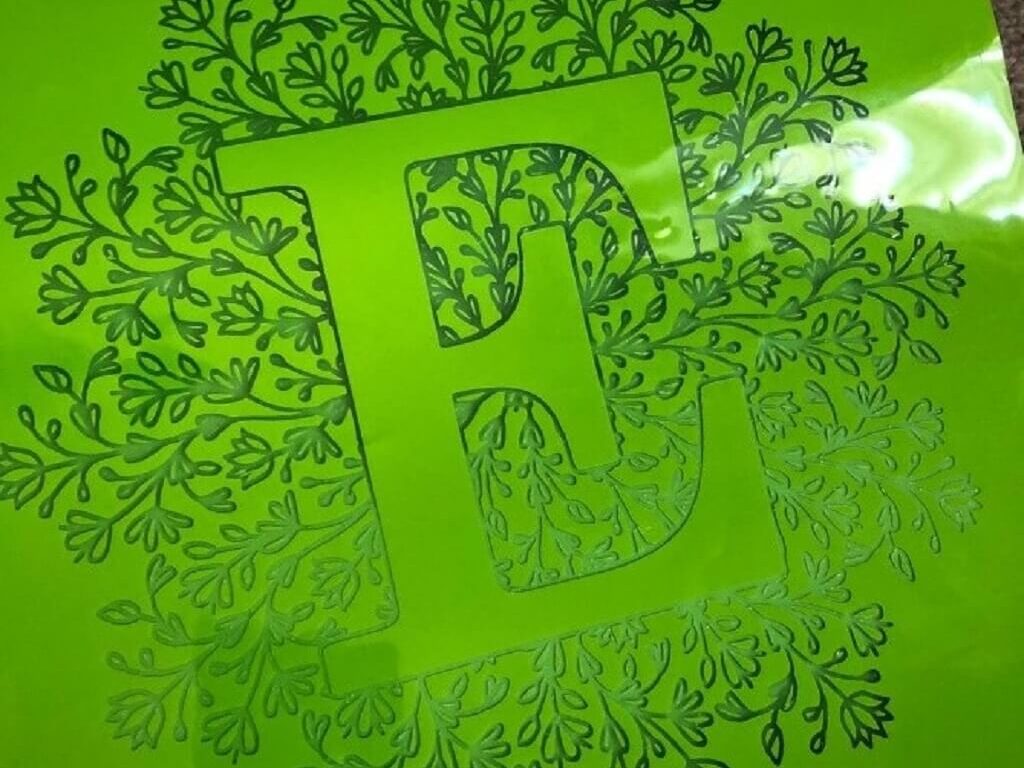
Essentially, the Silhouette Punch Tool is to be used with either adhesive vinyl or heat transfer vinyl and is used to mark the negative space on your design to make the weeding process as easy as possible once your cut is complete.
Read on to see how you can use and get the most out of the brand new Silhouette Punch Tool.
Create Your Design
In order to use the Cameo 4 Punch tool, you need to make sure you have the latest version of the Silhouette Studio Software installed on your computer which is version 4.4 at the time of writing this.
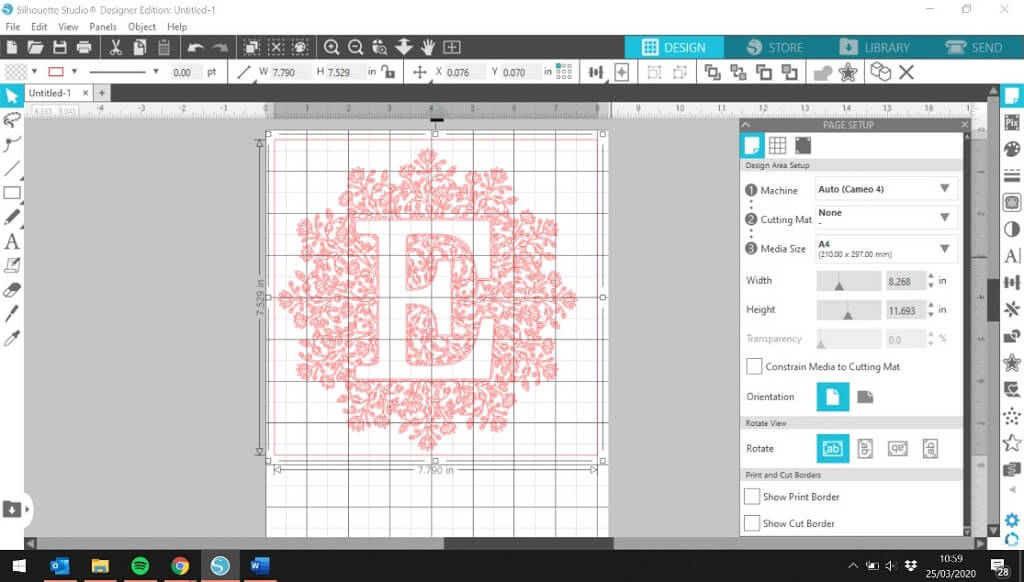
Once you have updated, open the Silhouette Studio Software and then create your design as you would normally.
What You Need To Know
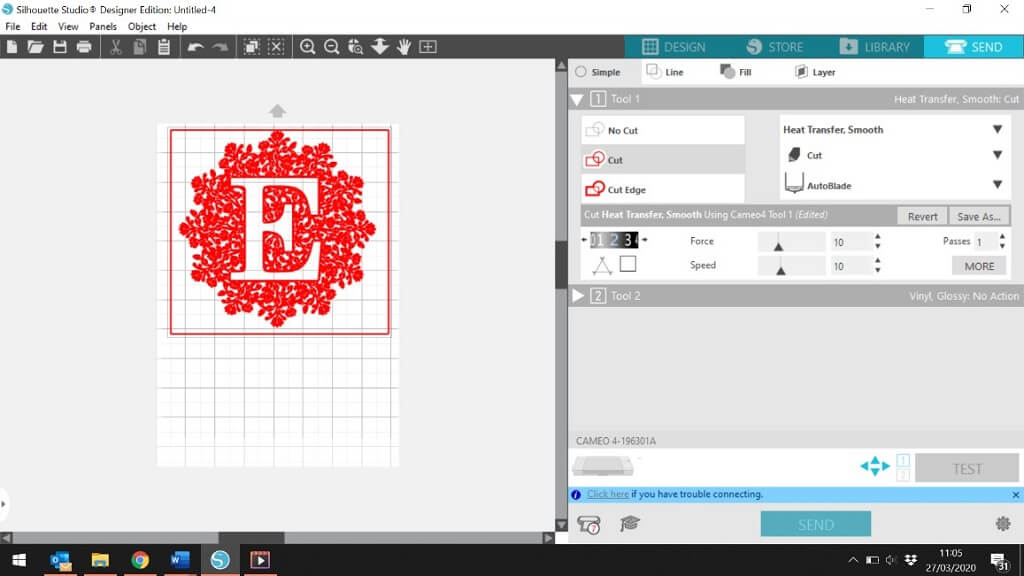
In the ‘SEND’ tab, you can use various materials as you normally would.
• Vinyl
• Cardstock – if you wanted to stipple the material
• Paper
All materials which you would need this tool for.
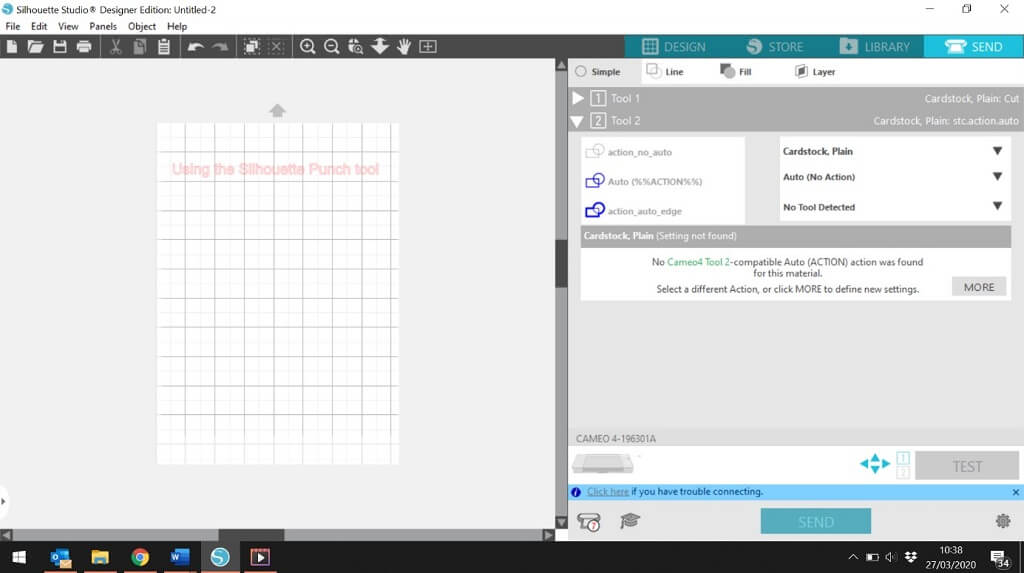
However, for Tool 2 – The Punch Tool does not support any other materials other than Vinyl, you will see ‘No Cameo 4 Tool 2- compatible Auto (ACTION) action was found for this material.’ If you select any other material.
How To Set Up The Punch Tool
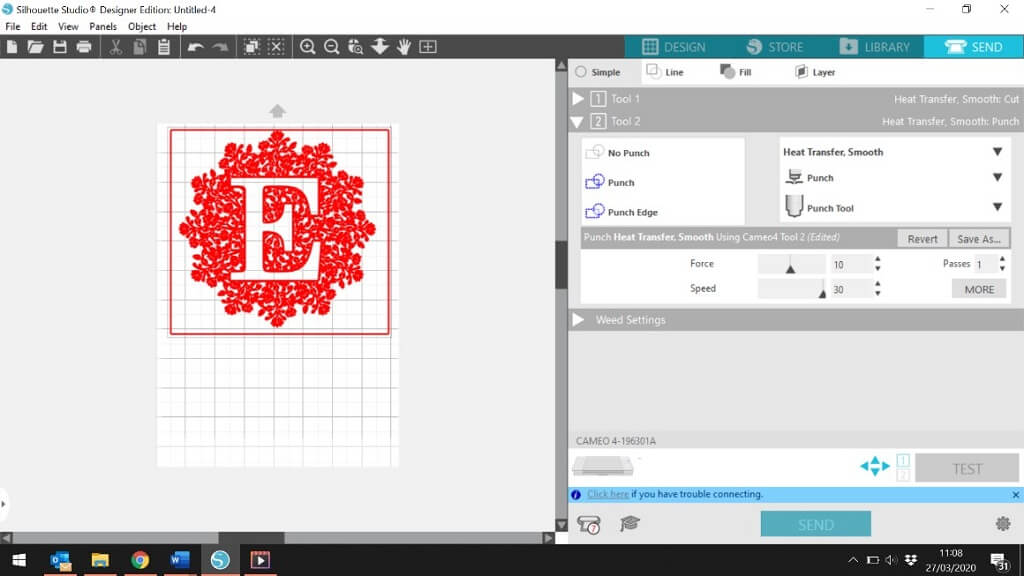
You will be given 3 options
• No Punch
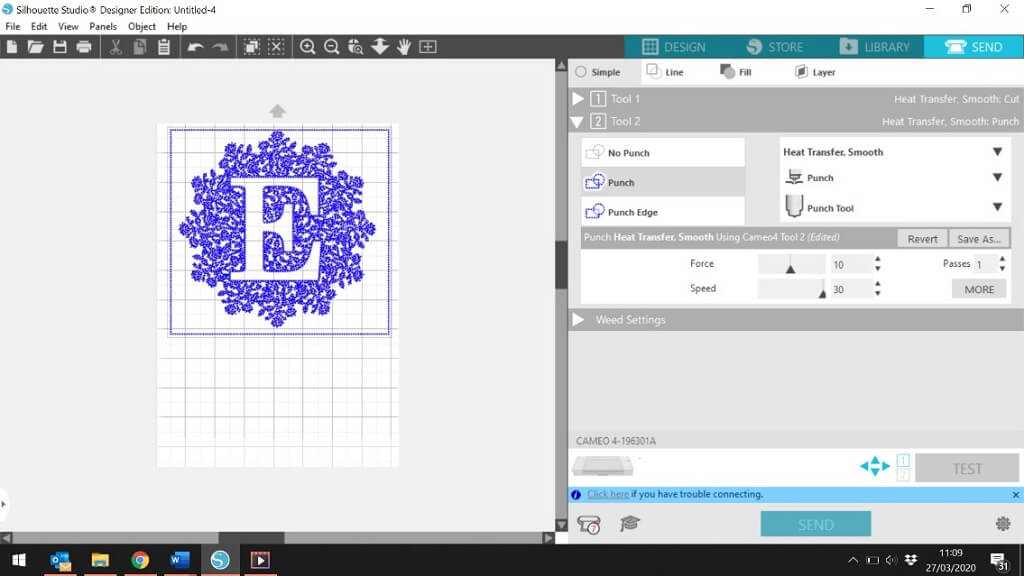
• Punch
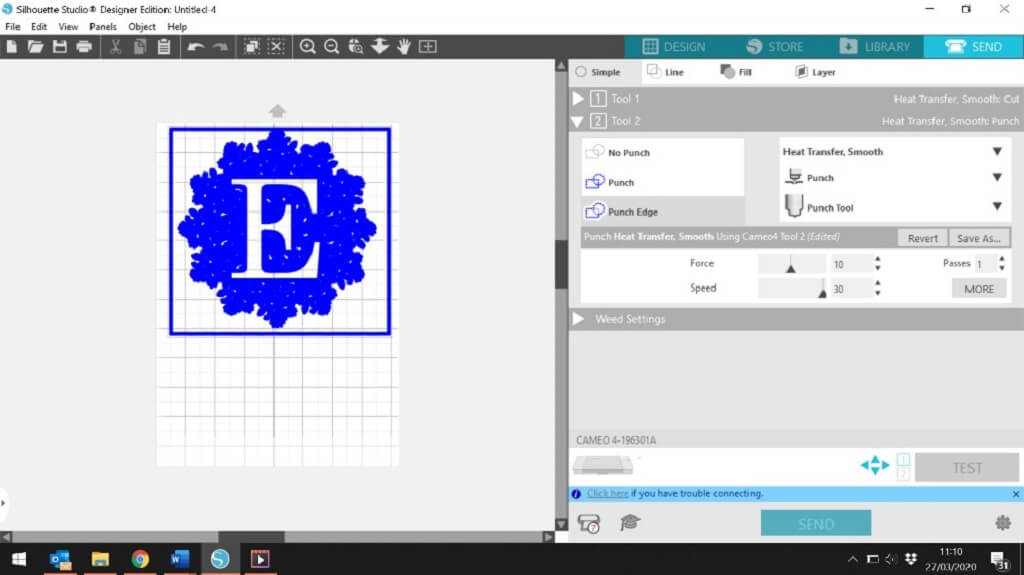
• Punch Edge
No Punch will do nothing
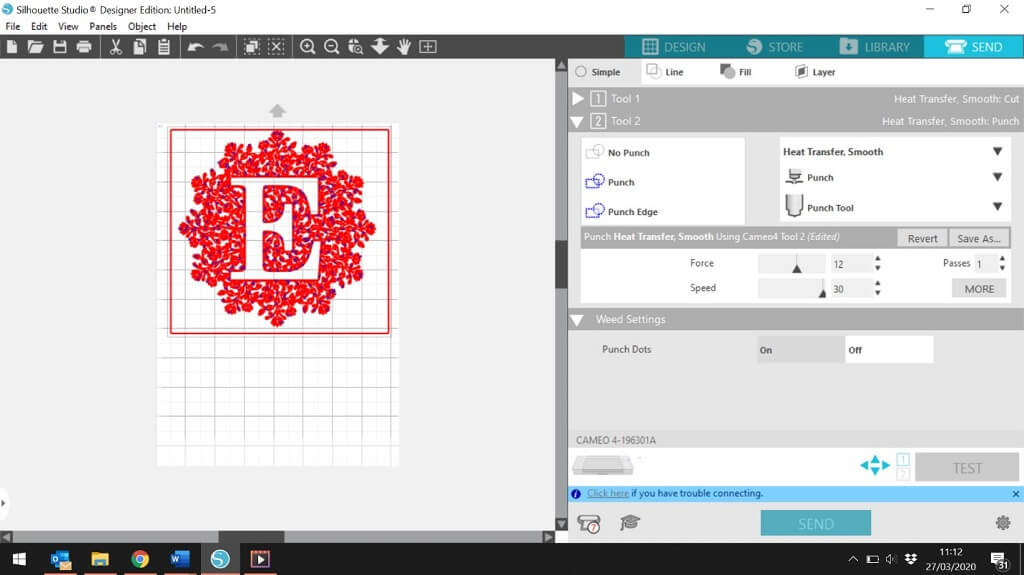
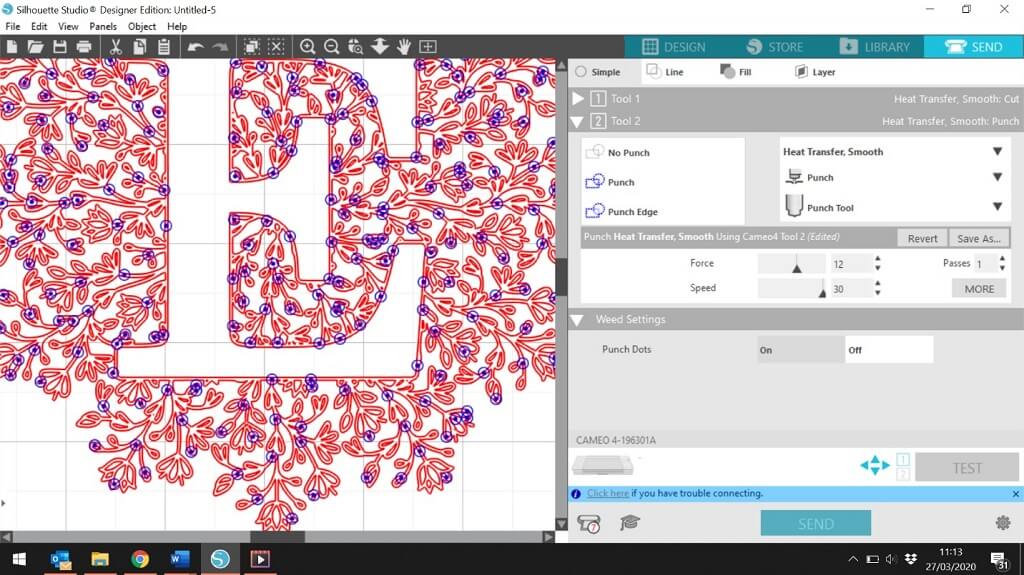
Punch will replace the red cut lines with a blue punch line, these are tiny pin-like holes that will punch the design out.
Punch edge, will perform punch holes around the edge of the design.
Do not select any of the options.
You can amend the force of the punch hole, but this will not make the hole any larger. You can set this to punch through the material, or pierce the first layer of the material.
Enabling The Punch Tool
Weed Settings need to be turned ON.
Turning them on will enable the negative space of your design.
