Sale!
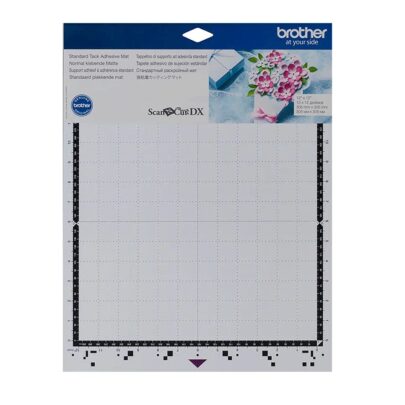
Brother ScanNCut DX Standard Tack Adhesive Mat
Price range: £19.80 through £33.74
Select options
This product has multiple variants. The options may be chosen on the product page
PLEASE NOTE THAT THE OFFICE WILL BE CLOSED FROM 12PM FRIDAY 20TH DECEMBER 2024 AND WILL RE-OPEN ON THURSDAY 2ND JANUARY 2025
ORDERS FOR DELIVERY PRIOR TO CHRISTMAS WILL NEED TO BE SUBMITTED BY 2.30PM ON THURSDAY 19THDECEMBER 2024.
ORDERS RECEIVED AFTER THIS TIME AND DATE WILL BE DESPATCHED ON THURSDAY 2ND JANUARY 2025.
Merry Christmas & A Happy New Year to all our customers. Thank you for your continued support.
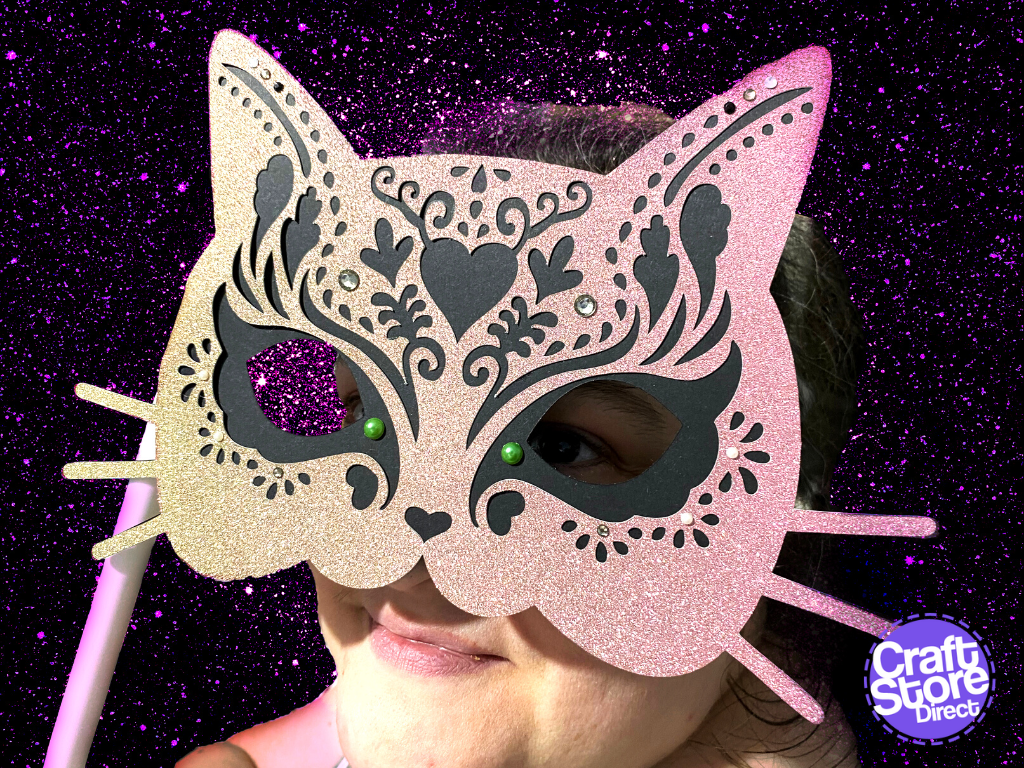
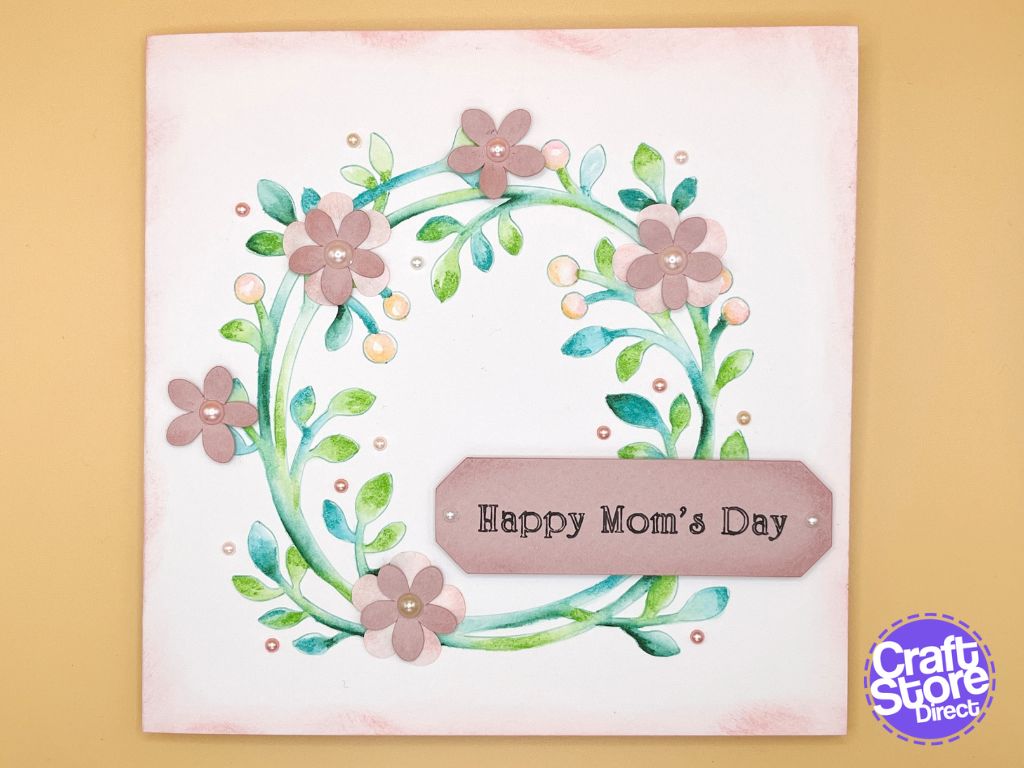
The brief for this project was to create something to wear for Halloween and, originally I was going to break out the HTC and create something to customise clothing. However, I thought I would create something utilising the brand-new Brother App, Artspira.
Want to know how to create this Cat Photo Prop, perfect for Halloween parties? Then keep reading!
Craft Materials We Used:
• Silhouette Adhesive-Backed Textured Cardstock
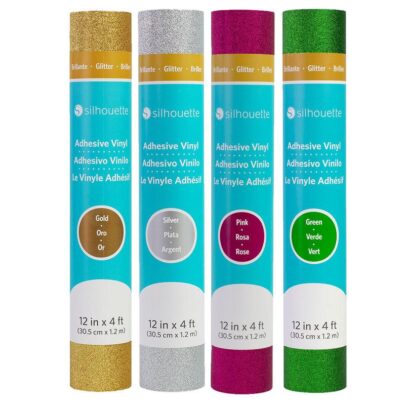
• Silhouette Glitter Adhesive Vinyl (Optional)
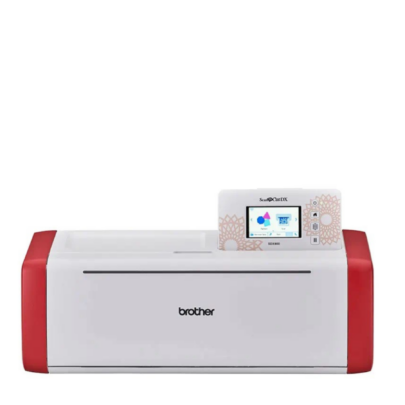
• Brother ScanNCut SDX900
• Brother ScanNCut DX Standard Tack Adhesive Mat

Artspira has several sections to the app, but for this project, you just need to tap ‘Cutting Files’ at the top of the main screen.
Next, select the ‘Holidays’ tab and scroll down to the ‘Halloween Cat Mask’ solid layer first. Tap on ‘Create’ to access the transfer screen where you can select which SDX machine to send it to. Tap ‘Transfer’ to send the file across.

To access the Artspira transfer, you will need to have updated your SDX machine. You can tell this instantly by the Transfer icon displayed by your machine.
Once the design has been transferred to your machine, you can treat it as if it’s any other file: resize, rotate, duplicate etc. For this project however, we will leave the scale as is, so our two pieces will match.
Cut the first solid piece from strong black card (This piece will be the strength).

Moving back to the Artspira App, select the top layer from the Holidays section and transfer this to your cutter.
Reset your mat on your machine and transfer in the next layer. Now, this design is good for showing you a way you can add detail easily to a design by subtracting it from the main shape rather than applying lots of tiny pieces.
Cut this layer from glitter cardstock: if your glitter is non-shedding, then you can cut good side upwards. However, for glitter card which loses glitter, use an older (but sticky) mat, and adhere the card good side down. Flip the design and cut from the back. I always flip even seemingly symmetrical designs as there can be tiny differences not apparent on the small screen.

Layering your two pieces together can be done with wet glue or using self-adhesive glitter cardstock or even vinyl. You will want to let them dry flat before shaping.
While you are waiting, we are going to do a small adaption to the design. Firstly, is the person who you are creating this for left or right-handed? With the detail layer facing upwards, cut away the side piece the same side as the hand they write with. Do this with a slight curve.


Curve the remaining side piece over the edge of your desk; the more repetitions, the tighter the curve. Trim this piece, so it wraps around your cake pole.
Using a large ball tool, you can add some shaping to your mask by working onto a stamping mat or similar springy surface. You can add further decoration to your mask using sticky back gems, sequins and flat back beads.

What a fantastic project to make for little ones. You can pop a little elastic through the cake pole to make a little wristband, and you could even decorate it with more vinyl, ribbon or glitter. You could also make a handle for the pole using some craft foam.
– Natalie x

Price range: £19.80 through £33.74
Original price was: £499.00.£405.00Current price is: £405.00.
Original price was: £9.30.£6.97Current price is: £6.97.
• Design Used: Halloween Cat Mask Project on Brother Artspira (both layers)

