Clay Poppy Brooch | Corinne Regan | Silhouette UK Blog
Clay Poppy Brooch
Hi all!
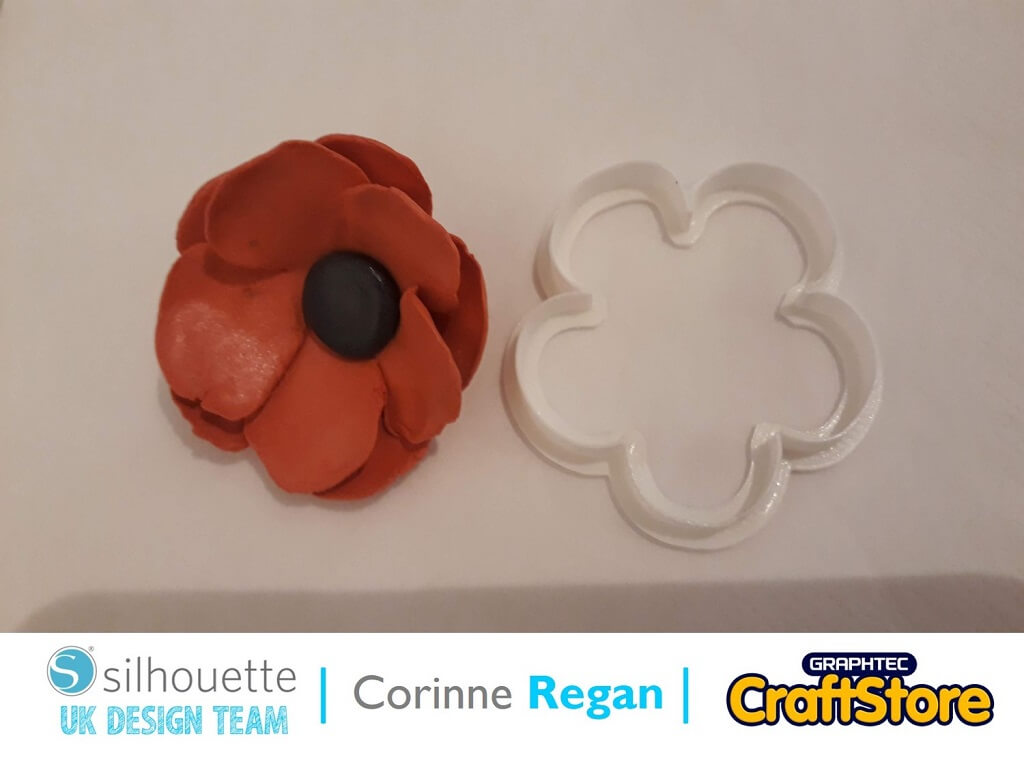
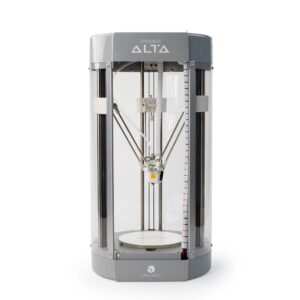
To commemorate Remembrance day I thought I would make a poppy brooch today using my Silhouette Alta 3D printer to create a template to cut some air-drying clay.
Making The Cutters
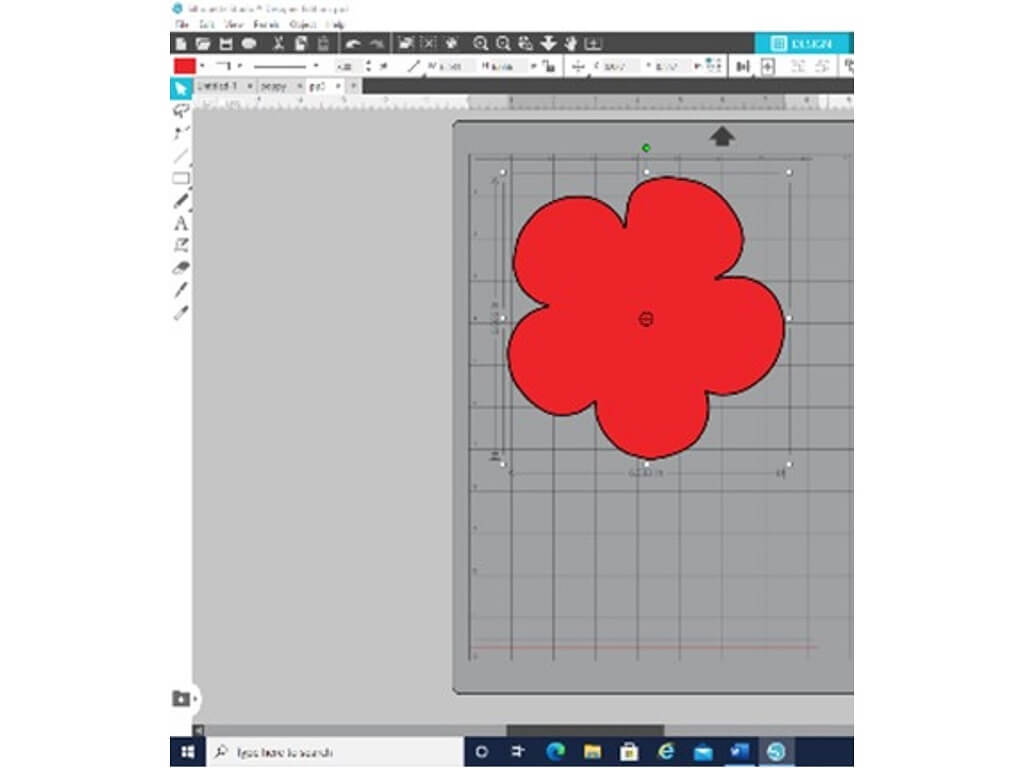
I brought my shape onto the mat within Silhouette Studio and did a trace of it using the trace tool.
I then saved it to my files so that I could take it into my Silhouette 3D software.
Getting The Design Ready To Print
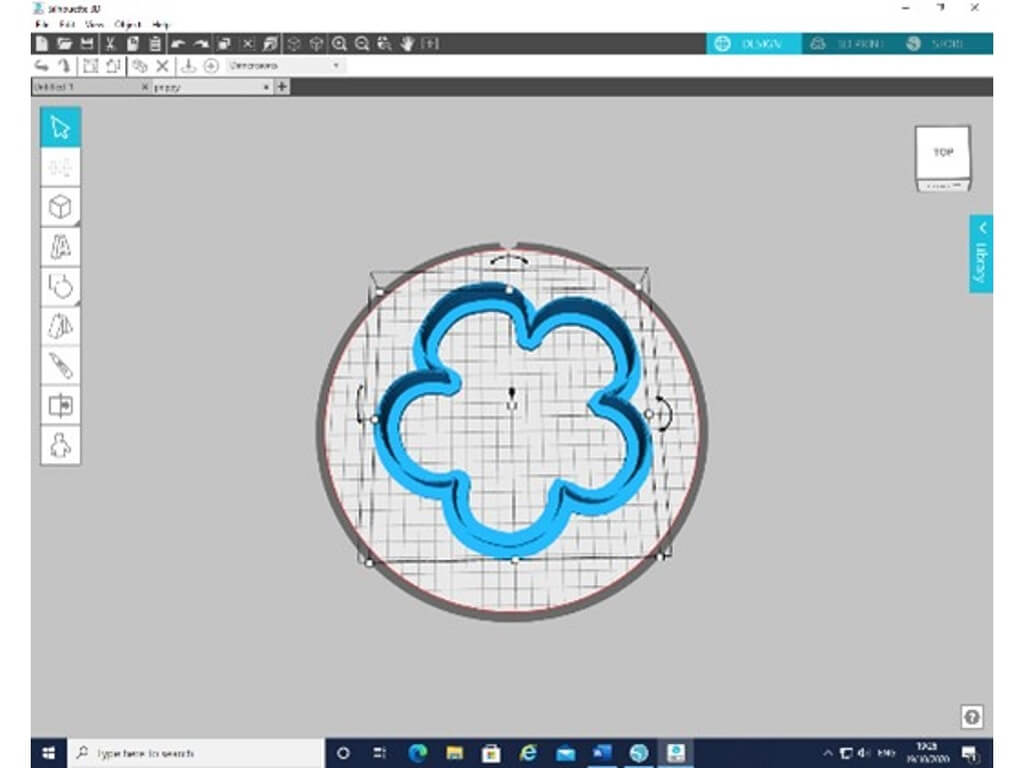
I imported the shape into the Silhouette 3D software and chose to create the 2D design as a cookie cutter ready to print.
If you bring in a 2D from Silhouette Studio into Silhouette 3D then you will get 8 pre-set templates which you can choose from to make your 2D shape into a 3D object.
Making The Cutter
Once Silhouette 3D has turned your 2D design into your selected 3D design you can than edit it.
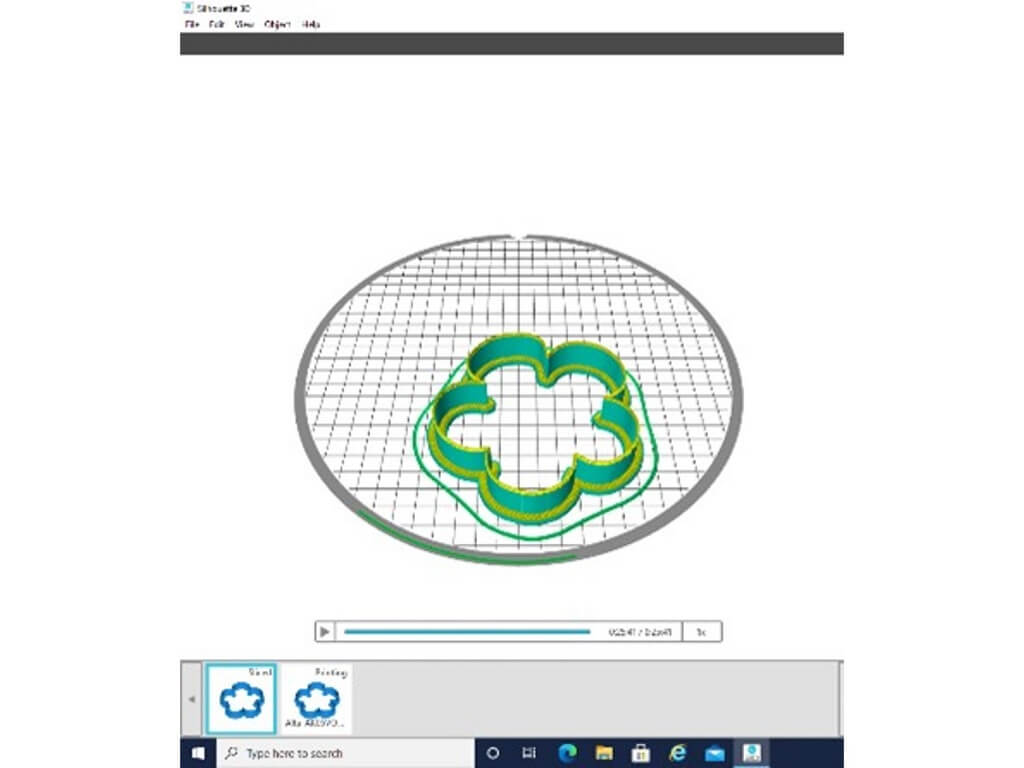
Once I was happy with the size and depth of the cutter I then clicked onto the print button which sends you through to the slicer page.
In here you can choose they quality of print that you require, standard works for most print jobs and that is what I chose for this one.
Making The Poppy
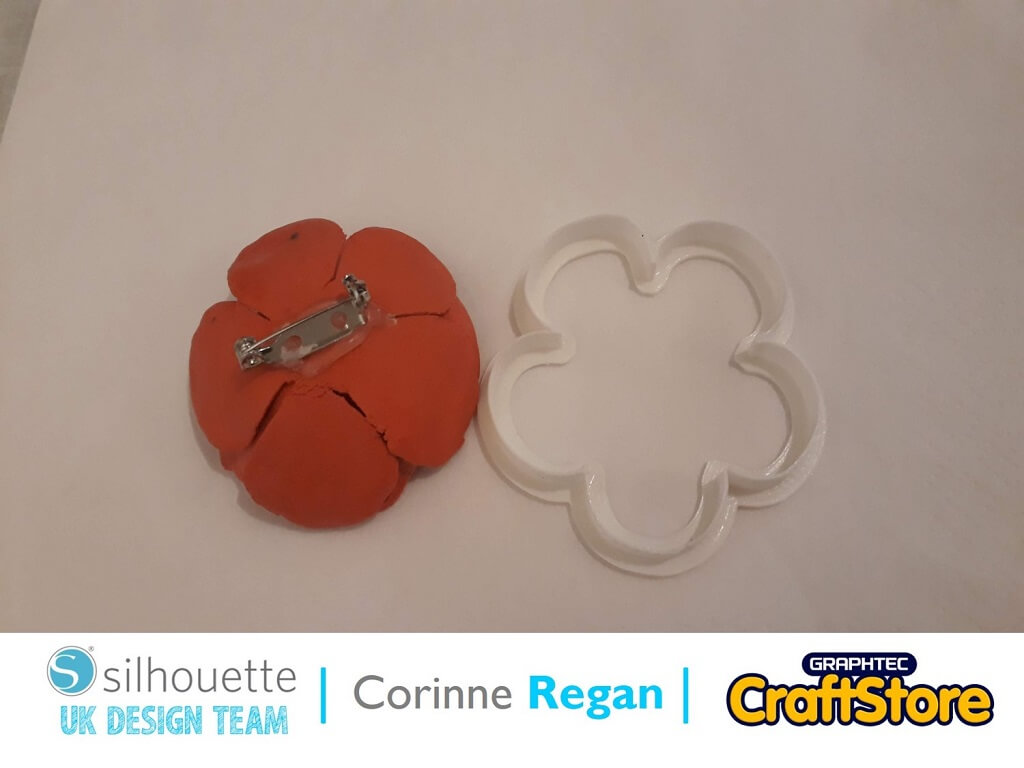
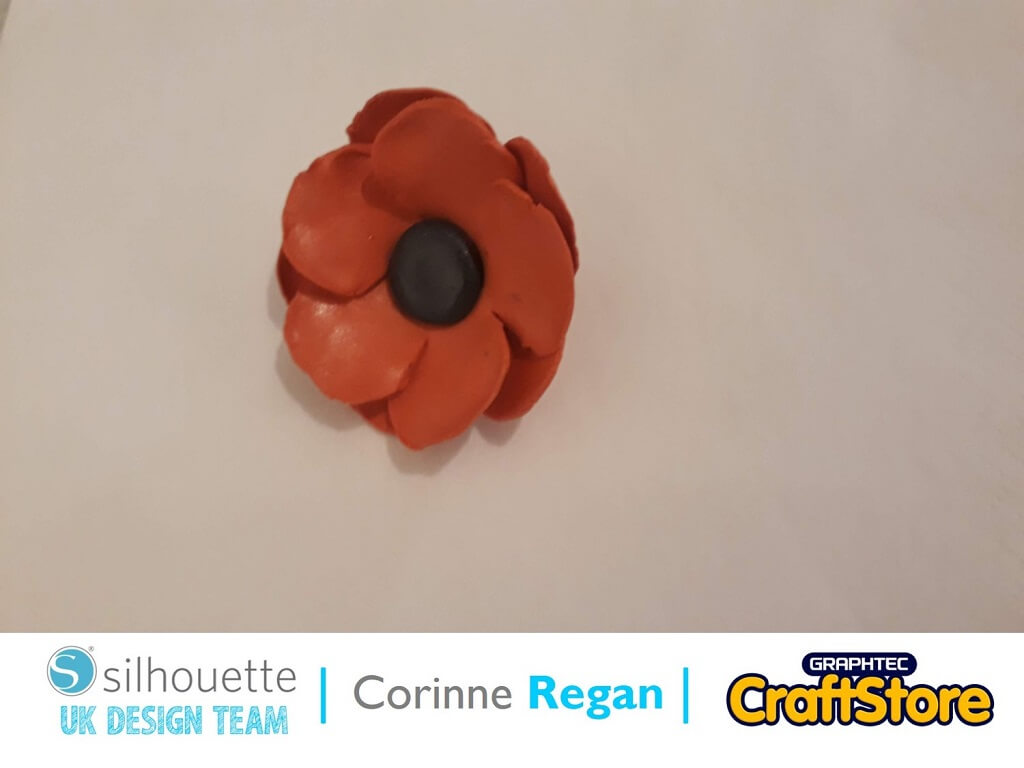
When my cutter had printed, I used it to cut out two red poppy shapes in red air-drying clay and shaped them.
Then I added a small piece of black clay to the middle.
Making The Brooch
Once the poppy was dry, I added a brooch pin to the back with a hot glue gun.
I then added some spray varnish to give it a slight shine.
I really enjoyed making the poppy brooch and hope you will too!
– Corinne Regan –
