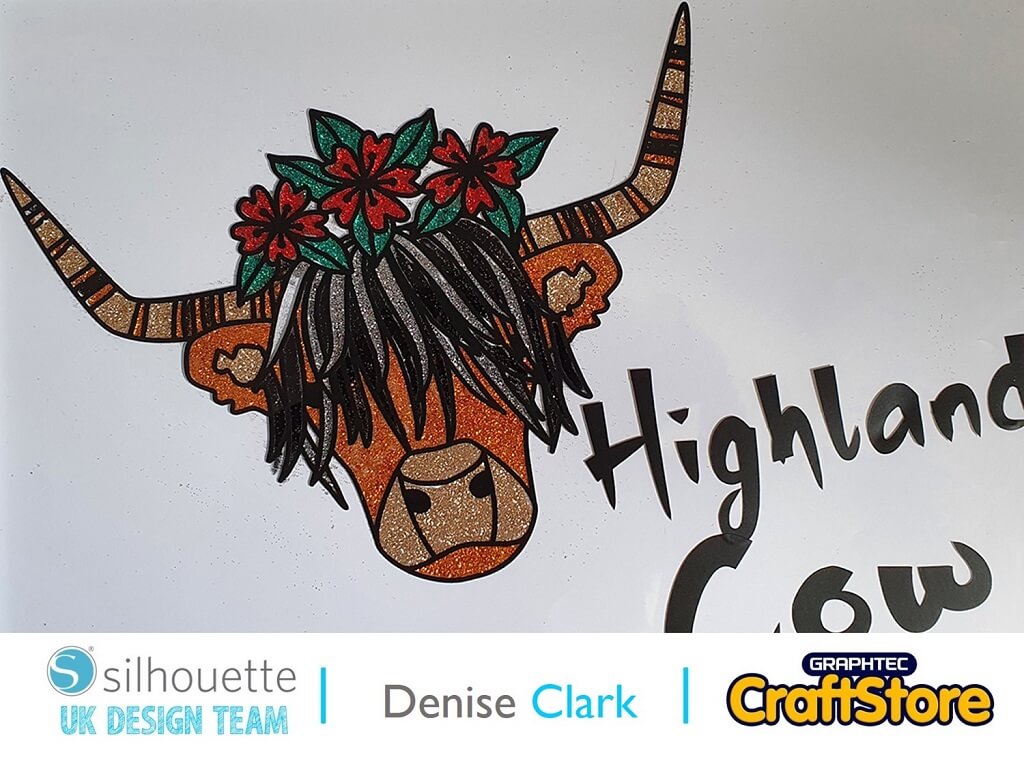
Highland Cow | Denise Clark | Silhouette UK Blog
Highland Cow | Denise Clark | Silhouette UK BlogHighland Cow It’s Denise here today. I hope you’re all enjoying the good weather we’re getting just now and long may it…
PLEASE NOTE THAT THE OFFICE WILL BE CLOSED FROM 12PM FRIDAY 20TH DECEMBER 2024 AND WILL RE-OPEN ON THURSDAY 2ND JANUARY 2025
ORDERS FOR DELIVERY PRIOR TO CHRISTMAS WILL NEED TO BE SUBMITTED BY 2.30PM ON THURSDAY 19THDECEMBER 2024.
ORDERS RECEIVED AFTER THIS TIME AND DATE WILL BE DESPATCHED ON THURSDAY 2ND JANUARY 2025.
Merry Christmas & A Happy New Year to all our customers. Thank you for your continued support.
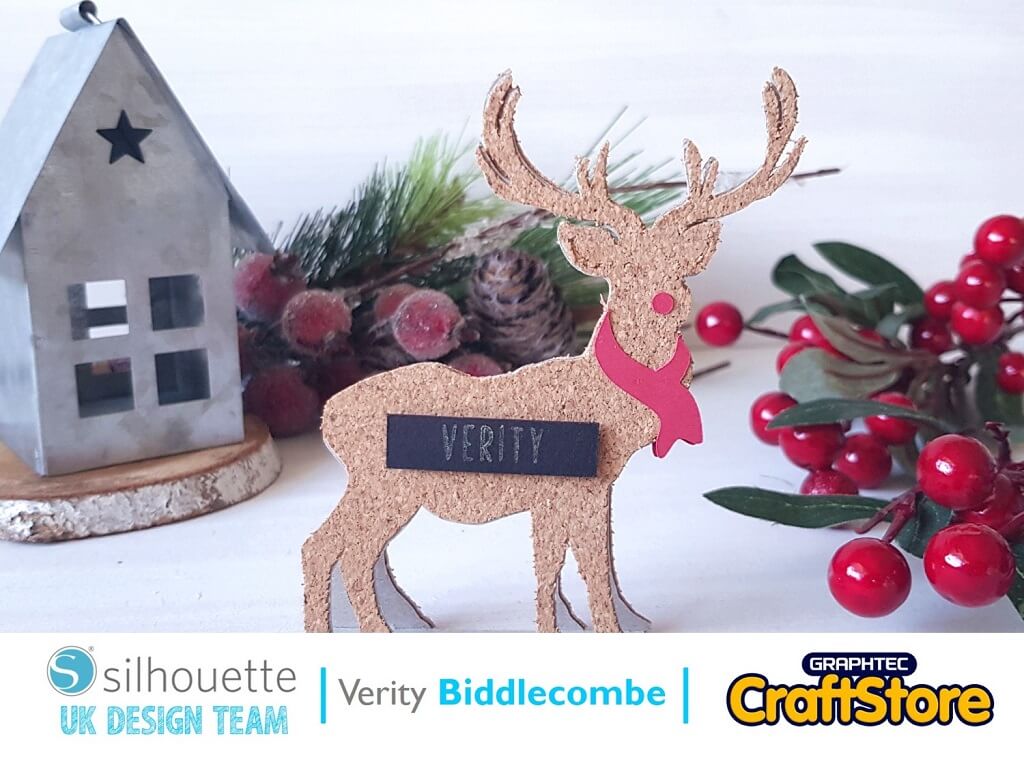
Hi everyone, Verity here today from PrettyLittleButton.
Why not add a touch of festivity to your table with Rudolph name place settings.
The cork sheets add great color and texture, as well as speeding the process up so you can whip up one for every seat at the table in no time!
Download the ‘Santa’s Rudolph’ design into your design space.
Next, ungroup all the elements in the design package and duplicate the reindeer element moving the copy to one side.
Next, select the knife tool and draw a line straight across the bottom of the reindeers hoofs.
Make sure the knife setting is set solid, as located at the top of the window. This will separate the reindeer from the base and create a line between any joins
If you don’t align the line of the knife up with the edge of the base, you may have a lining connecting all the way long each for feet.
Don’t worry though, just use your knife tool to cut each side of each hoof to separate and delete these lines.
You should now have two separate reindeer as well as the reindeer connected to the base.
Cut the two separate reindeer from the cork sheets and the joined reindeer from Chipboard sheets.
In addition, cut any of the remaining elements from the pack in colours of your choosing.
Once cut, peel the cork sheets off the backing sheets and stick down onto the chipboard piece.
Using the rectangle tool, draw a box that fits on the body of reindeer. Using a thin font, type a name to fit within the box.
Place a good sketch pen into your machine, and in the send screen, select to sketch the name rather than cut.
Before unloading your mat, switch the pen out for a ratchet blade and cut the rectangle out.
Fold the reindeer element at the score lines at the base of the hoofs.
Next, fold over and adhere the tops of the reindeer together.
Add any addition elements, such as the scarf and nose with glue.
Place a few pieces of foam adhesive pads to the back of the name and adhere to the front of the reindeer.
– Verity Biddlecombe –
• Design Used: Santa’s Rudolph
Design Store Artist: Suzanne Cannon
Design Store ID: 233638 > Download
• Design Used: Skinny Minnie Font
Design Store Artist: Lori Whitlock
Design Store ID: 250519 > Download