Chipboard Christmas Crafts | Silhouette Chipboard Sheets
Hi everyone, Helen here today.
I love Christmas and as always, I really like to get the kids involved and do as much as possible with them.
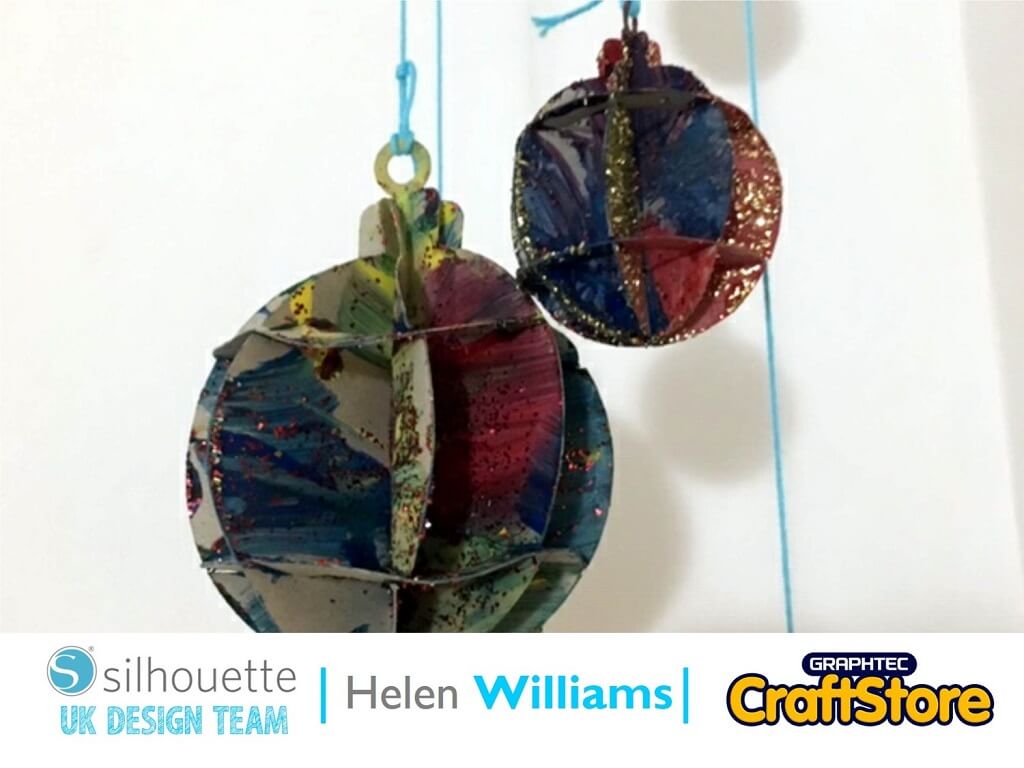
This year I’m trying to do as much crafting as I can with them so our first project was to create these super cute paint and glitter chipboard baubles!
This was a great activity for my kids and their cousins!
Here is how I did it.
This project is very easy to cut out. I started by opening the 3D bauble file in Silhouette Studio. I then grouped the file by pulling a selection box around all the elements and selecting the ‘group’ button from the top tool bar. I did this so that I can move the file around without accidentally resizing the pieces.
I wanted to make the baubles as large as possible and use the whole of the chipboard so I needed to resize the canvas to the same as the chipboard. To do this I opened the ‘page setup’ menu and went to the ‘page set up’ tab. Using the size drop down menu I selected 12 x 12 inches. This resized the canvas to the same as the chipboard.
To make the baubles as large as possible I then selected them and clicked and dragged the file to fill the 12 x 12 canvas.
Once I was happy with the size of the baubles I selected the ‘send’ tab and used the ‘chipboard’ settings to cut the chipboard. I found that the chipboard cut well on the pre-loaded settings. I cut a few large baubles and then four or five small ones.
Once you have cut out the baubles you will need to slot them together. To do this first slot the three middle pieces together then put the two rings around the outside of each bauble. It is a bit tricky but once you have done it you won’t need any glue to hold the chipboard together.
Now for the fun bit! Grab your paint, glitter and the kids and start crafting. The kids really loved this project. They used poster pain and brushed to colour the chipboard. After they had finished painting they added lots of glitter to make them extra sparkly.
Allow the baubles to dry and then seal the glitter using hairspray or paint over a layer of PVA glue.
The kids really enjoyed this project and it was easy for all ages to give it a go.
It was a lovely family Christmas activity to do as well.
I will definitely be looking for more projects similar to this one.
– Helen Williams –


